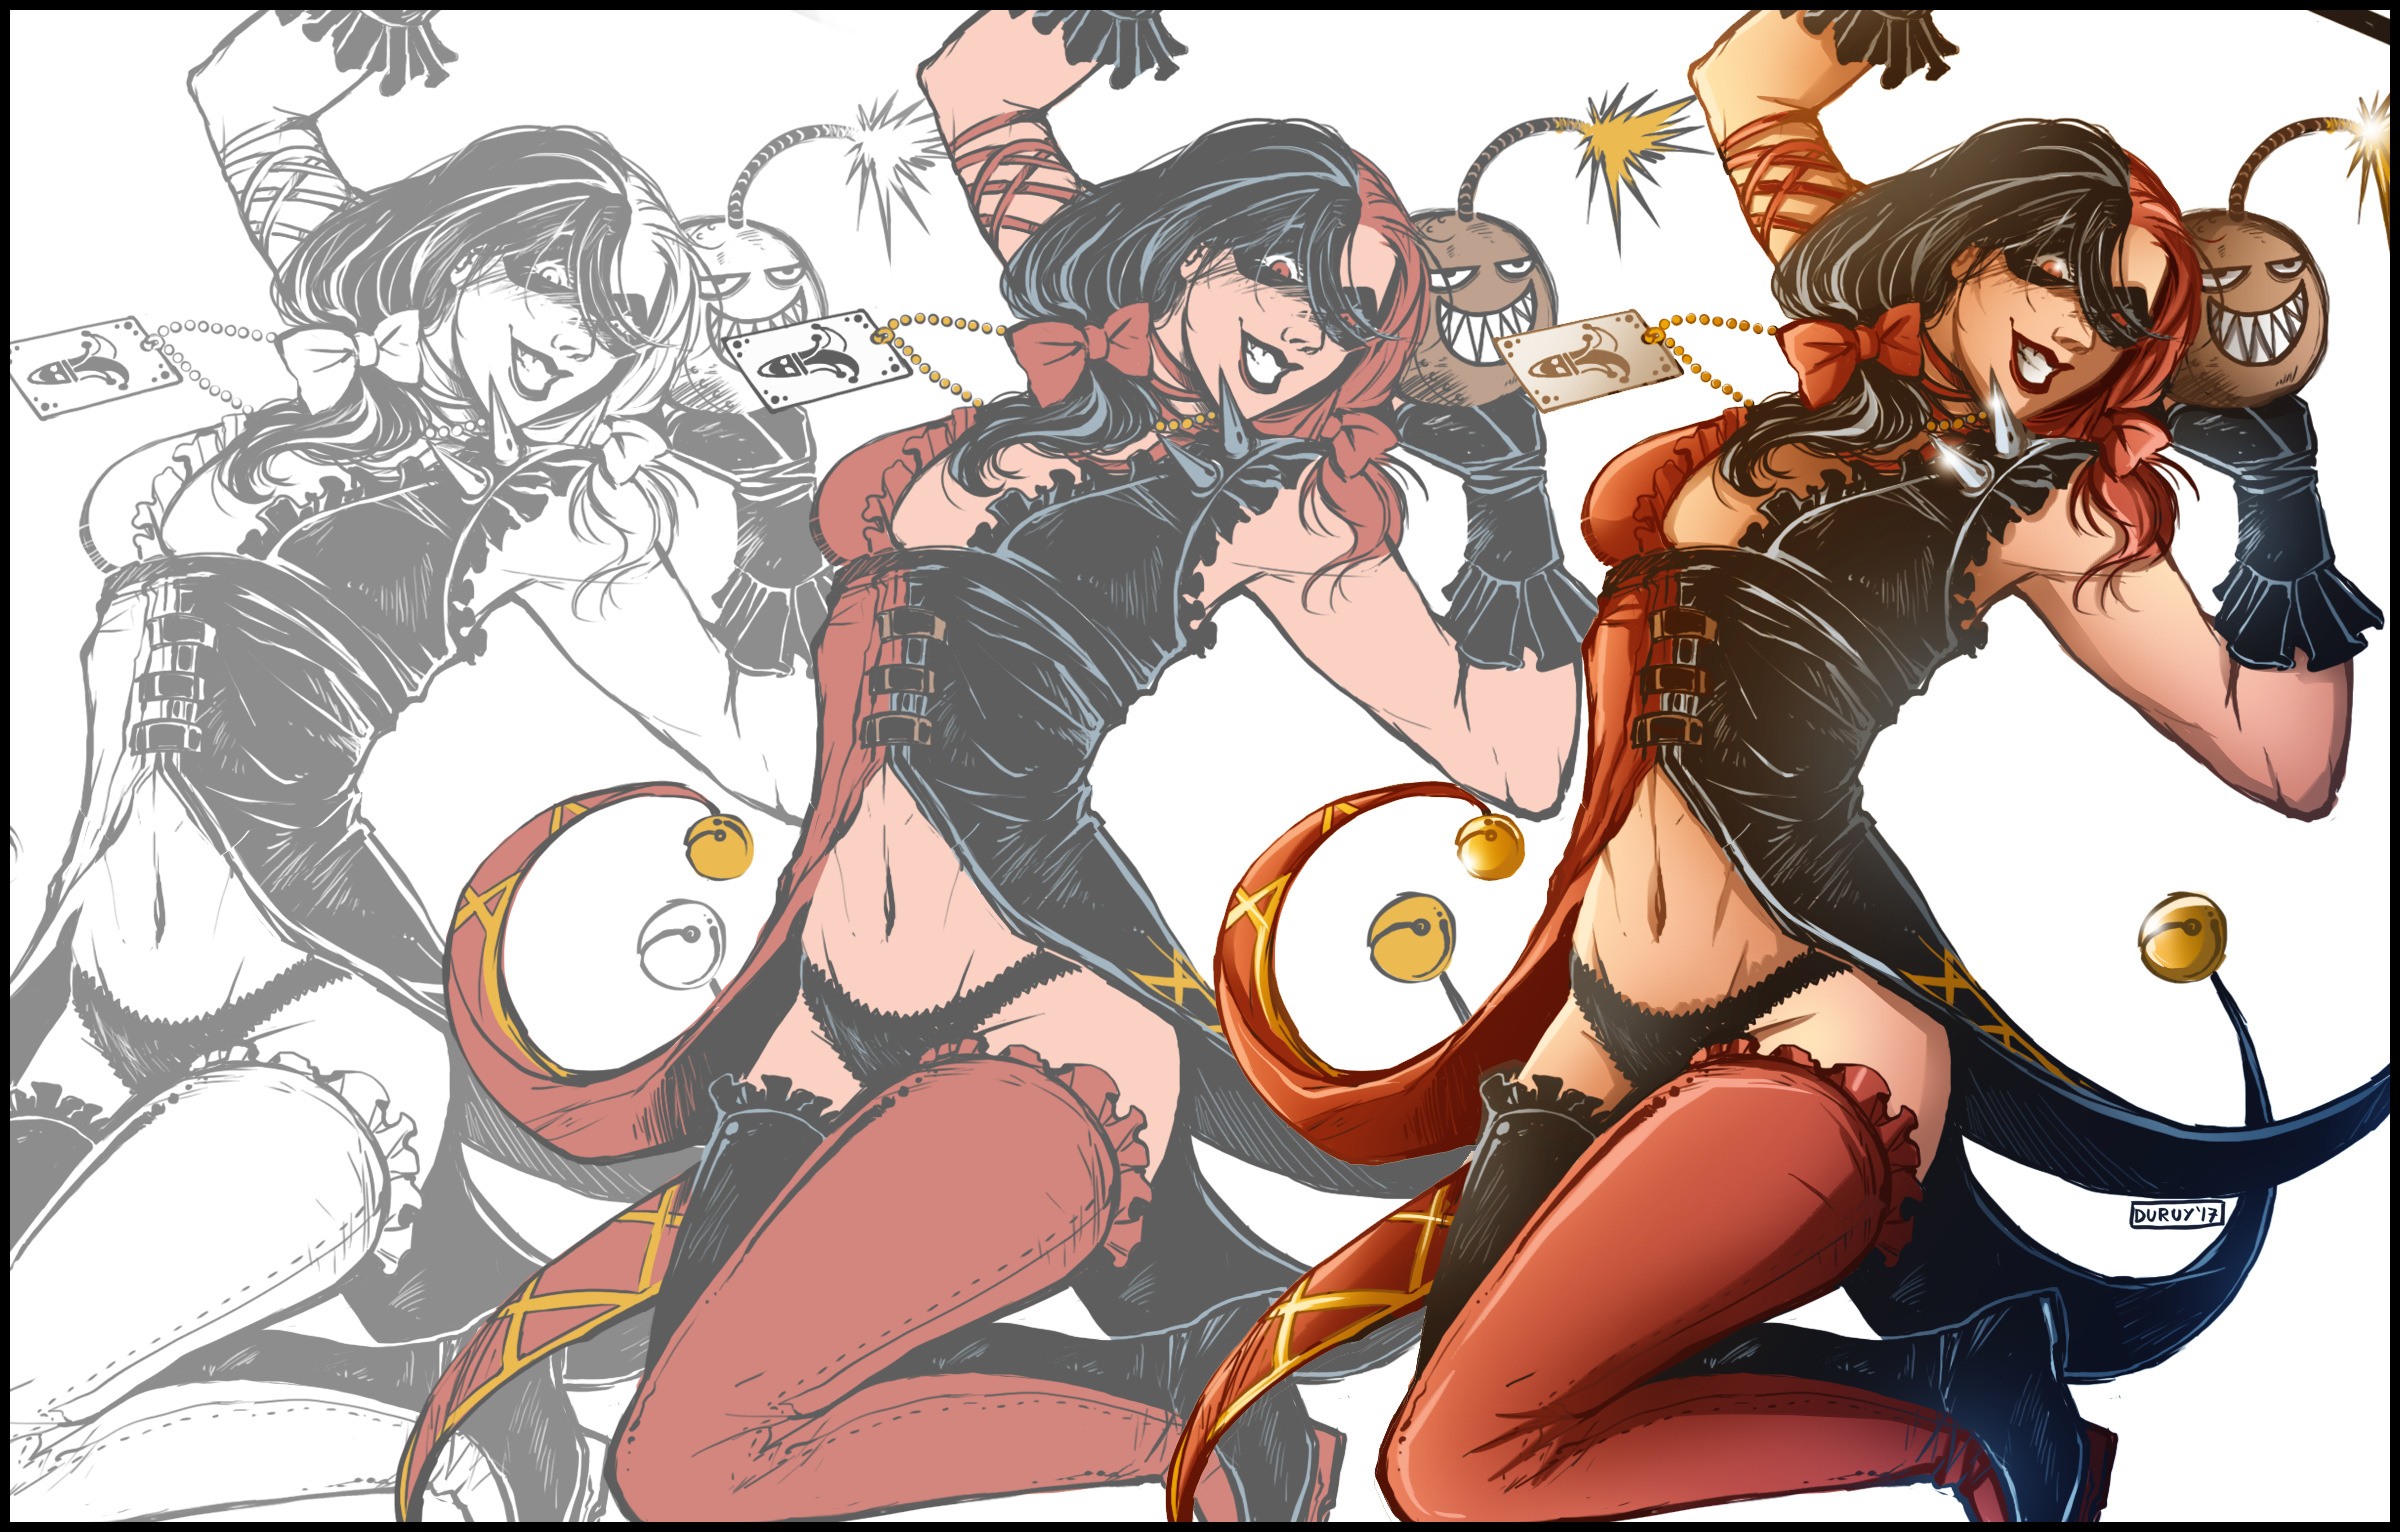
Hey people! Today I'm posting here a tutorial I did to show you my drawing/coloring process of DC's character Harley Quinn. Hope it can help you somehow :)
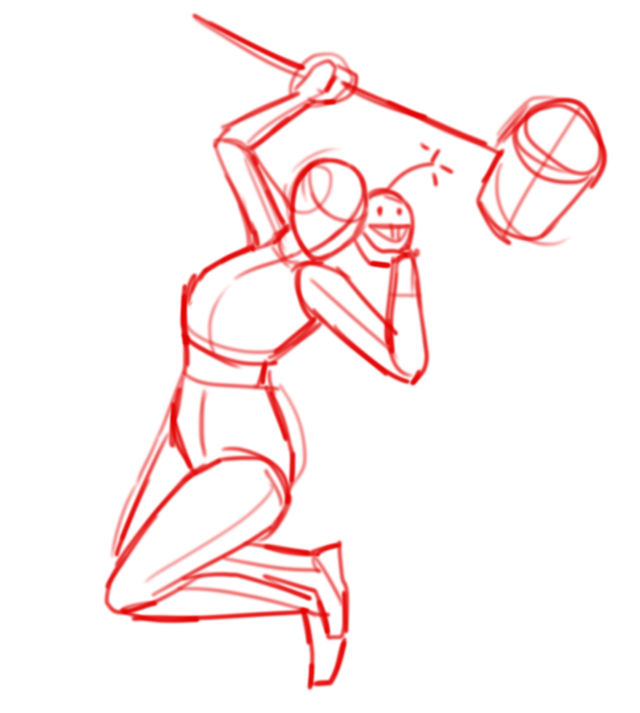
Step 1
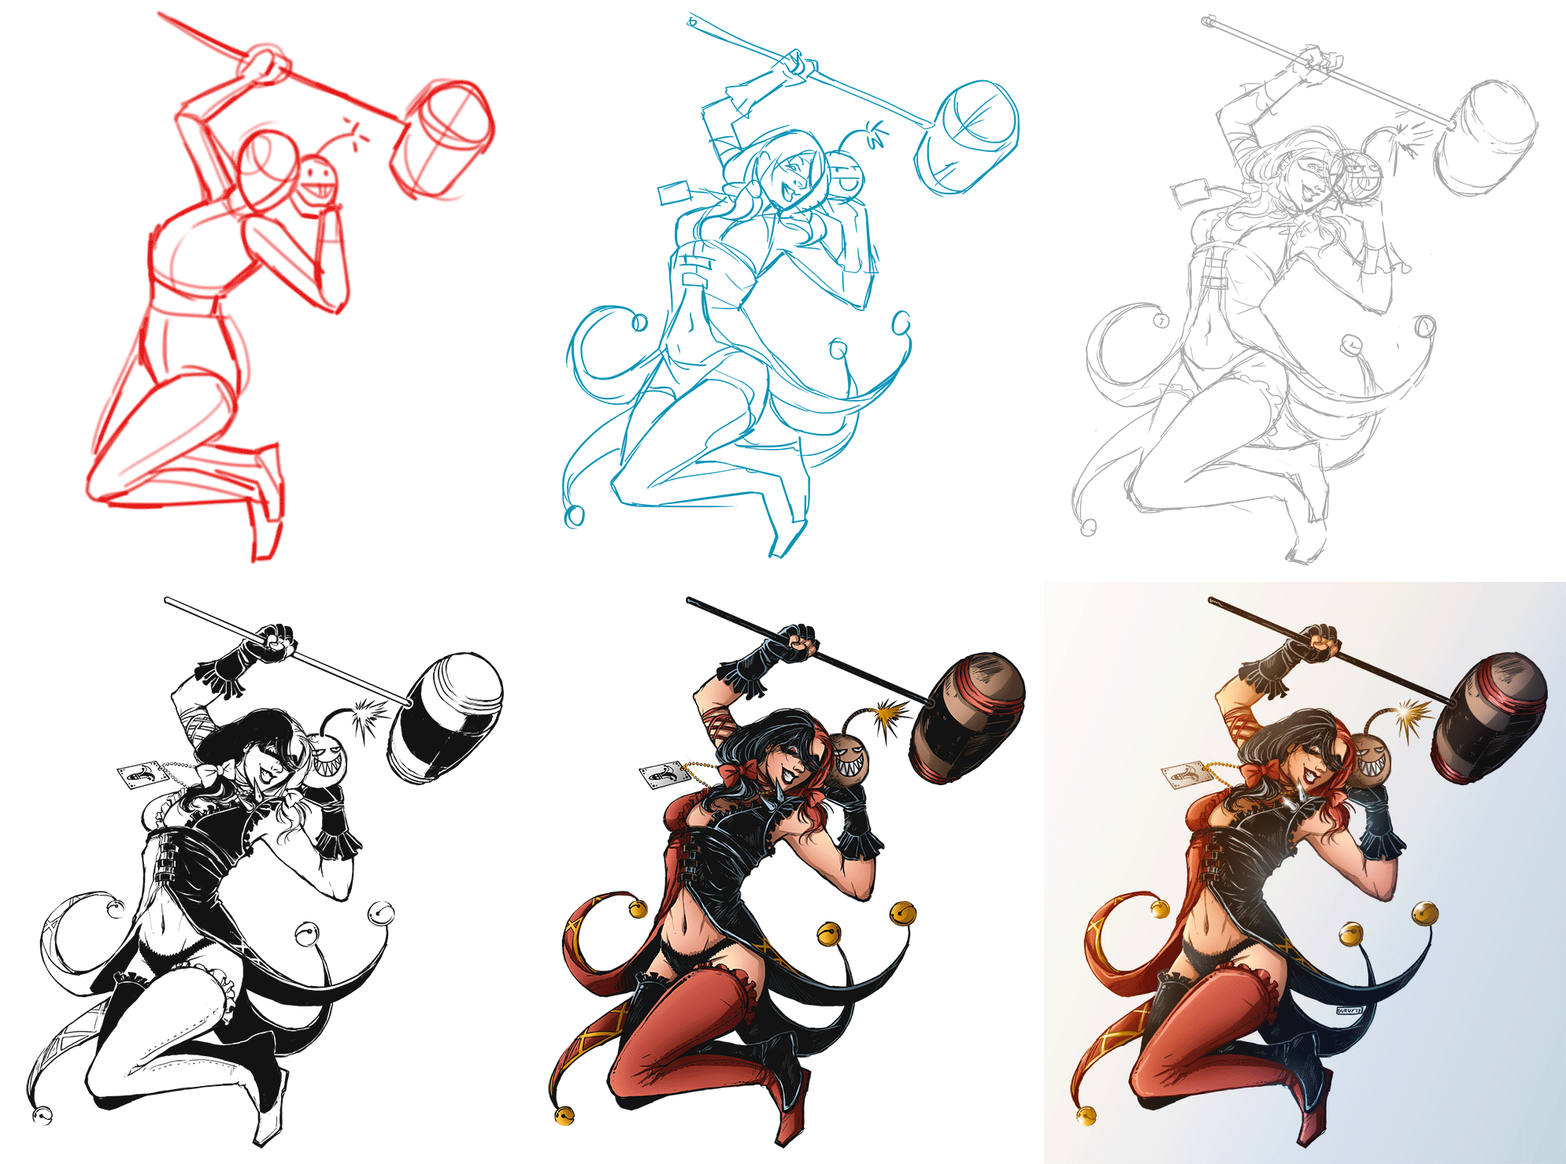
The first lines are loose and simple, just to mark the proportions an perspective of the drawing.
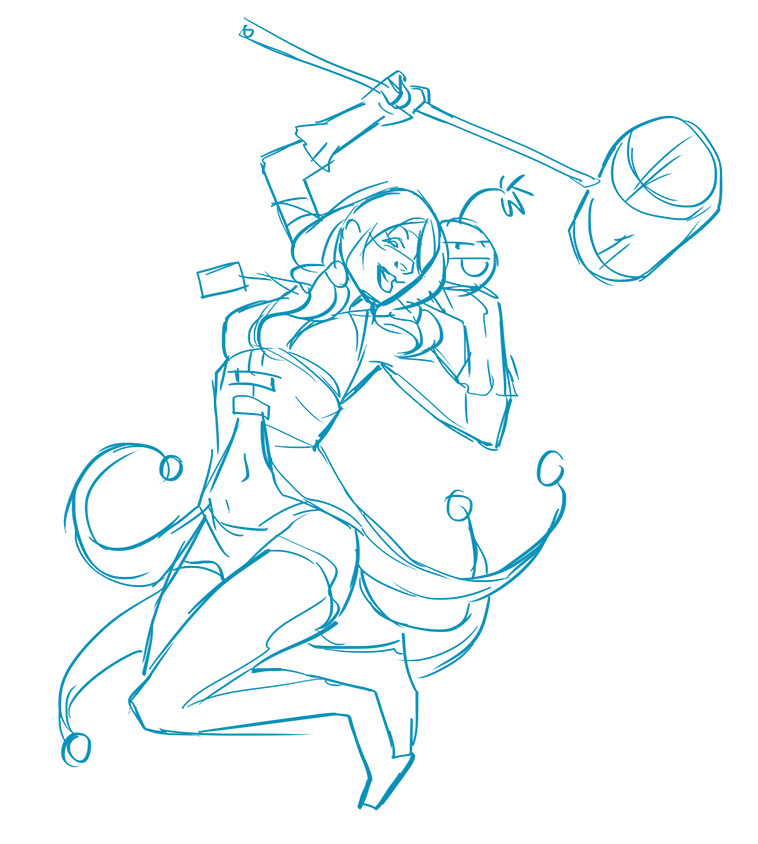
Step 2
Then I give it a little more worked lines, getting a little more closer to the shape of the character.
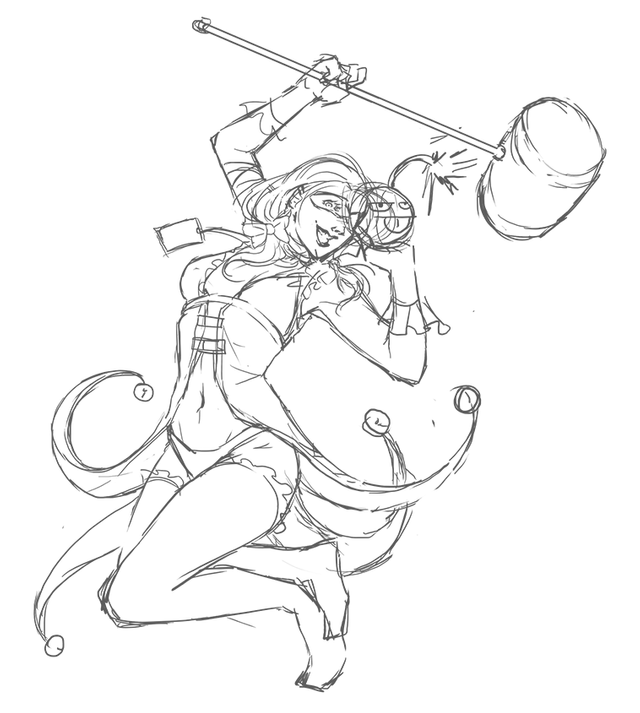
Step 3
Now I add some more important details, but it is still a rough sketch.
Step 4
Then I do the final lineart of the drawing, but without the black fills.
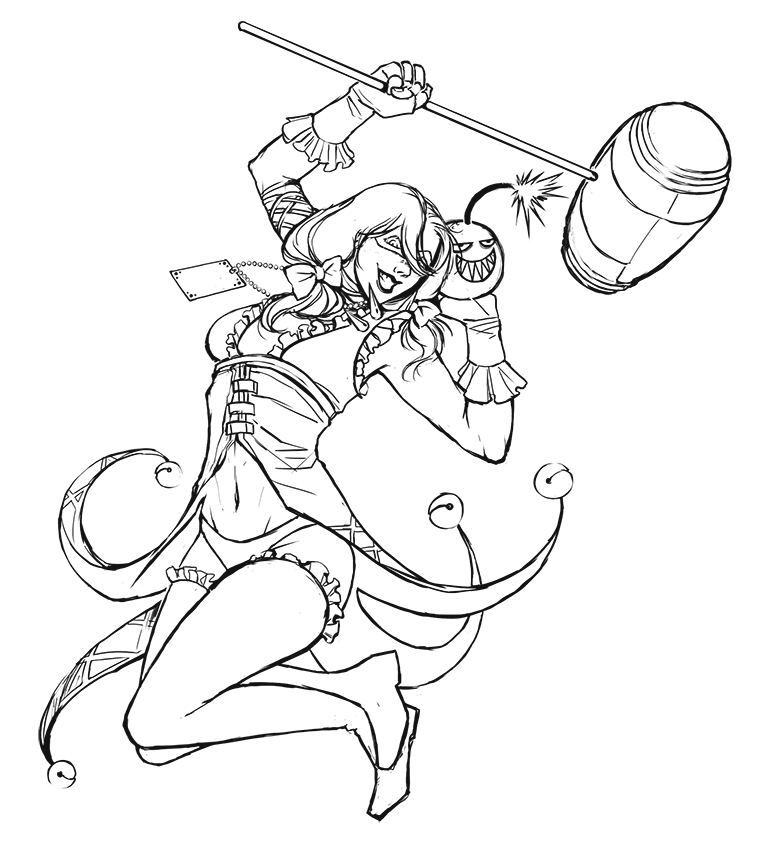
Step 5
And then I add the black fills of the drawing, and the first part is done. Next we add the colors.
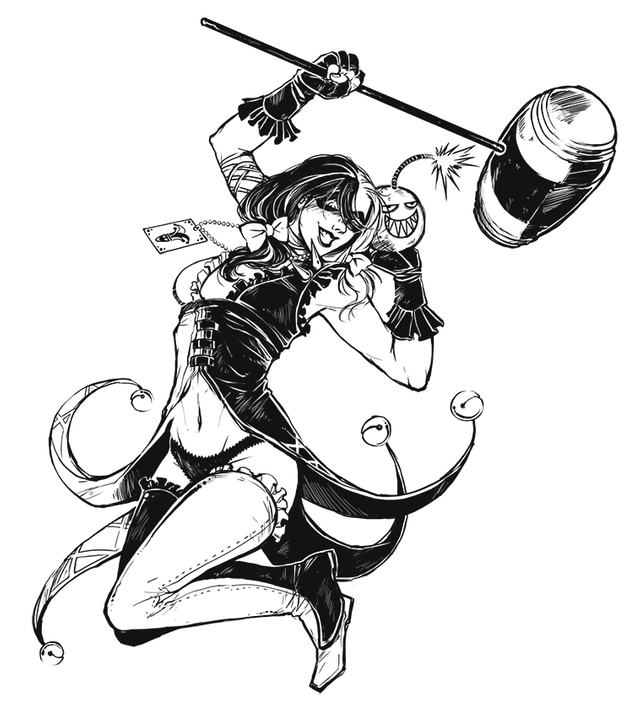
Step 6
First I add the flat colors.
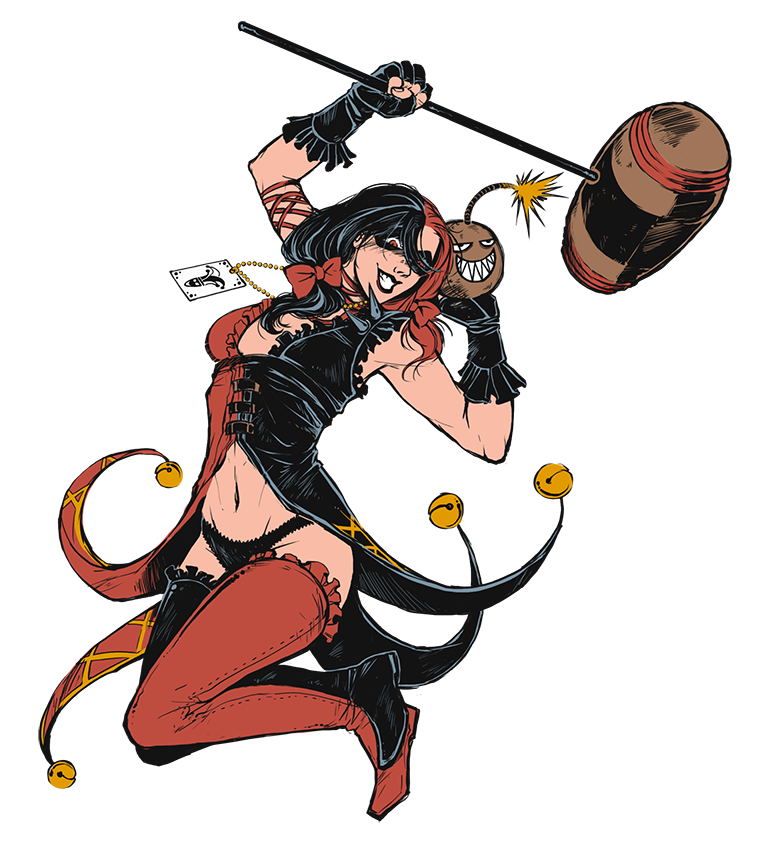
Step 7
Now I add the gradient shades and lightnings of the drawing.
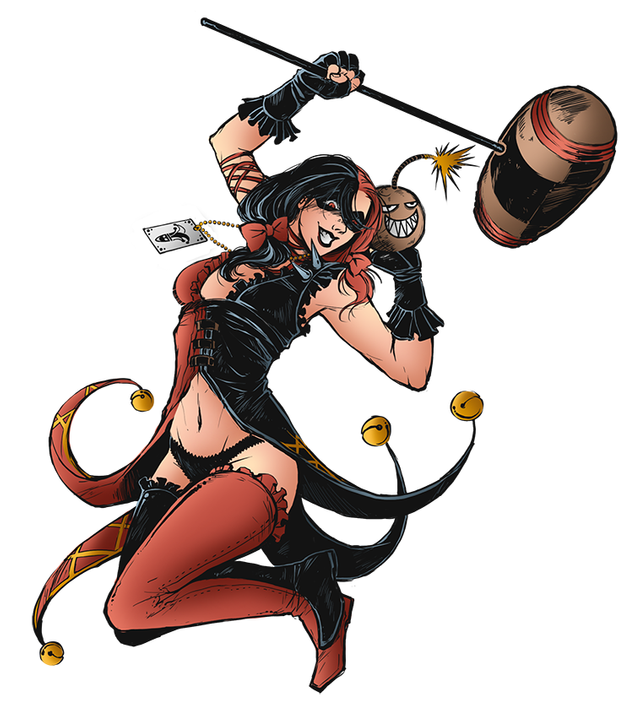
Step 8
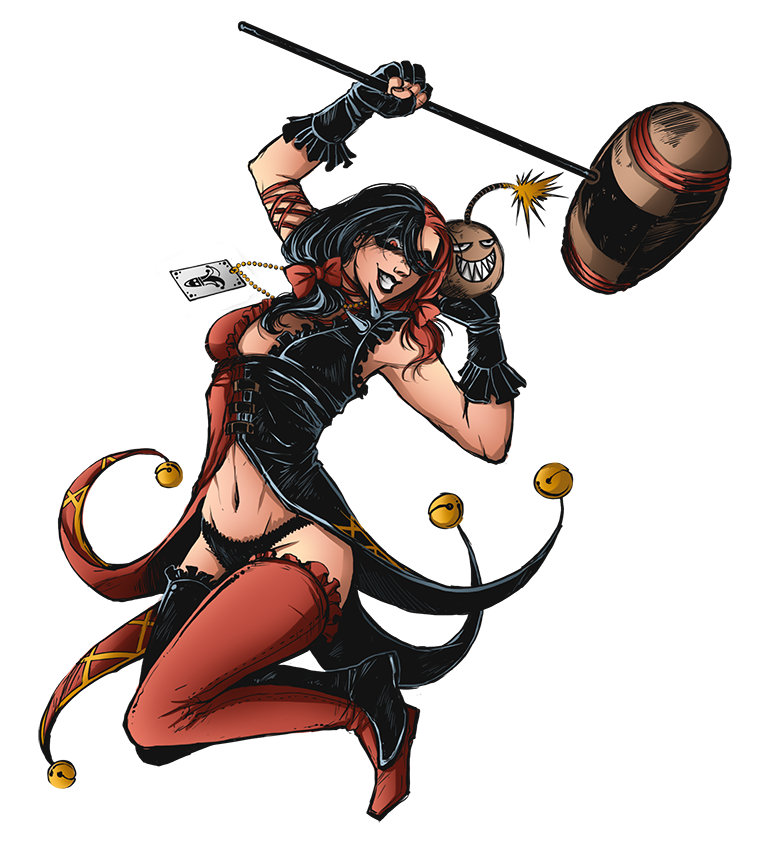
And then some kind of hard shadows and lightings.
Step 9
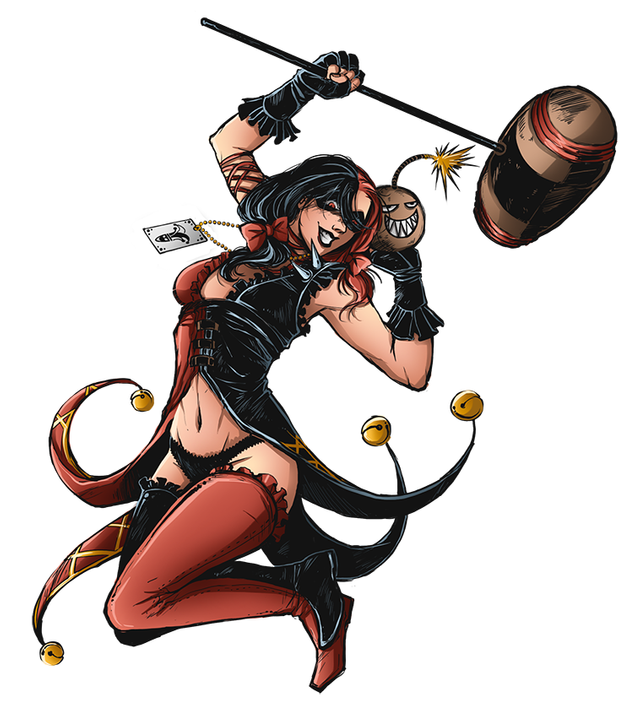
Some little lightning details of bright on the clothes.
Step 10
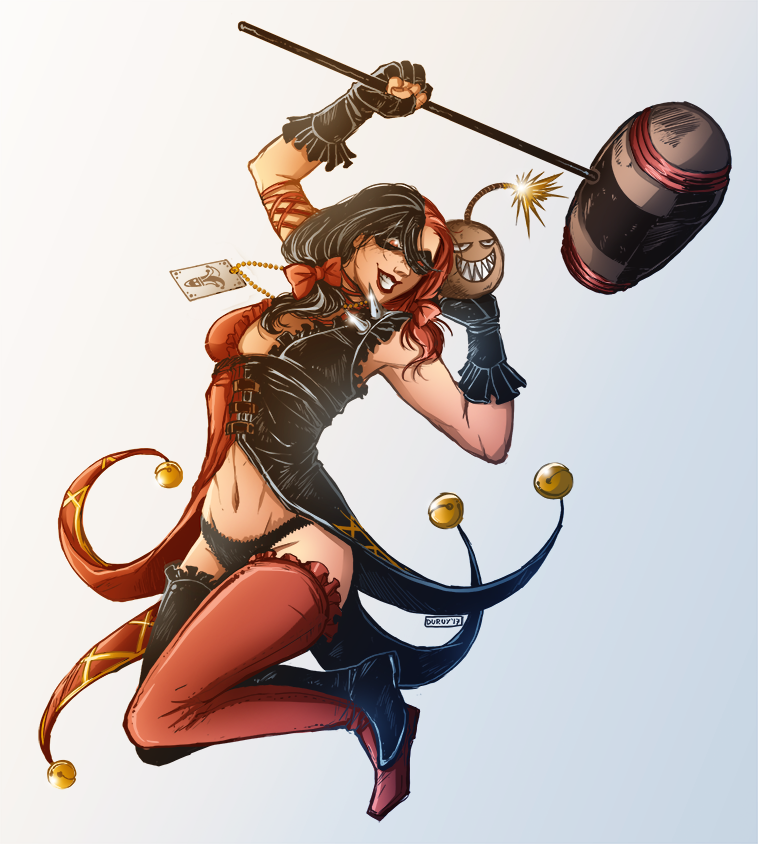
Now add a background and a general yellow gradient on Photoshop's multiply mode, and voilá!
And here a small gif to illustrate a little more, hope you liked it! :)
You have a very skilled technique. How many thousand hours did it take you to be able to draw these elegant lines?
Downvoting a post can decrease pending rewards and make it less visible. Common reasons:
Submit
Thanks! Haha it took me more or less some three hours do to the whole drawing XD
Downvoting a post can decrease pending rewards and make it less visible. Common reasons:
Submit
Of course. But have you counted approximately overall hours for your drawing skill?
Downvoting a post can decrease pending rewards and make it less visible. Common reasons:
Submit
Hey, great post and pictures. Thanks for your lesson ! I upvoted you , and I will probably go on with upvoting!
Would you follow and upvote me too ! It does not cost you something !
Downvoting a post can decrease pending rewards and make it less visible. Common reasons:
Submit
Your pics are just gorgeous!!! Followed!
Downvoting a post can decrease pending rewards and make it less visible. Common reasons:
Submit
Thanks!
Downvoting a post can decrease pending rewards and make it less visible. Common reasons:
Submit
This post has received a 3.42 % upvote from @booster thanks to: @aleduruy.
Downvoting a post can decrease pending rewards and make it less visible. Common reasons:
Submit
This post was resteemed by @steemvote and received a 28.5% Upvote
Downvoting a post can decrease pending rewards and make it less visible. Common reasons:
Submit
I really like how you pace yourself in the process. I tend to make the mistake of jumping from step 1 to step 5 and things always feel off. After seeing this I feel inspired to try a more methodical approach to layering the sketches as they evolve in detail. Thank you for sharing your techniques!
Downvoting a post can decrease pending rewards and make it less visible. Common reasons:
Submit
Yeah me too... sometimes when I'm in a hurry, I also jump several steps and this usually ends up making the drawing have lots of anatomy problems that I'm only going to realize in the end... so I started to follow these methods to have better final results. I'm happy you liked it :D
Downvoting a post can decrease pending rewards and make it less visible. Common reasons:
Submit
im constantly using too many layers in photoshop, and work too zoomed in...habitually
Downvoting a post can decrease pending rewards and make it less visible. Common reasons:
Submit
Thats where I'm at right now with my work too except I tend to stay too zoomed out lol. being a stickler for details seems to be the cause. Thank doge for groups.
would love to see how @aleduruy manages layers if there is an easier way.
Downvoting a post can decrease pending rewards and make it less visible. Common reasons:
Submit
Your drawing is wonderful as usual but today is especially cool.
Downvoting a post can decrease pending rewards and make it less visible. Common reasons:
Submit
I'm happy that you liked it :)
Downvoting a post can decrease pending rewards and make it less visible. Common reasons:
Submit
Nice drawing!
Downvoting a post can decrease pending rewards and make it less visible. Common reasons:
Submit
Do you use ink/marker or do you start with graphite or charcoal first. I know some artist who like the pen over the pencil because (they say)it forces them to but more deliberate on their choices during the entire process. I was just wondering what technique you choose because you are obviously making goog decisions and you work proves it.
Downvoting a post can decrease pending rewards and make it less visible. Common reasons:
Submit
I love your drawings, Do you do them in Photoshop? You have such a wonderful skill. I am also graphic design. I do design on world famous landscape and buildings.
If you have any free time, please do visit my post too.
https://steemit.com/introduceyourself/@ronluilh/hi-steemit-my-name-is-ron-and-i-am-a-architecture-student-graphic-designer
Downvoting a post can decrease pending rewards and make it less visible. Common reasons:
Submit