An Easy Step-by-Step Tree Drawing Tutorial
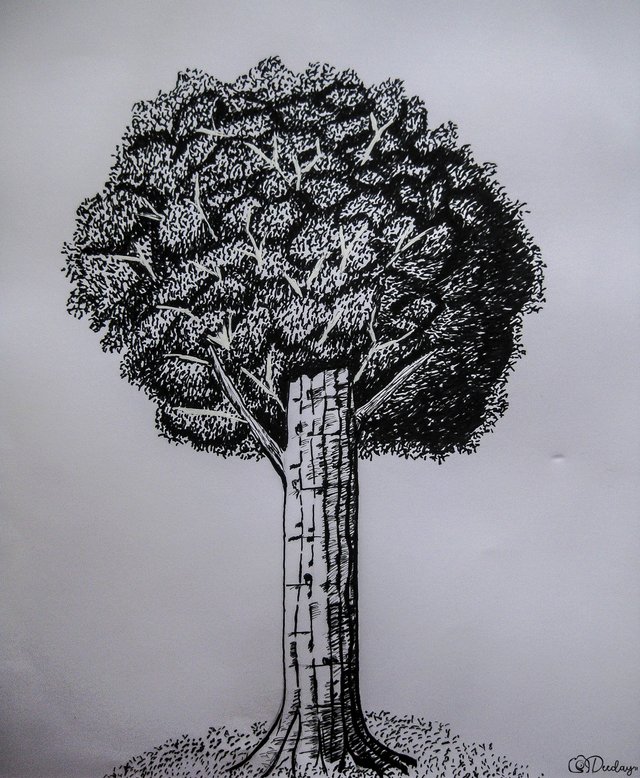
We all know that trees are one of those simple and easy subjects to draw since we were kindergartens. However, if you will just take it into a simpler one so then you may either go to a very basic image....
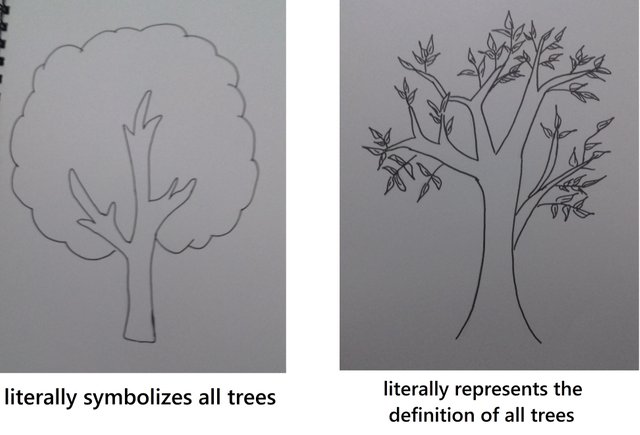
We can all see that those drawings above are not what a tree looks like. And since we are having the idea of drawing a tree, so why don't we make it a much realistic, awesome and with a full blast of easy techniques. One of those easy techniques I'm talking about is drawing what we exactly can see and not by what we only know. Because drawing trees may be one great start in exercising and developing one's skill in arts.
In this tutorial, I will show to you the step by step process on how to draw a realistic tree, with some basic and easy techniques.
Materials
Paper
Faber Castell pencil ( 2H)
Eraser
Artline Pen 0.05
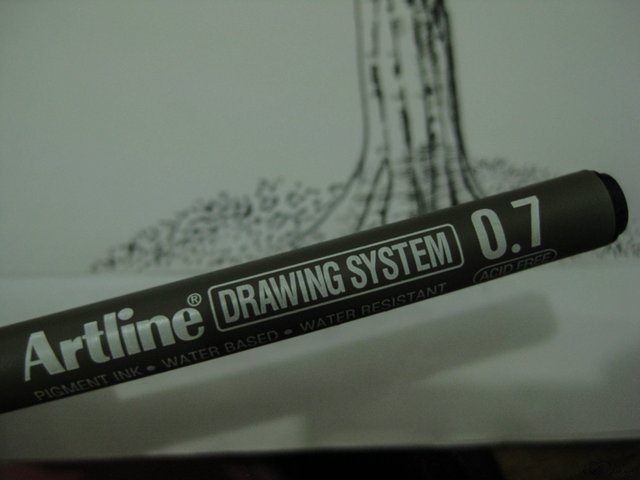
Artline Pen 0.7
Faber Castell Multimark 1513 permanent
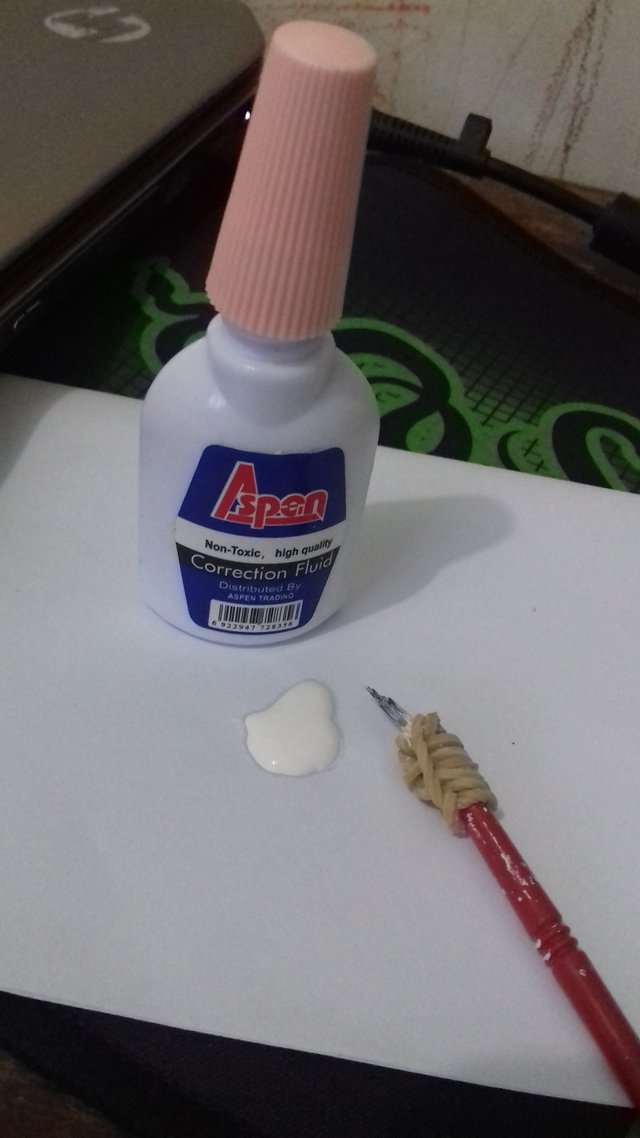
Correction Fluid
Pointed small brush
Some of the tools mentioned above may be quite 'pricey' for a 'first time buy'. But if you are into drawing and other art-related activities, I am so sure that you'll be needing some of those again. So a universal number 2 pencil may do as long as you sharpen them into a fine point one because we only need a not so visible stroke but we will be needing a slightly blunt tip for the guidelines. I suggest that you need to use a thicker kind of a paper because we will be using heavy ink pens. As for the small brush, you do not need to buy new ones if you have a small old brush in your cabinet, you can cut the edges of it in order to produce a thinner ink line. Below, I will be showing what my ''DIY''/''RECYCLED'' small brush looks like.
The Process
Step 1
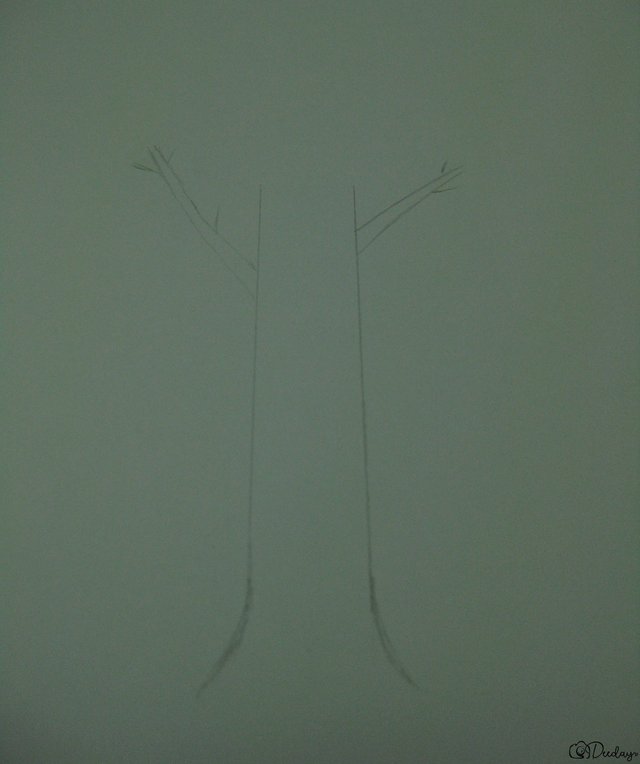
Before anything else, we need to start from the general base first up to the main details of this drawing. Using the Faber Castell pencil 2H, draw two vertical lines in the middle of the paper that is about 2cm apart, these lines will serve as your trunk. Don't press it too hard because this stroke doesn't need to be very thick and visible, those lines will not be part of the final drawing.

Step 2
Draw some branching lines on the top of the trunk. These lines don't need to be straight, just leave them naturally curve.
Step 3
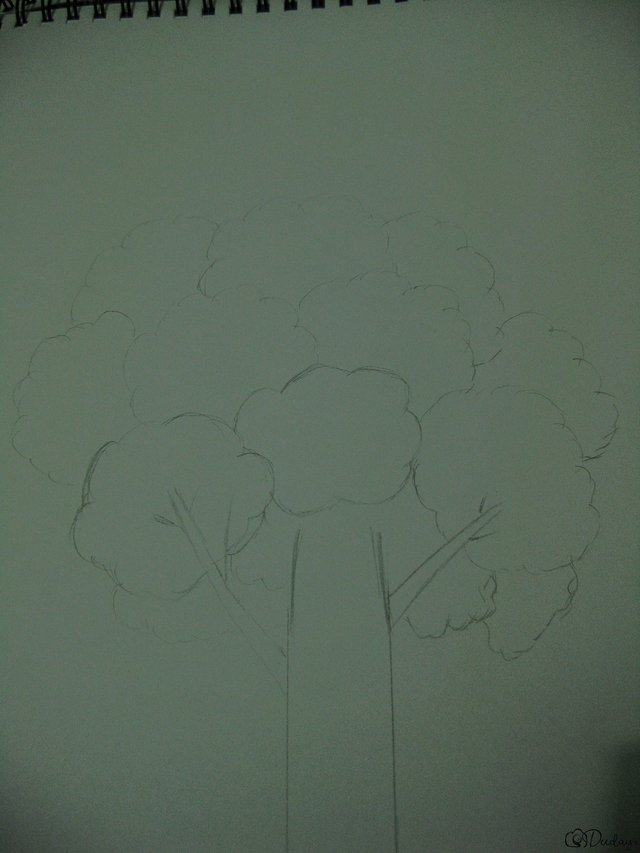
Draw some cloud-like leaves above the trunk in a lighter stroke, so we will never need to erase them later on.
Step 4
On the trunk part, draw four fine lines on the center of it. From above down to the roots part.
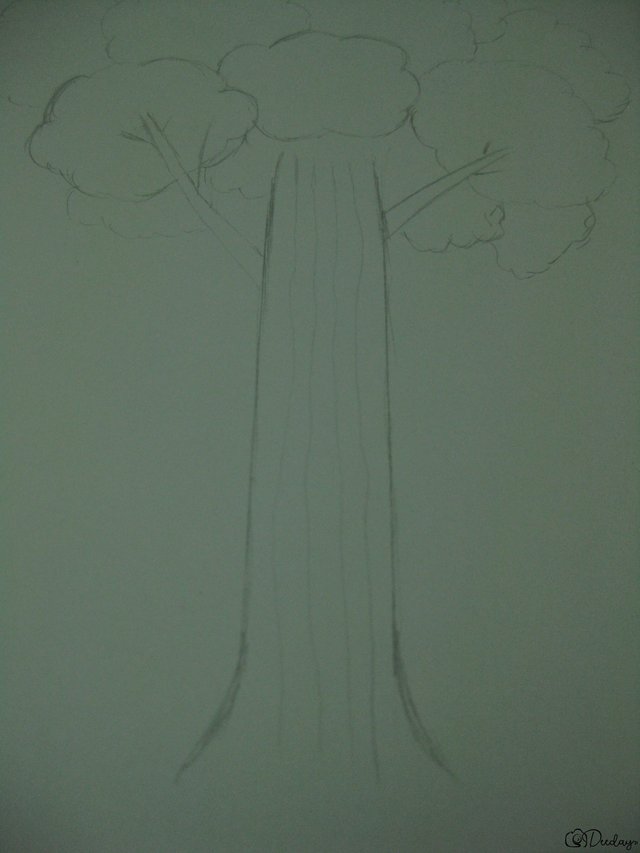
Step 5
Along the four lines inside the trunk, draw eight horizontal fine lines. It doesn't need to be fully lined, thin fine broken lines will do.
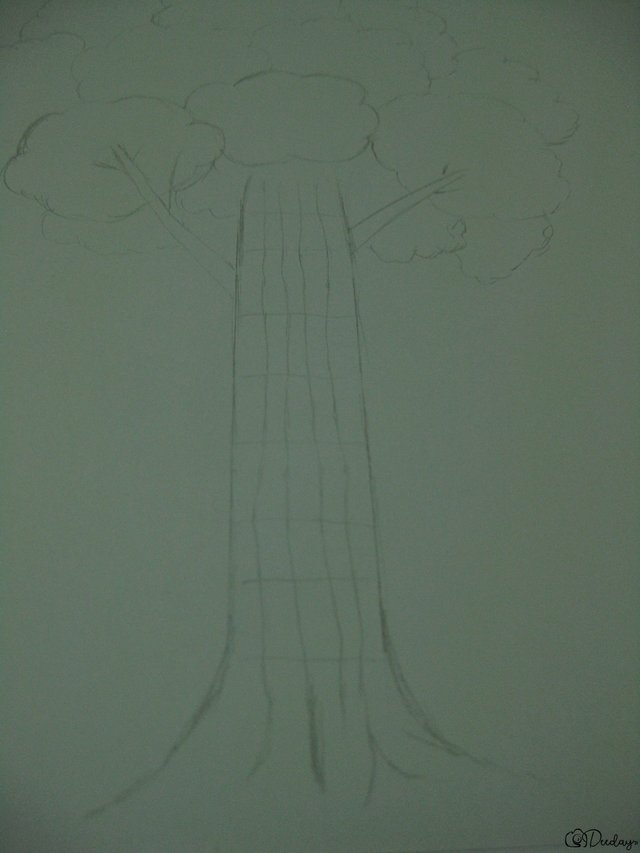
Step 6
Trace the outer lines of the trunk and some of the branches using Faber Castell Multimark 1513 permanent marker.
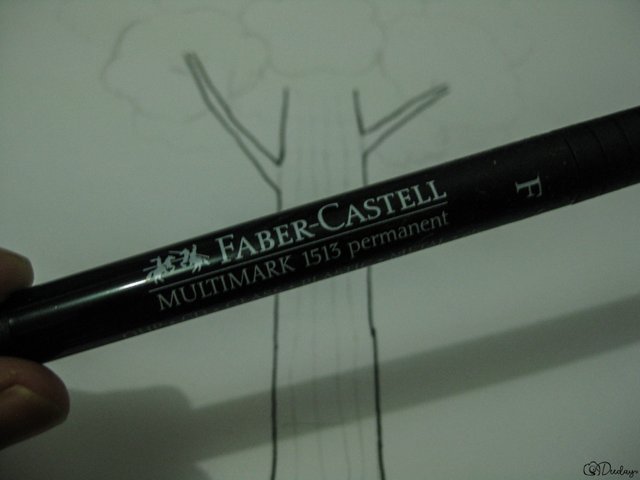
Step 7
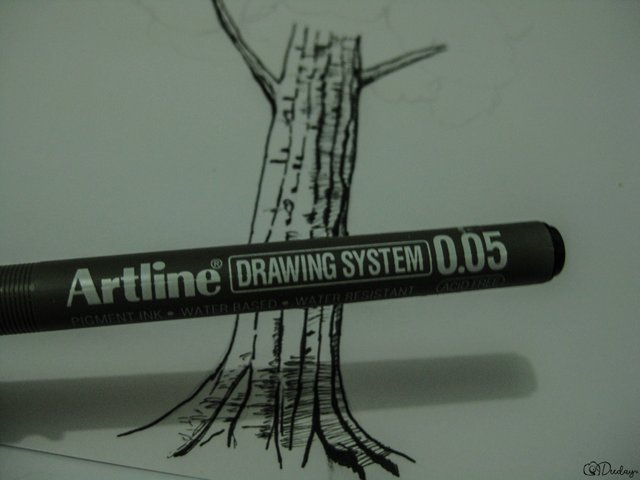
Using the Artline Drawing System Pen 0.7, trace those vertical lines on the center of the trunk. In this part, you do not need to trace it fully, just leave it somehow a 'broken line'.
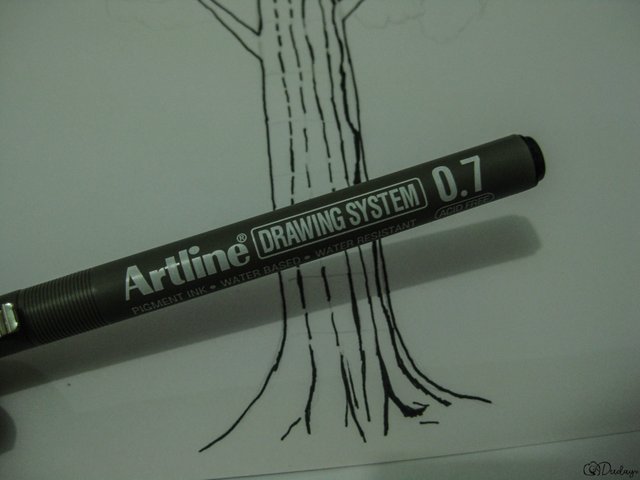
Step 8
In this process, you will need to use the Artline Drawing System Pen 0.05 in order to produce some line textures and light shading on the right part of the trunk.
Step 9
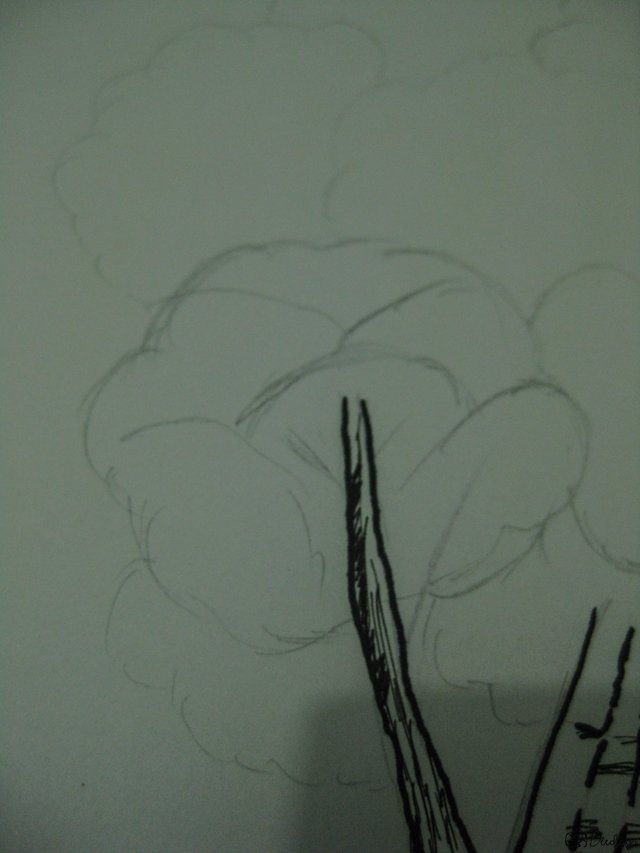
In every cloud-like group of leaves, draw some divisions like the drawing below.
Step 10
In this step, you will need to use the Faber Castell Multimark 1513 permanent marker to draw some IRREGULAR STIPPLES. Irregular stipples are a tint of irregular dots in uneven sizes. Just like the image below.
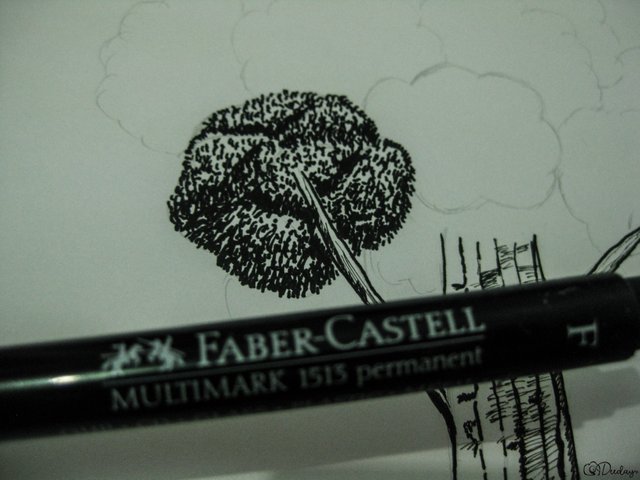
Take note that there are parts that are not dark and there are parts that are lighter.
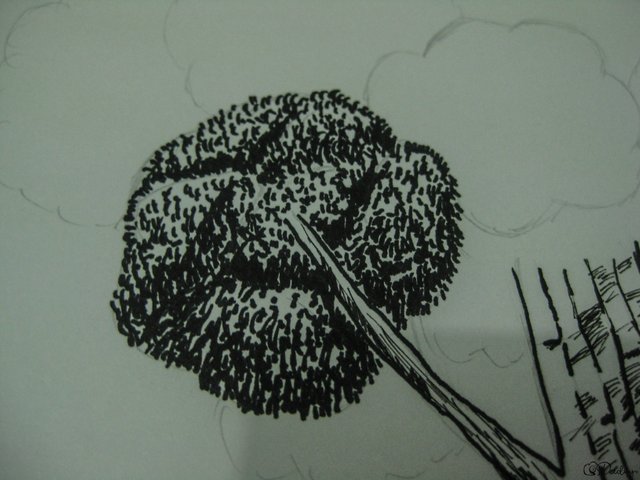
Continue the process until all leaves are fully inked.
Step 11
Then add some grass below the trunk of your tree with the use of Artline Drawing System Pen 0.7. In this part, irregular stipples are being advised to be drawn, but in a thinner form and a little little bit distant from each other.
Step 12
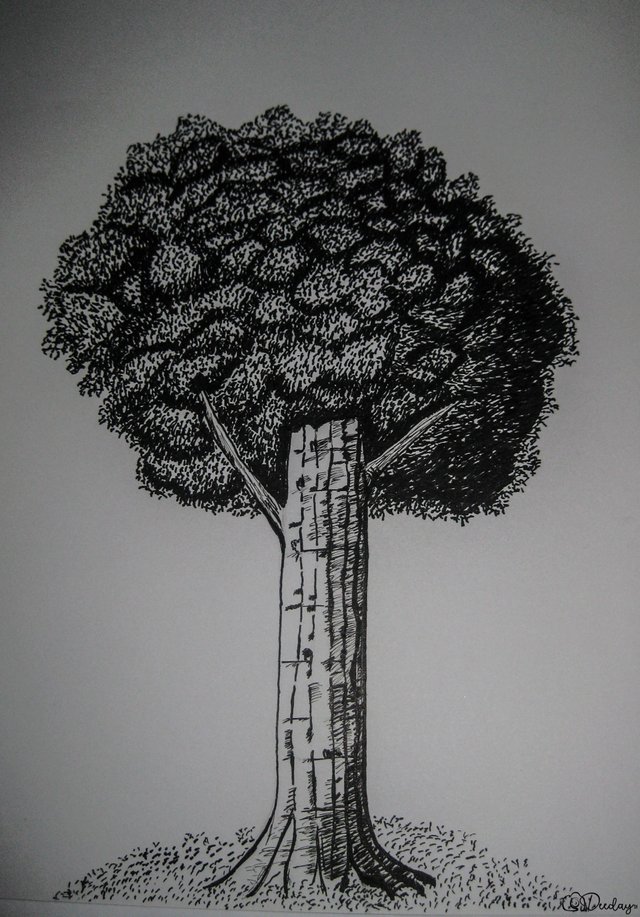
Add some final touches with a little shading on the right side of your tree. Darken those leaves on the right side of your tree as well as the right side of your trunk down to the right side of those roots.
Step 13
In this final step, you will need to give a little extra careful on using the brush. It may be hard to do but I suggest you to get some extra paper and practice some light stroking of those white ink from the correction fluid before you go on stroking your tree.
So these are the materials I've used in adding some small branches with the use of correction fluid and a small tip brush. And as you can see in my brush, I tied it with a rubber band in order to make it thinly tipped brush, and then I cut those edges in order to form a very thin tip of it.
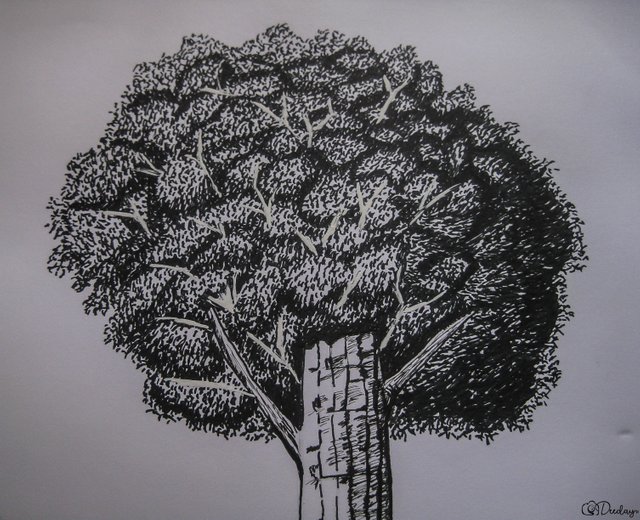
As you can see on the video, I really did carefully stroke the brush and before I stroked it on the leaves part I made it sure that the tip is not fully inked in order to avoid some messy outcome.
So here's the image of our leaves with white small branches on it.
Our tree is done!
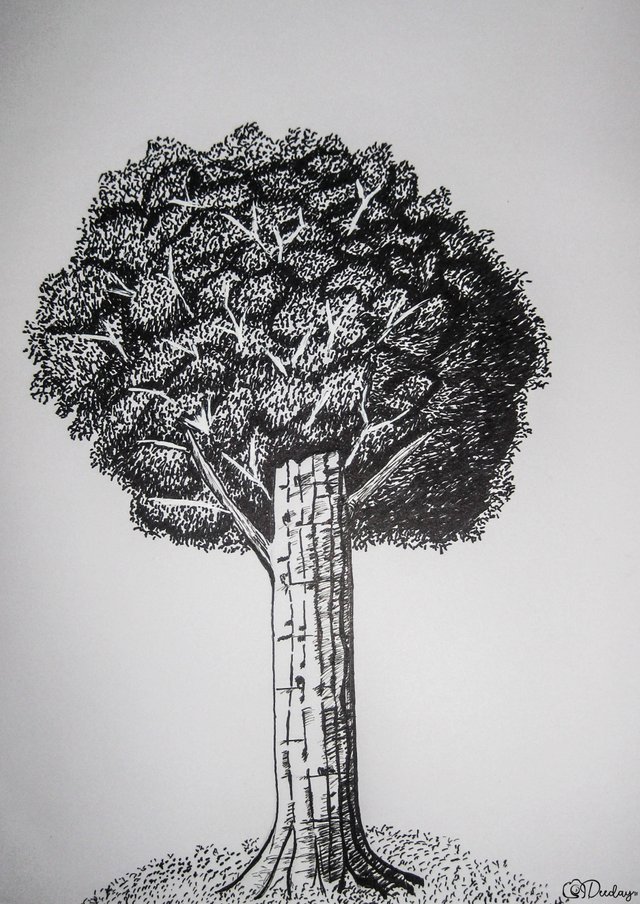
Points to Ponder
Like what I have said earlier that trees are one of the simplest subject to draw, as long as we draw it on how it should look like and not on how it is usually defined by many. This was just the beginning of everyone's journey to better and more masterpieces to produce. If you can please share your own version of a tree after you have read this blog, kindly leave an image comment below.
Let us go outside, be observant and explore the things that surround us, for us to see the real beauty and not the definition of that certain.
════ ∘◦❁◦∘ ═══
For more blogs of mine click this LINK!
════ ∘◦❁◦∘ ═══
I am encouraging everyone to kindly vote & support @surpassinggoogle
By typing @steemgigs as YOUR WITNESS HERE
Like @teardrops on:
Facebook/teardropstokens and on Twitter/teardropstokens
════ ∘◦❁◦∘ ═══
As well as typing @blocktrades @precise @cloh76.witness @curie
IN THIS LINK!
════ ∘◦❁◦∘ ═══
If you find something awesome about this post you can surely resteem it.
You can also join our ever supportive group the ‘STEEMITACHIEVERS’ on Discord just click the link below
STEEMITACHIEVERS DISCORD
════ ∘◦ 🌸 deeday31 🌸◦∘ ═══

very-very good picture ok I've vote.jangan forgot vote back
Downvoting a post can decrease pending rewards and make it less visible. Common reasons:
Submit
very nice @deeday31
how i wish i could be an artist like you,hehe
Downvoting a post can decrease pending rewards and make it less visible. Common reasons:
Submit
Nice kaau te @deeday31.
Downvoting a post can decrease pending rewards and make it less visible. Common reasons:
Submit
Nice jud kaau daaai doo
Downvoting a post can decrease pending rewards and make it less visible. Common reasons:
Submit
Galing naman, ate! Idol talaga kita 👏🏻
Downvoting a post can decrease pending rewards and make it less visible. Common reasons:
Submit
Amazing!
Can i get a resteem too @bayanihan? :)
https://steemit.com/art/@riafadul/the-pug-portrait-challenge
Downvoting a post can decrease pending rewards and make it less visible. Common reasons:
Submit
ganda step by step hehehe :-)
Downvoting a post can decrease pending rewards and make it less visible. Common reasons:
Submit
Excellent drawing work man 😍
Downvoting a post can decrease pending rewards and make it less visible. Common reasons:
Submit
Congratulations! This post has been upvoted from the communal account, @minnowsupport, by deeday31 from the Minnow Support Project. It's a witness project run by aggroed, ausbitbank, teamsteem, theprophet0, someguy123, neoxian, followbtcnews, and netuoso. The goal is to help Steemit grow by supporting Minnows. Please find us at the Peace, Abundance, and Liberty Network (PALnet) Discord Channel. It's a completely public and open space to all members of the Steemit community who voluntarily choose to be there.
If you would like to delegate to the Minnow Support Project you can do so by clicking on the following links: 50SP, 100SP, 250SP, 500SP, 1000SP, 5000SP.
Be sure to leave at least 50SP undelegated on your account.
Downvoting a post can decrease pending rewards and make it less visible. Common reasons:
Submit