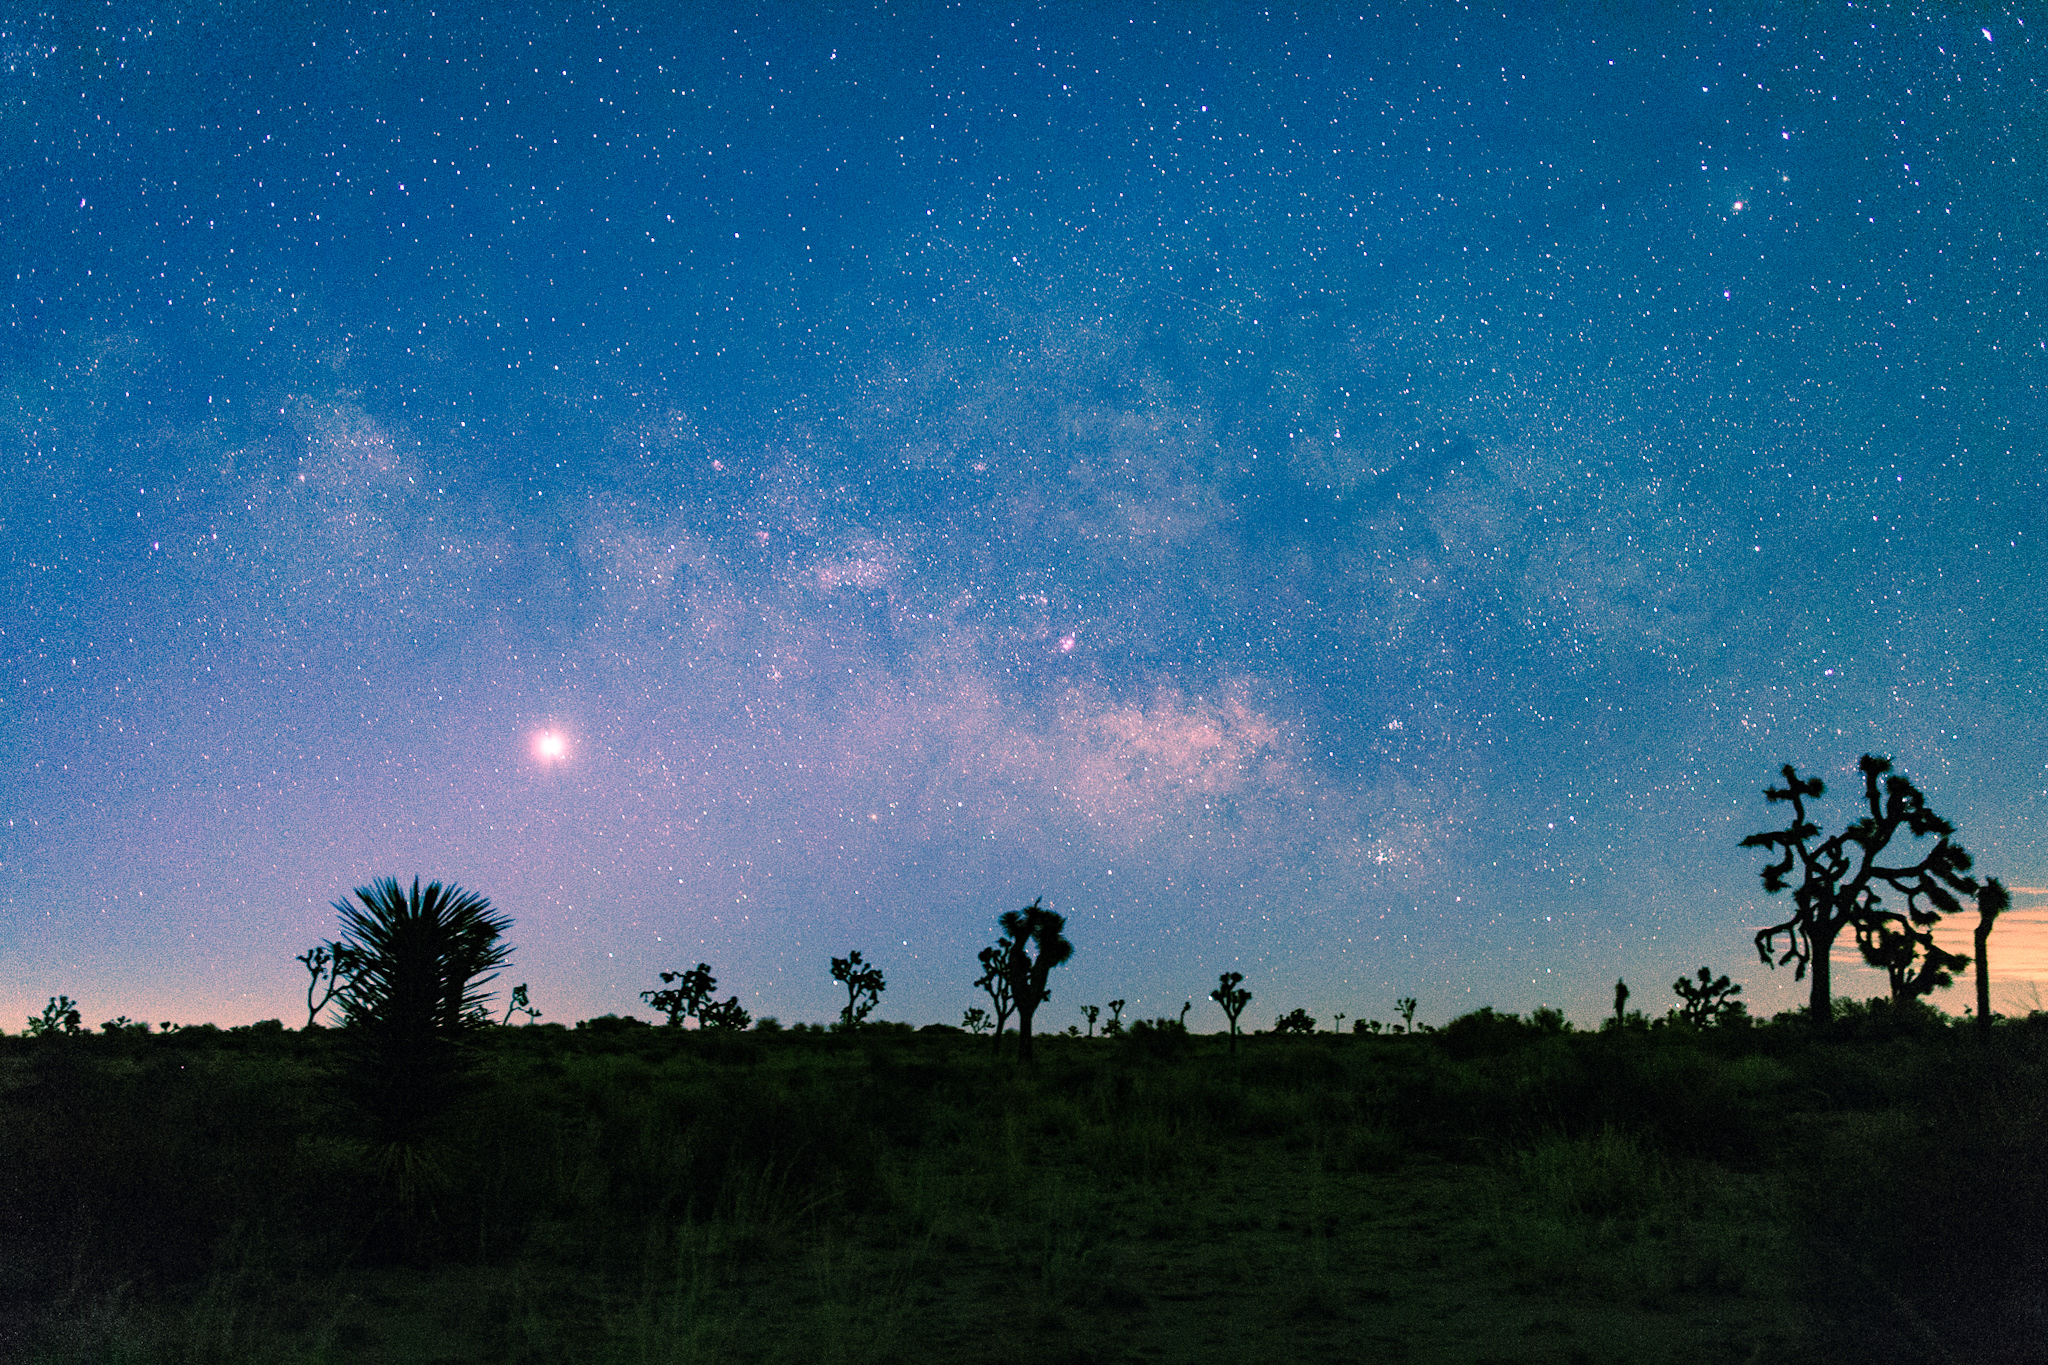
Hello everybody this is my first. I will be posting about the mobile photography and editing of photos in the smartphone.So please follow me up for many upcoming tutorials regarding the mobile photography.
Let's begin our very first post. On this post I will be talking about the color correction on the photos. I willbe using a RAW photos that downloadedfrom wesaturate.com. It is free site where you can download all the photos for free. So, let's begin the tutorial.
I will be using adobe lightroom for this tutorial, in future we will use other apps too. First import the photos you like to edit on the lightroom.After importing the photos click on it and edit mode begins.
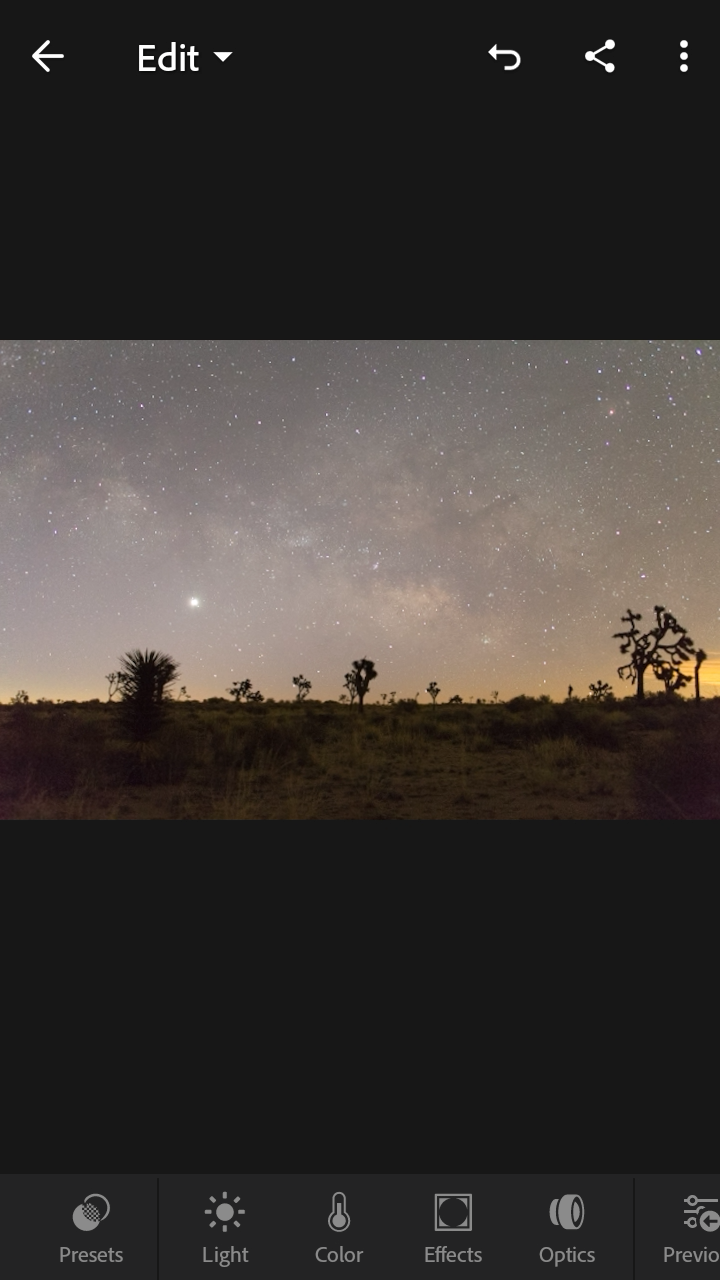
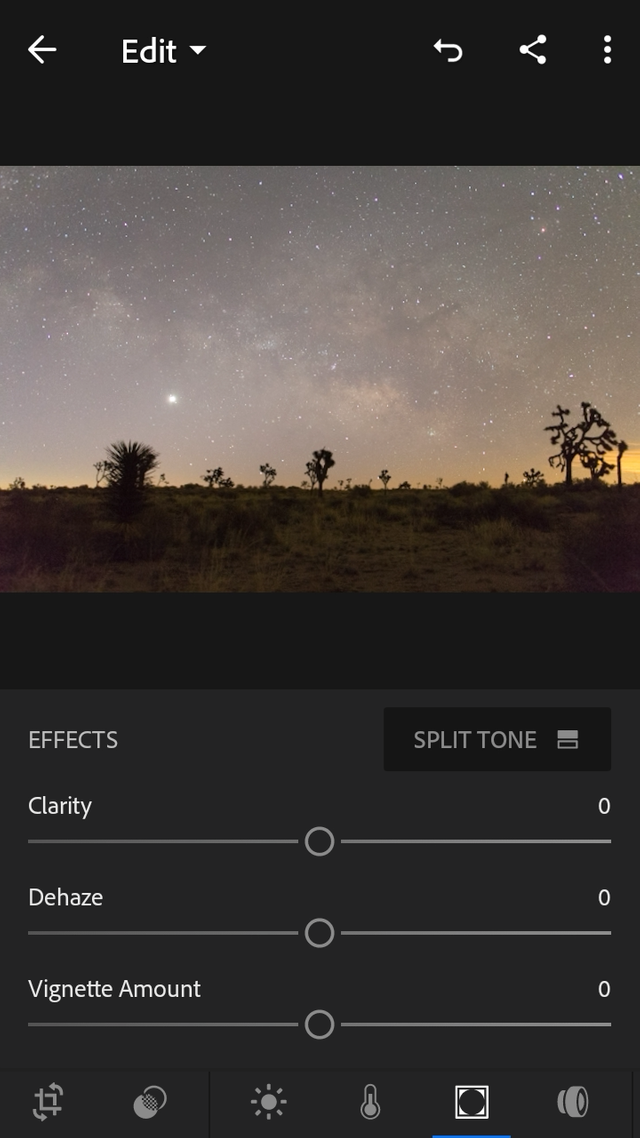
1.Go to effect tab and slide the clarity bar to get some clarity on photo,it really adds some pretty nice punch on photo.
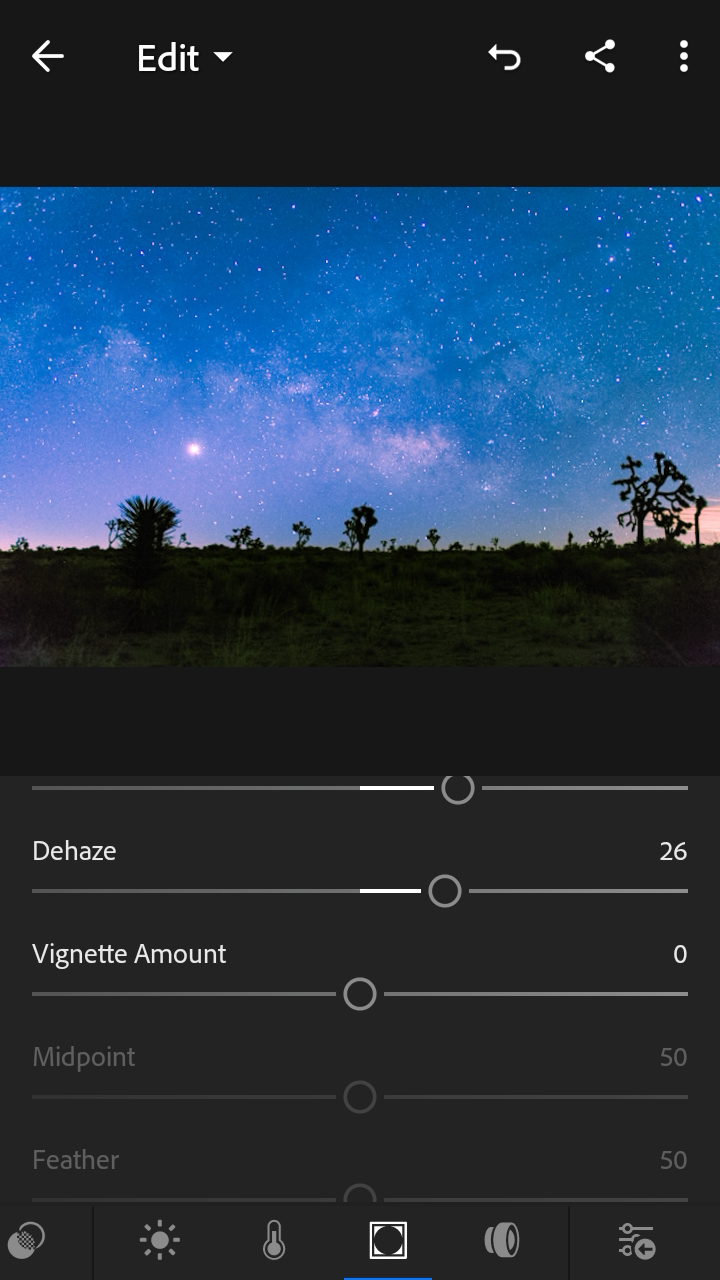
2.After feeling good with clarity do same with the dehaze.
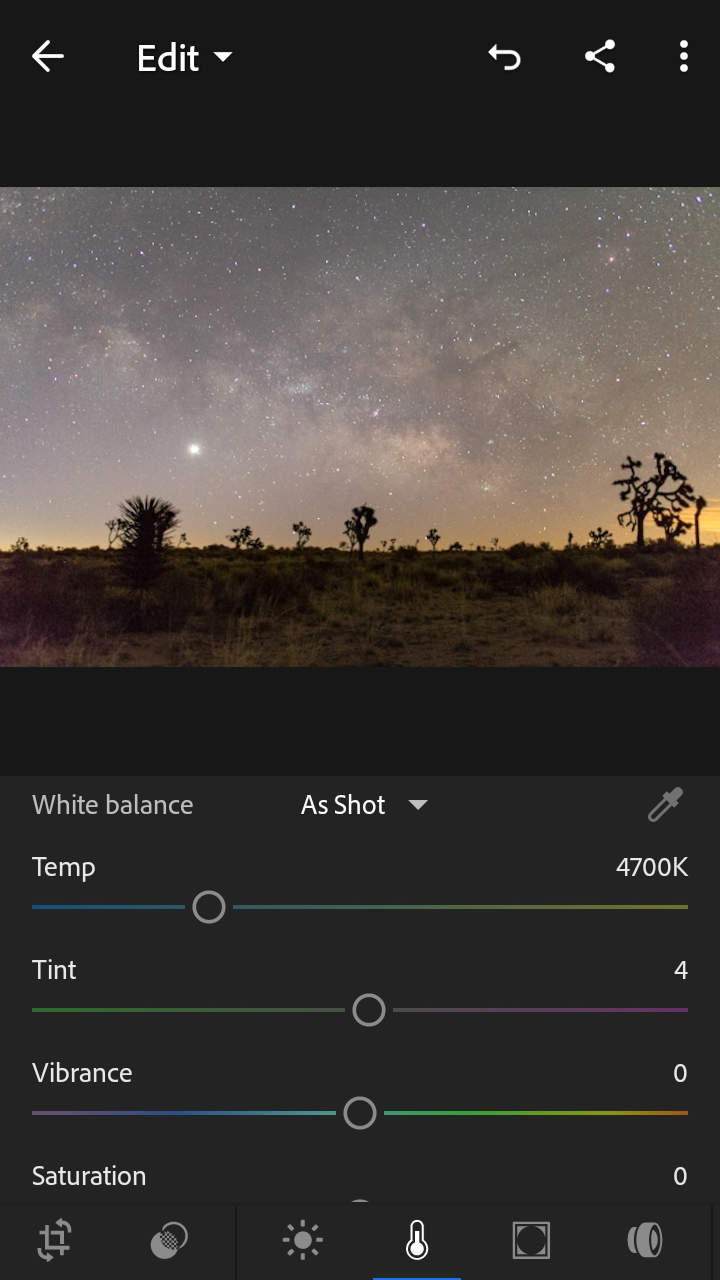
3.Next go to color tab and adjust temperature, tint, vibrance and saturation.Take the time and adjust as what pleases your eye. Play with it as long as you donot get satisfied.
4.You can even choose white balance option.
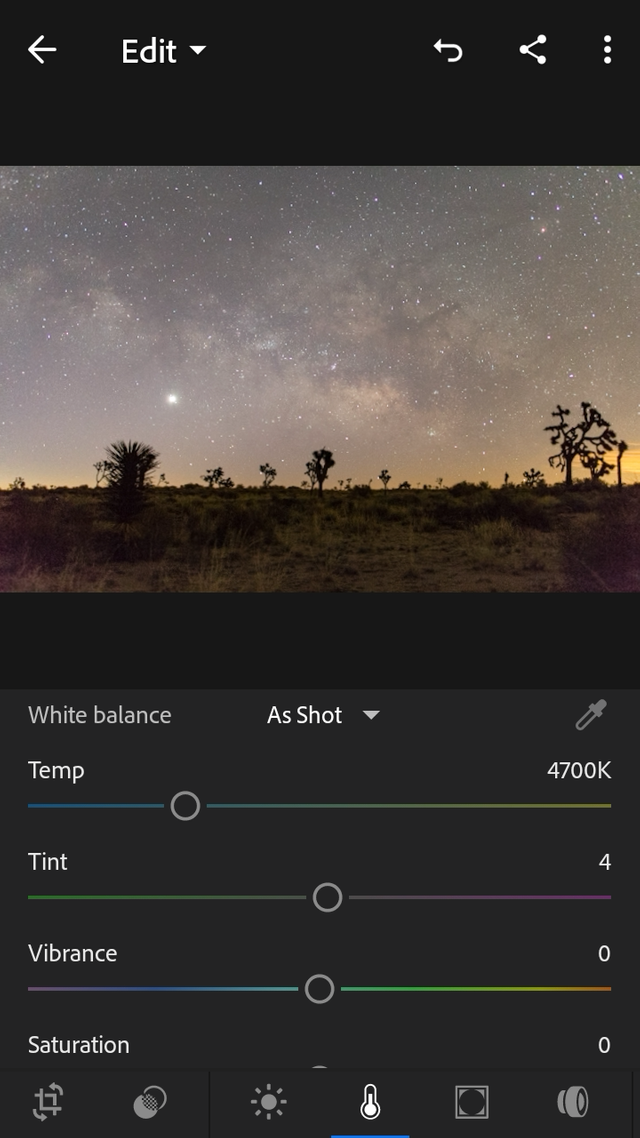
5.After that go to light tab where you can play with exposure, contrast, shadows, whites and blacks. Play with it too as long as you can and try to get best result.
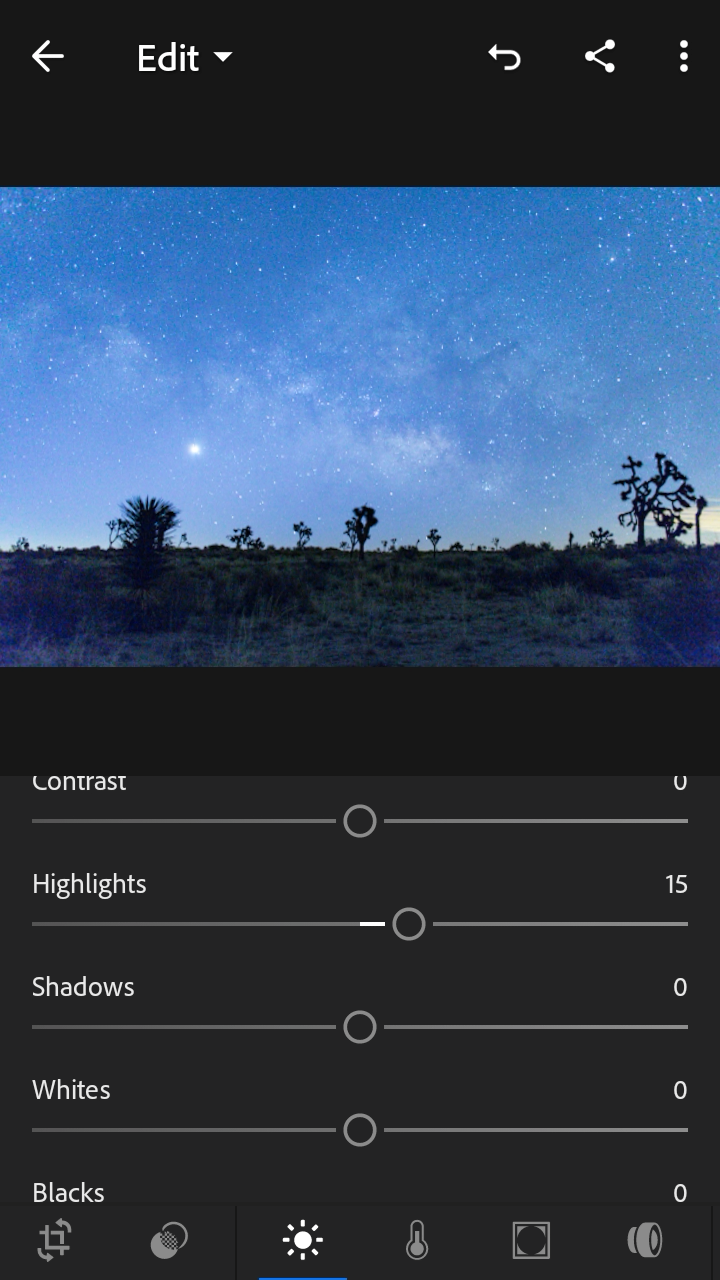
6.Now click on the curves and adjust some brightness and darkness. You can even adjust RGB color too if you like,if not then leave it as it is.
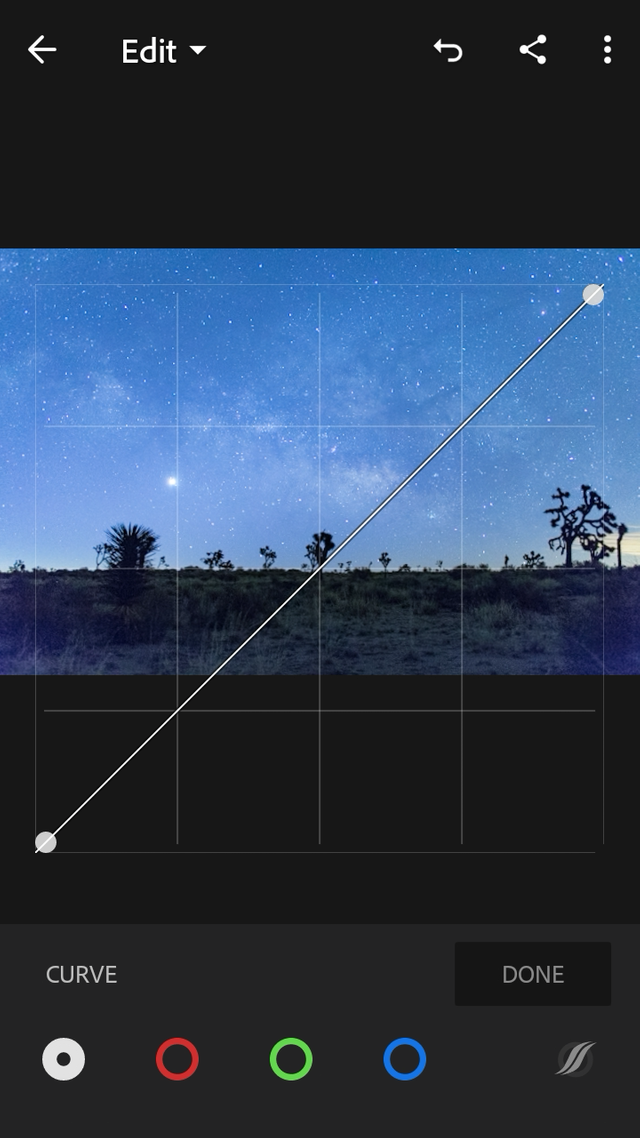
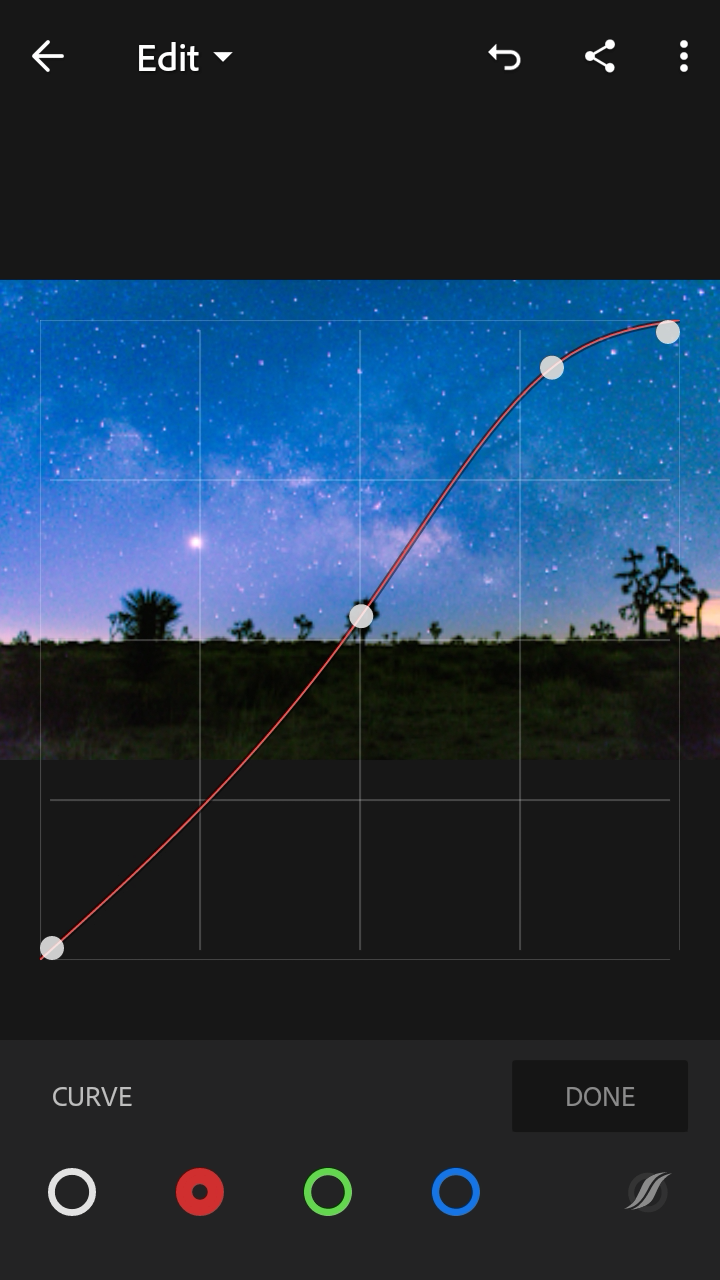
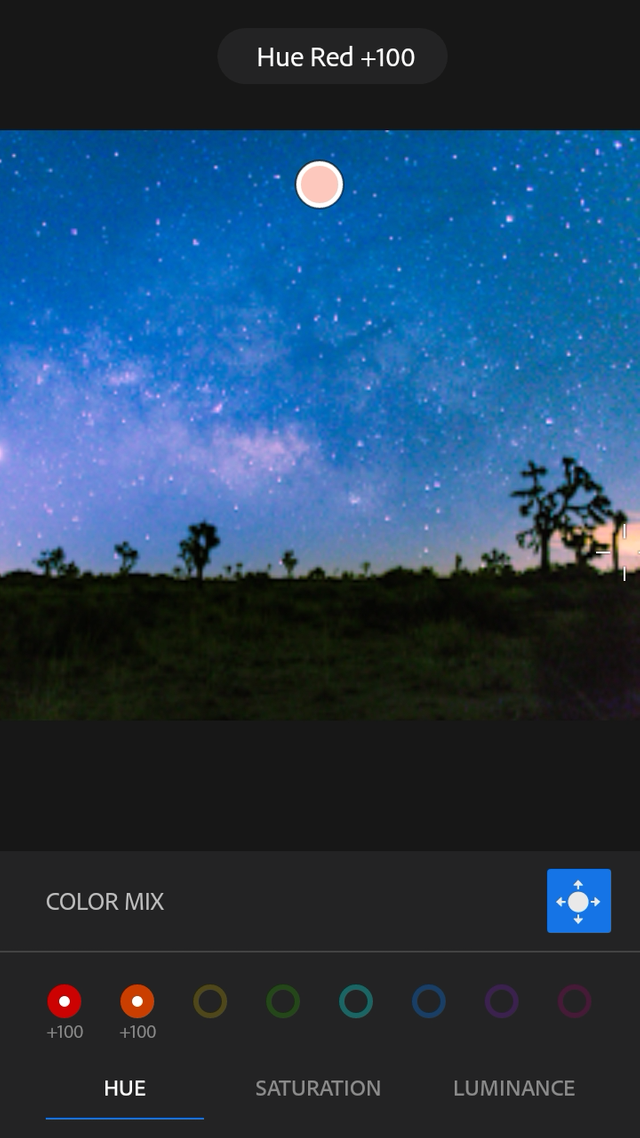
7.Now go to color tab's color mix where you can adjust hue, saturation and luminance of different colors. You can even click on the white dot with four point to just point on the photo and adjust hue, saturation and luminance, this is much easer than adjusting individual bar.
8.Now return back to effect panel and add some vignette to give some life on the photo.
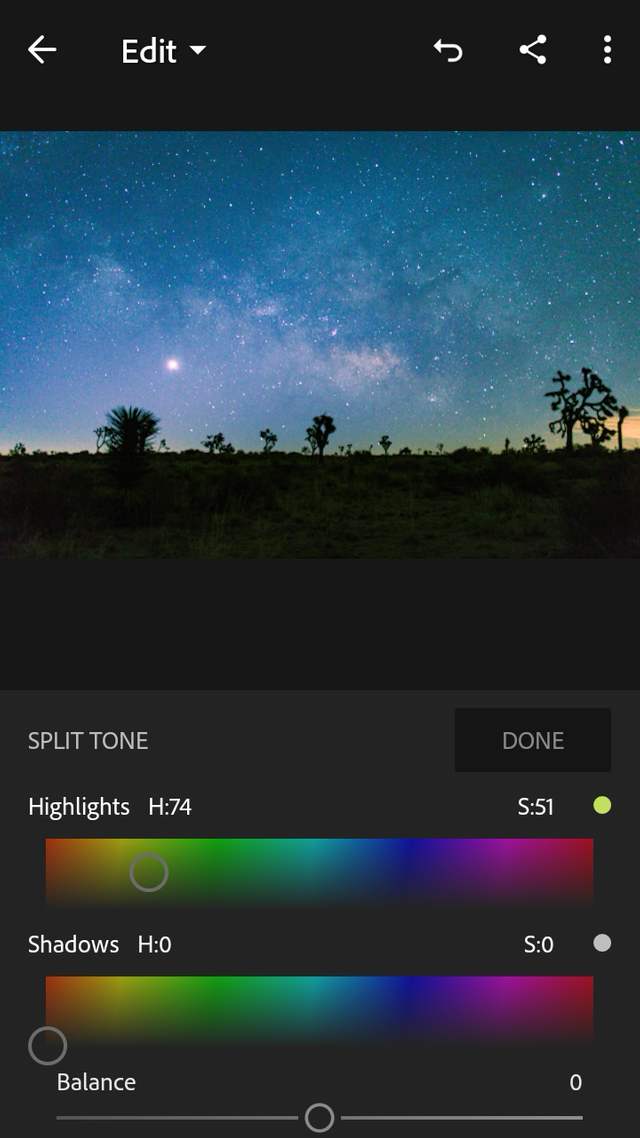
9.After vignetting click to splitt tone and adjust highlights and shadows. It really does good work on the photo and you can balance too by sliding the bar.
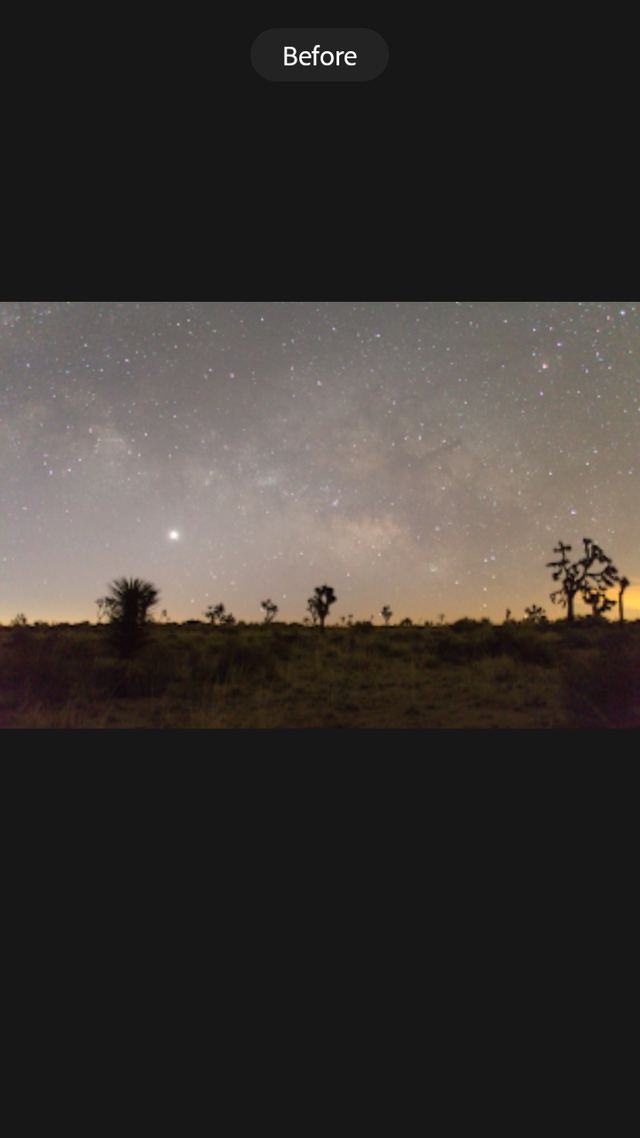
10.Now click on the photo or hold it for seconds and you can see before and after of the photos if you liked it and you can export it now.

So there you go, this the procedure on lightroom to color correct your photo. Hope you liked my post and I will be hoping you to look on next post. Thank You.
P.S. If you like to watch video of it then here is the link:
