Here today my friends is a momentous occasion for one @RandR10. I finally have my own car lift. I've wanted these since I first started working on cars at the age of fourteen. Crawling around on a concrete floor bruising up your back is no fun, and it gets less and less fun as I age into my forties. I don't seem to heal up quite as quickly as in those early days. With the new house we just moved in I now finally have a building with a tall enough ceiling to install one of these, almost 30 years in the making.
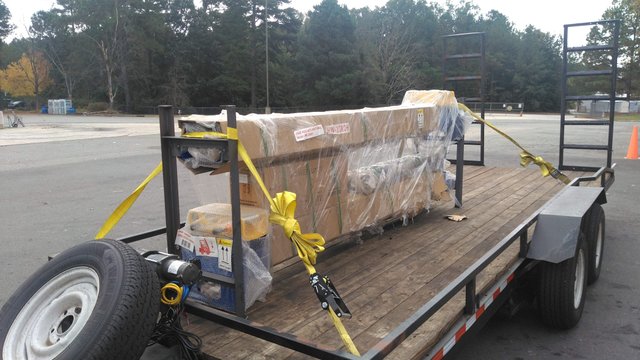
I picked up the lift at a nearby terminal here in Raleigh. There she is in all her glory, packaged up and loaded on my trailer, a little worse for the wear on the trip, but alas, she's relatively unscathed given her 1400+ lb heft and the seeming uncaring nature of warehouse workers and truck drivers.
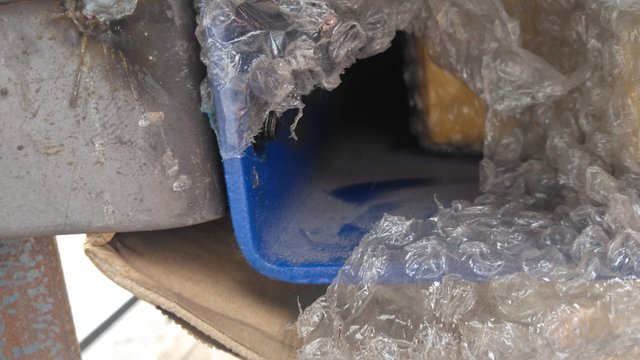
Here's a neat bit of packaging. Two trellises were welded out of angle iron and each pillar was bolted to them. Each pillar is in opposite orientation to balance the weight (the lower portion of the pillars is much heavier than the upper), then all the pieces and parts were strapped inside of them to make the trip. It would be even better if someone tightened these bolts on the light ends! All four of these were either loose or had completely backed out, while the eight bolts at the heavy ends were tight as can be, telling me that someone probably forgot to tighten them at the factory. No matter, they miraculously made the voyage all the way from Texas without completely rattling apart and no damage occurred.
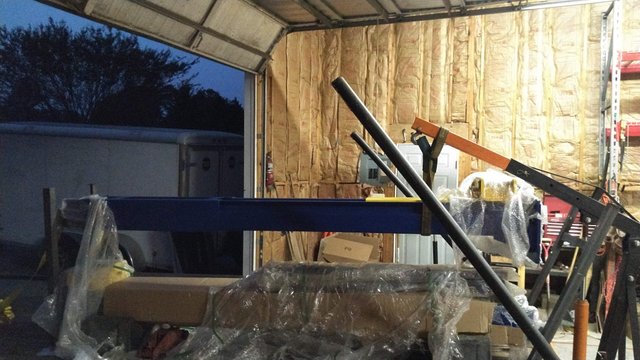
In the evening there was a thunder storm bearing down on us, and the packaging on this lift wasn't waterproofed, so I had to get it indoors quickly. I suspended the heavy end on my engine hoist and unbolted the trellis. The bottom pillar I jacked up and propped onto vehicle ramps for now. The other end weighs less than 200 lbs, so I was able to just lift it by hand and walk it off the trailer, the other end rolling via the wheels on the engine hoist.
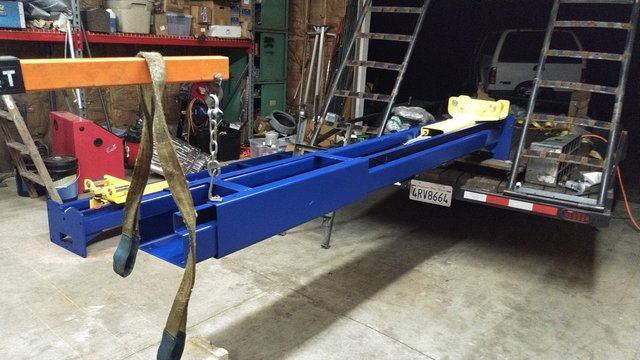
The next pillar was a bit trickier since the heavy end was oriented in the opposite direction, I suspended the light end on my hoist and set the heavy end on a furniture dolly so that I could roll it most of the way off the trailer. I then set the light end down, moved the hoist over to the heavy end, then proceeded to pick it up just like the other one, holding one end by hand and walking it around.
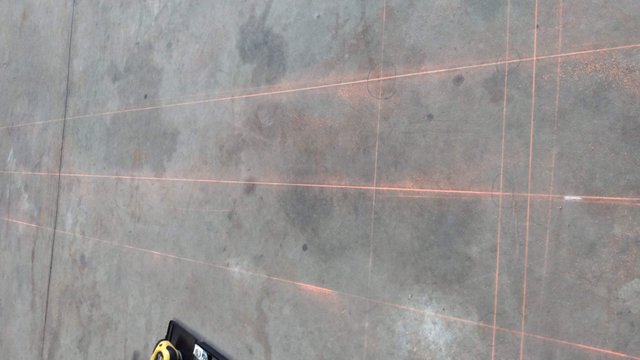
I didn't get any further with the installation because it got so late, but I did do some layout on the floor. The carpenter's chalk line serves two purposes here. First, it's a great way to get a perfectly straight line drawn, and second, you can make it as long as you want. The two pillars need to be square to each other, and given how narrow the base is, it's difficult to get a good square measurement over less than two feet. Due to inevitable errors just in the thickness of the pencil and chalk lines, a little trick I learned from doing machine work with tapers, lengthening the lines decreases the amount of error seen at the center where the work is. You can get sub minutes of angle this way that even the the most precise protractors can't achieve, and so I made the lines for the outside of each pillar's floor plate and the bolt locations much longer than needed. This is probably overkill using this technique for this application, but with five tons of vehicle weight over my head, I want this thing installed as near to perfect as possible, and it certainly didn't take me any more time or effort to do. It definitely can't hurt either. Now according to the install directions, next step is to stand up the pillars and double check all of my measurements before drilling the mounting holes in the concrete. I'll show that in Part 2.
Thank you for using the #diy and #build-it tags. This post has been rewarded with BUILD tokens in the form of an upvote.
Build-it is a central hub for DIY and How-To projects. It's an opportunity to find and share the latest in DIY, and How-To tutorials. The recommended tags required when creating a DIY article are #diy, #build-it. #how-to, or #doityourself. Please read our guide
Need help? Live technical support on Discord or Telegram
This project is run and supported by our witness @gulfwaves.net. If you like what we do, click here to vote for us
Downvoting a post can decrease pending rewards and make it less visible. Common reasons:
Submit