So now that the lawn mower runs and is out of the way, I was finally able to get back to installing the lift today. The next order of business was standing up the columns and putting them into place.
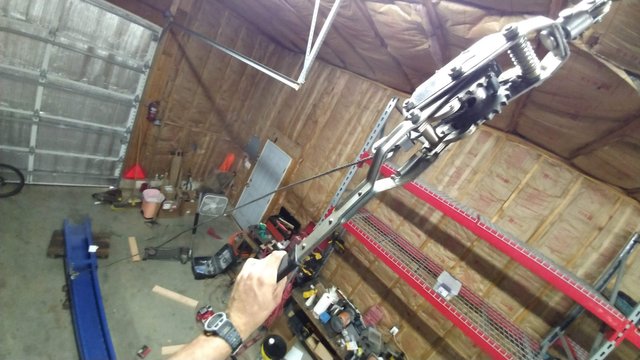
I started to lift column with my cable come-along and ran into a couple of problems. First the base of the column tried to skid along the ground.
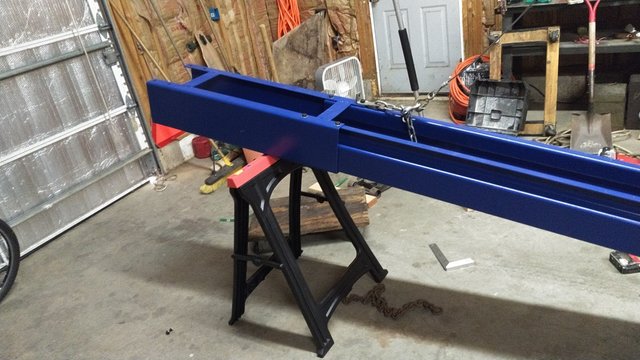
Not enough friction was there to prevent it from doing this, so I had to lift the column up on to a sawhorse to transfer the weight to the base enough so it would stop skidding when I applied the force from the come-along again.
The second problem was that the column started to rotate counter-clockwise in reference to the ground once it was suspended from the ceiling. This surprised and frightened me a bit because it clunked into the ladder I was standing on 10 feet above the ground. Since the motion was slow and the weight on this end of the column is so low, it didn't upset the step ladder at all, so no harm. Once it settled there on the ladder, I continued to run the come-along up until the column was completely vertical.
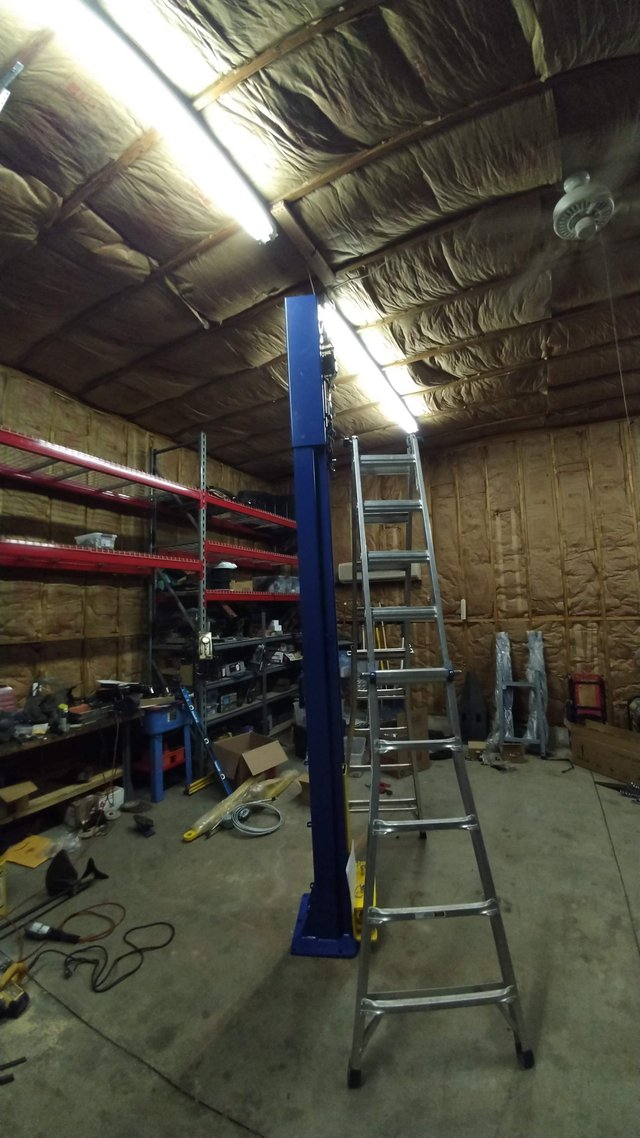
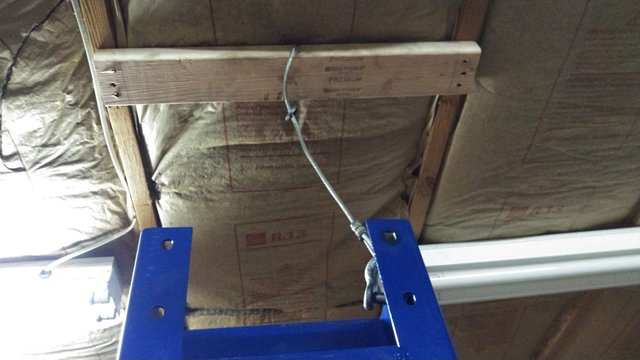
After some fiddling around I was able to square it to the chalk line. I also tethered each column top to the trusses just in case they decided to try to topple over while I was working below.
Once I did that I realized that the measurements they gave for the bolt centers in the installation directions wasn't anywhere near correct. It's a good thing I followed the other directions and waited to drill holes until the columns were stood in place. Also, it became apparent that "close enough" would have to suffice on this installation. I put the straight edge of my level on the back side of the base plate and realized that this was not even close to a flat reference point to go from. There were sixteenth to eighth inch gaps along the approximately eighteen inch length of this surface, telling me that it wouldn't be possible to get a good reference. Instead, I used the part of that surface directly behind each outside corner bolt as my reference.
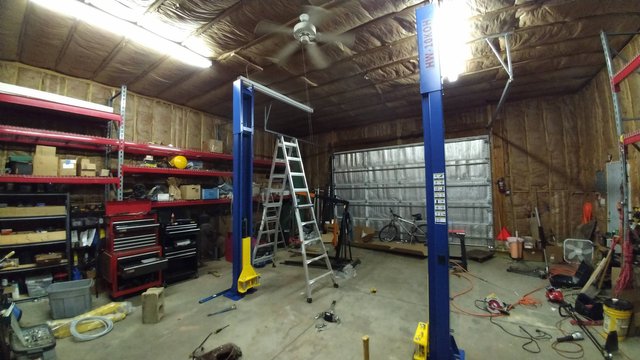
This was a good boost to morale, seeing the posts standing there. Once everything was lined up it was time to drill the holes for the anchors. I had to run to the hardware store to grab the the right sized bit for my rotary hammer drill.
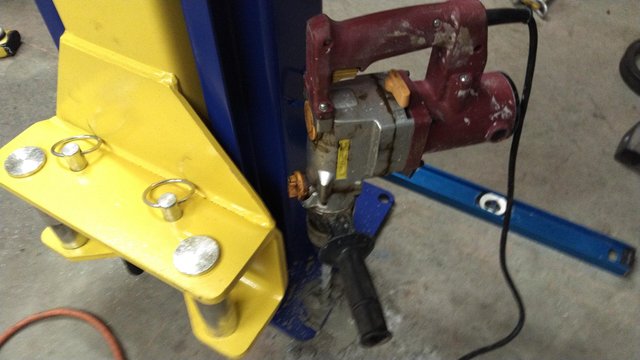
Pro tip, when you're drilling concrete or rock with a rotary hammer drill, use water. If you see dry powder coming out, stop and pour some water in the hole. This will do two things. First, it'll keep you from getting silicosis from the concrete dust, since the water will turn it to mud, and it'll also make your drill last forever. Well, not forever, just forever in the #DIY world. Heat is the enemy of all mechanical and electronic devices. If you can mitigate heat and the friction that generates it, you can make your stuff last an inordinate amount of time. In fact, I've had the original bits that came with this cheap-o rotary hammer for almost a decade, and they're all still working like new in spite of some having drilled several dozen holes in SoCal granite. This is similar to using oil to cut threads or drill a hole. It lubricates the parts you don't want having friction, and it cools the cutting edge that you want to do the cutting. Long story short, if you need to do any cutting with mechanized device, add some sort of lubricant to keep the cutting surface cool, it'll last a lot longer. Okay, back to my project.
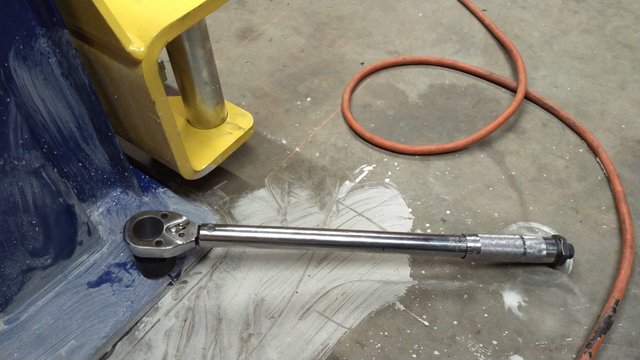
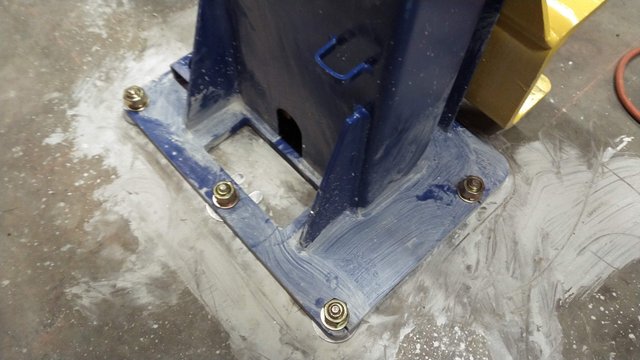
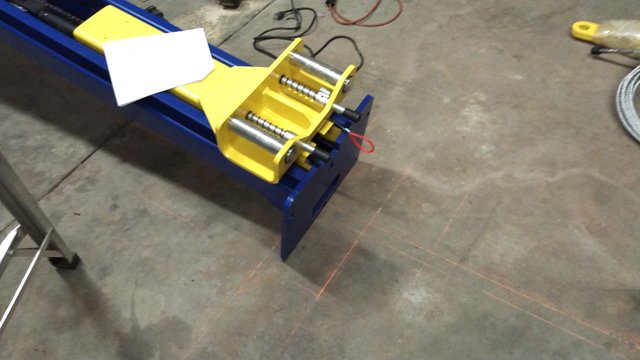
The holes are drilled, the anchors put in, the columns plumbed true and the nuts torqued down. Now to assemble the rest, in theory. It was about nine o'clock PM, and I started to assemble the overhead beam. The overhead beam includes a limit switch that prevents the operator (me) from crashing the lift into the top of the lift. It took me some time to figure this one out. In addition to the fact that the directions had no diagrams and consisted of "bolt the thing to the thing" basically, I understandably had a hard time visualizing the assembly. Here's the switch attached to its bracket.
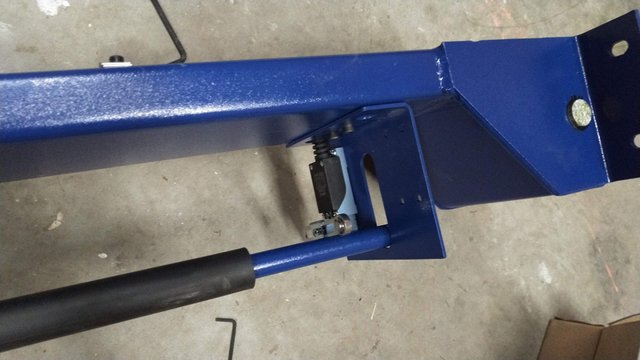
The bar inserted into the bracket is supposed to rise into the switch arm and kill the power to the lift. Being a tired yet reasonable human, I thought that the other side that this bar was attached to would look like the switch bracket without the switch. I looked, and looked, and looked again. No luck. Then I started looking around for my flashlight to go outside and find the bracket that must have fallen off the trailer in some place I hadn't looked yet. Then I decided to give up, since I couldn't find the flashlight and I was just too worn out to continue. Then I spotted a hole in one end of the limit switch arm, indicating to me that a bolt should go through it.
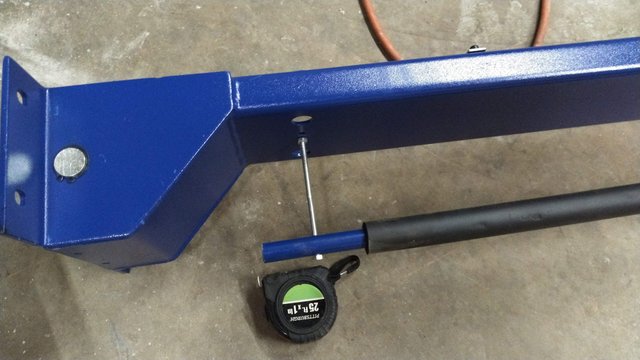
Once I finished this assembly, I realized that it was getting too late to continue in any productive way, so I called it quits. The lift limit switch arm is installed on the overhead beam and now it's time to install it on the top of the lift. I came to the conclusion that it might not be such a good idea to continue with it being so late. It might not be a great idea to lift heavy objects over my head while completely exhausted. So I guess that means there's going to be a Part 3, maybe a Part 4. Until then, Steem on.
Now, you will be able to work on your lawn mower at chest height, so you don't have to bend down.
Downvoting a post can decrease pending rewards and make it less visible. Common reasons:
Submit
Lol, yup
Posted using Partiko Android
Downvoting a post can decrease pending rewards and make it less visible. Common reasons:
Submit
Thank you for using the #diy, #doityourself, and #build-it tags. We have rewarded this post from our @build-it.curator account with BUILD tokens in the form of an upvote.
Build-it is a central hub for DIY and How-To projects. It's an opportunity to find and share the latest in DIY, and How-To tutorials. The recommended tags required when creating a DIY article are #diy, #build-it. #how-to, or #doityourself. Please read our guide
Need help? Live technical support on Discord or Telegram
This project is run and supported by our witness @gulfwaves.net. If you like what we do, click here to vote for us
Downvoting a post can decrease pending rewards and make it less visible. Common reasons:
Submit