Last week we removed all the old hoses except two, and had them built new. This took 4 men over 6 hours to remove...we were learning where everything routed!
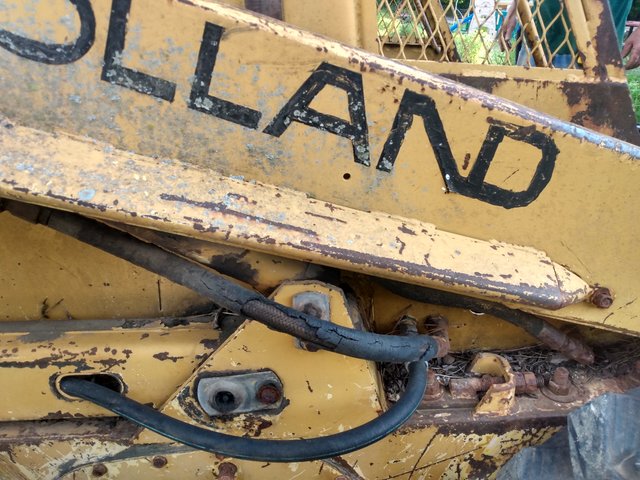
They looked like this:
And this was the junction they couldn't break:
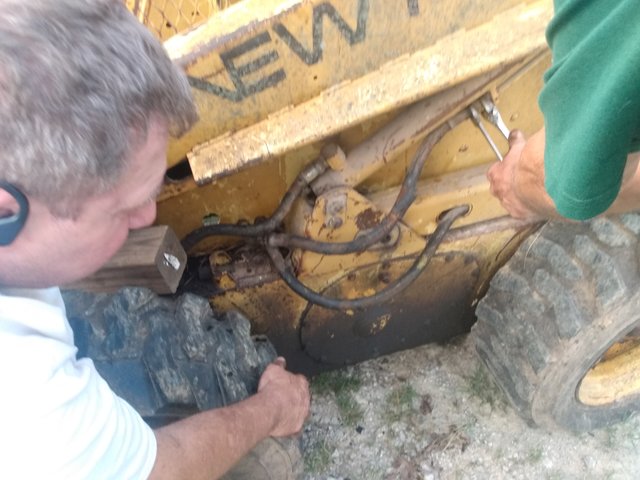
I always get the ones everyone else gives up on! So I cut off the hose fitting with a saws all, and used a pipe wrench with a 4 foot cheater handle. When I stopped asking...and Told it to come off; it listened!
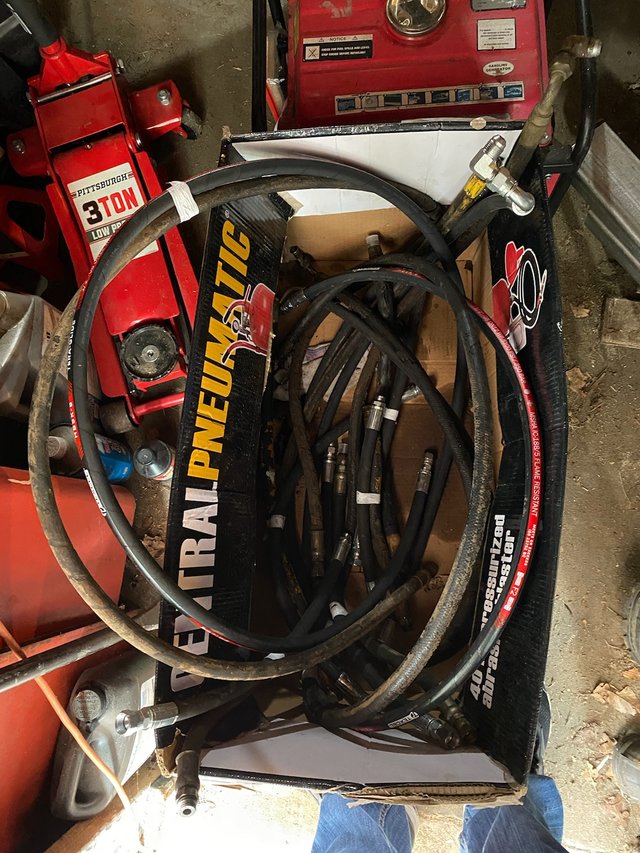
Some of the other old hoses:
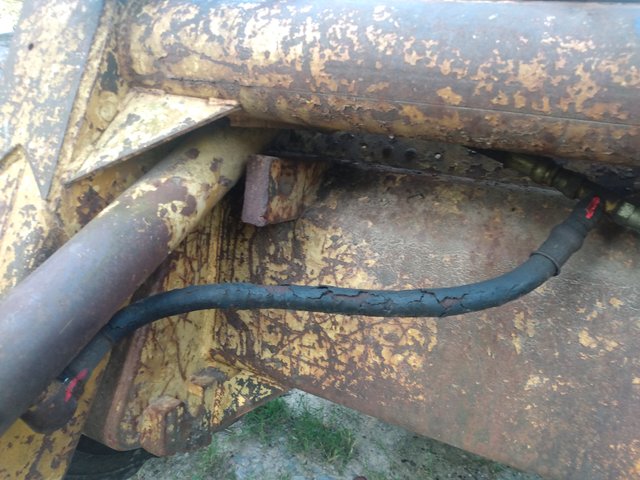
Too much age damage on all the lines!
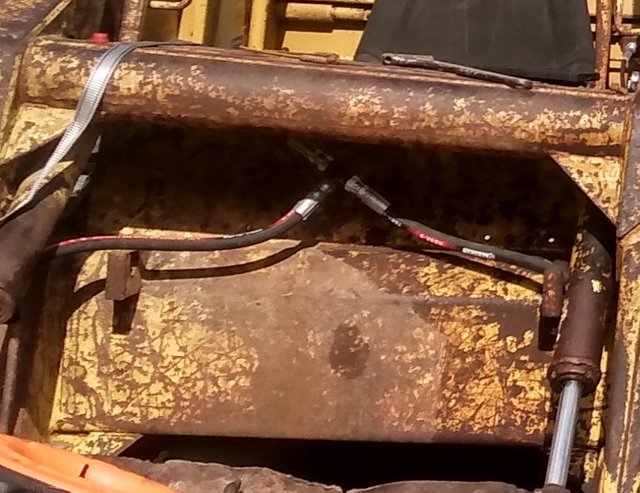
Here's what it looks like with new hoses:
![IMG_20220530_165458029_HDR~2.jpg]
( )
)
I also noticed that the hose connectors were way over torqued. The manual says (yes, I read the instructions) 200 foot pounds on the top end on these hose fittings! The ones that I had to remove, were tightened to at least twice that, which is why the fittings got rounded off. I will 'final tighten' them with a crow foot, and a torque wrench, on all joints!
We had three Men, and worked about 3 hours:
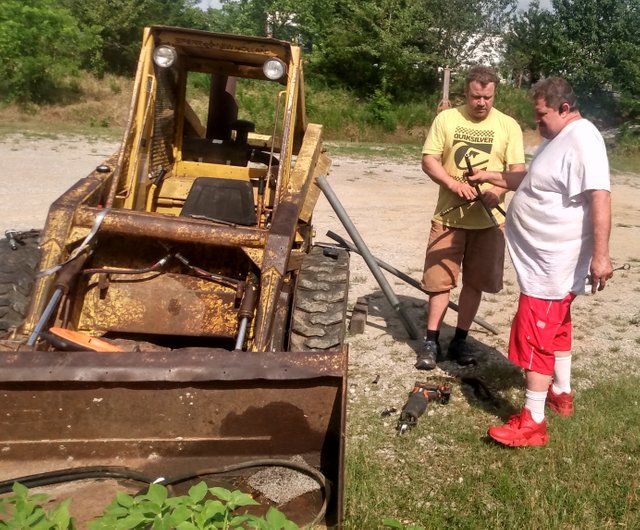
One of the tools that paid for itself is an electrical fish tape:
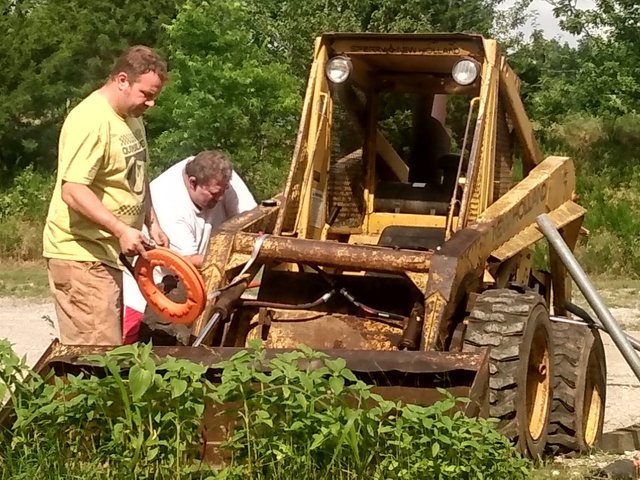
My Son has it here, and it allowed us to pull in the long hoses through difficult places. This saved massive time for us!
And yes, I'm taking the pictures...easier work, LOL!
The new hoses looked like this:
He's trying out the controls on his new toy:
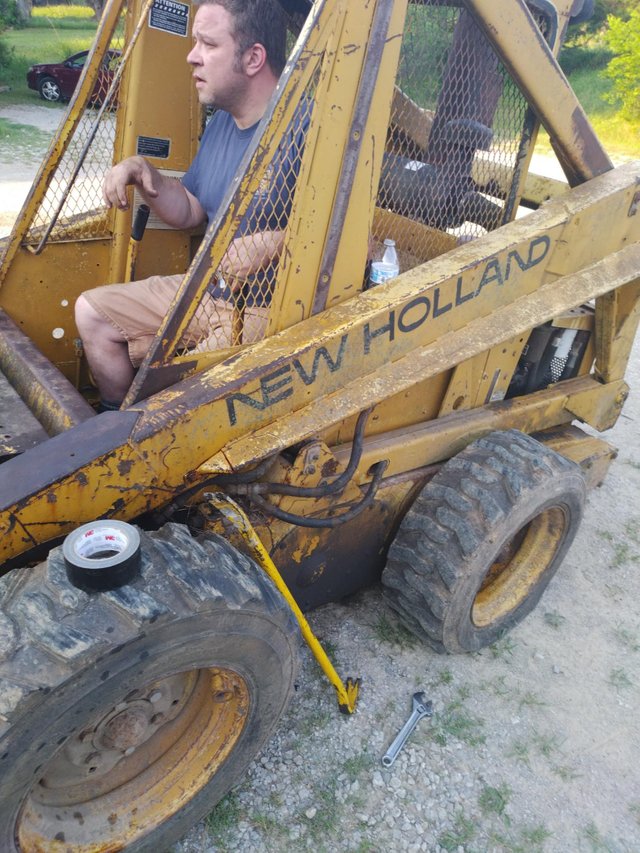
He's getting pretty excited about it running again! It will need 15 gallons of new hydraulic fluid; and the two hoses I removed, rebuilt. The 'fire up' time is coming soon, and I'll post it.