Hi friends, today I would like to share with you a simple tutorial for a nice decoration you can craft with your kids. I am sure they will love it :)
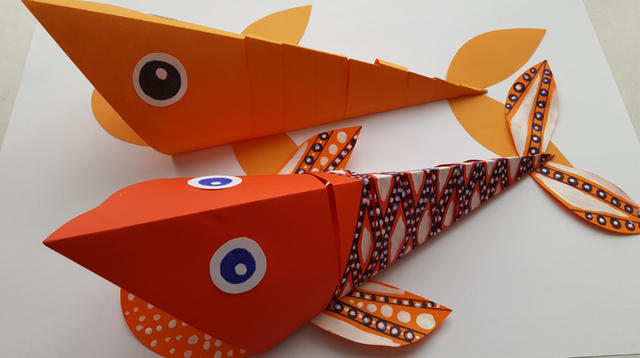
I am sure some of you have seen this kind of paper fish on pinterest or some other websites about art and craft. I really liked it and It seemed to me it would be great to share it on Steemit and add some of my ideas too.
You will need
- colored paper (two A4, you can use more colors)
- scissors
- glue
- liners, crayons or acrylic paint
The process
🔵 The body is made of one A4 paper, which you need to cut into a square. It is simple, just fold the paper like on a picture and cut the rest off.
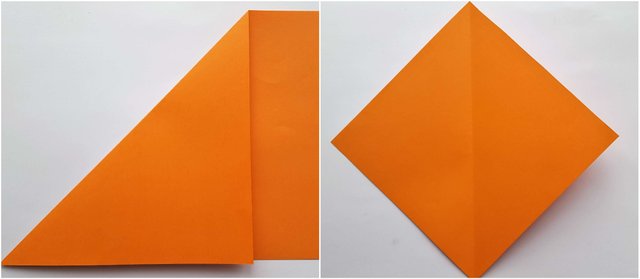
🔵 Now fold both sides of the square according to the line in the middle. You can also priprare the fins, eyes and mouth. It is easier to cut it double, so both sides will be the same. The straight part of the mouth should be about 8cm long, just to fit it. You can also choose some different and original fins or eyes. It is up to you.
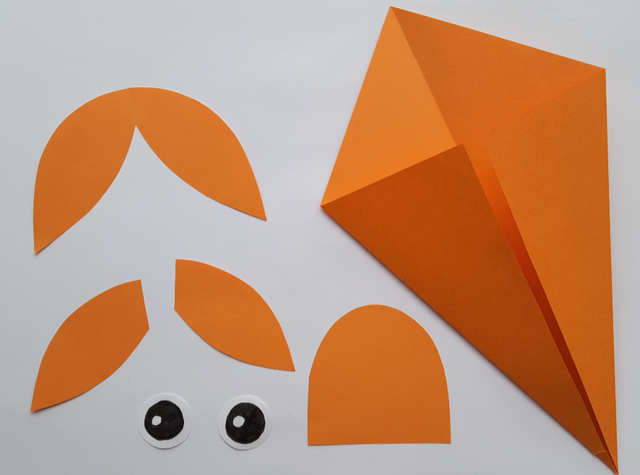
🔵 At this point you can decide if you want your fish to be decorated or not. If so, you can start to draw or paint. I would recoment you to use liners or pencils, but I used also a little of acrylic paint. Be sure to make thin layers without water.
Then you can stick the eyes and prepare for cutting the back. It is simple, just fold the fish like you see it on the picture and if you want, draw lines according to a ruler, or just cut itstraight. It could be cutted thicker or thinner, just always at least 3 mm behind the folded line. It is important because after we finish it, it should bend easily.
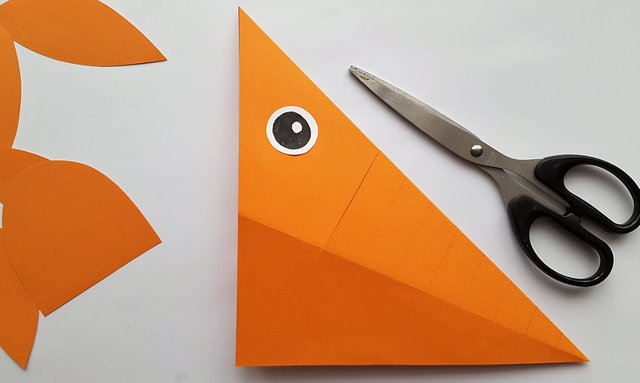
🔵 Now we can stick the body together. Just add glue on one side of the belly. The result should look like this.
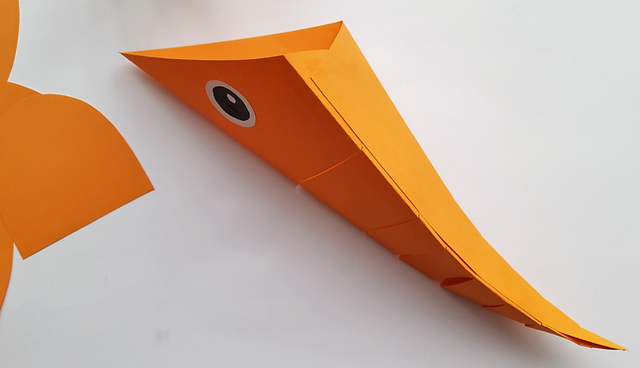
🔵 Then the rest of the fish. Do not use to much glue, because the paper can become wavy.
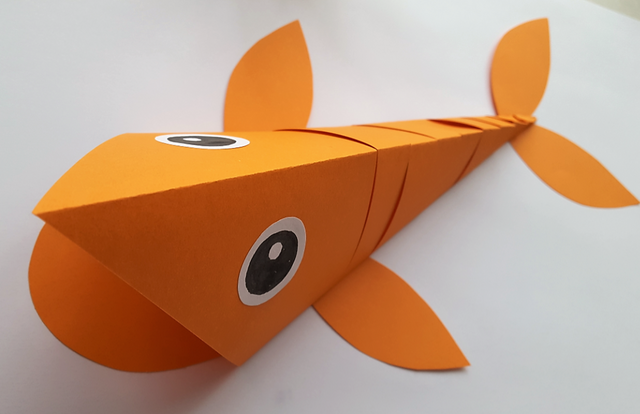
🔵 And we are done. The best thing about this fish is the flexibility. When I craft them with my students they anjoyed playing with it and pretend it swim while bending the back.
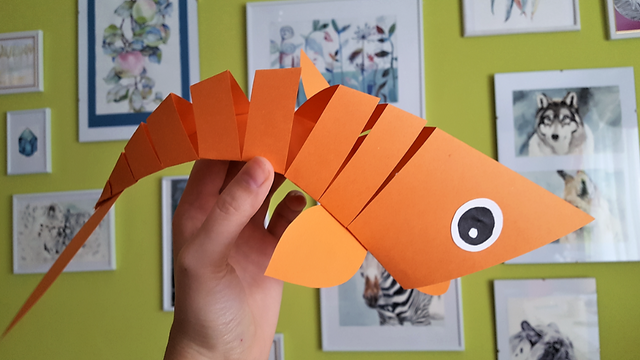
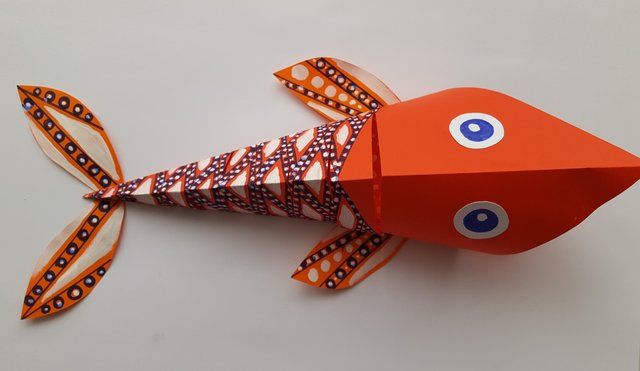
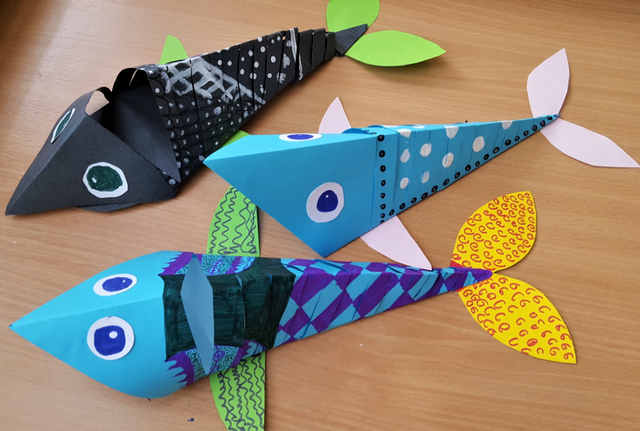
Here are some of the fish of my students. As you can see you can combine colors and patterns as you want and the result will be really original and nice.
I hope you guys like this tutorial and maybe some of you will try it :) If you are interested in more tutorials, be sure to check out my previous posts :)
Thanks for watching!
Follow me on Steemit

Origami nice
Downvoting a post can decrease pending rewards and make it less visible. Common reasons:
Submit
Very nice idea. Thank you for sharing.
Downvoting a post can decrease pending rewards and make it less visible. Common reasons:
Submit
That's beautiful :)) and great tutorial, my sister's children will love these :)
Downvoting a post can decrease pending rewards and make it less visible. Common reasons:
Submit
haha :D It's so cool and very educational. Well done :) @marty-arts
Downvoting a post can decrease pending rewards and make it less visible. Common reasons:
Submit
Ill have to share this with my wife because she was asking if steemit had any arts and craft posts.
Downvoting a post can decrease pending rewards and make it less visible. Common reasons:
Submit
great, yes it has! :)
Downvoting a post can decrease pending rewards and make it less visible. Common reasons:
Submit
Looks very nice. I will resteem it to my German followers
Downvoting a post can decrease pending rewards and make it less visible. Common reasons:
Submit