Hi guys!
Today I start building the actual piston for the custom leg. So here are updates on Project Devil Gundam!
Today I start building the actual piston for the custom leg. So here are updates on Project Devil Gundam!
Putting the pieces together
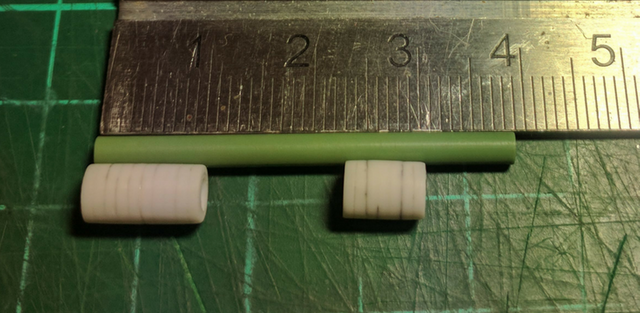
Because right now I'm still guessing the length that I would use for the piston.
That is why I cut the runer longer than what I would possibly need.
The idea is the piece on the left will be cemented permanently as the base of the piston.
That is why I cut the runer longer than what I would possibly need.
The idea is the piece on the left will be cemented permanently as the base of the piston.
Trimming off the other rod
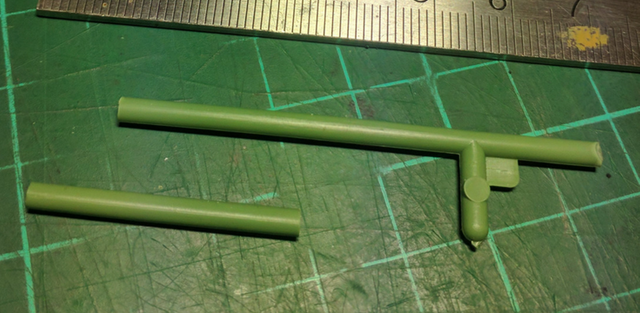
And the right piece will slide up and down to adjust the height of the leg.
I will be using the Devil Gundam's runer for the rod as I said before and I'm just going to trim this. Then clean it up a little bit.
I will be using the Devil Gundam's runer for the rod as I said before and I'm just going to trim this. Then clean it up a little bit.
Clean up
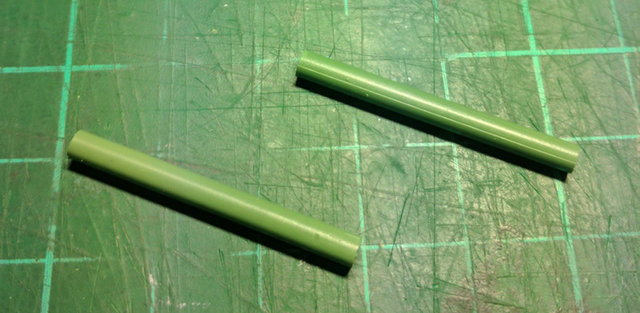
After trimming the runer I clean up both end using file to make things faster.
I just want to make sure that both ends are flat because I will do further modifications to them later.
I just want to make sure that both ends are flat because I will do further modifications to them later.
After cleaning
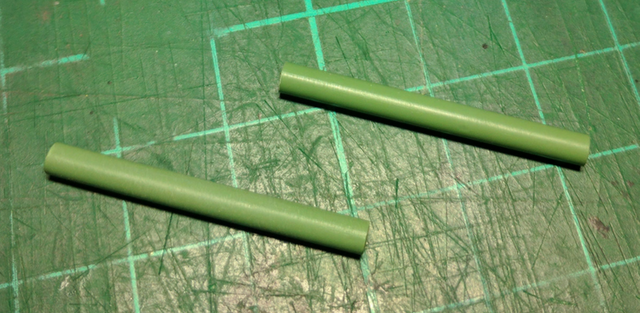
For the surface I use hobby knife to scrape off that mold marks then finish with sanding sponge.
Now be very careful when scraping mold marks using your hobby knife since you can easily scrap more than necessary.
You need to have a good control of your knife to do this. I was somebody mention this is a bad technique which I don't agree at all.
If you can master this method/technique you even can sculpt details such as air vents on bare plastic.
Forget about cleaning mold marks.
Think about all the possibilities!
Prep work done
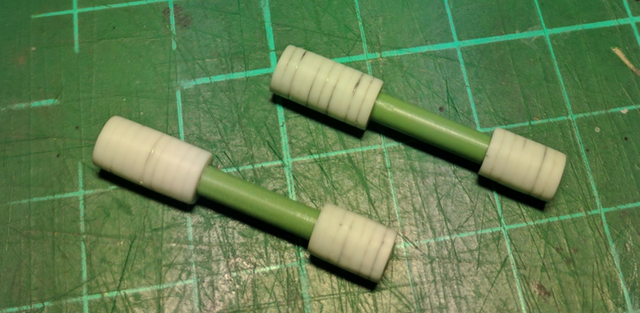
To think that making such a detail I had to go through all that trouble.
I certainly think its worth it and besides I learn a lot from making this piston alone.
I thought of have other ways to make a piston next time and they also involve using gunpla runer but that is for some other time.
I certainly think its worth it and besides I learn a lot from making this piston alone.
I thought of have other ways to make a piston next time and they also involve using gunpla runer but that is for some other time.
Progress test fit
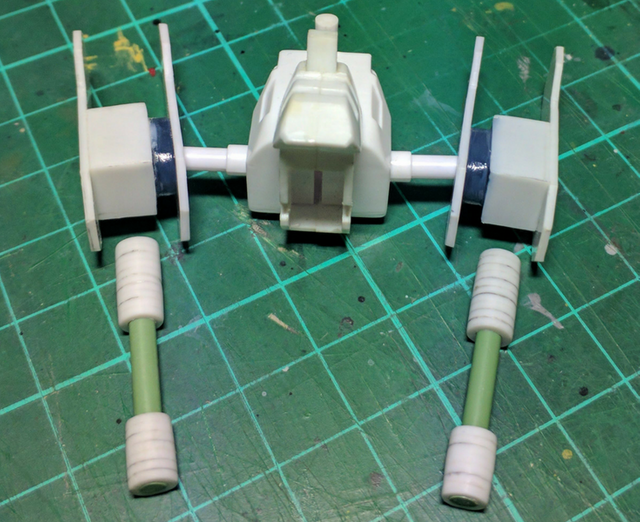
Not exactly test fit but from this I can check the proportion of the waist and the piston that is almost done.
Next I need to think of a way to connect the piston to the bottom leg.
Connecting it to the waist is easy. I will make the same structure I used when scratch building the hands. Same sort of mechanism to be exact.
The bottom connection however is going to be the next challenge in this build. So I will take my time and think about a few methods I can do that.
And so this is my updates for today on this Devil Gundam x Neue Ziel Project.
Keep on building! Keep on steeming! Have a nice day!
Quick access tutorial:
- Fixing broken peg using gunpla runer and several tools.
- Fixing holes using cement and plastic scraps.
You just planted 0.22 tree(s)!
Thanks to @devytan
We have planted already 4435.08 trees
out of 1,000,000
Let's save and restore Abongphen Highland Forest
in Cameroonian village Kedjom-Keku!
Plant trees with @treeplanter and get paid for it!
My Steem Power = 25644.33
Thanks a lot!
@martin.mikes coordinator of @kedjom-keku
Downvoting a post can decrease pending rewards and make it less visible. Common reasons:
Submit