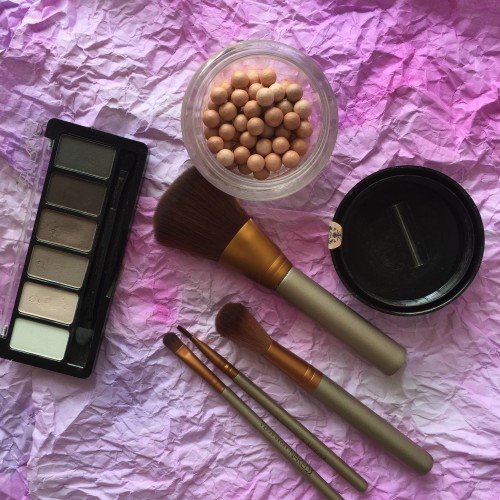
The photo background is becoming a more and more popular topic. A stylish photo background is the formula to online business success. A photo background is perfect for makeup, handicrafts, jewelry photos, and so on. There are lots of photo backgrounds for sale, but you can make a stylish background with the tools available. We need the following materials for manufacturing:
- The watercolors (purple and pink).
- A4 paper (3-4 sheets)
- A brush
- Cardboard (thick) or an old chopping board
Все больше становится популярна тема фотофонов. Стильный фотофон – залог успеха онлайн бизнеса. Фотофон отлично подойдет для фотосьемки косметики, хендмейд-поделок , бижутерии и так далее. Многие изготавливают фотофоны на продажу, но стильный фон можно изготовить и самому из подручных средств. Для изготовления нам понадобятся следующие материалы:
- Акварель (фиолетового и розового цвета)
- Бумага А4 ( 3-4 листа)
- Кисть
- Картон (плотный) или же старая разделочная доска.
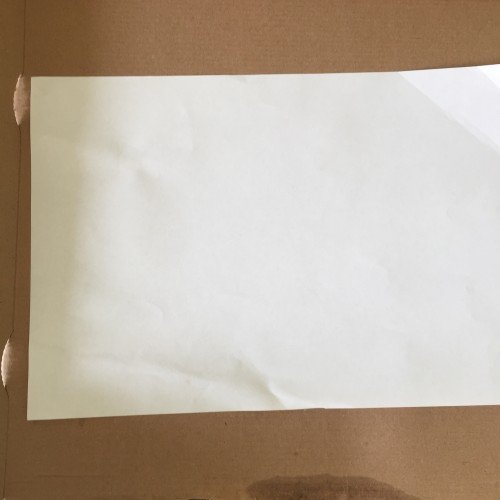
- Place a white sheet of paper on the backing board (I use cardboard).
На подложку (у меня это картон) размещаем белый лист бумаги.
2. Apply the light pink watercolor with the brush (better to use the largest size brush). Do not spare the water. More water helps mixing the colors better.
Кистью (лучше использовать кисть самого большого размера) наносим светло-розовую акварель. Не жалейте воды! Чем больше воды, тем лучше смешиваются цвета.
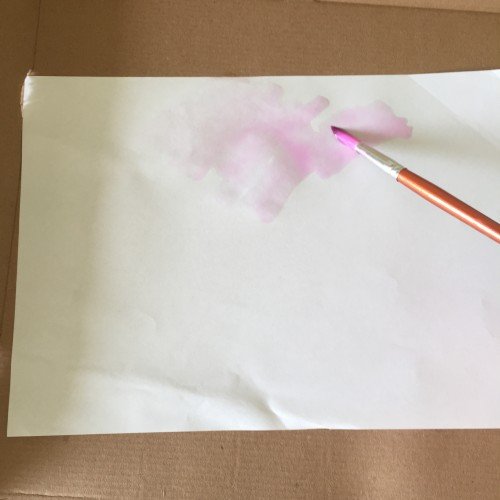
3. No need to paint the sheet evenly, you can add bright spots as well.
Лист необязательно раскрашивать равномерно, можно добавить и яркие пятна.
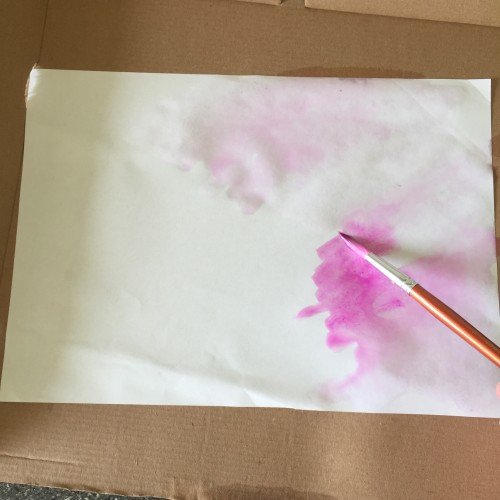
4. Add purple to pink color.
К розовому цвету добавляем фиолетовый.
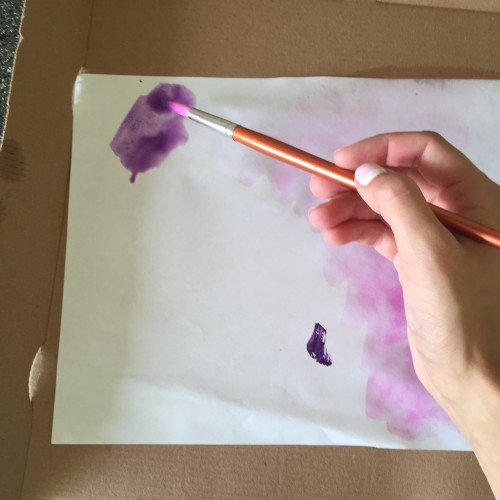
5. Mix pink and purple using water.
С помощью воды смешиваем розовый и фиолетовый.
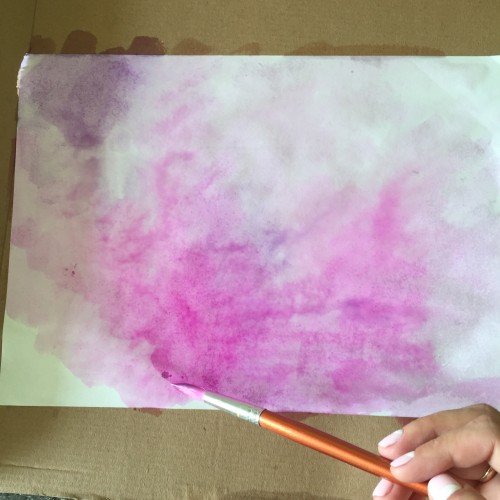
6. Dry the sheet. To make the background dry better I used a hairdryer.
Сушим лист. Для того, чтобы наш фон сох быстрее готов, я сушила феном.
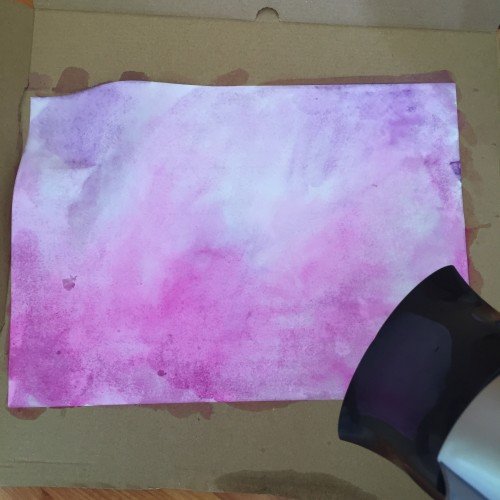
7. Create another 3-4 sheets the same way.
Таким же способом изготавливаем еще 3-4 листа.
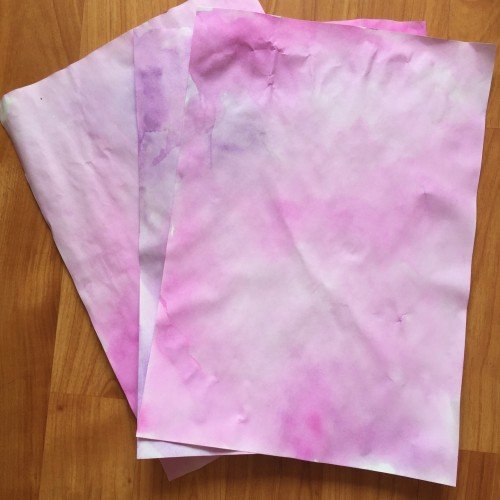
8. Once all the sheets are dry start kneading the papers.
После того, как все листы высохли. Начинаем мять бумагу.
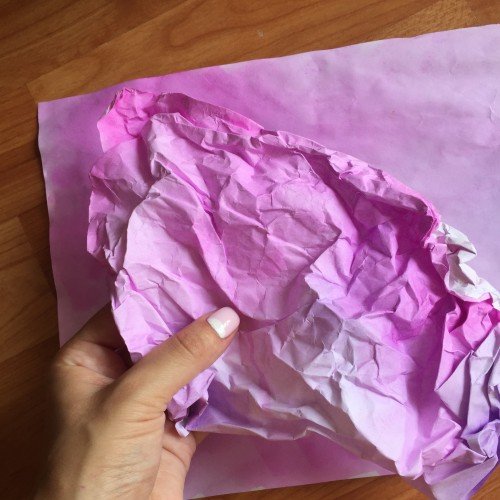
9. Distribute the wrinkled sheets.
Раскладываем уже мятые листы.
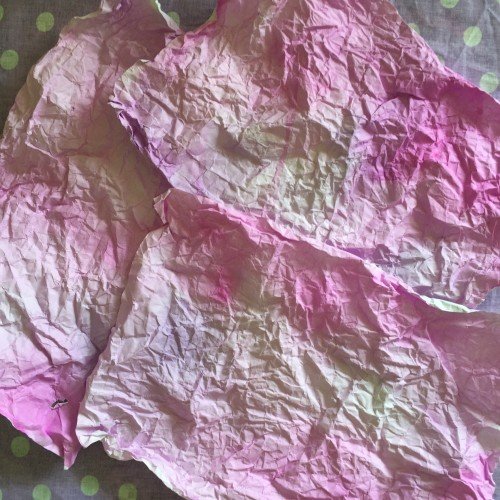
Photo background is ready! Now all that is left is to place the contents and start shooting.
Фотофон готов! Осталось разместить на нем материалы и приступить к съемке!

Хорошая идея фона, обязательно возьму на вооружение!
Downvoting a post can decrease pending rewards and make it less visible. Common reasons:
Submit
Спасибо за идею, апвот от меня!!!
Downvoting a post can decrease pending rewards and make it less visible. Common reasons:
Submit
Спасибо! Даже и не подумала, что фон на первом фото сделан своими руками. Здорово!
Обязательно попробую. Дочка делает игрушки, вот и усадим их на такие фоны.
Downvoting a post can decrease pending rewards and make it less visible. Common reasons:
Submit
Congratulations @janel100! You have received a personal award!
Click on the badge to view your own Board of Honor on SteemitBoard.
For more information about this award, click here
Downvoting a post can decrease pending rewards and make it less visible. Common reasons:
Submit
Congratulations @janel100! You received a personal award!
You can view your badges on your Steem Board and compare to others on the Steem Ranking
Vote for @Steemitboard as a witness to get one more award and increased upvotes!
Downvoting a post can decrease pending rewards and make it less visible. Common reasons:
Submit