Hi friends, it is another interesting time on this platform and I welcome you to hands-on practical. Here, I will be explaining my steps in the designing of a flyer, so come with me as we walk through.
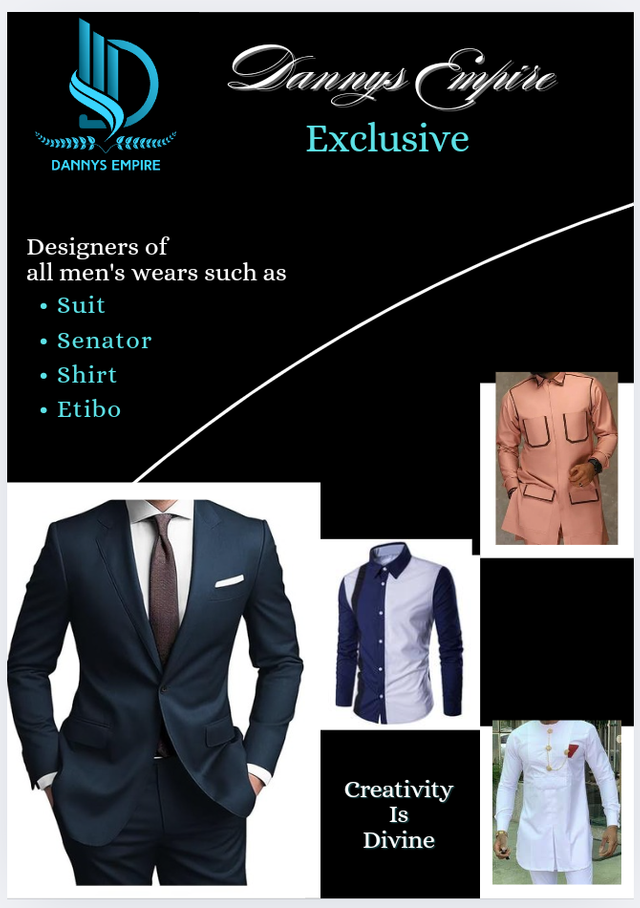
I already have a logo I created during the previous class hence, I will just go on and use it for the design.
The design app I used for this design is Canva. So let's take a look at the steps taken in the design.
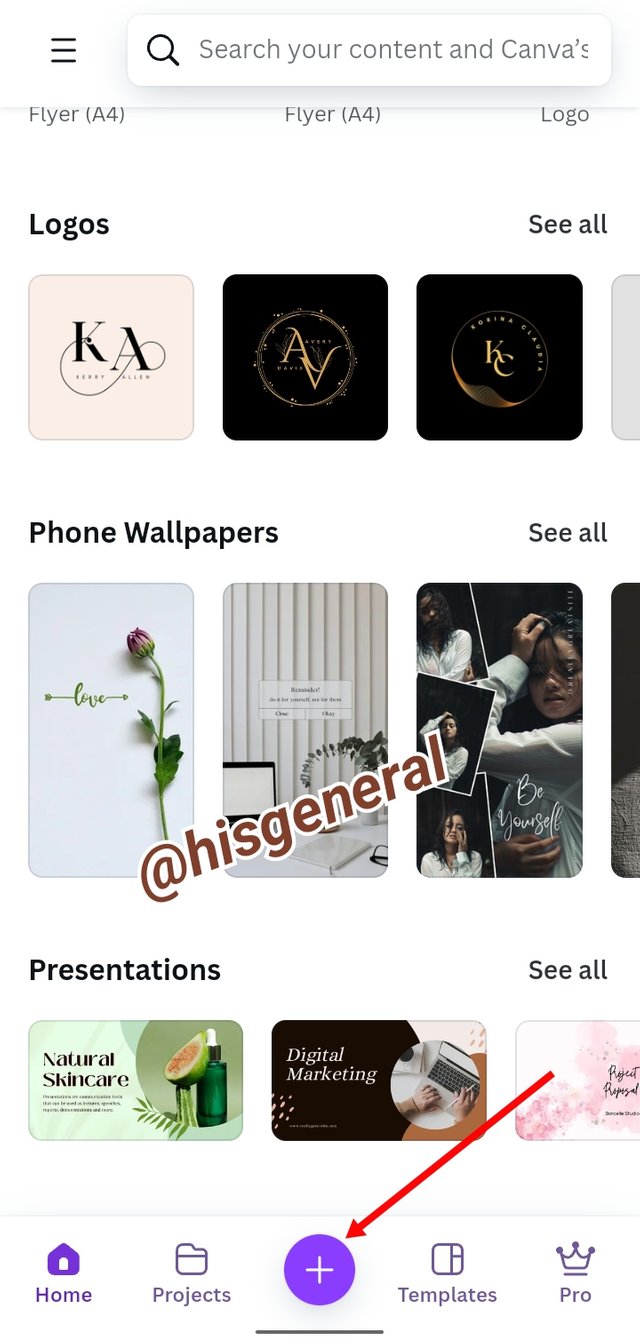
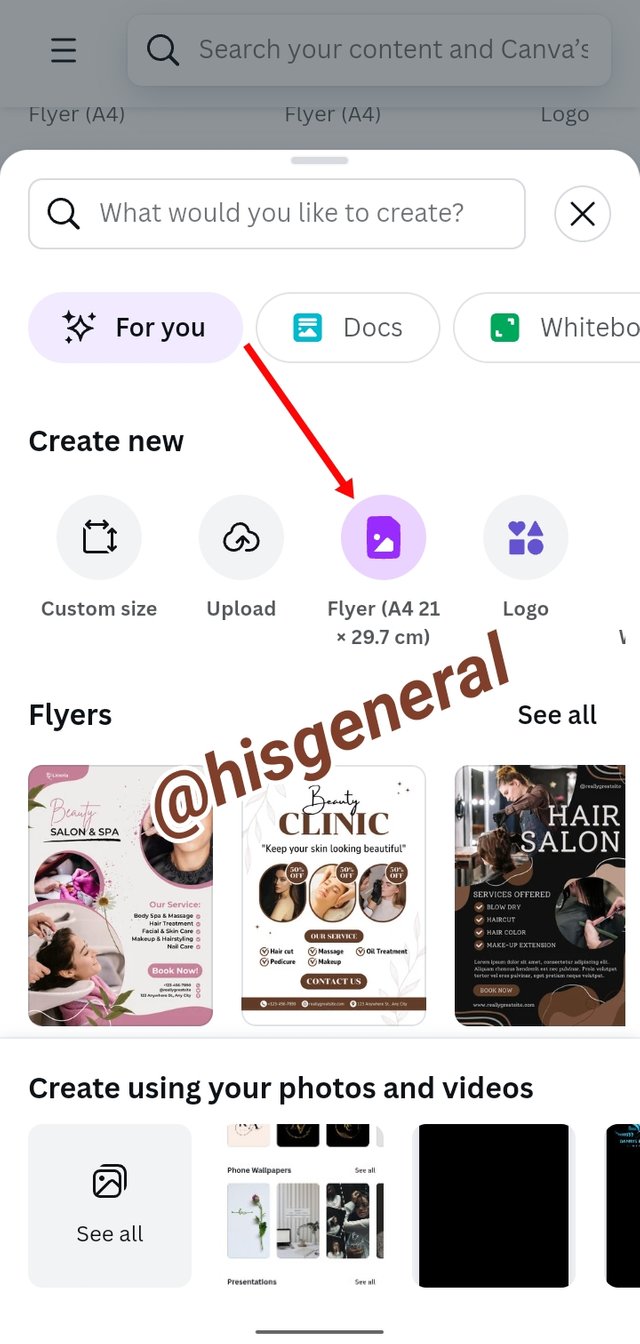
The first thing I did was to launch my app; on the landing page, I clicked on the plus (+) icon, and on the next interface, I clicked on the flyer.
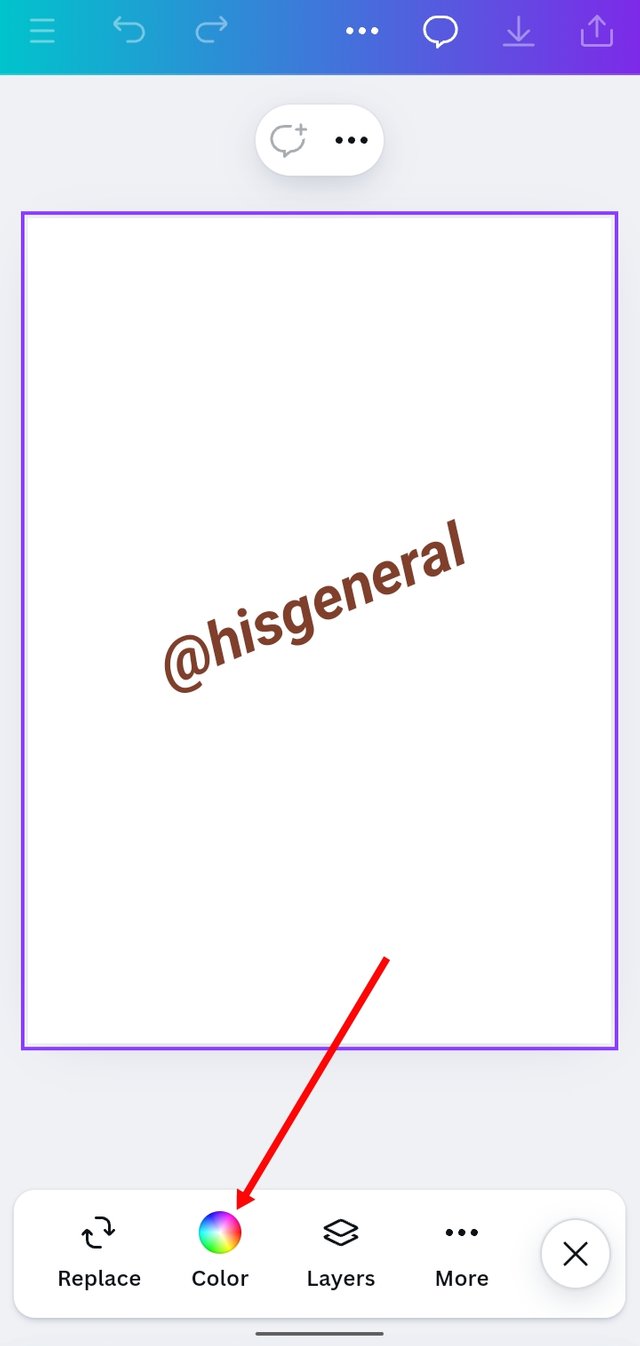
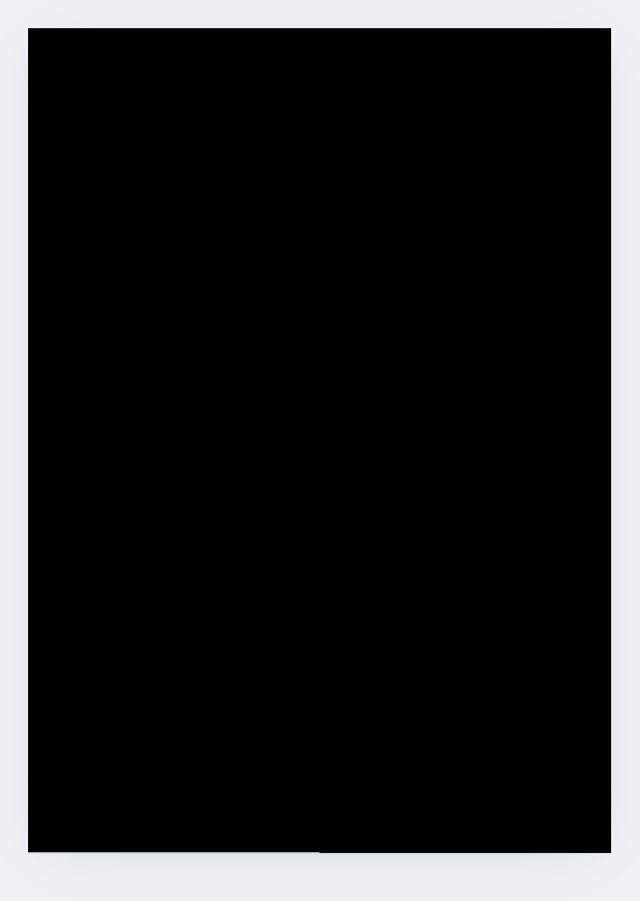
As can be seen below, a blank working area came, and I clicked on the color icon and chose the color that best suited my intended concept.
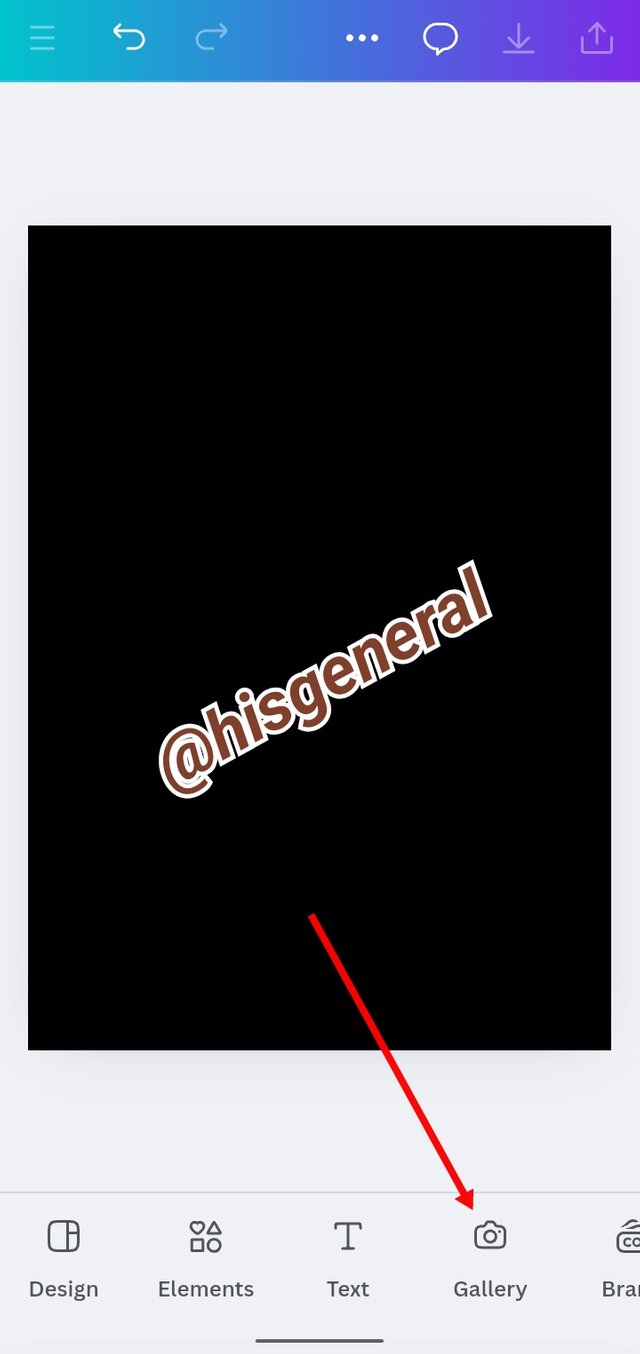
The next thing I did was to click on "Gallery," from which I uploaded and positioned the business logo. Thereafter, I clicked on "Text" and then typed the business, selecting the font style that suited me.

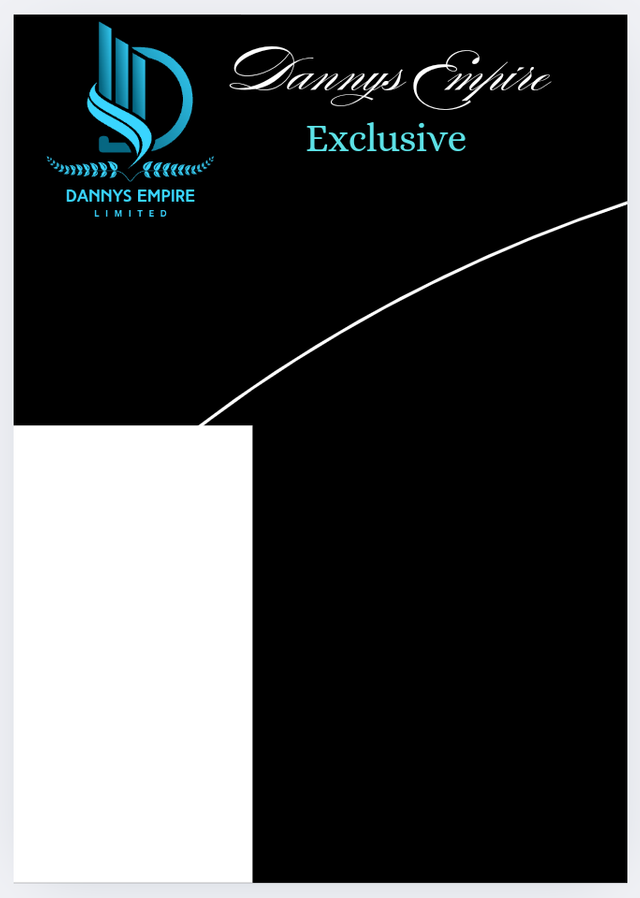
I proceeded to click "Elements", and from the dialogue box that came up, I chose "Straight line", and from the line formatting options, I selected "Curve" and then positioned it as can be seen. After that, I went back and clicked on the elements again, and this time, I chose a rectangular shape as a background to the pictures intended to be used in the design, giving it a white color and setting it in my desired position.

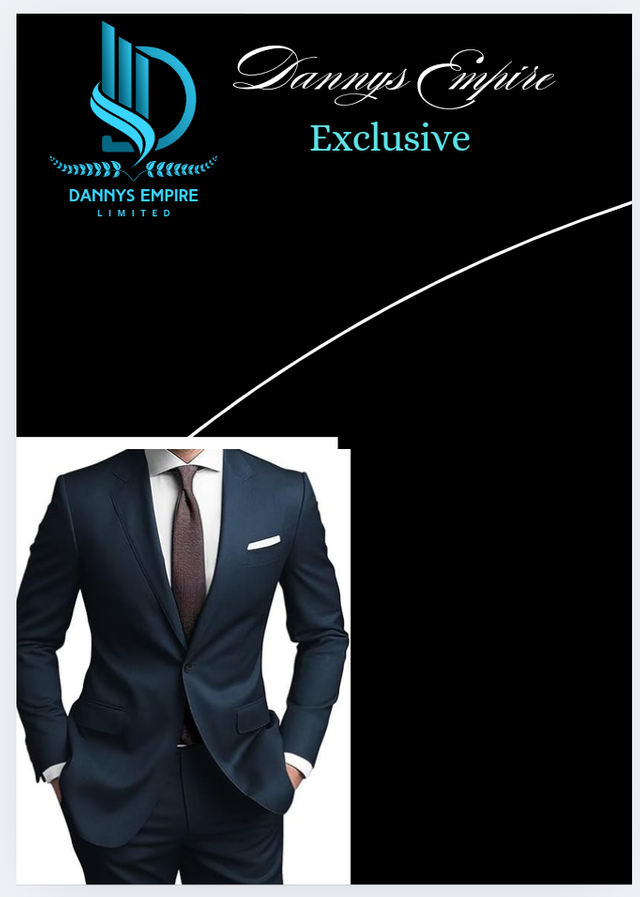
I moved on to the gallery again, and now I selected, from my gallery, the picture of a man in a suit as it corresponded with my concept. Afterward, I selected a white background rectangle and duplicated it, reducing the duplicate to a smaller size to perfect my intended design.
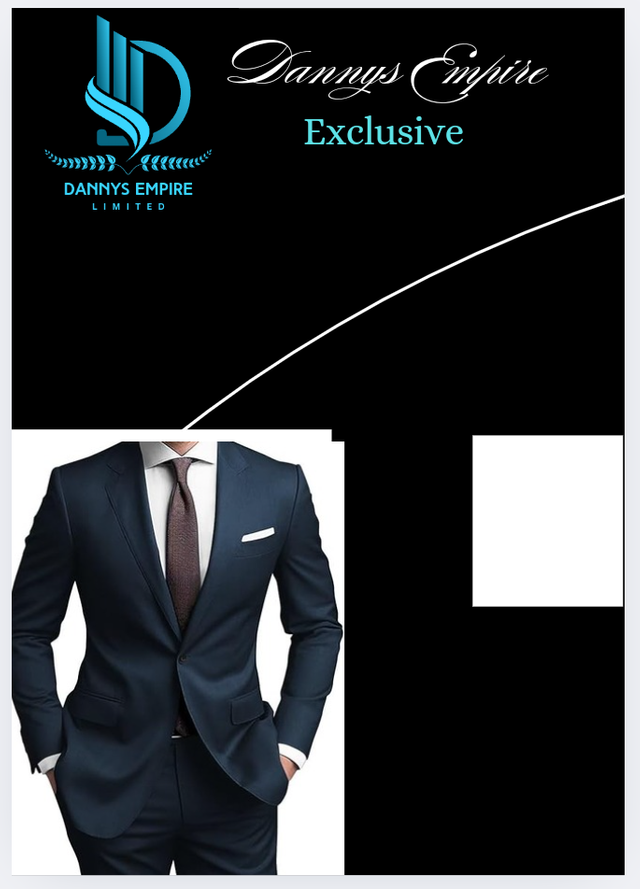
After positioning the small white rectangular background, I went back and clicked on the gallery uploaded a senator outfit, and then placed it on the small white rectangular background. It gave me a nice look hence, I duplicated the small white rectangular background into two and positioned them as seen in the picture below.
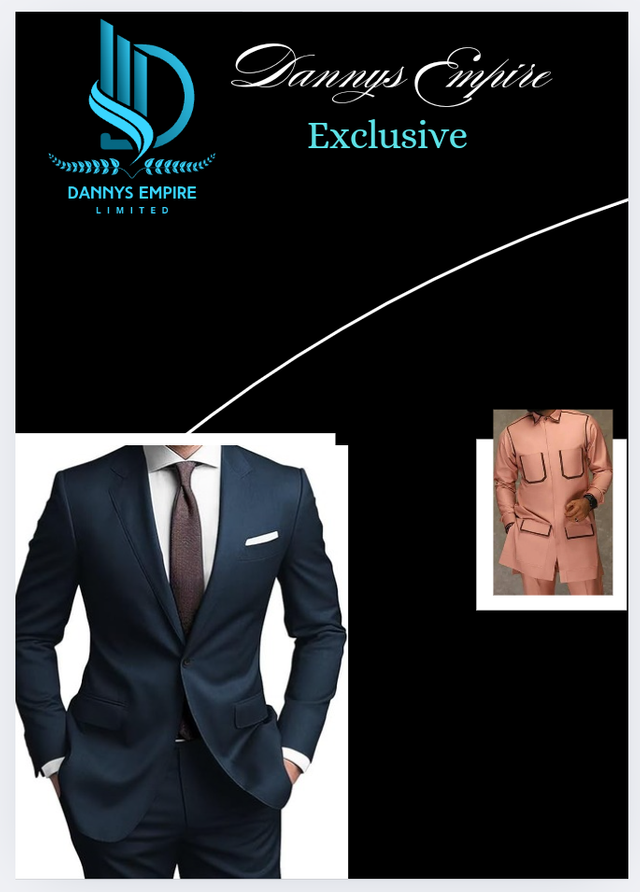
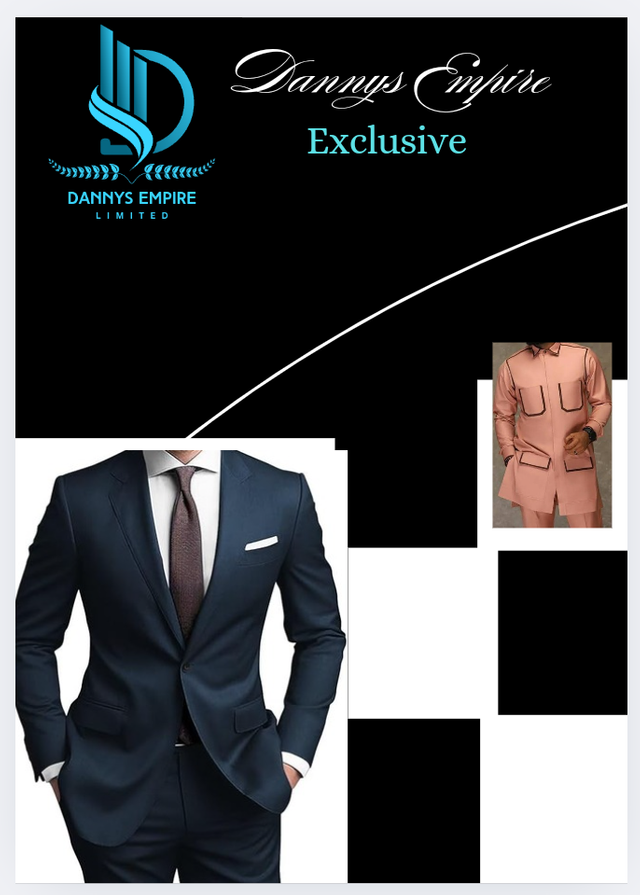
I went back and clicked on the gallery and selected two men's outfits, a shirt, and an Etibo, and positioned them in the small white rectangular background meant for it; it looked impressive to me. After that, I once again clicked on the "Text", then I typed the services rendered by this business and a footnote choosing a suitable color for them, and also positioned them where I deemed fit.
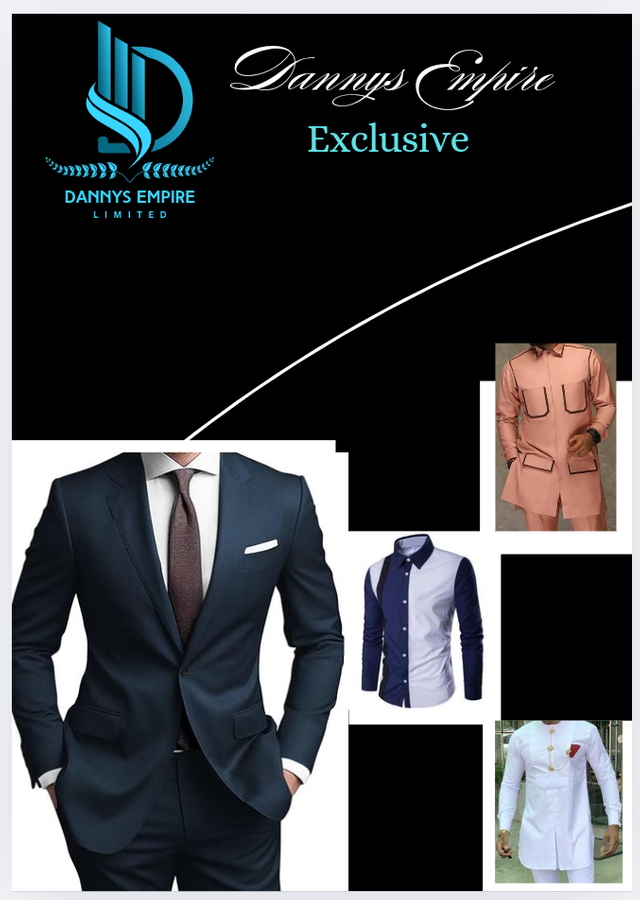

And this is the final result.

In making the above design, I needed to have it simple, using a few combinable colors. Also, the image used in the design depicts well the nature or services of the business. Furthermore, there is an agreement between the business name, the logo, and the footnote in design.
The business name isn't too long, the logo is easy to remember, and it can stand the test of time; that is to say, it will not at any point appear obsolete.
This is where we call it a day till we meet again in the upcoming class and I am inviting @onyiluvdan, @goodybest, and @eliany.
X promotion link
Downvoting a post can decrease pending rewards and make it less visible. Common reasons:
Submit
Hello @hisgeneral thank you for participating in this week's lesson. We have assessed your entry and we present the result of our assessment below.
Feedback:
Welcome back to class dear student.
Let me start by commending you for a job weldone, the effort put in this work is quite commendable.
Your flier design is not bad, however it still need a lot to make it look very professional, continuous exposure to the lessons you've learnt so far would help you further in your quest to get it
I personally think the design has too many Whitespace/blank and you didn't maximize the use of the principle of emphasis, it would have enhanced the look of the design, I mean a mixture of bold and light font would be very complementary. I wish you all the very best, Weldone!
Regards
@lhorgic❤️
Downvoting a post can decrease pending rewards and make it less visible. Common reasons:
Submit
Thanks my amiable graphics tutor, I am looking forward to improved performance, thanks for reviewing and mentioning areas requiring enhancement
Downvoting a post can decrease pending rewards and make it less visible. Common reasons:
Submit