If you're looking for a fun and creative crafting project, why not join us in making your very own Mr Colourful Octopus using the mesmerizing Doodledash technique?
This delightful DIY activity combines -
- Doodledash Holographic Cards https://www.doodledash.store/products/holographic-cards-a4
- Doodledash Pastel Cards https://www.doodledash.store/products/pastel-cards-a4
- Doodledash Silver Cards https://www.doodledash.store/products/silver-cards-a4
- Basic supplies like glue and scissors.
Follow along as we guide you step by step to craft this charming octopus creation.
Step 1: Tracing and Cutting
To begin, choose a blue sheet and start by sketching the outline of an octopus. Once you're satisfied with your drawing, meticulously cut out the octopus’s shape.
Step 2: Adding Holographic Strips
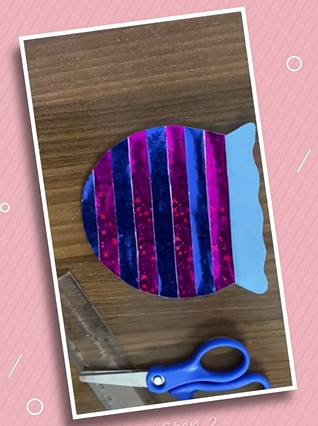
Now, take the captivating Doodledash Holographic Cards and cut strips measuring approximately 1/2 inch in width. These strips are available in both pink and blue shades. Apply these strips creatively around the edges of the octopus, forming a vivid and eye-catching border. The accompanying visual guide will assist you in creating this lively arrangement.

Step 3: Crafting the Octopus Legs
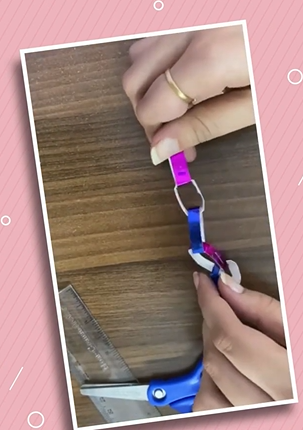
For the octopus's legs, we'll utilize the Doodledash Pastel Cards. Cut strips that are 1/4 inch wide and around 3 inches in length. These strips will serve as the foundation for the octopus's endearing legs.
Step 4: Assembling the Legs
This step invites your creativity to shine. Begin rolling the pastel strips, alternating between the pink and blue colours. This alternating pattern adds a touch of whimsy and vibrancy to the legs. The accompanying visual guide will assist you in creating this lively arrangement.

Step 5: Attaching the Legs
Using transparent glue tape, carefully affix the rolled legs to the underside of the octopus. This technique imparts a delightful three-dimensional quality to the octopus.
Step 6: Crafting the Eyes
For the eyes, select a Doodledash Silver Card. Fold the card and cut out two oval shapes. These will serve as the eyes of our colorful octopus creation.
Step 7: Adding the Final Touches
With the eyes prepared, it's time to breathe life into our octopus. Apply glue to the back of the silver ovals and affix them onto the body of the octopus. This step introduces a charming and expressive element to our craft.
And there you have it - your very own Mr Colorful Octopus, crafted with care and creativity.
For a comprehensive visual guide, watch the step-by-step video below that demonstrates each of these crafting stages in detail.