
^^Click on the above thumbnail to watch the tutorial as a video.^^
Today’s tutorial is about creating superb separators with Pixlr, as a free alternative to Photoshop.
I have recreated them from the design and information shared in @valorforfreedom’s STEEM School Photoshop Tutorials.
So I am going to talk you through how I made this separator, with Pixlr…

(Please feel free to use it)
SETTING UP
Step 1: Open Pixlr

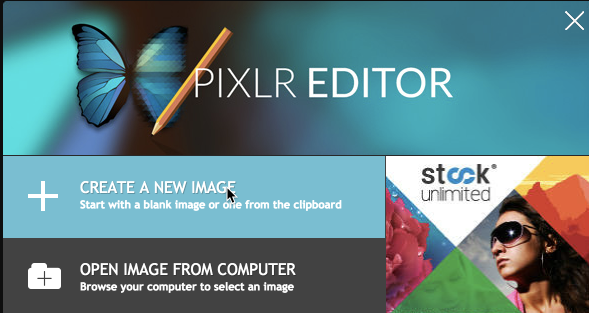
Step 2: Create a new image
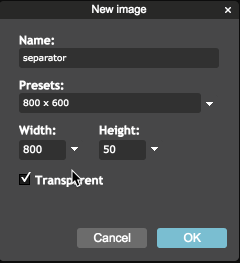
Step 3: Name your file, select width 800 and Height 50 and tick the transparent option as separators need to be saved as PNG files, to look good in Steemit posts.

THE LINE ACROSS
Step 4: Select the Drawing Tool
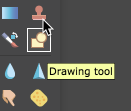
Step 5: Select either the rounded rectangle tool, or rectangle tool, Border size 2, make sure fill shape is ticked...

And select your colour
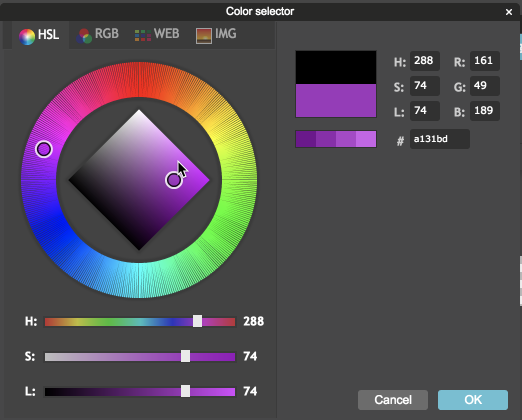
Step 6: Create a rectangle on the canvas, all the way across and use the move tool if need be to centre it.


THE CENTRE CIRCLE
Step 7: Next we need the drawing tool again to create an circle centre with the ellipse tool (I may have called this the eclipse tool in the video), using the same process as the rectangle above.

Step 8: create the ellipse shape in the middle of your separator, to centre it, you might need the help of an extra ruler app, or ruler to put on the screen, or by painfully counting pixel squares. (I used an additional ruler app in conjunction with Pixlr)


THE CENTRE PICTURE
Step 9: Go to Pixabay or somewhere you can get copyright free pictures and search for an image that you would like to put in the centre. (Bear in mind, it will end up quite small). It is easier to find something to that is simple to insert, if you select transparent as the search options, as this will make it easier to place in the separator.
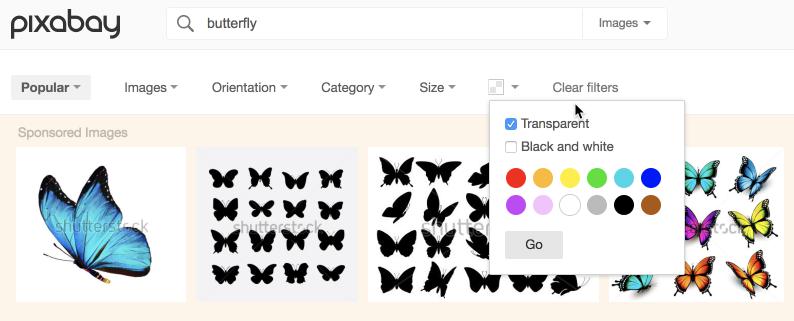
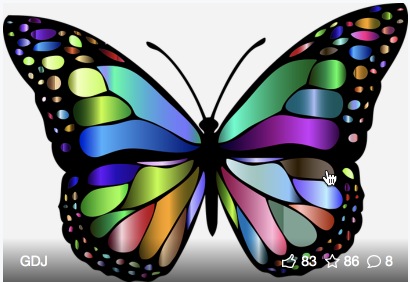
Step 10: Download the picture you choose.
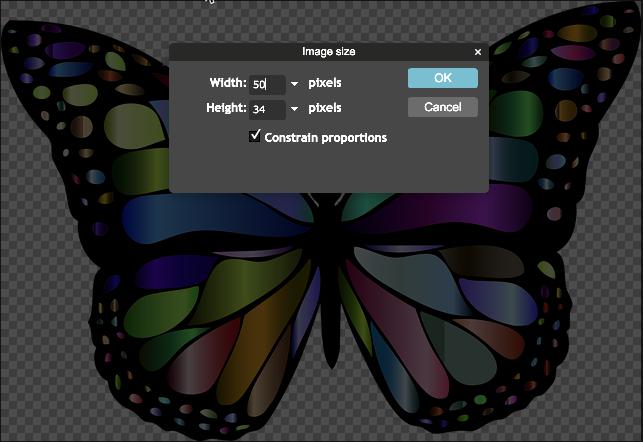
Step 11: Open it in Pixlr. Select image and image size and make it a size that will fit on your separator (I chose 50 px width and 34 px height).
Step 12: Press Crtl A to select all and then Crtl C to copy and close the picture to get back to your Separator.
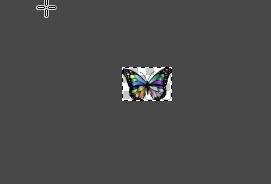
Step 13: Paste the picture in the middle of the separator and centre it.


FINISHED PRODUCT
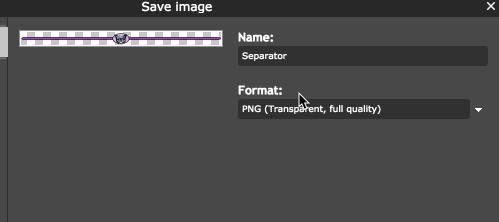
Step 14: Save it as a PNG file and it is ready to use as your separator in your own posts.
I hope you found this tutorial helpful. I kind of enjoy creating them.

Free daily crypto: Swift Coins
My STEEM Success Strategy (not free):Post 2 Profit

▶️ DTube
▶️ IPFS
YaaY!!!... Thanks for coming through @hopehuggs
I made one at last ...
I had difficulties trying to fit in the center picture on the center circle
First of all i couldn't locate the middle of the rounded rectangle because i couldn't summon the rule.
I had to place the cursor at the end of the rounded rectangle while looking at the Navigator on the right hand side of the screen to see the figure, then i divided by 2.
Placing the center picture after resizing was also tricky ...
I observed the center picture is on default to always be at the center ( please correct me if am wrong), This made me realize that the center circle i drew earlier was misplaced because the picture wouldn't fit in.
I had to redo and undo several times! ..loL!!!
Am not as good as you are but gradually i'll get the hang of it.
Downvoting a post can decrease pending rewards and make it less visible. Common reasons:
Submit
Yes the ruler was an additional app to pixlr, so that I could center it, as I don't have a good eye for these things.
Nice separator. Good job.
Downvoting a post can decrease pending rewards and make it less visible. Common reasons:
Submit
I need to try this. I stole one from a friend's post when I did curation for him.... But I need my own unique separator. I need to go working.
Thanks for the tutorial @hopehuggs
Downvoting a post can decrease pending rewards and make it less visible. Common reasons:
Submit
Pleasure @warpedpoetic, I am happy you found it useful. I look forward to seeing your separator.
Downvoting a post can decrease pending rewards and make it less visible. Common reasons:
Submit
Another great tutorial from you, now I know How to Create Superb Steemit Separators with Pixlr.com
I think this post should handy and a reference incase I encounter any challenge while trying to create it.
Downvoting a post can decrease pending rewards and make it less visible. Common reasons:
Submit
I think I could try and create a template too, so that all that would be needed to do is change the color and add the picture. I will look into today.
Downvoting a post can decrease pending rewards and make it less visible. Common reasons:
Submit
Wow,
This will be great
I will really love to see this
Can't wait for the post today.
Downvoting a post can decrease pending rewards and make it less visible. Common reasons:
Submit
Awesome job @hopehuggs - thank you. I've been wondering how you did the separators. Now if I could just get my thumbnail to appear ...
Downvoting a post can decrease pending rewards and make it less visible. Common reasons:
Submit
Thanks so much @hopehuggs. I'm going to try this today. I'm always in awe of the creativity on some posts and not very good with creative software so this is extremely helpful.
Downvoting a post can decrease pending rewards and make it less visible. Common reasons:
Submit
Creativity made simple with Pixlr! Let me know how it goes.
Downvoting a post can decrease pending rewards and make it less visible. Common reasons:
Submit
Pixlr , Picsart and Snapseed is the phone app you can create everything there just like photoshop you just must be creative
Downvoting a post can decrease pending rewards and make it less visible. Common reasons:
Submit
There is always a way where there is a will. Thank you for sharing the extra resources too.
Downvoting a post can decrease pending rewards and make it less visible. Common reasons:
Submit
You're welcome my dear
Downvoting a post can decrease pending rewards and make it less visible. Common reasons:
Submit
Thanks for sharing. Pretty useful tutorial, will probably come in handy somewhere along the way.
Downvoting a post can decrease pending rewards and make it less visible. Common reasons:
Submit
yeah, this will be very handy
Downvoting a post can decrease pending rewards and make it less visible. Common reasons:
Submit
I hope it will help somewhere along the line.
Downvoting a post can decrease pending rewards and make it less visible. Common reasons:
Submit
Nice tutoria, though I am still new here and need to study all the necessary tools that will make my Steemit journey a wonderful experience.
Downvoting a post can decrease pending rewards and make it less visible. Common reasons:
Submit
Nice tips, i think its important, that when you post something it must look good and be easy too read.
Someone posted some content from his book, and didnt edit andything,
all text was all at once, i couldnt read it,
so why bother post something they dont put any effort to edit so it can be readable?
Downvoting a post can decrease pending rewards and make it less visible. Common reasons:
Submit
Hey, great tutorial!
I wish that tools like Pixlr and photoshop, for that matter, had a good centering tool. I work in a 3d design program called sketchup that marks centers and MAN is that handy. Nicely detailed, well thought out.
I'll be sure and mention it in an upcoming article. Also, if you're interested, you can share your best tip and win some SBD. Just go here. Follow @dolphinschool for lots of great steemit training! @markrmorrisjr
Downvoting a post can decrease pending rewards and make it less visible. Common reasons:
Submit
i was always searching for something like this for my post so this is done like this thanks a lot @hopehuggs for sharing a perfect tutorial :)
Downvoting a post can decrease pending rewards and make it less visible. Common reasons:
Submit
I've been waiting for this. Will give it an upvote as soon as my voting power is above 80%. Great video!!!
Downvoting a post can decrease pending rewards and make it less visible. Common reasons:
Submit
Thanks for this great tutorial on how to use Pixlr. I really like Canva and may give it a whirl over there. Isn't Steemit fun and making the formatting special with these dividers is a great way to make posts stand out!
Downvoting a post can decrease pending rewards and make it less visible. Common reasons:
Submit
Great, I used snapseed app for phone to editing photo is a great app actually.
Downvoting a post can decrease pending rewards and make it less visible. Common reasons:
Submit
I struggle with photo editor software so I'm so grateful for your visual steps in using the editor to get the final product. Thanks for helping me get started here at Steemit.
Downvoting a post can decrease pending rewards and make it less visible. Common reasons:
Submit
Hello Helen Doherty! Great!!! I am waiting for such a post like yours teaching me how to make separators. Your instructions are clear and easy to follow. Now I know pixlr.com is a good site!!! Thank you for your hard work. Love you, God Bless.
Downvoting a post can decrease pending rewards and make it less visible. Common reasons:
Submit