I had a old paper that I wrote and didn't know if you guys would like it.
so here it is!

How to Build a Pc
What your going to need:
⦁ Motherboard
⦁ CPU(Central Processing Unit) or APU(Accelerated Processing Unit)
⦁ Heatsink and CPU Fan
⦁ RAM(random Access Memory)
⦁ HDD(Hard Drive Disk) or SSD(Solid State Drive)
⦁ GPU(Graphics Processing Units) - optional
⦁ PSU(Power Supply Unit)
⦁ Case
⦁ Case Fans
Preparation:
In order to build your computer you are going to need to make sure you have everything ready before you start.
⦁ Magnetic Phillips Screwdriver, this will ensure that when handling the screws you do not drop them, it also makes it easier to pick them up if you do drop them. If you don't have a magnetic screwdriver you can just use a normal one, but be careful not to drop the screws!
⦁ Non-Metal Workspace, you want to make sure you are not working on a metal workspace because metal is an electrical conductor and any form of an electrical current can damage your parts.
⦁ Anti-Static Wrist Strap, static can damage your parts as well, so you have to be careful you don't have any electrical static discharge build up. If you don't have an Anti-Static wrist strap don't worry, just plug your PSU into an outlet, turn it off by setting the power switch to 0 and that's it! just make sure you touch it every couple of minutes to make sure you don't have static buildup.
If you have a wrist strap then just clip it onto your PSU.
⦁ Time, building a computer normally takes a good amount of time especially if you're just learning, so make sure you have a couple of hours before you start building your Pc, you do not want to leave any of your components out of the case or box where others can get to them and possibly break them.
⦁ Monitor, Mouse and Keyboard, you will need a monitor, mouse and keyboard to ensure that your all your components are working.
A Few Tips Before We Start:
If you ever need to know where something is located or what a part is, consult its manual, the manual normally always will have what you're looking for.
Don't ever apply with a lot of force as it could easily break something, normally if you have to force something on its either not supposed to go there or something is stuck in the connectors.
Pre-Build:
First we are going to start by assembling most of the components outside of the case so we can test them and make sure they work before screwing them into the case.
Step 1.
Start by taking your motherboard out of its box and removing the anti-static wrap, you then can lay your motherboard on top of an anti-static mat or the box it came in.
Note: Do not lay your motherboard on the anti-static wrapping it came in!
The outside of the anti-static wrapping can sometimes conduct static so do not lay your parts on top of it!
Step 2.
(Figure A)
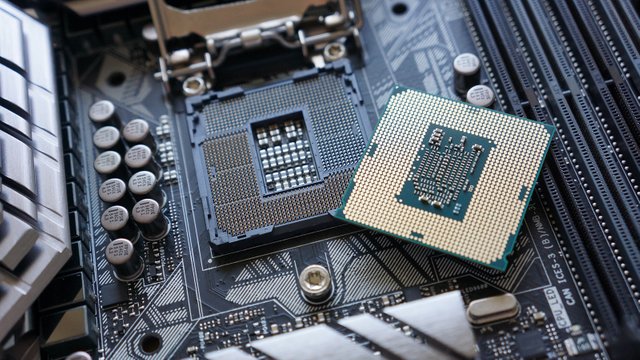
We will first install the CPU(see figure A), on the CPU socket there should be a cover and a latch that keeps the cover down. Lift the latch up and do the same with the cover, now that the pins are exposed take caution not to drop anything in it or leave it lying around as it can damage the pins.
Step 3.
Take your CPU(make sure not to grab the pins on the bottom) and look for a little triangle on one of the corners and align that with the corresponding triangle on the motherboard. then gently place the CPU on the socket making sure you aren't applying any pressure. confirm that it is in place by gently wiggling it, if it doesn't move than your good! if it does you may need to lift it up and double check that it is aligned correctly then try again.
Step 4.
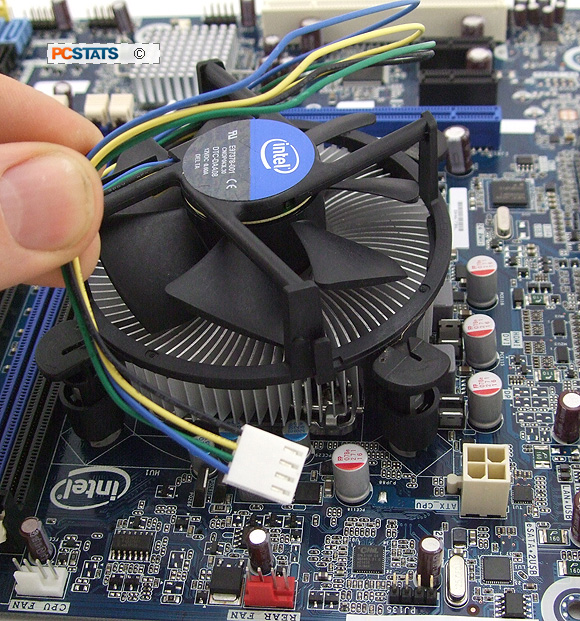
Installing your CPU heatsink and fan(see figure B):
Most CPU's now days come with stock heatsinks and fans but you can still use an aftermarket heatsink and fan for better performance but right now we are going to teach you how to install a stock heatsink with pre applied thermal paste.
(Figure B)
Your motherboard should have 4 holes next to the CPU socket. Those holes are pin holders for the heatsink and fan. Start by finding a 4 pin prong that should be labeled "CPU FAN" consult the manual if you can't find it, then align the heatsink with the holes in a way that the power connector doesn't have a ton of slack so you don't have a wire dangling on your motherboard.
Then place the fan in the holes, make sure it's aligned with the holes properly then proceed to push down the bottom left corner heat sink pin until you hear a click, then do the same thing to the top right corner pin, then push in the other 2 remaining pins in. Once the heatsink and fan are secure, plug the 4 pin connector into the prongs labeled "CPU FAN".
Congratulations your heatsink, fan and CPU are now installed!
Note: The reason we start with the bottom left pin then do the pin diagonal to it so we apply even pressure on the board.
Step 5.
Installing the RAM otherwise known as Memory(see Figure C).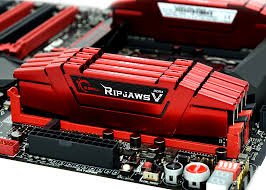
(Figure C)
Note: if you are using two RAM sticks you can use dual channel for faster speeds, consult your manual for help on which slots to insert them into.
Find the memory slots on your motherboard(normally located near the socket, consult manual for help) and pull back the latches, align the grooves in the RAM sticks with the lumps on the DIMM slots and slide the sticks in until the latches close themselves.
Note: Installing the RAM sticks normally require more pressure than expected, so make sure it's lined in perfectly before applying more pressure.
Step 6(Optional).
Installing your GPU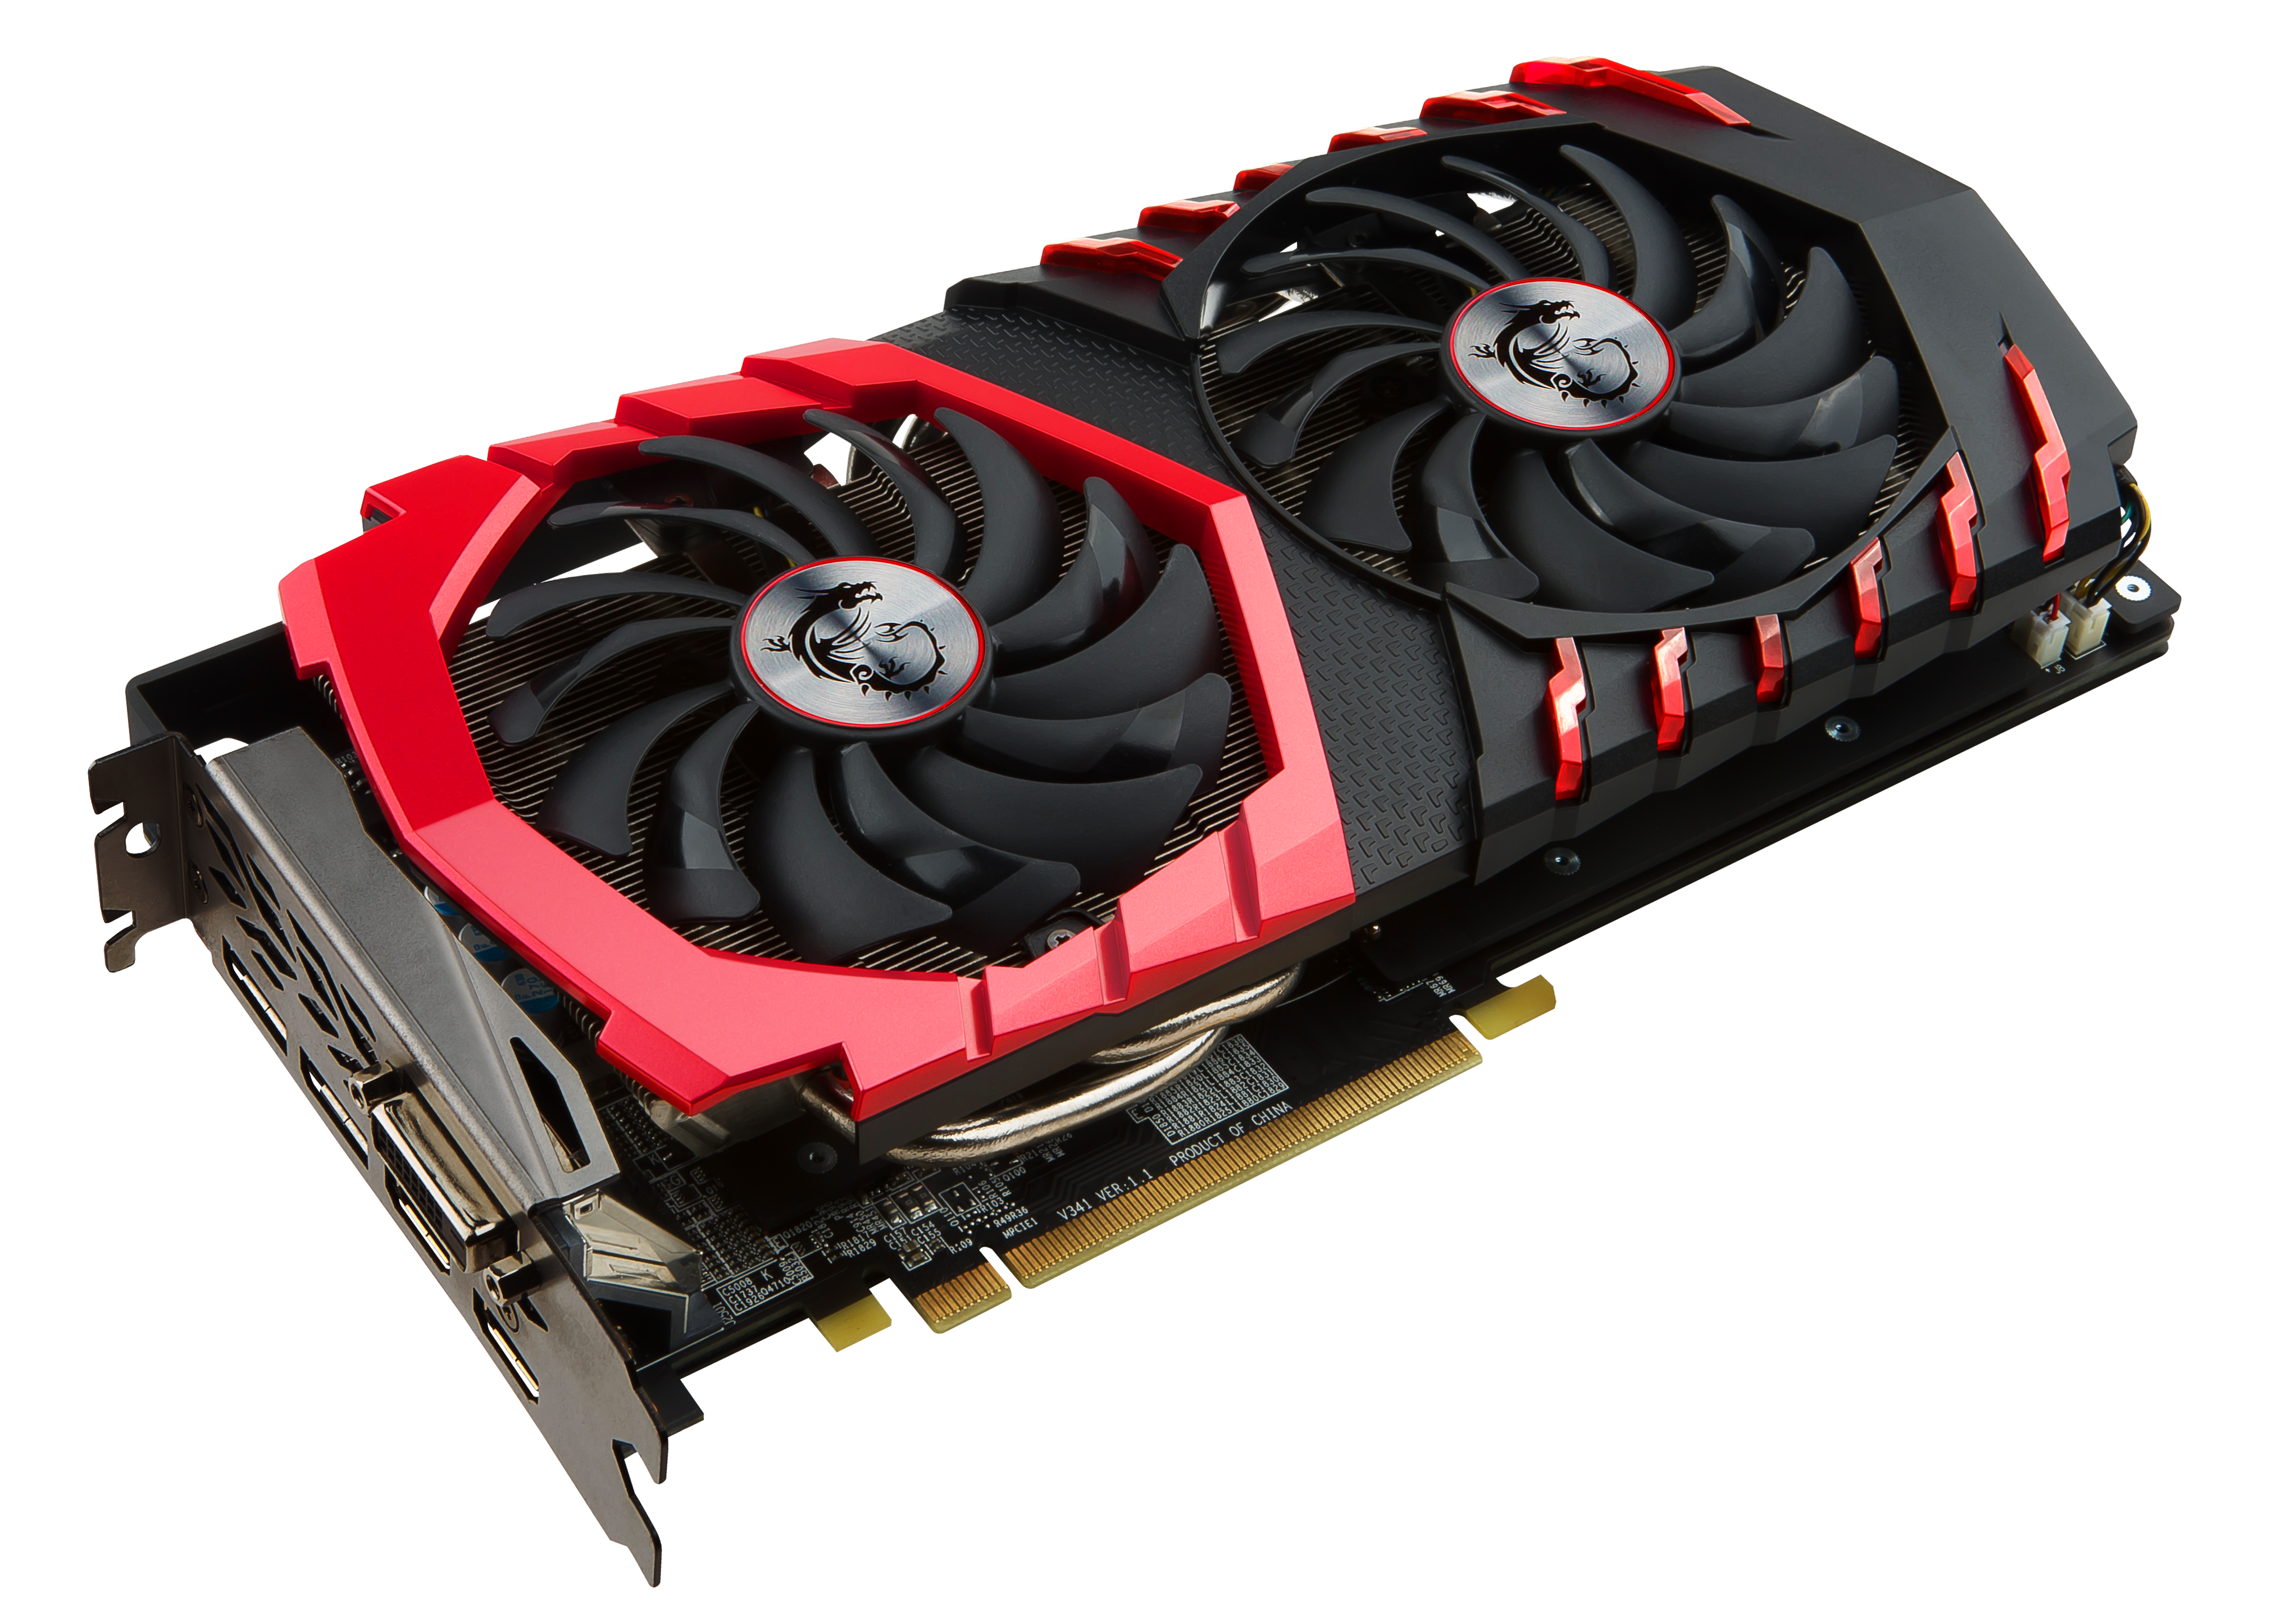
(Figure D)
Find the PCI-E slot and unlatch the latch, then take your GPU(see Figure D) and place it into the slot, make sure the grooves in the card line up with the lumps in the slot.
Note: Be careful with the GPU because it is not secured yet, if you are not careful you can snap the card with enough preasure!
Step 7.
Powering your motherboard.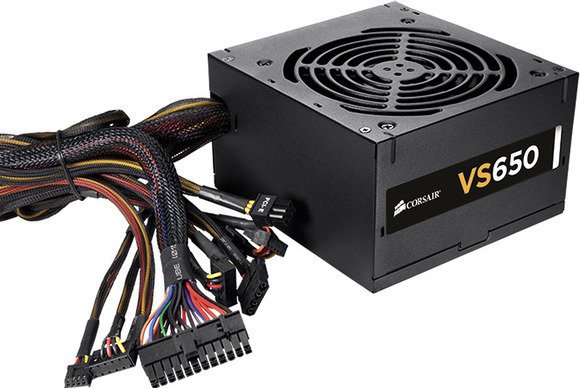
(Figure E)
Now it's time grab your power supply,
Cords you need:
⦁ 20+4/20 pin connector
⦁ 4+4/8 pin connector
⦁ PCI-E connector(for gpu)
Take your 20+4/20 pin connector and attach it to the ATX/M-ATX/ITX Power connector on your motherboard(consult manual).
Then attach the 4+4/8 pin connector to the CPU power connector on your motherboard(consult manual).
Next you going to want to power your graphics card if you installed one(step 6), take your PCI-E power connector and plug it into the GPU(consult manual).
Step 8.
Testing the system.
(Figure F)
Next your going to want to hook your monitor, mouse, and keyboard to your motherboard(plug monitor into gpu if one is installed).
Once you've done that you will need to power it on to check that everything is working, if your motherboard has a power button simply click that, if it doesn't check your manual for help on turning it on.
If your motherboard powers properly on you should be greeted by the UEFI/BIOS.
If everything is working you may proceed to the build, if not than you might want to make sure everything is pluged in correctly and that you didn't skip any steps, if you're still having problems you motherboard may be dead and you will need to contact the manufacturer.
The Build:
Now that you have tested and made sure everything is working in proper working order you are going to want to unplug the power connectors and remove the GPU and all other cables connected from your motherboard and open up both back and front panels to your case.
Step 1.
Mount your Power supply into your case, check your manual for help.
Step 2.
Take your I/O shield that came with your motherboard and pop it into the case, it should make a click sound, If you're having trouble getting it in use your back of your screwdriver to push the corners in.
Step 3.
Place your motherboard inside the case and slide the I/O ports into the I/O shield and align the motherboard screw holes with the standoffs inside the case.
Step 4.
Take your case manual and check what screws are used to mount the motherboard, next check your cases manual and find out what size screw is used for the motherboard installation.
Now take your screws and your screwdriver and screw the motherboard into place.
don't tighten the screws too hard or you might damage the motherboard or have trouble removing it from the case later.
Step 5.
Mount your case fans, HDD/SSD, PSU and your Optical Drive(if you have one).
Step 6.
Now it's time to wire everything up, Start routing the 20+4/20 pin Motherboard Power connector and plugging it into the motherboard. Next take the 4+4/8 pin CPU connector and route it to the proper place on the motherboard(this one can be tricky).
Step 7.
Take your SATA power connector and plug it into the HDD/SSD. Then take a SATA data cable and plug it into your motherboard (check manual to make sure it's "SATA PORT" not "SATA EXPRESS PORT") next plug the other end into your HDD/SSD.
Note: If you have an optical drive repeat step 6 for the optical drive.
Step 8.
Take your fan connector cables and look for the 4 prong connector on your motherboard labeled "CHASSIS FAN"(consult manual for help) and plug them into the motherboard.
Note: If you case already came with fans pre-installed it's likely that they are powered by a molex/SATA cable, if this is the cause you can take a molex/SATA cable from your PSU and power it. but if your motherboard supports fan control you can unplug the fans and plug them into your motherboard.
Step 9.
Install your graphics card, this will require you to remove a couple of panels on the case(consult manual if you need help).
Now take your PCI-E power connector and plug it into your GPU
Step 10.
All cases come with a power button, some cases come with HD audio out, LED HDD monitor, USB and Reset connectors that you plug into the motherboard. if you have any of those consult the manual for the correct ports on the motherboard and connect them.
Note: Some cables have a Positive(+) and a Negative(-) connector, make sure you plug them into the correct port
Step 11.
Once you have all your cables plugged in you're going to want to grab the zip ties and twist ties that came from all your cords or that the case company provided. Take your ties and route the cables neatly in the back. Make sure none of the cables are sticking out in the back because you have to leave room so you can put the back panel on when you're finished.
You're Finished with your build! All you have to do is install windows! we will show you how to install windows if you have a optical/external drive, if you don't you will need to look up how to do a USB install.
OS(Operating System) Installation:
Start by plugging in your ethernet cable, Monitor, Keyboard, Mouse to your motherboard and turning on your power supply.
Step 1.
If you have more than 1 storage drive you're going to want to unplug all the drives except the drive you're installing windows to. Once you've done that you can go ahead and turn on your computer then rapidly start pressing "DELETE" key on your keyboard to enter the UEFI/BIOS.
Step 2.
insert the Windows disk into your optical drive.
Step 3.
Go to the Advanced tab and head over to Storage Configuration, make sure your SATA Mode is set to AHCI if you are using one drive and RAID if you are planning on setting up a RAID config.
Note: Settings may be located in different areas depending on your motherboard, make sure to check in the manual.
Step 4.
Then go to the boot menu and choose your optical drive as Boot Option #1. Next go to exit and save changes.
Step 5.
After your computer reboots again hit enter to load your disk, Window Is going to ask you to choose a language. then it's going to ask you for your windows key, you can find your key somewhere inside or on the outside of the package it came in.
Step 6.
Agree to terms and services, then choose custom setup. You should see an Unallocated drive, if you see any partition drives delete them. Click the Unallocated drive and click next.
Now we wait, it should take around 10-30 mins to install.
Step 7.
Windows will present you with multiple customization options, like if you want to share your data with them and other things like that, I personally just uncheck anything that involves sending data to microsoft, the rest I leave checked.
Step 8.
Your computer now has windows installed! Now you will need to install the drivers to tell your system how to communicate with its own parts. You can start by inserting the disk that was included with the motherboard and installing the LAN drivers so you can connect to the internet.
After you installed the LAN drivers you are going to want to head over to your motherboard manufacturer's website and find your model, then download the necessary drivers like Audio, Chipset and Rapid Storage Drivers. If you have a GPU you will want to go to your GPU manufactures website to install drivers for that.
THAT'S IT!! YOU ARE DONE!!!!
For those of you wondering, I currently use my rig(first pic) for ETH mining, Burst mining and gaming!
Liked and followed, PC building is fun (I built my first a long time ago haha). Nice post!
Downvoting a post can decrease pending rewards and make it less visible. Common reasons:
Submit
Thanks, Ever since I built my first pc I have been hooked on them lol
its too addicting!
Downvoting a post can decrease pending rewards and make it less visible. Common reasons:
Submit
wrong
"Step 2.
insert the Windows disk into your optical drive."
really should be
Step 2.
Insert Usb with Linux installer into usb port
;)
Downvoting a post can decrease pending rewards and make it less visible. Common reasons:
Submit
lol, linux fan arn't ya :)
Downvoting a post can decrease pending rewards and make it less visible. Common reasons:
Submit
linux >>>>>
Downvoting a post can decrease pending rewards and make it less visible. Common reasons:
Submit