Hey steemers, I would like to share with you the art of screen printing.
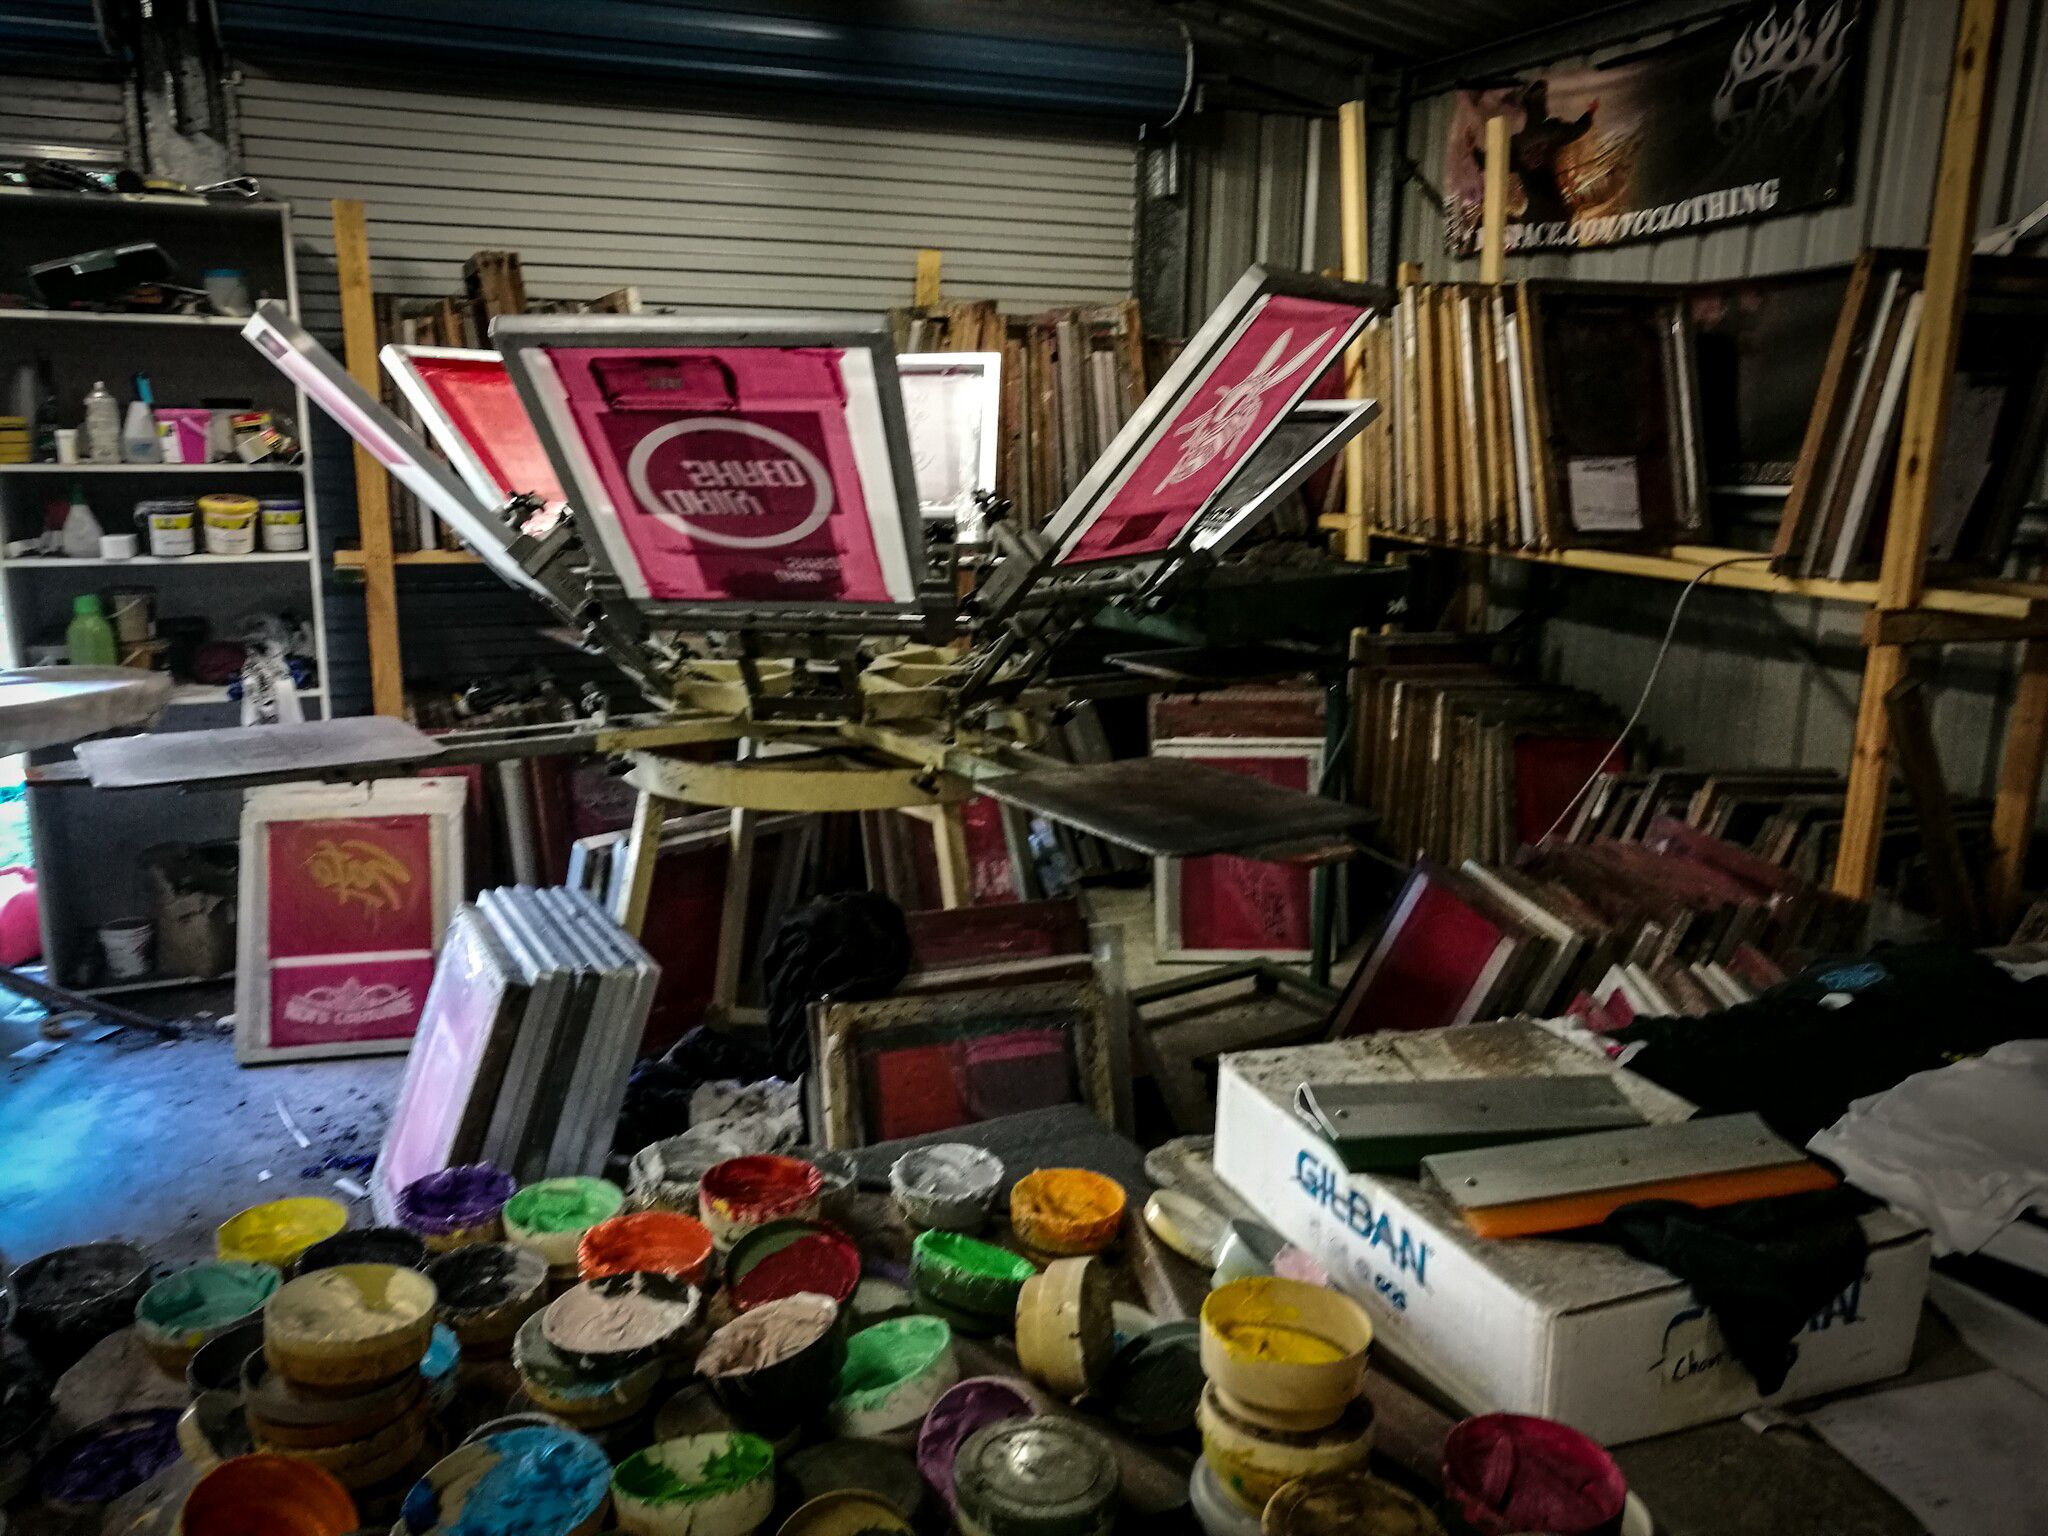
6 colour carousel
This is a dying art due to all the automatic screen printing machines and direct to garment printing.
But I am keeping the dream alive and business is good ☺.
I started screen printing in 1997 and in 1998 started my clothing label called VC Clothing.
Check out my website right here --->
http://vcclothing.com/shop/
Hence my steemit name vcclothing 😁
In 2002 I went full time with my screen printing business and have never looked back!
Here is a simple run through of the process of screen printing a shirt with plastisol ink from artwork on your computer to the finished tshirt.
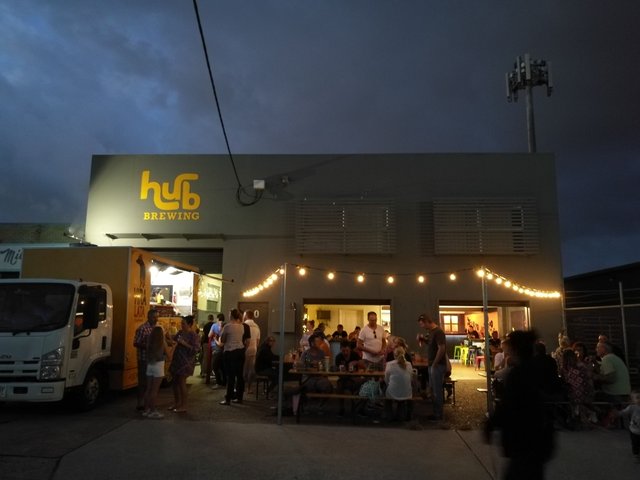
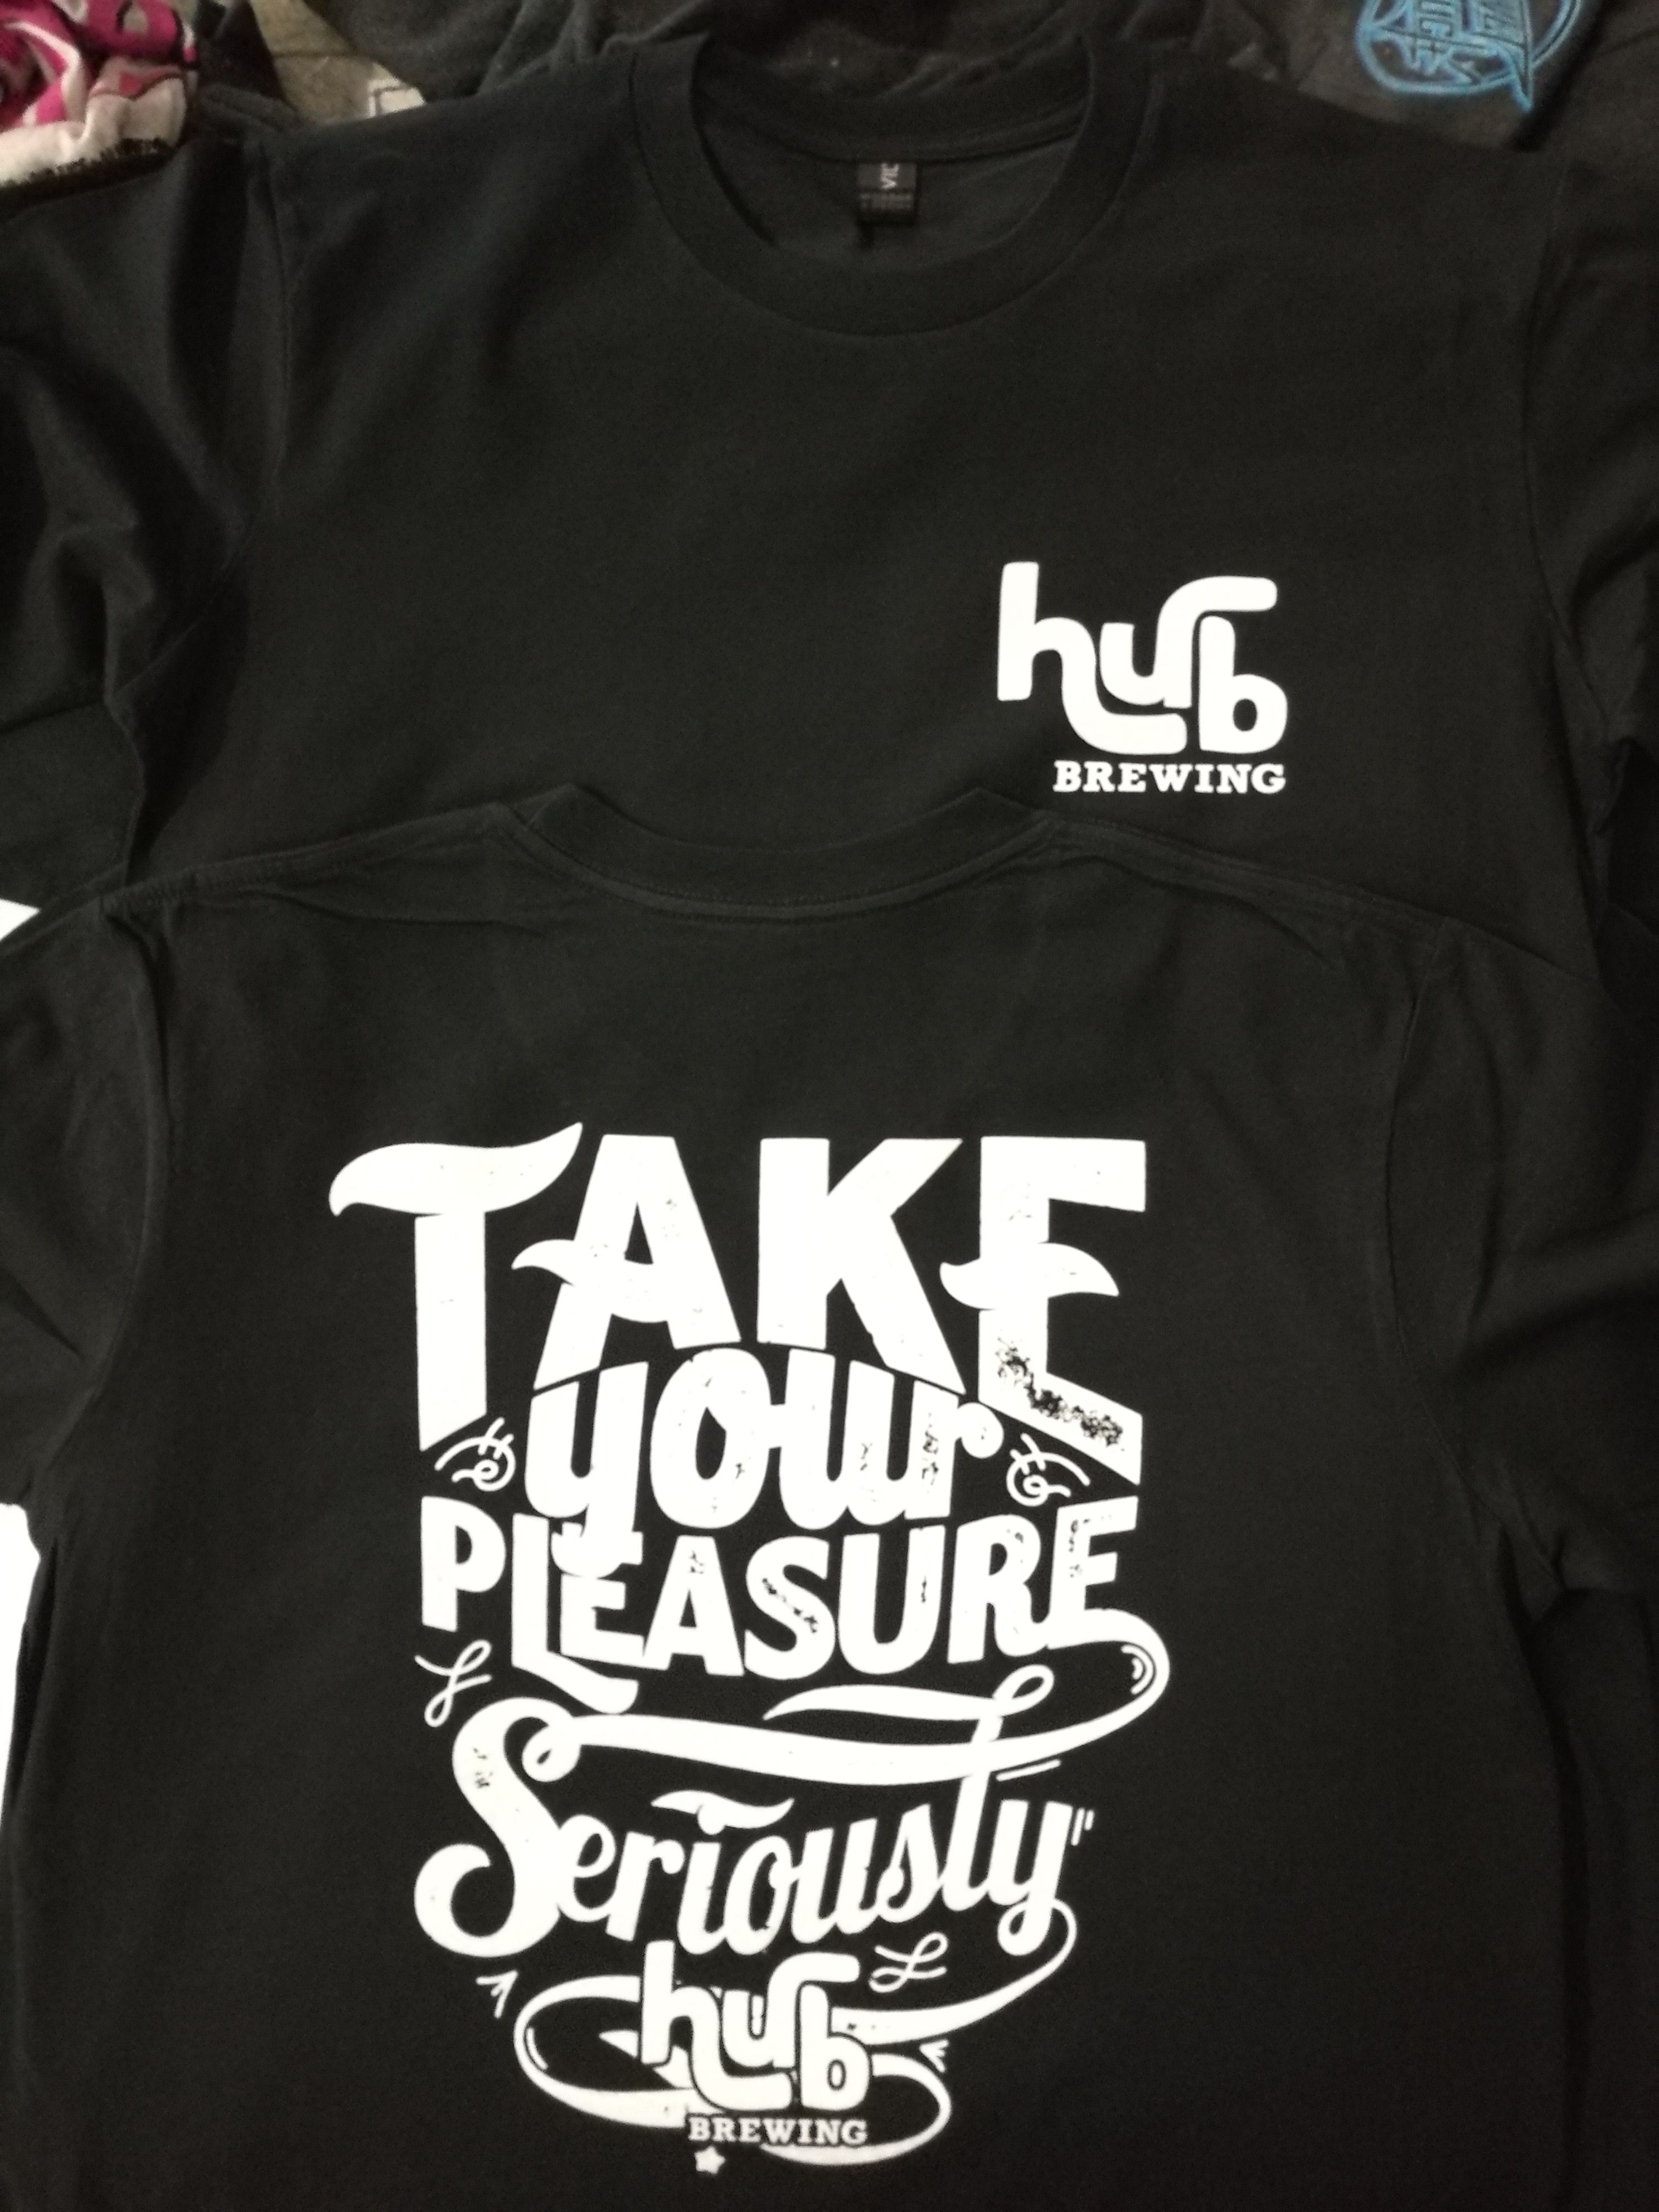
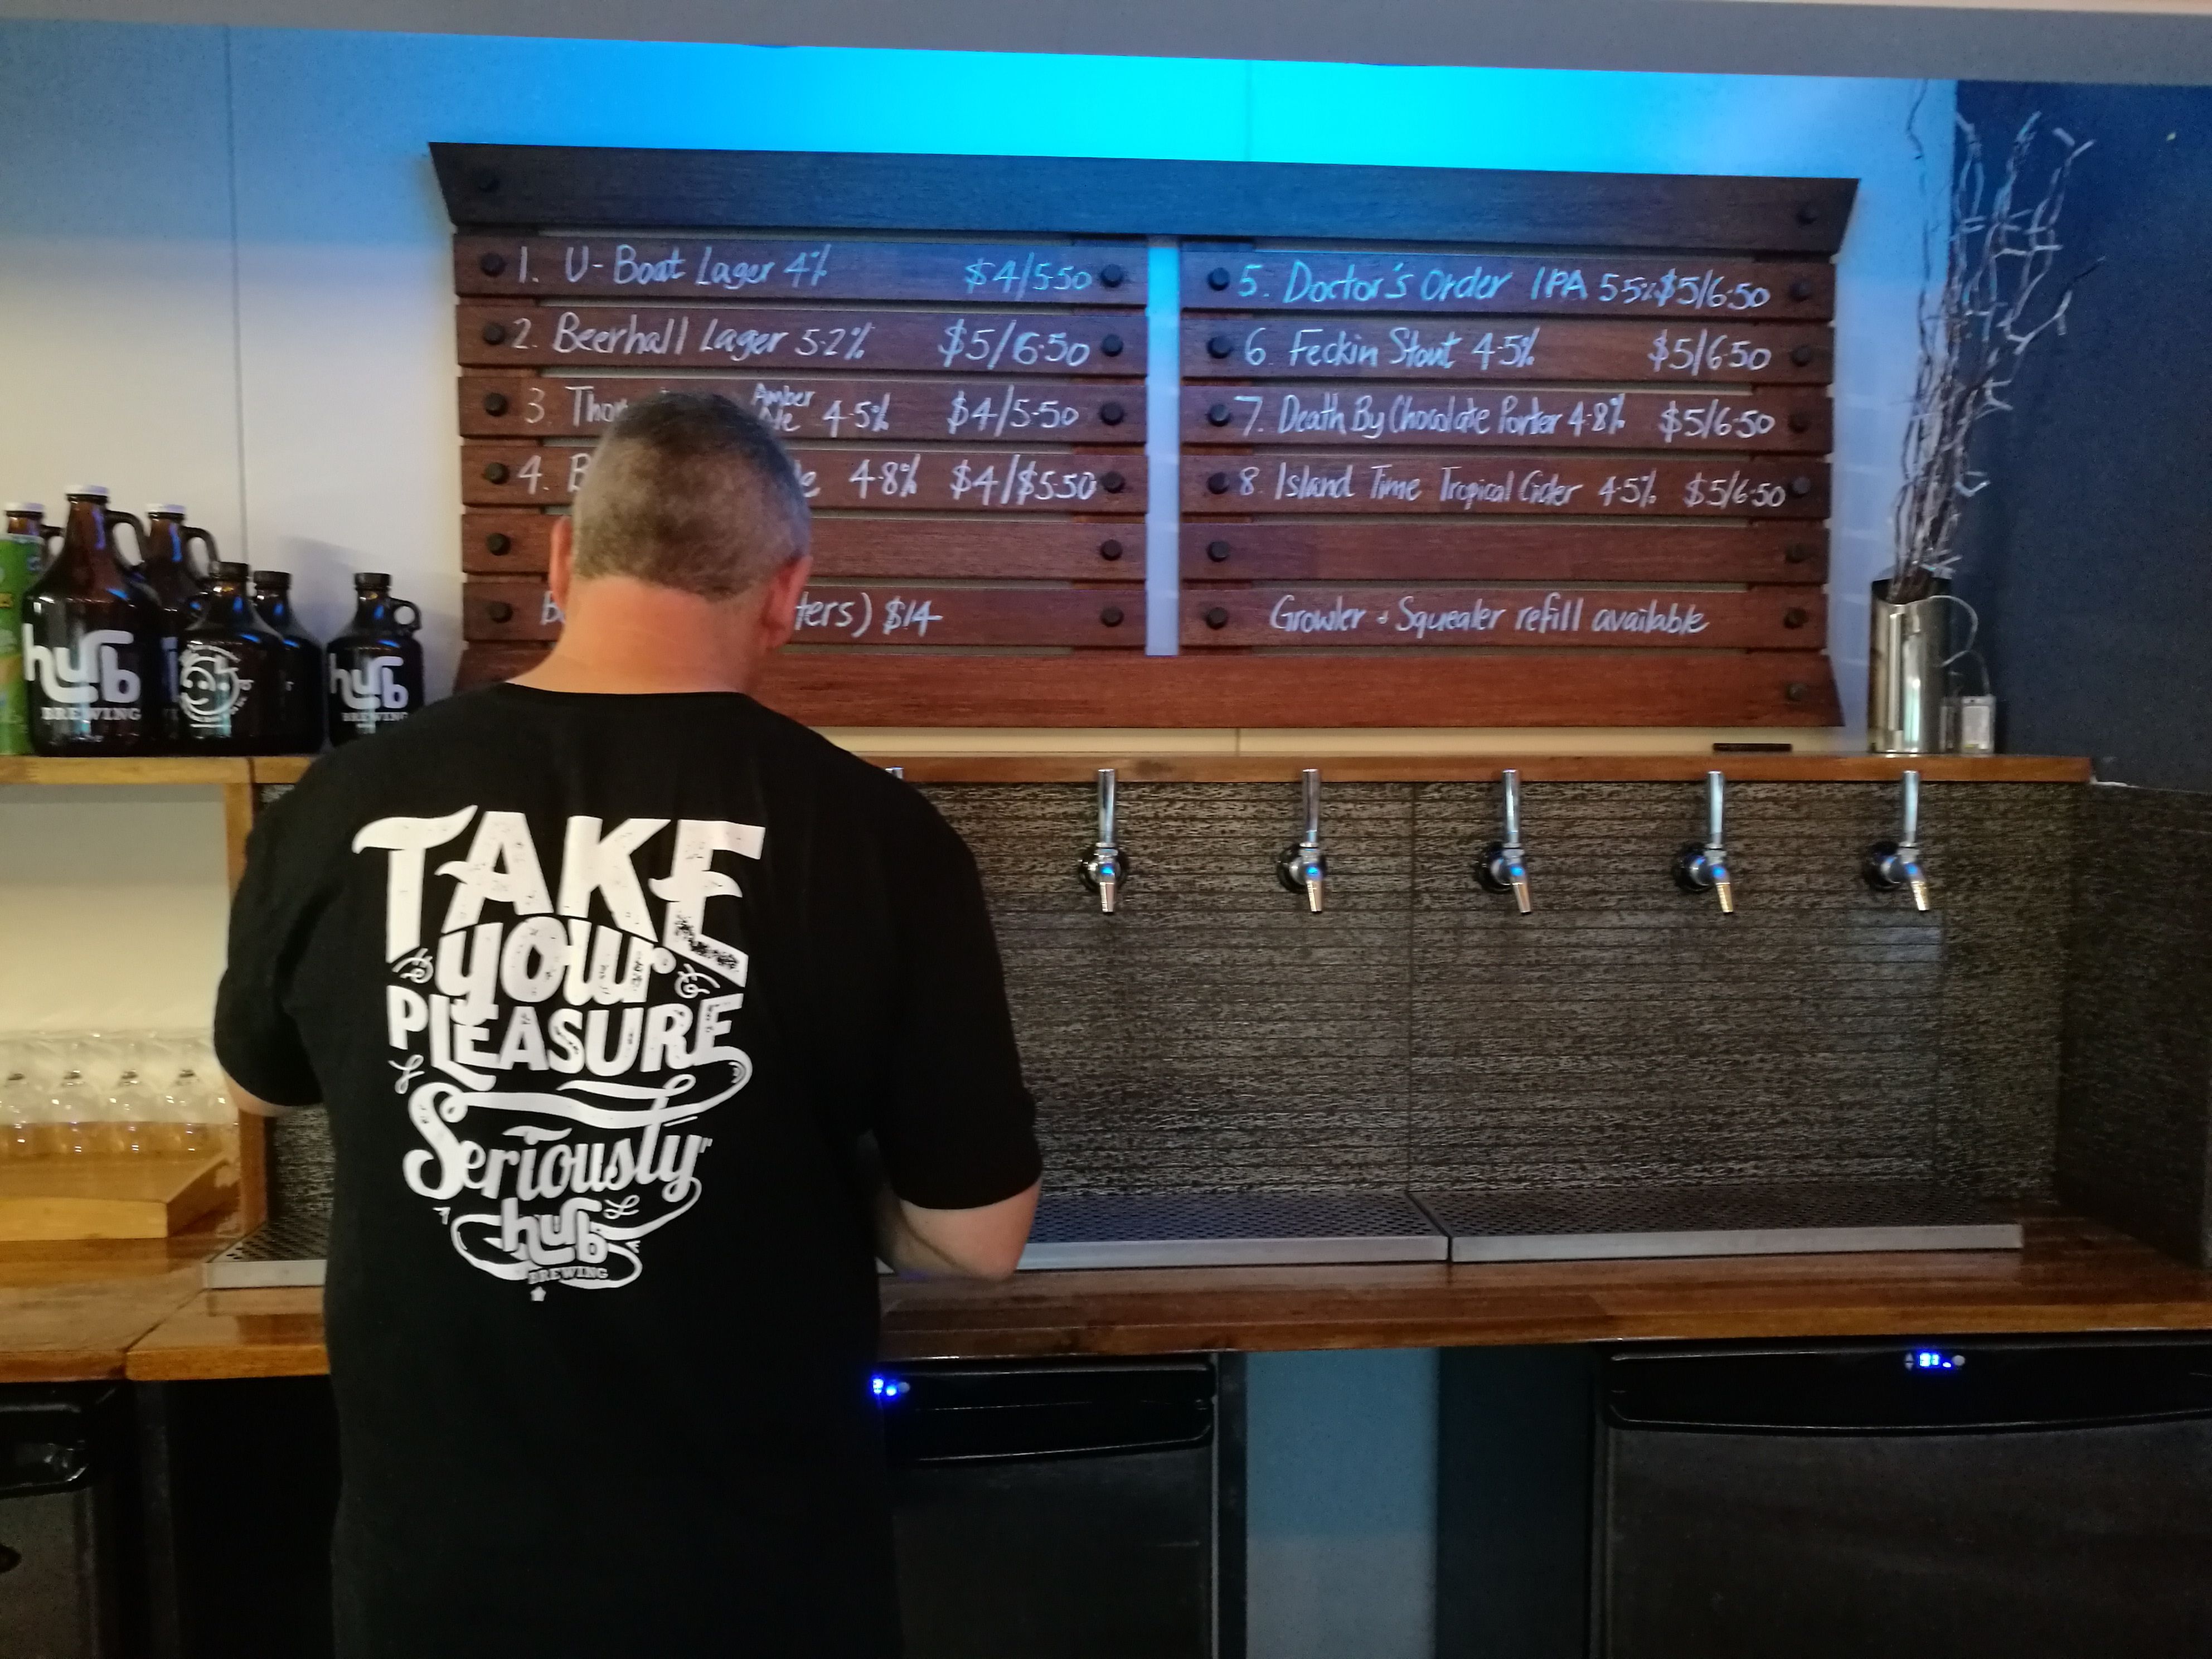
The client is "The Hub Brewery" a micro brewery down the road from my house. They were after a 1 colour front print and a 1 colour back print on work shirts.
Step 1
Artwork
Make sure the image is hi resolution and not pixelated.
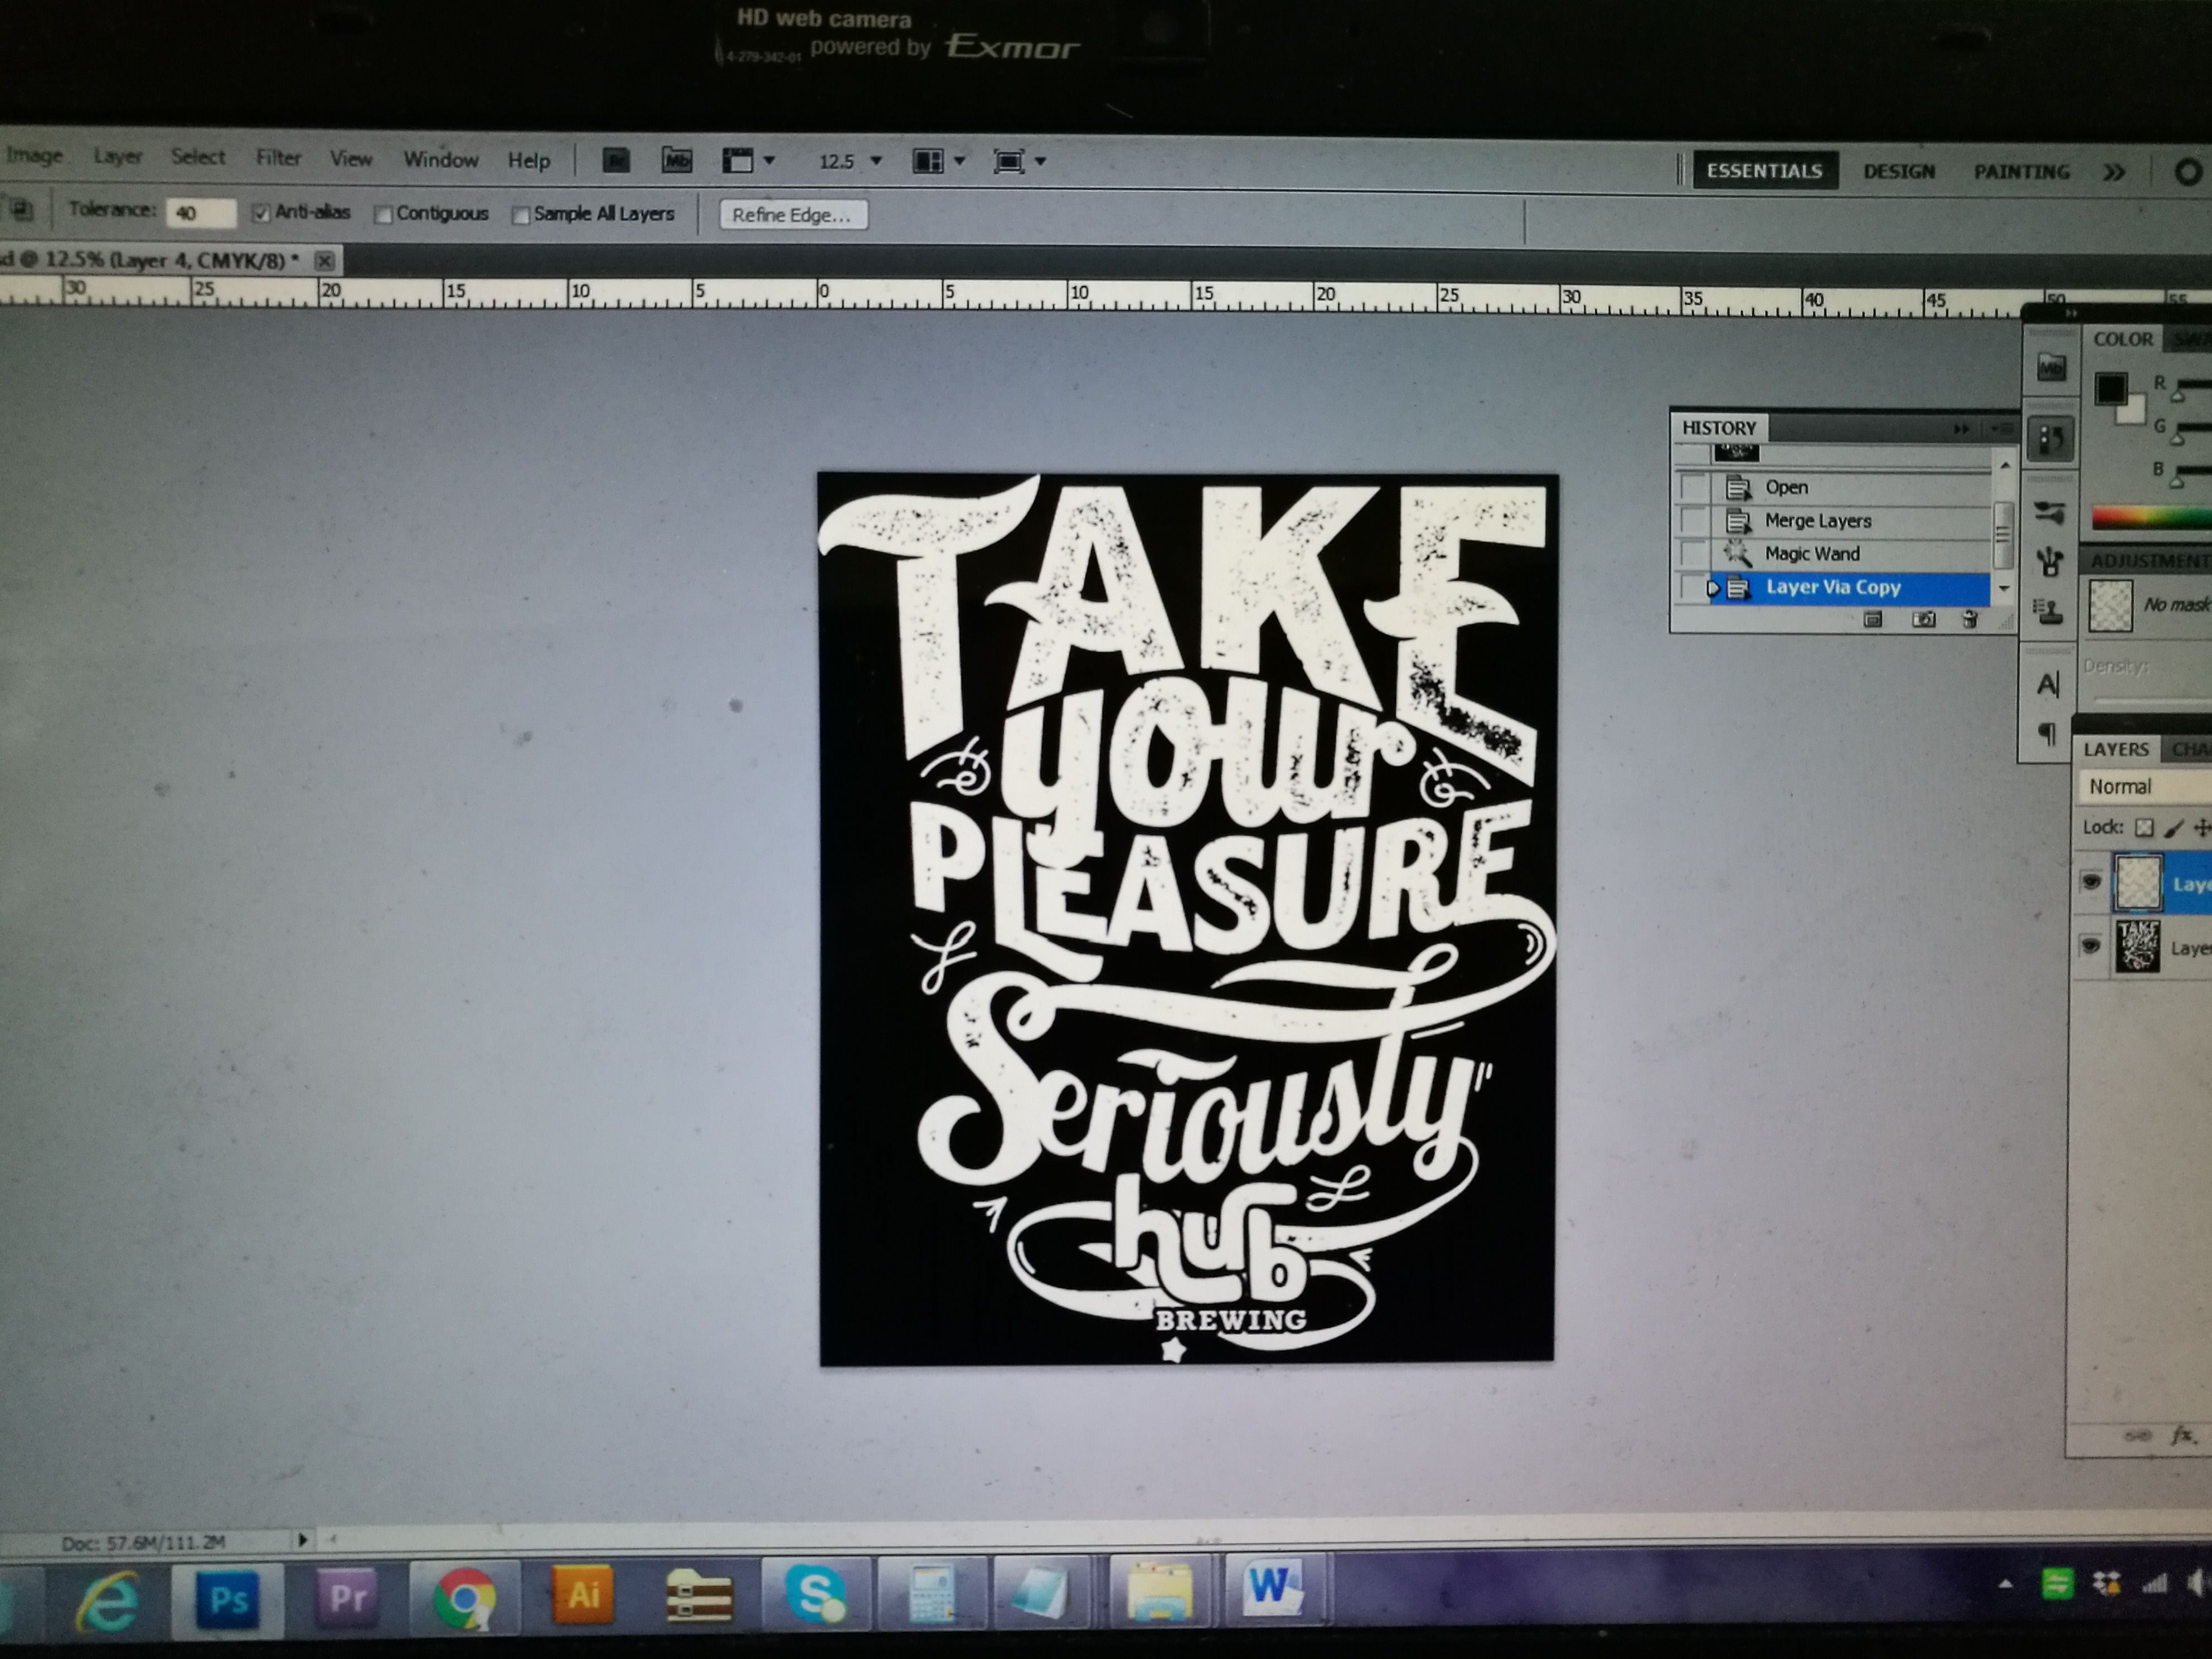
Back of the shirt design
If it is low resolution and pixelated. Redraw the design into a vector, for best quality screen print.
Step 2
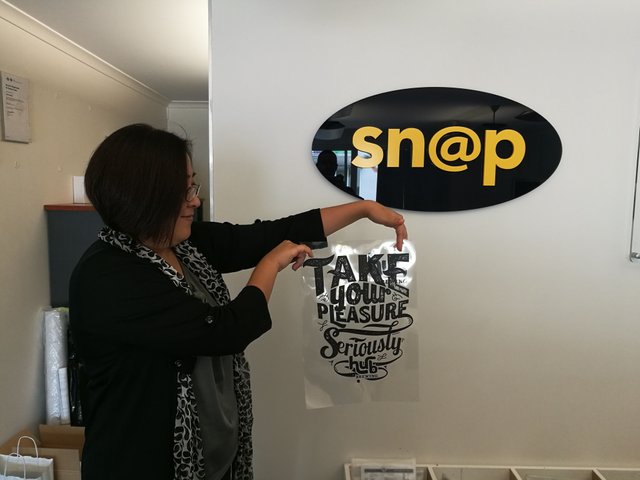
Transparency Film
Print out the design onto a transparency sheet, to use for exposing the screen. The lovely ladies at Snap printing help me out with this.
Step 3
Screen prep.
This design isn't too detailed so I will use a 43T mesh screen.
43T mesh is a courser screen.
43T means that there is 43 threads per centimeter.
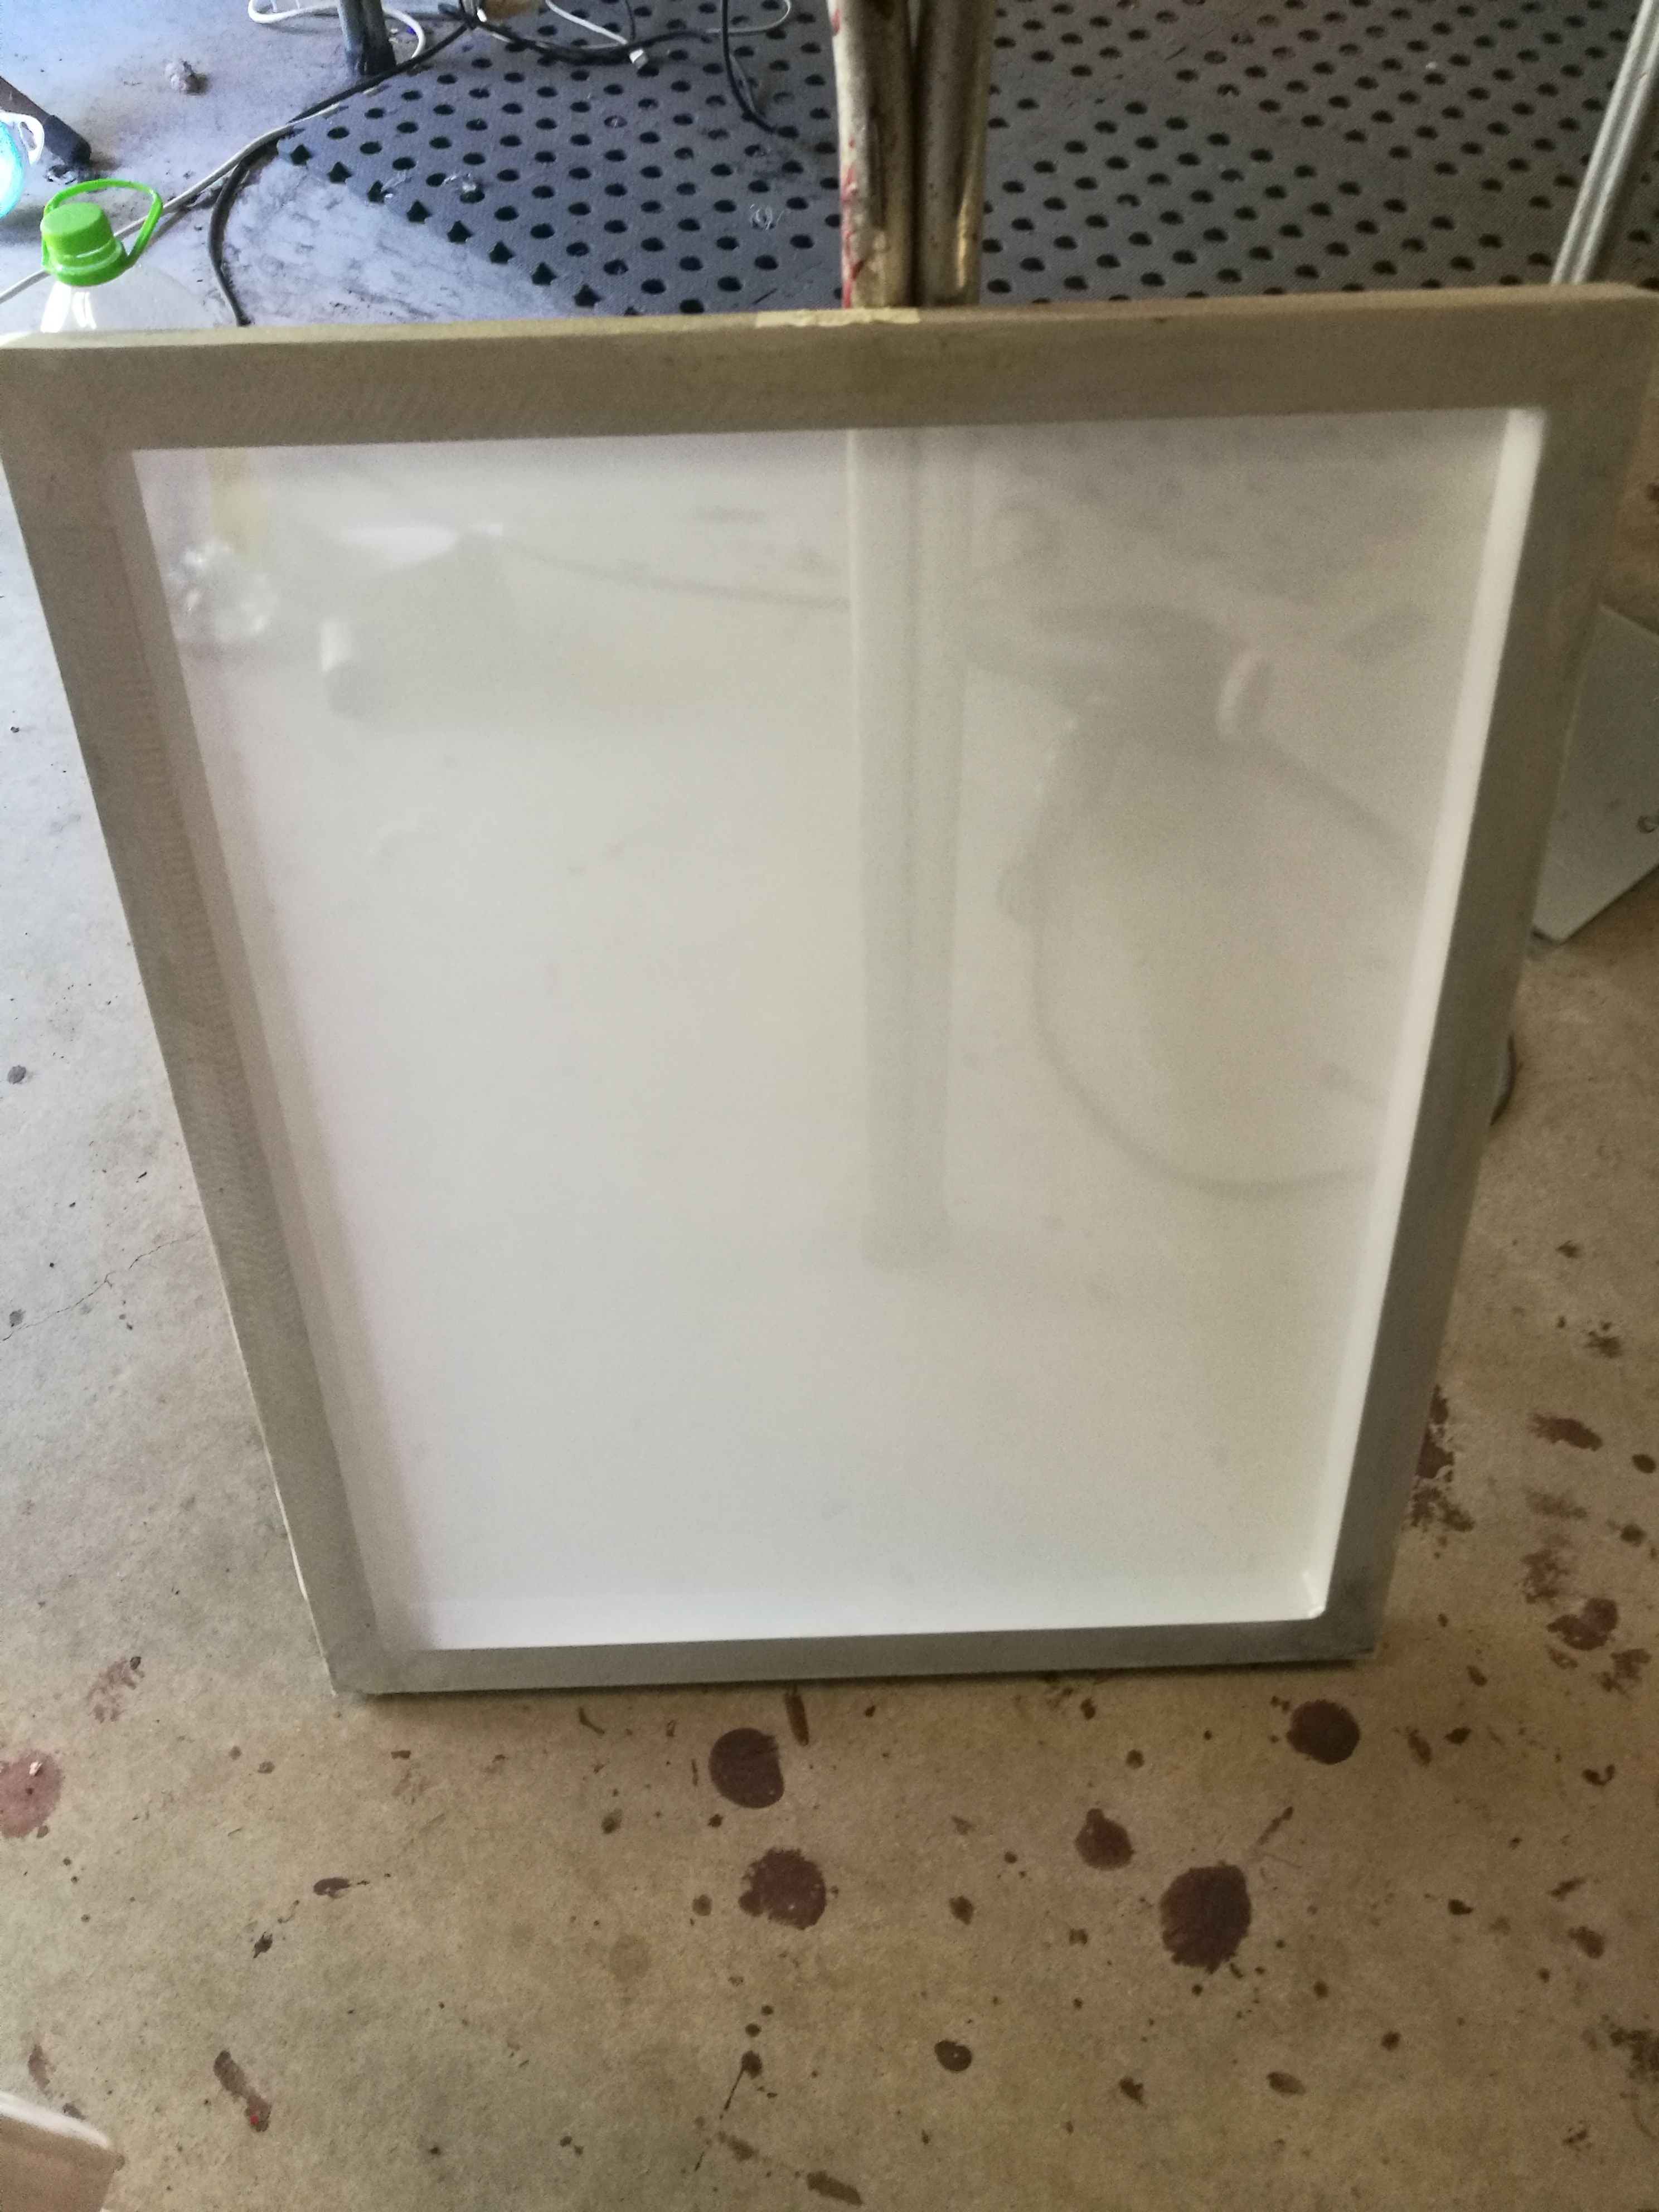
Blank 43T screen
Once you have the right screen picked out it's time to coat the screen with emulsion.
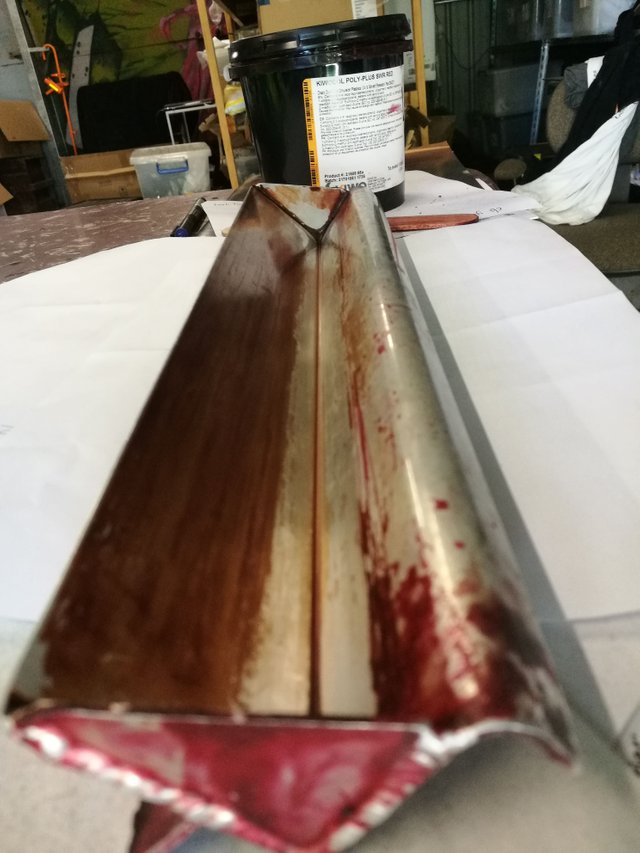
Coating tray and emulsion
Emulsion is a photosensitive chemical which hardens under UV light.
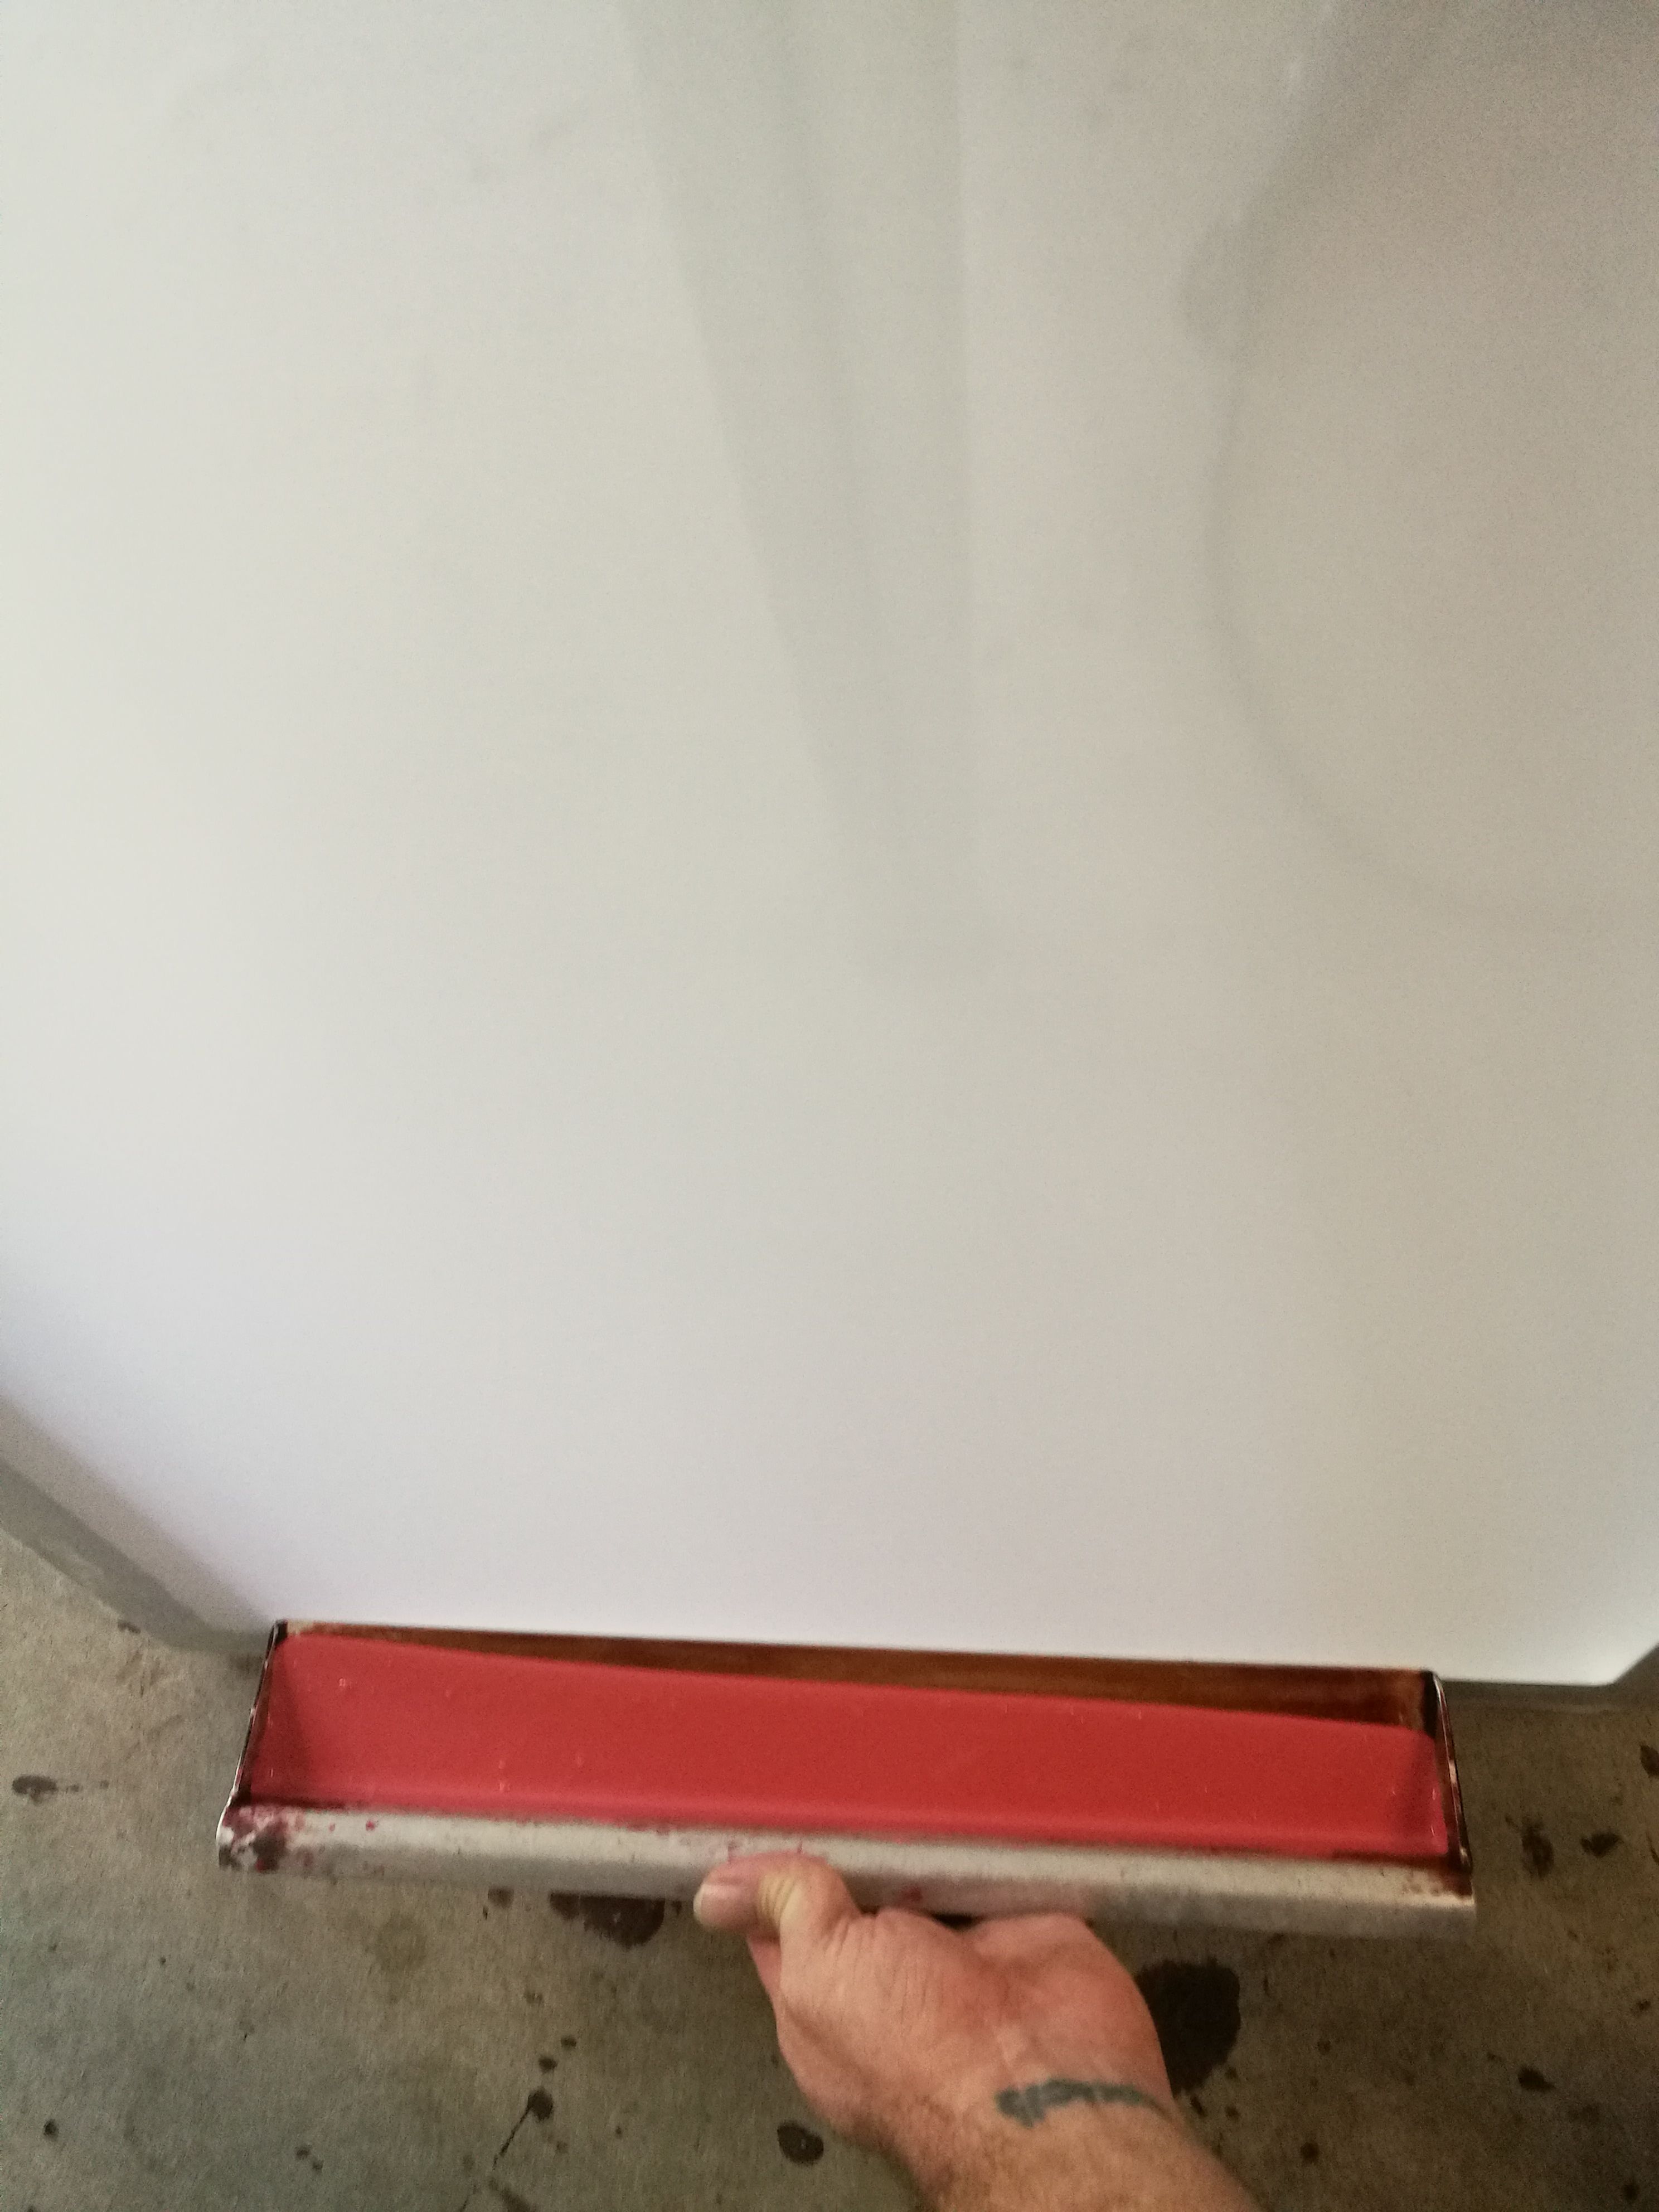
Coating the screen with emulsion
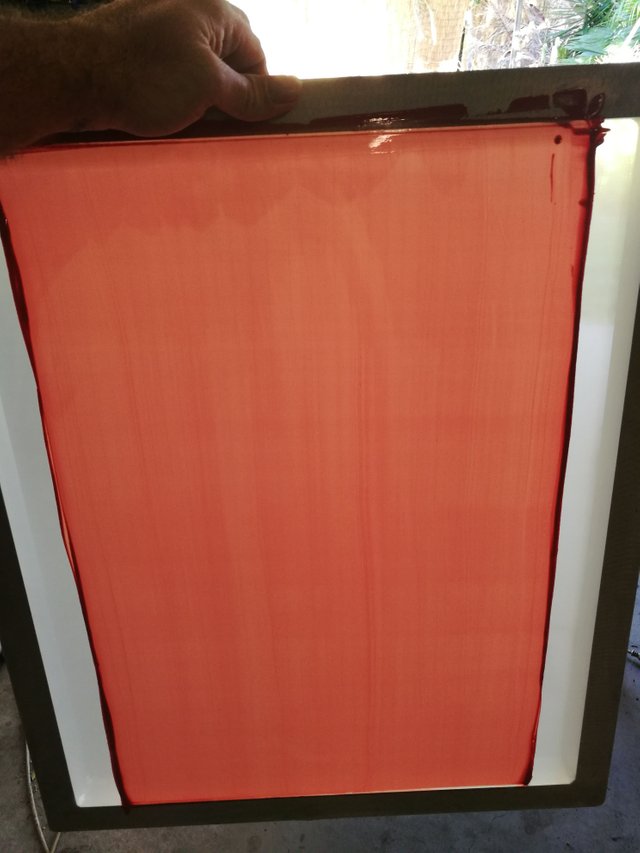
Coated screen
When coating the screen make sure you put 2 coats on the outside and 1 coat on the inside.
Once coated, dry the screen in a dark place so no light can effect the emulsion.
Step 4
Shooting the screen.
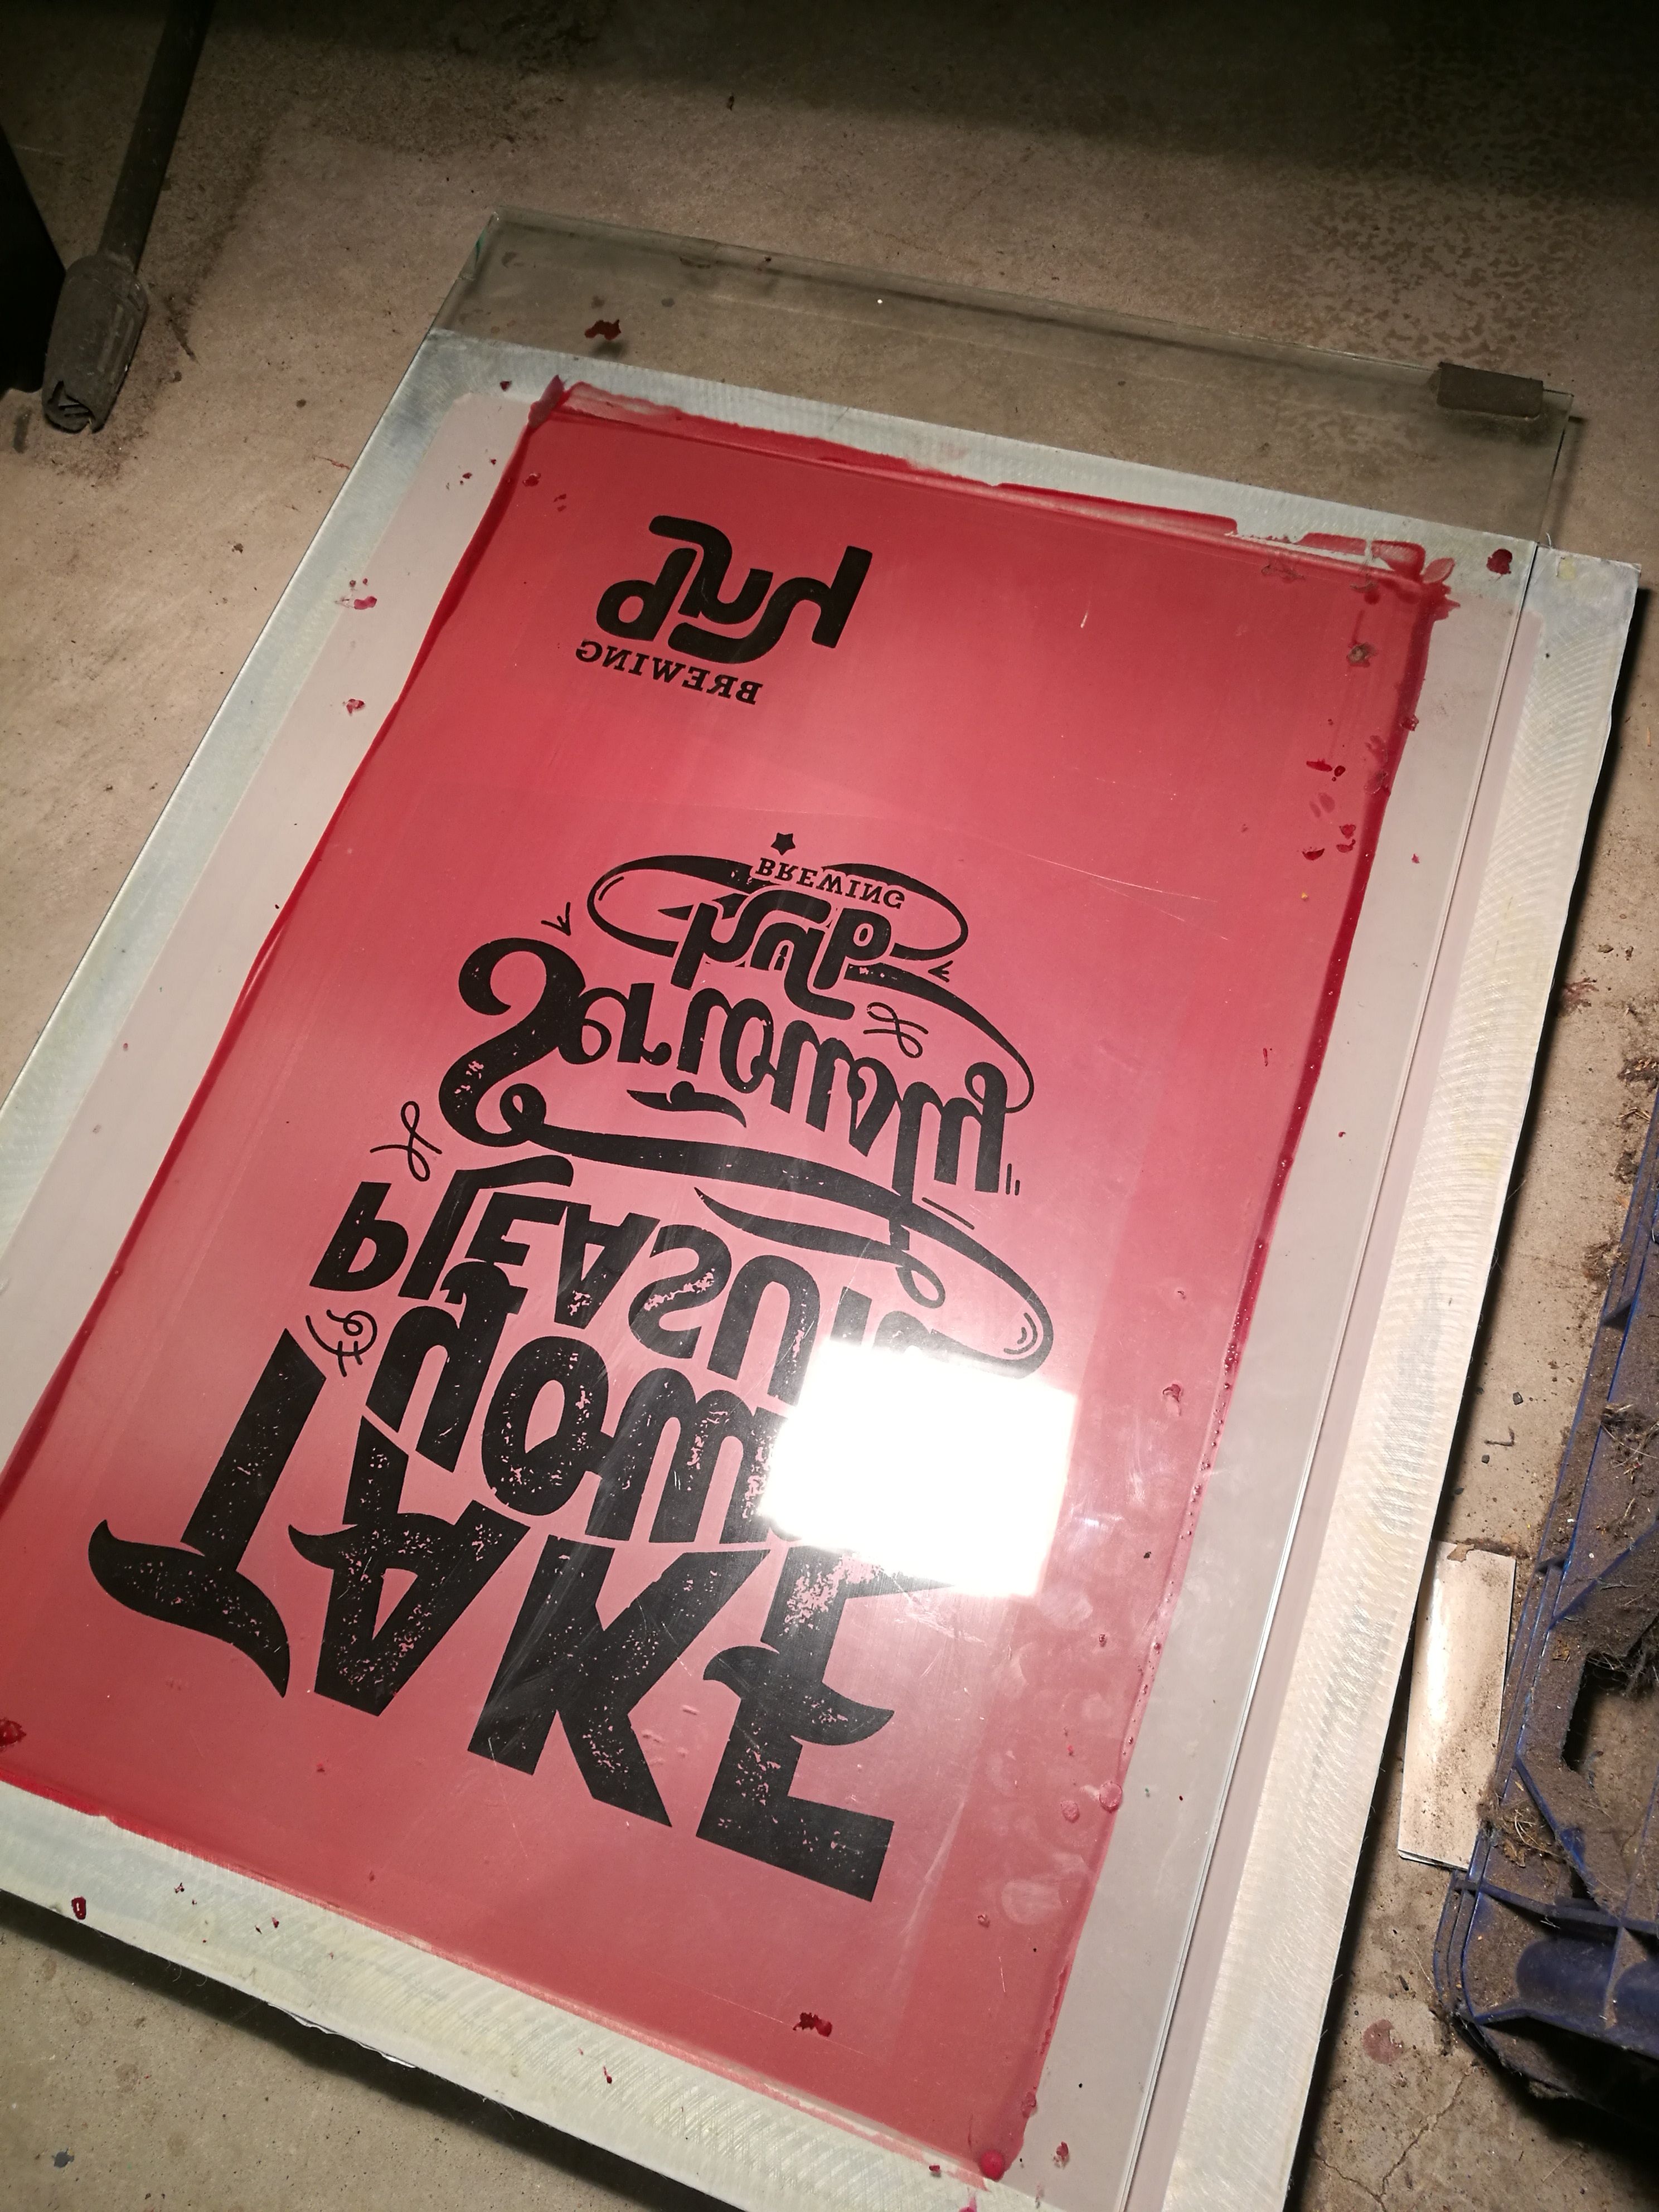
Exposing the screen to UV light
Place the transparency onto the dried emulsion and place the image reversed, so when you print on the inside of the screen, it will be the right way around.
Place a sheet of glass over your transparency, to keep it in place and to disperse the light better onto the emulsion.
Shoot the screen with UV light until the emulsion has hardened. Times vary depending on your light source.
The transparency blocks out the UV light and keeps the emulsion soft.
Once the screen has been exposed it's time to wash out the screen with water.
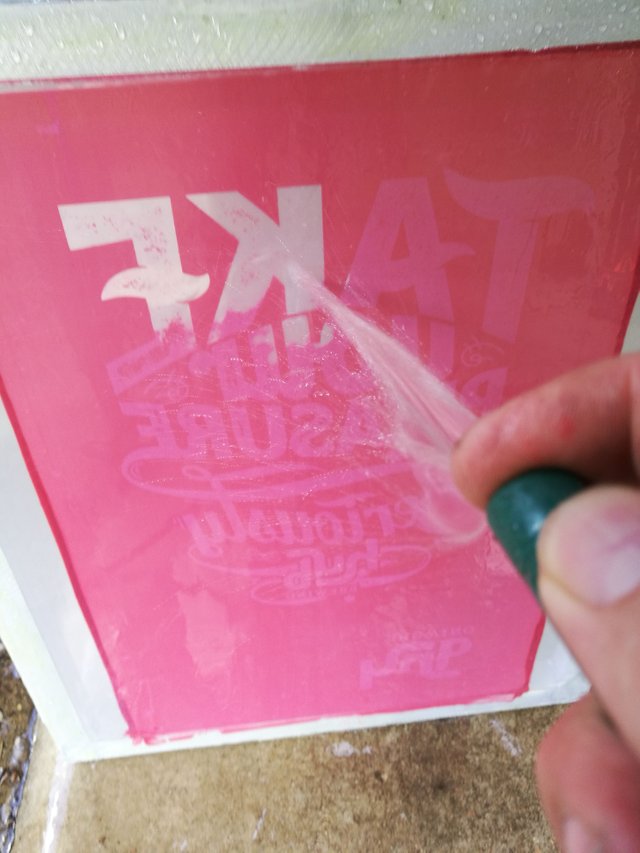
As you can see where the transparency was the emulsion stayed soft and easy to wash out of the screen.
Once you have washed out the screen let it dry in the sun.
Step 5
Blocking out the screen.
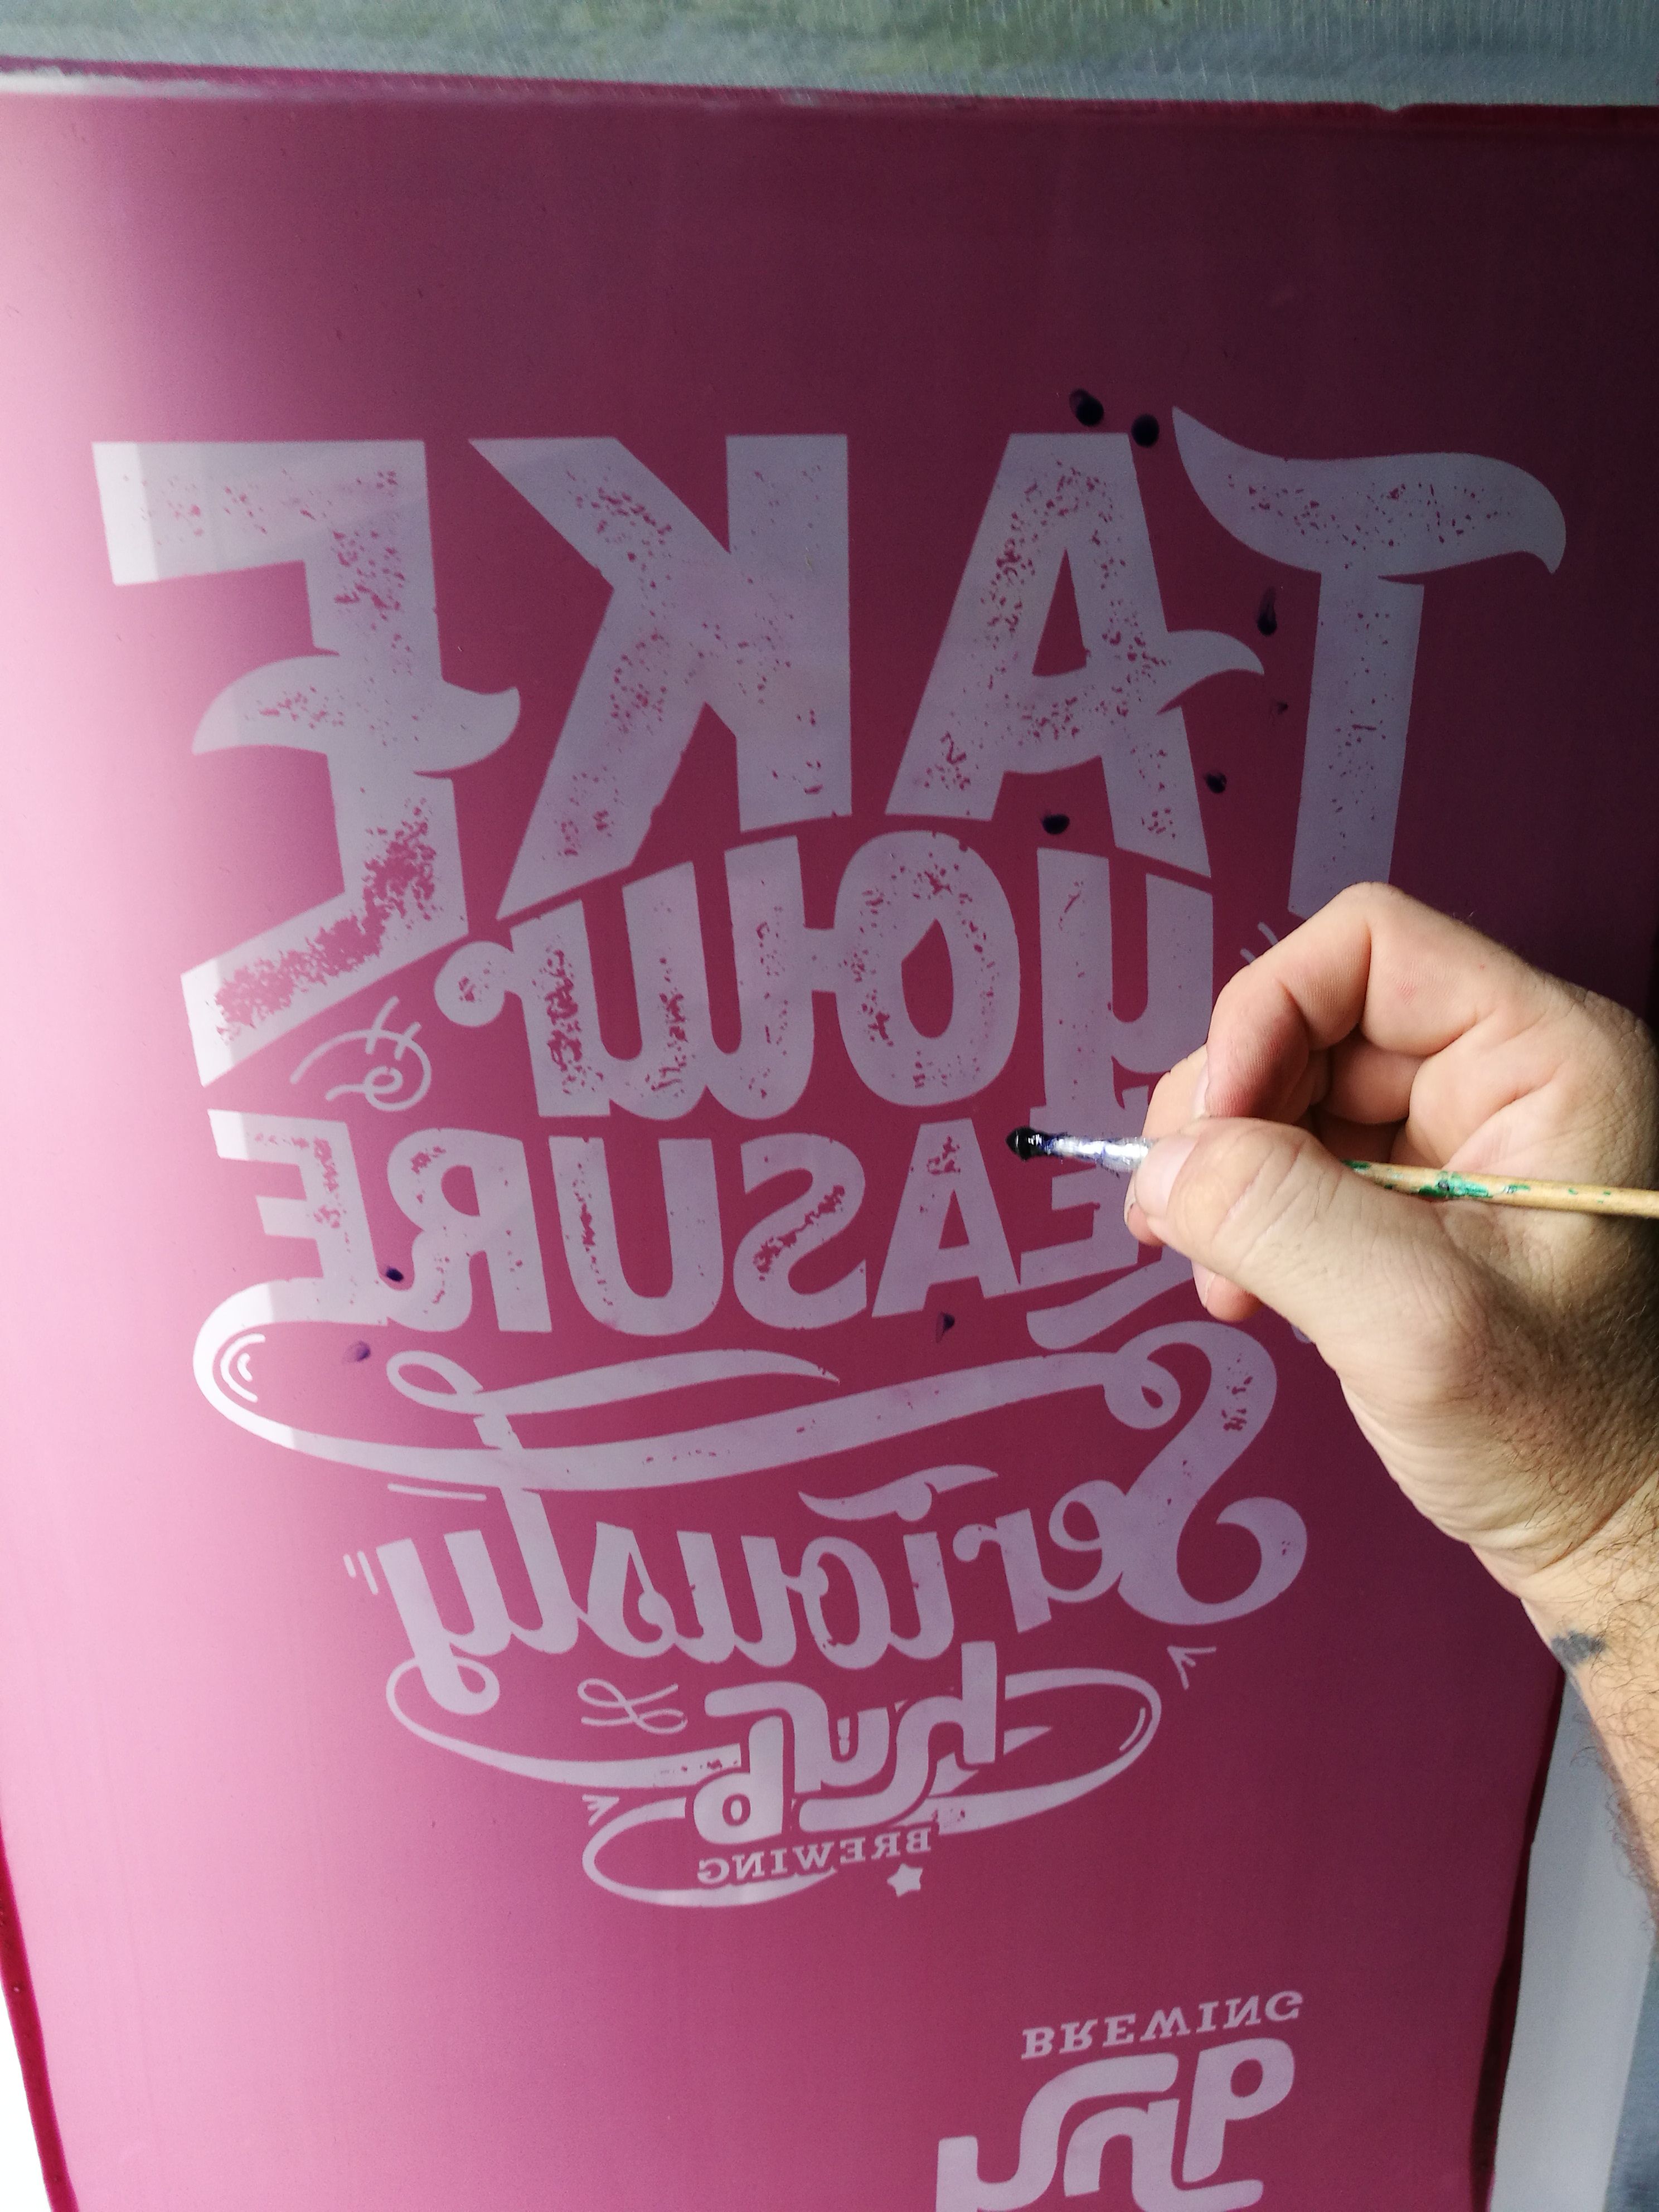
When shooting the screen you sometimes get little pin holes in the emulsion from dust etc.
So block them out with some screen filler.
Let it dry then you are ready to set up the screen for print.
Step 6
Setting up for print.
Load your screen onto the carousel, and tape up around the printing area.
Find your center point of the design to line up with the center of your printing platen.
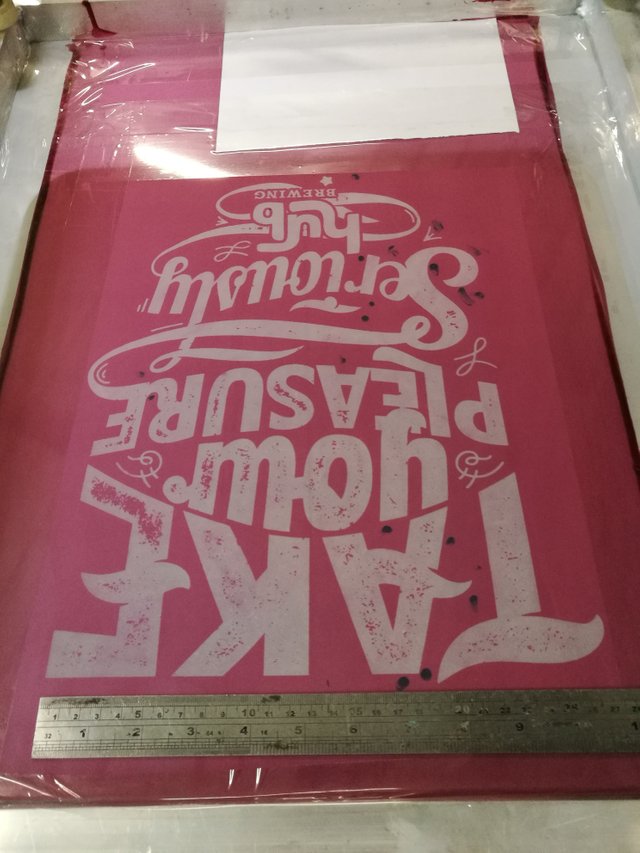
This print is a simple 1 colour design, so just line it up and lock it in and we are good to go. With multi colour prints you have to register each colour and lock them in and is a lot more time consuming.
Put the ink down and you are ready to print.
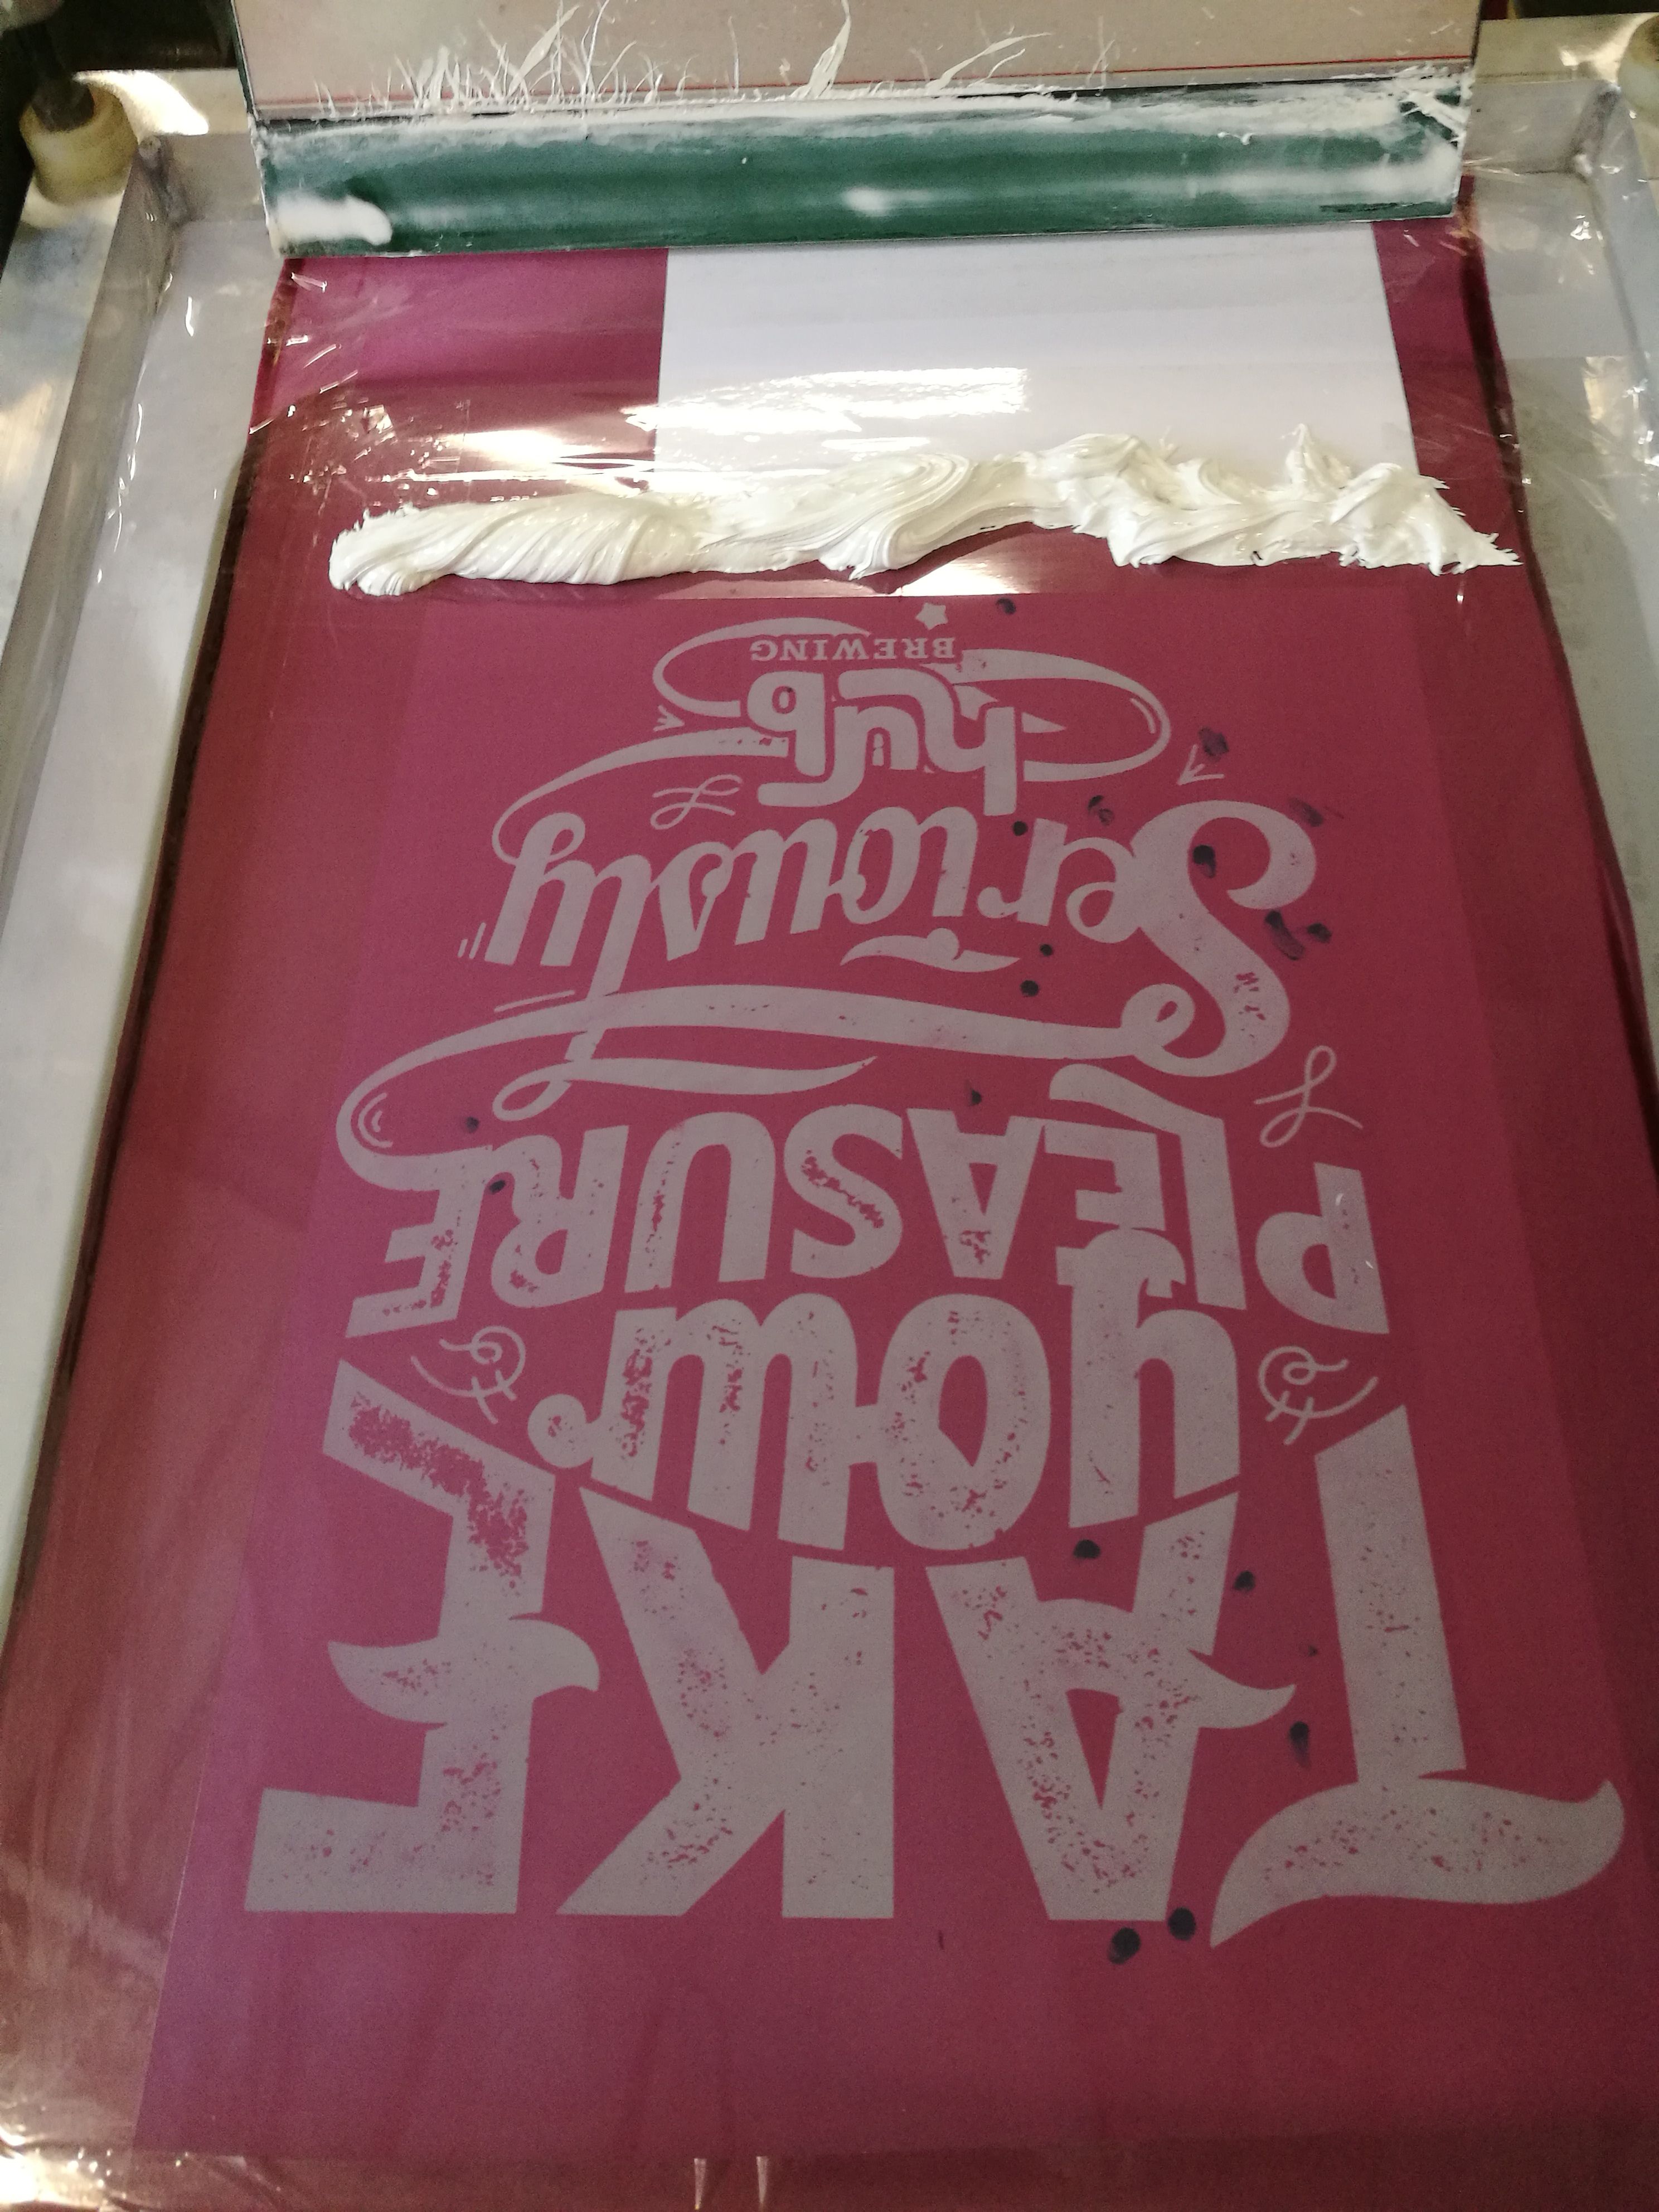
Step 7
Printing
Load your shirt onto the platen and get the ink on your squeegee. Use medium down pressure on the edge of the squeegee blade and pull towards you.
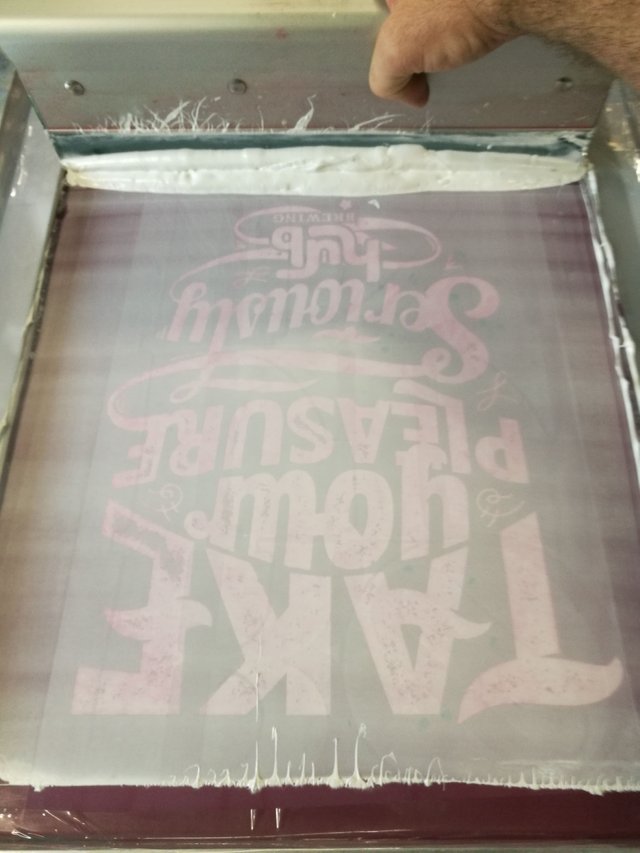
Pull the ink through the screen twice then dry the ink with your flash or with a heat gun, then apply the 2nd coat with 1 coat of ink.
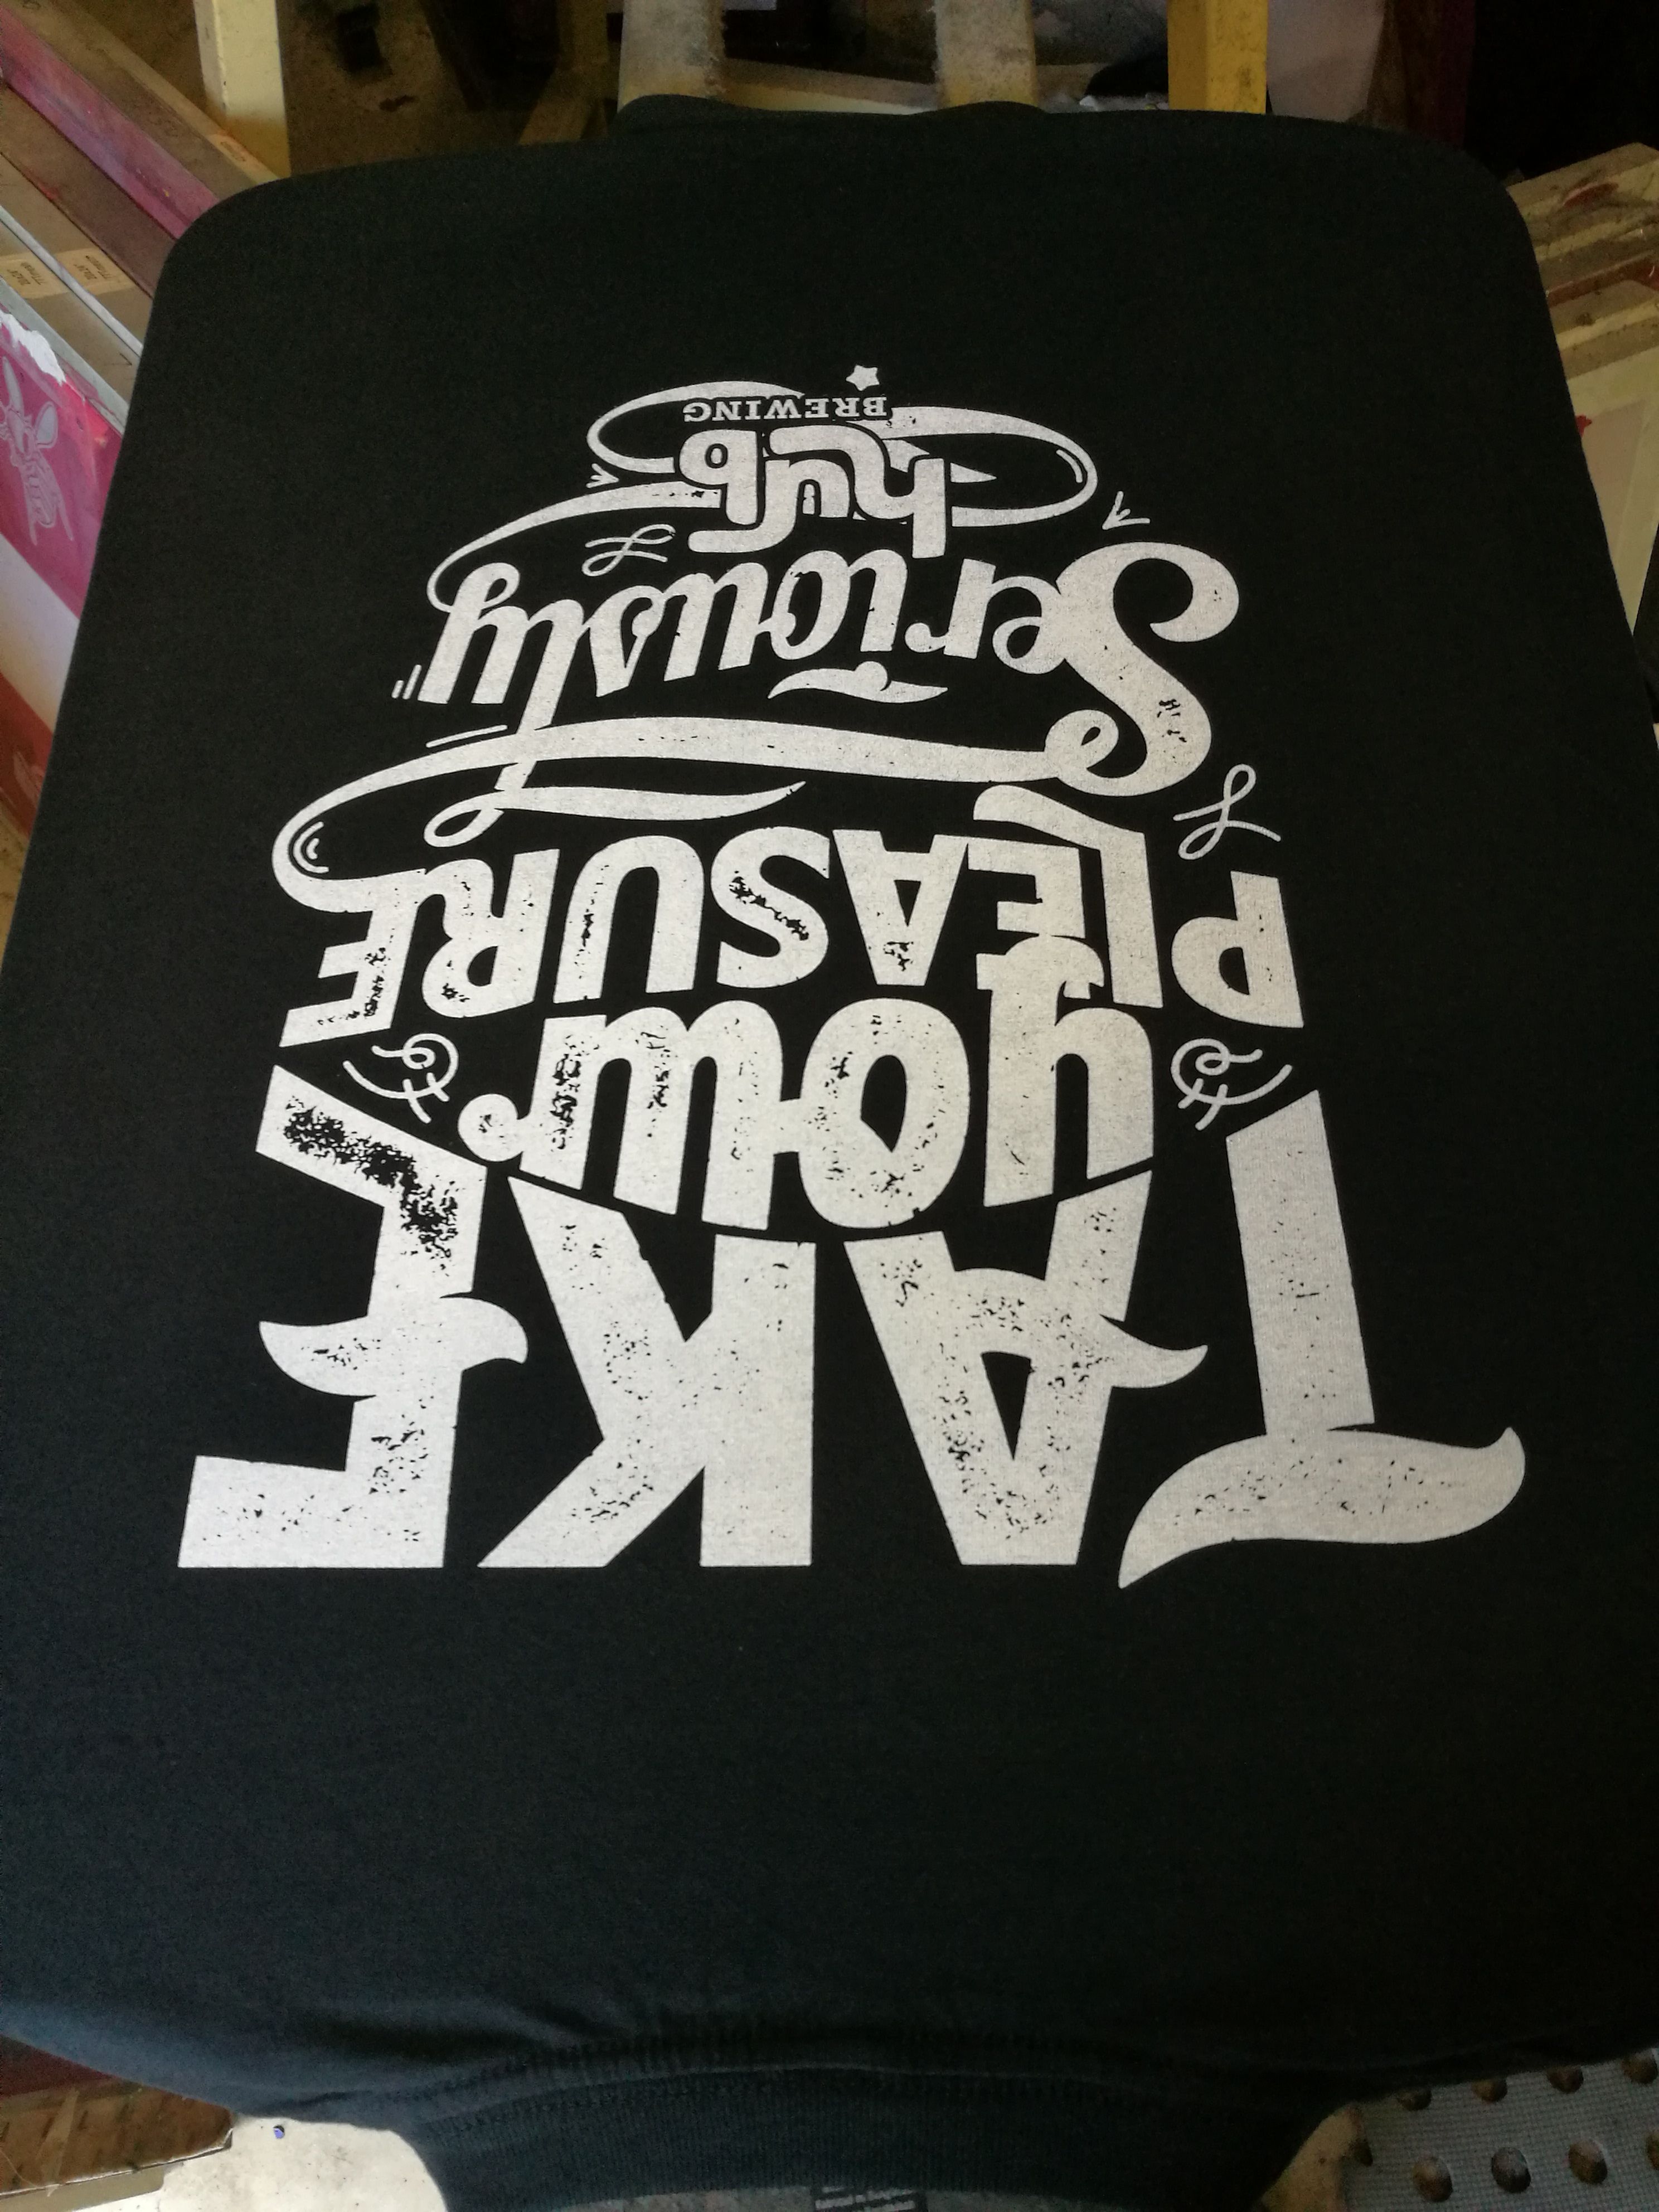
Now your shirt is printed. Touch dry the ink with your flash or heat gun and stack up the shirts.
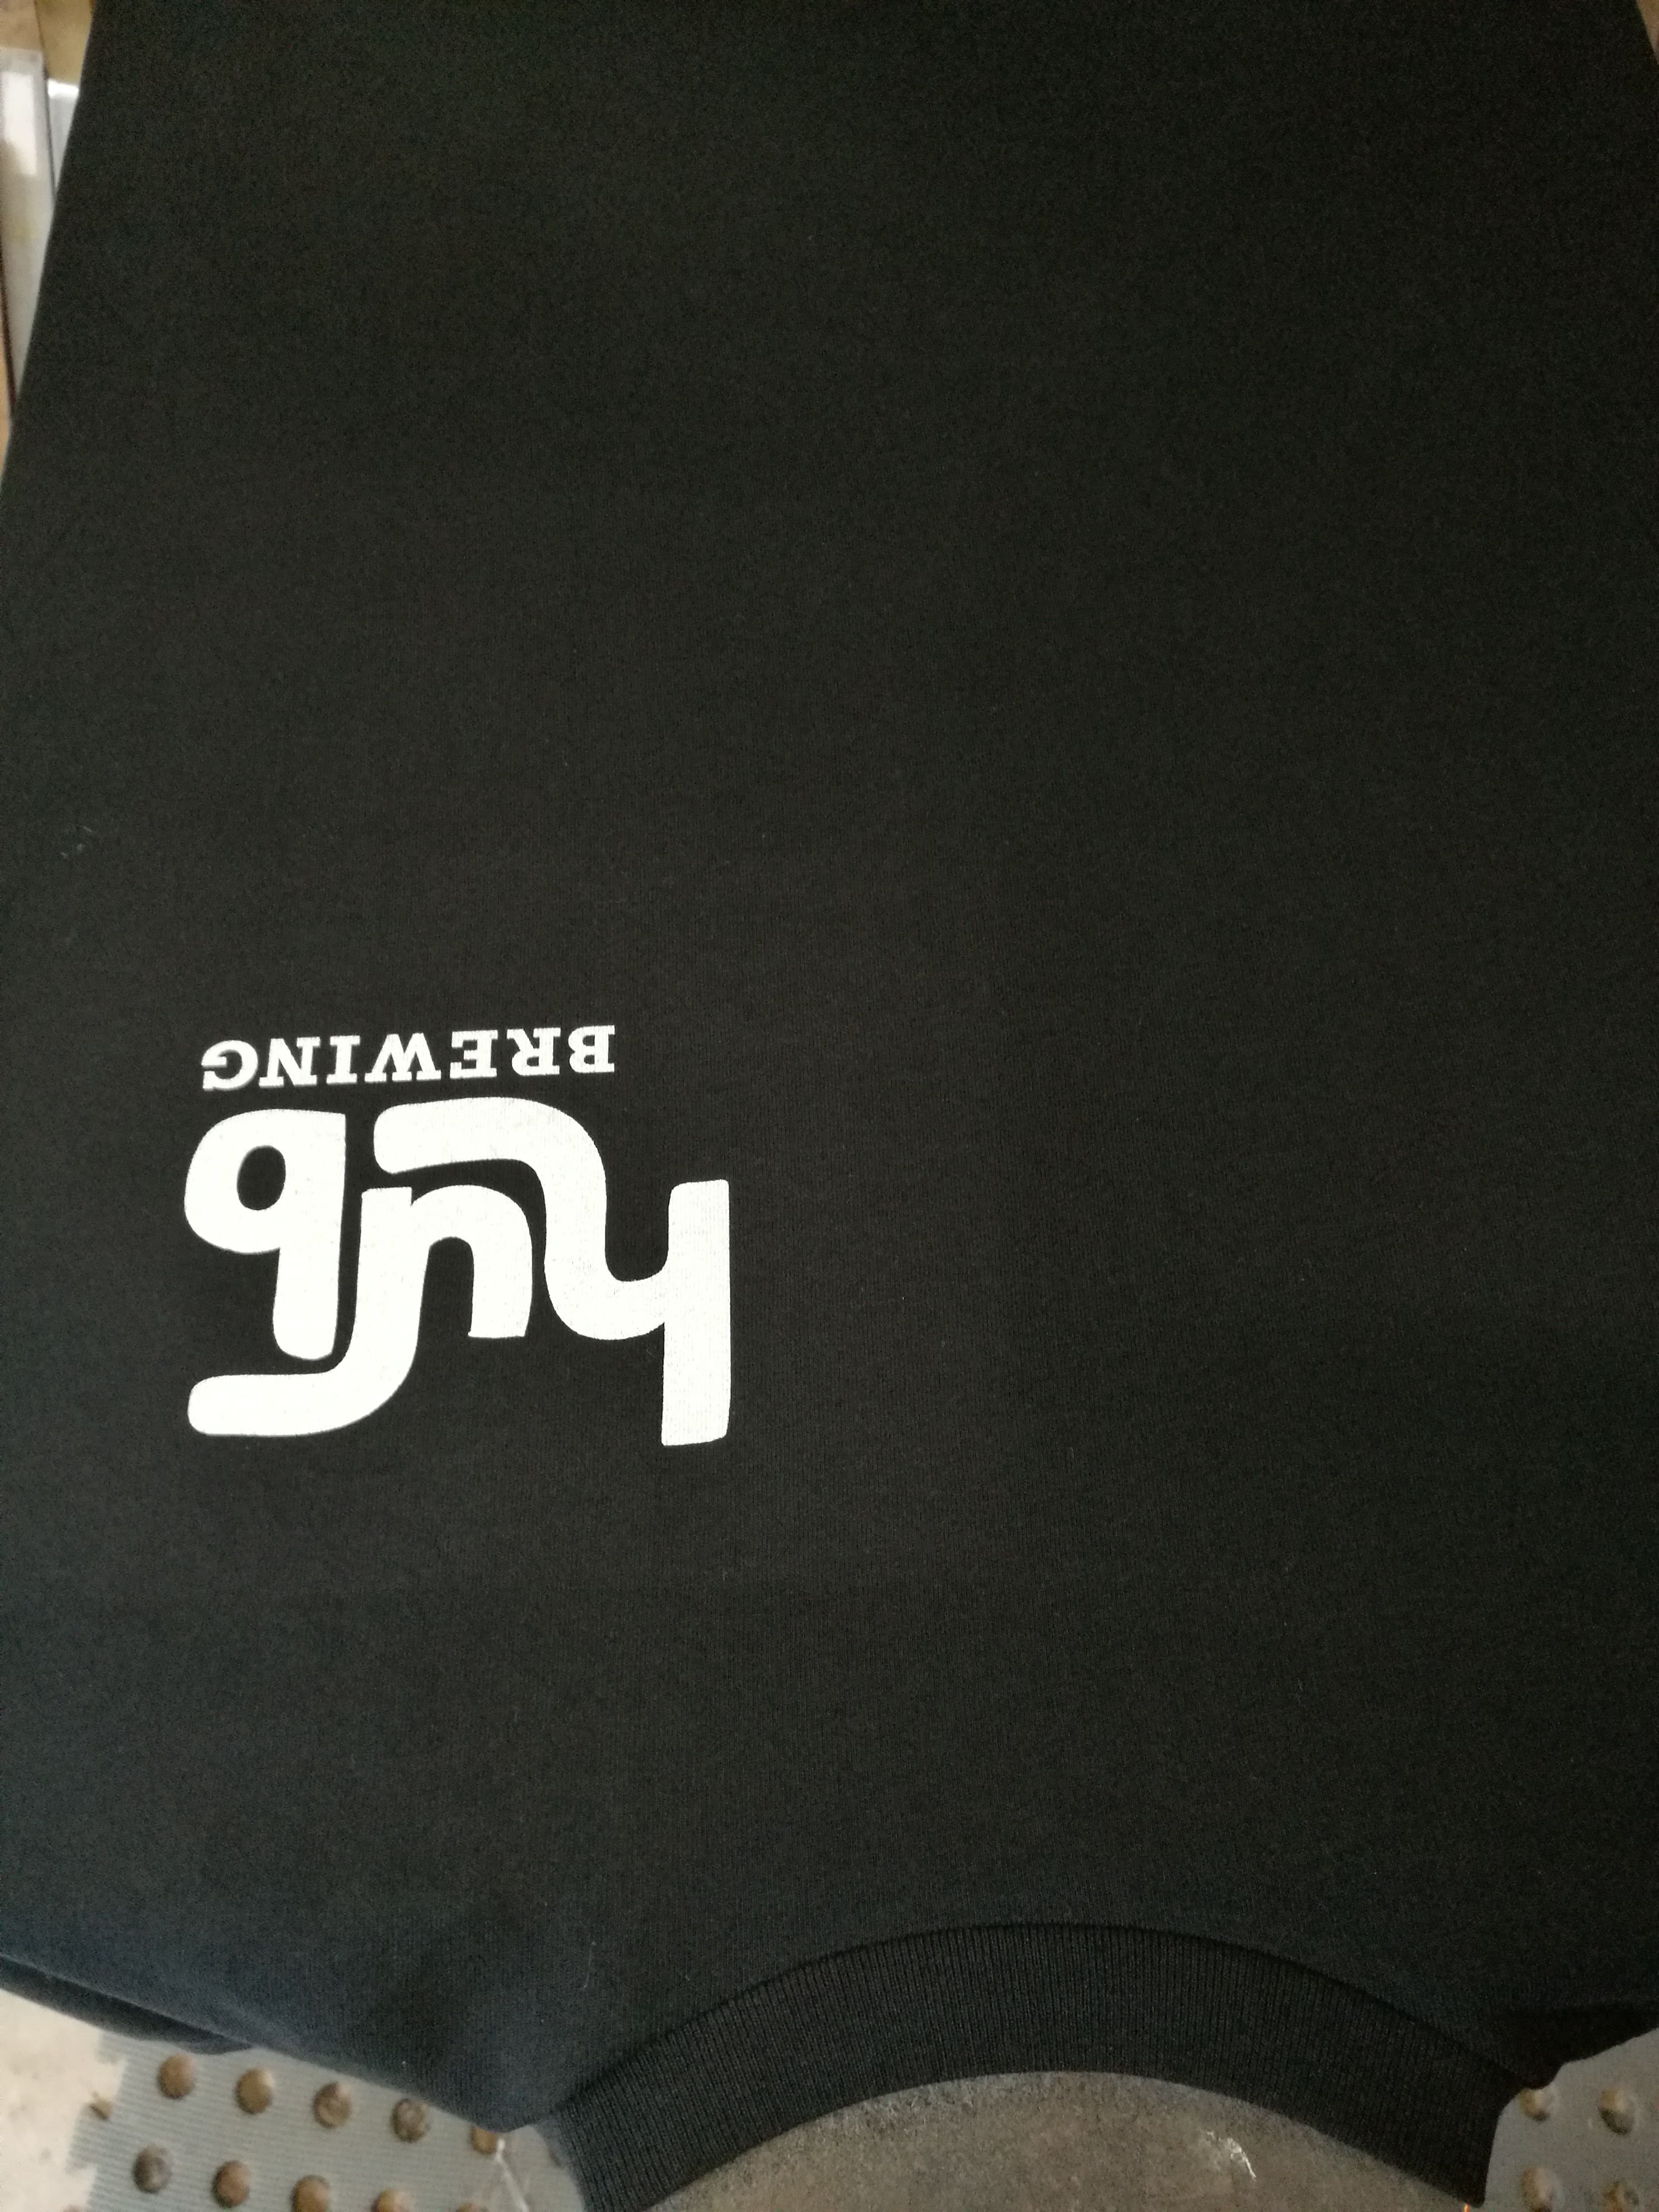
This job has a back and front print. I just printed the back of all the shirts and now it's time to print the front.
The front print is a pocket print. ( logo on the left side where a pocket would be)
Mark out your center line for the pocket print and same set up and printing technique
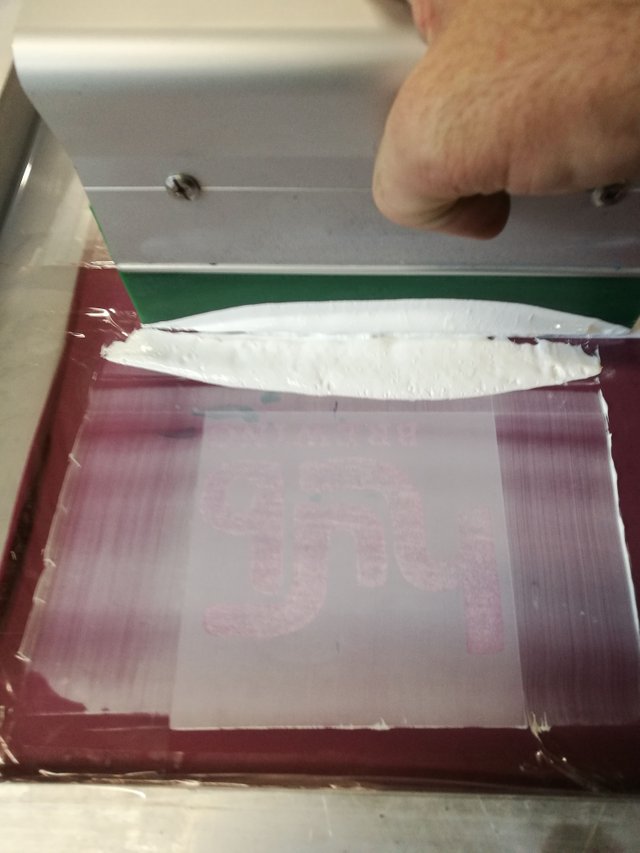
Step 8
Curing the ink.
Once all your shirts are printed it's onto the final stage of curing the ink. This is very important to get right so the ink bonds to the fabric and doesn't crack or wash off.
You can use a tunnel oven or a heat press for this.
I now use a heat press for smaller jobs.
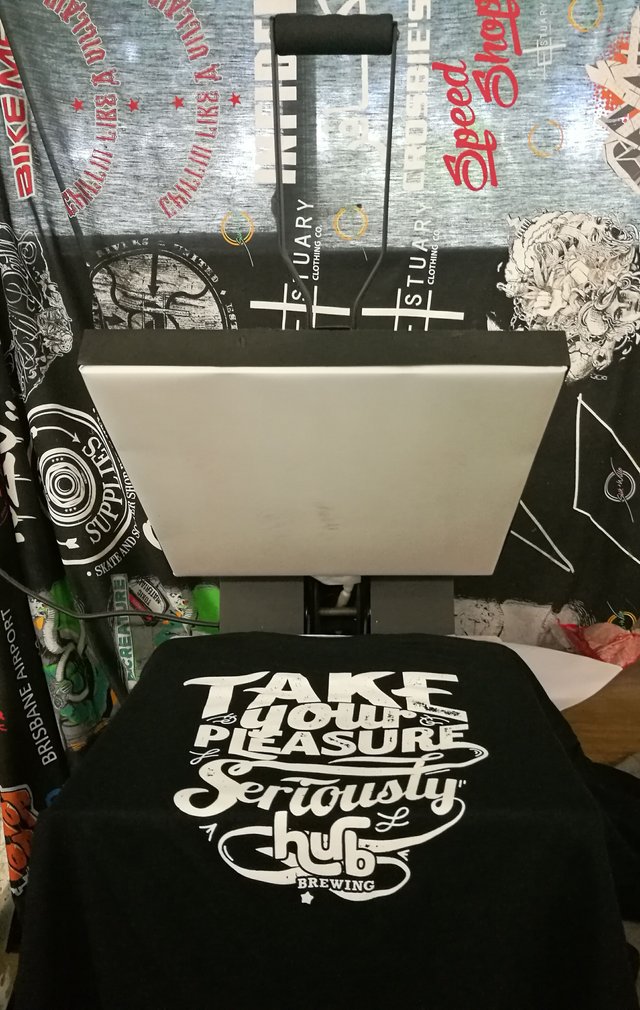
Now you have your final product a 1 colour front print and a 1 colour back print.
Step 9
Deliver the shirts.
I took the shirts to the Hub Brewery and they loved them !!
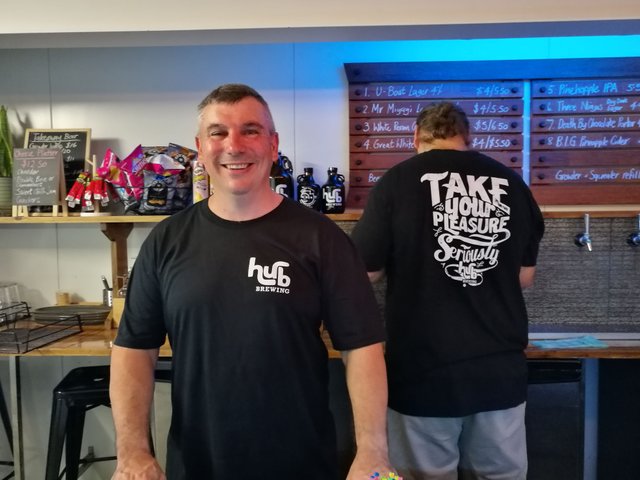
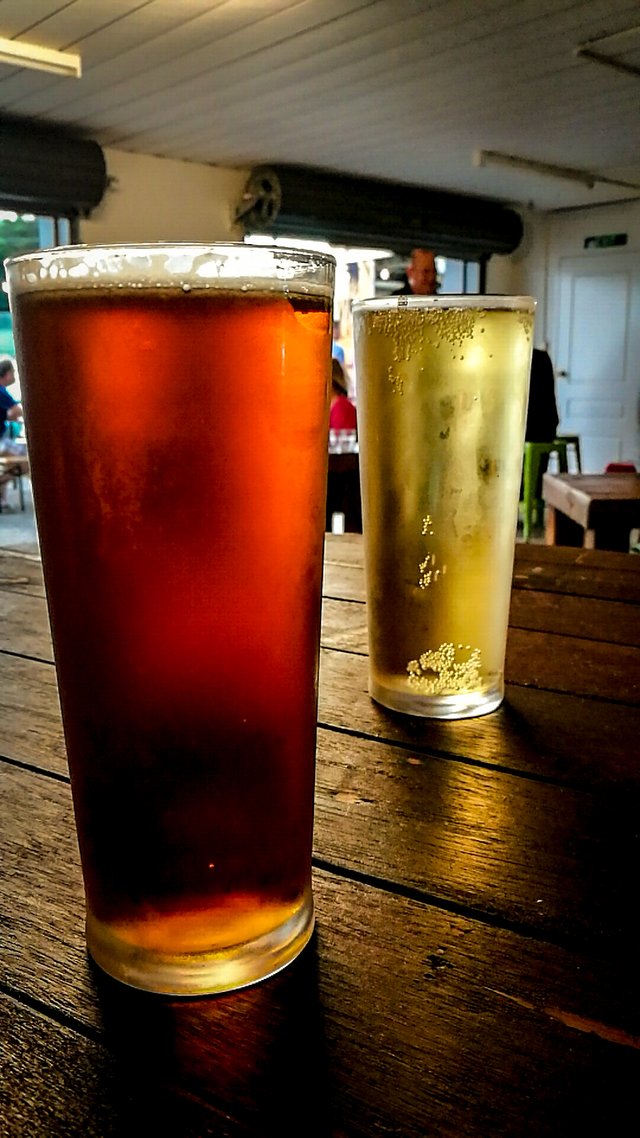
Very happy customer's I even scored some free beers 👍
I hope you enjoyed my quick how to screenprint post.
If you have any questions regarding screen printing please leave a comment below.
And if you are in Australia and would like some shirts printed please send me a email to [email protected]
For a free quote.
Or contact me on my printing FB page
https://m.facebook.com/vcscreenprinting
amazing, this is a very good post
Downvoting a post can decrease pending rewards and make it less visible. Common reasons:
Submit
cheers glad you liked it :)
Downvoting a post can decrease pending rewards and make it less visible. Common reasons:
Submit
Congratulations, your post was discovered and featured by @OCD in its daily compilation 231!
You can follow @ocd – learn more about the project and see other Gems! We strive for transparency.
If you would like your posts to be resteemed by @ocd to reach a bigger audience, use the tag #ocd-resteem. You can read about it here.
@ocd now has a witness. You can vote for @ocd-witness with SteemConnect or on Steemit Witnesses to help support other undervalued authors!
Downvoting a post can decrease pending rewards and make it less visible. Common reasons:
Submit
Awesome thank you very much !!☺
Downvoting a post can decrease pending rewards and make it less visible. Common reasons:
Submit
Always wonderful to see peoples process in creating something handmade. It is starting to be a lost art these days. Everyone just wants things quick and cheap. Quality is something that takes effort and time.
I really like the little bit of texture in the lettering by allowing the black to be shown in some areas. It really makes it look handmade and authentic.
Downvoting a post can decrease pending rewards and make it less visible. Common reasons:
Submit
Thanks @enjar ☺it is definitely becoming a lost art with all the digital printing these days. I am glad you like the texture in the text I thought it gave the design a nice touch aswell . Thanks for checking out my post 👍
Downvoting a post can decrease pending rewards and make it less visible. Common reasons:
Submit
Never knew how manual screen printing was done... very cool :)
Downvoting a post can decrease pending rewards and make it less visible. Common reasons:
Submit
thanks terry, screenprinting is my passion :)
Downvoting a post can decrease pending rewards and make it less visible. Common reasons:
Submit
In high school my best friend and I screen printed shirts for her brother's band. We used paper stencils and did them on her porch. Fun times. Very cool that your shop is doing so well that it's your full time gig!
Downvoting a post can decrease pending rewards and make it less visible. Common reasons:
Submit
Awesome, yes it is fun ! Its always good to be creative
Downvoting a post can decrease pending rewards and make it less visible. Common reasons:
Submit
World of Photography
>Visit the website<
You have earned 5.15 XP for sharing your photo!
Daily photos: 1/2
Daily comments: 0/5
Multiplier: 1.03
Server time: 10:43:32
Total XP: 278.63/400.00
Total Photos: 27
Total comments: 7
Total contest wins: 2
Follow: @photocontests
Join the Discord channel: click!
Play and win SBD: @fairlotto
Daily Steem Statistics: @dailysteemreport
Learn how to program Steem-Python applications: @steempytutorials
Developed and sponsored by: @juliank
Downvoting a post can decrease pending rewards and make it less visible. Common reasons:
Submit
You got a 15.44% upvote from @pushbot courtesy of @howtoweekly!
Downvoting a post can decrease pending rewards and make it less visible. Common reasons:
Submit
Awesome thanks guys!! @howtoweekly legends👍
Downvoting a post can decrease pending rewards and make it less visible. Common reasons:
Submit
You're very welcome!
Downvoting a post can decrease pending rewards and make it less visible. Common reasons:
Submit
Awsome post i didnt know how to screenprint post the result looks pretty cool:)
Downvoting a post can decrease pending rewards and make it less visible. Common reasons:
Submit
Cheers mate 👍
Downvoting a post can decrease pending rewards and make it less visible. Common reasons:
Submit