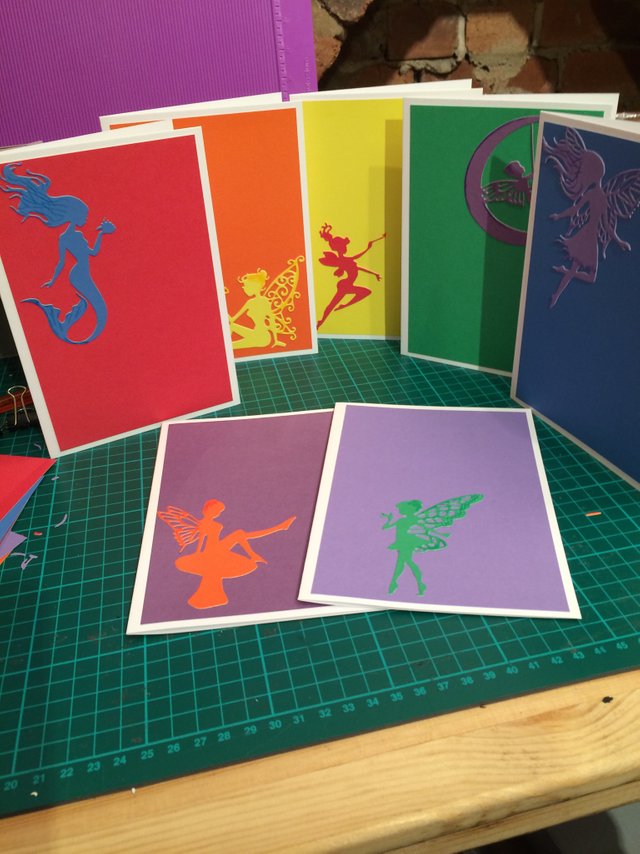
I started with the usual 2 pieces of contrasting card for the box and lid. I also chose the card blanks I would use so the box had a chance of being the right size.
I scored all sides at 1.25 inches (a little smaller than the last box, to make a bigger box).
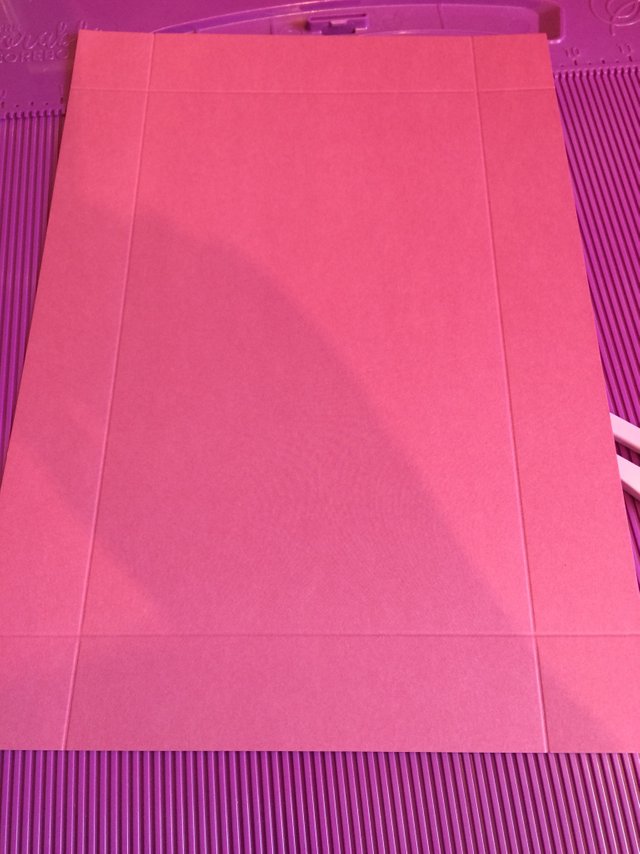
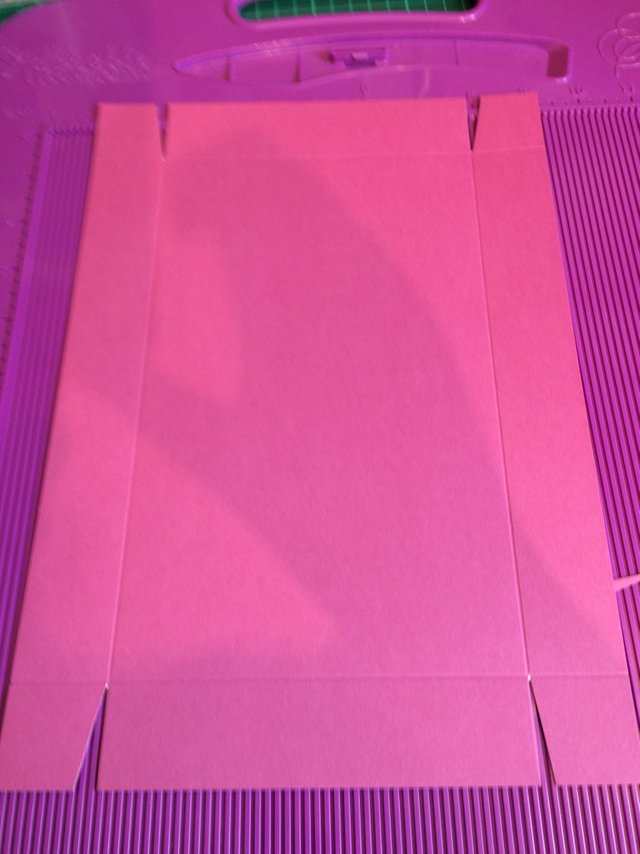
Then I cut the triangles out (I got it right this time!)
I folded all the card blanks and glued the base matt to them – I chose seven colours and tried to match them as close to the rainbow as I could.
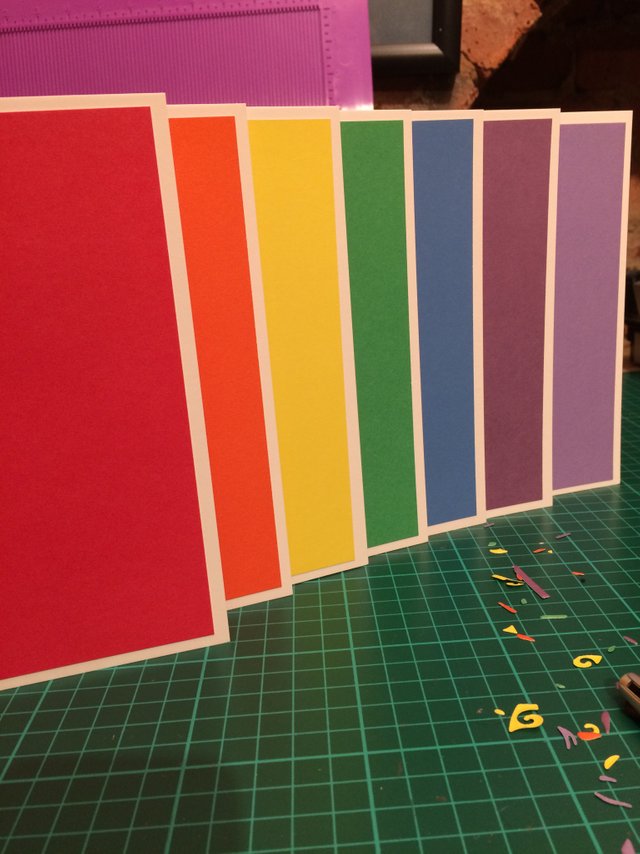
I cut out seven fairies (one’s a mermaid, but who’s counting?) in the same card I’d used for the matts and arranged them all so they went onto contrasting cards as toppers.
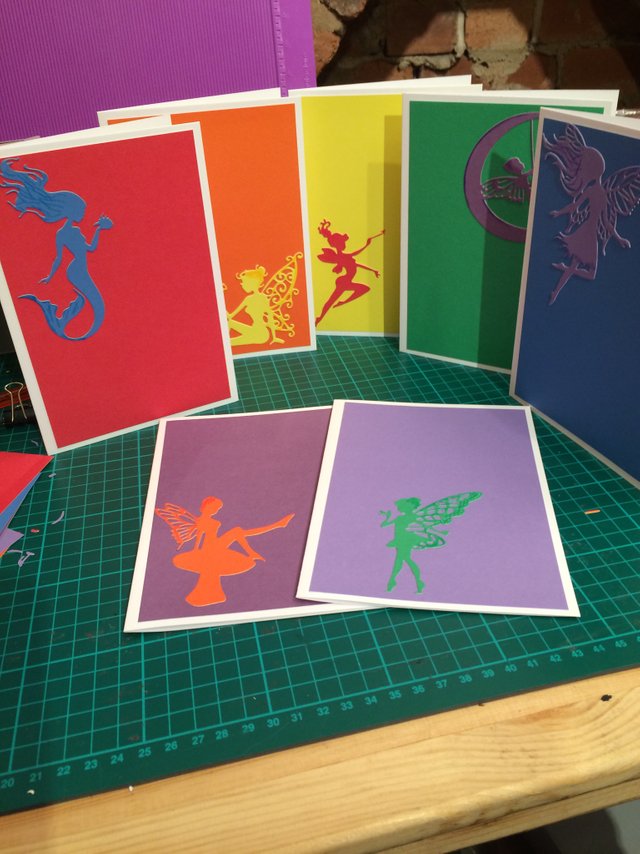
They look nice in the box.
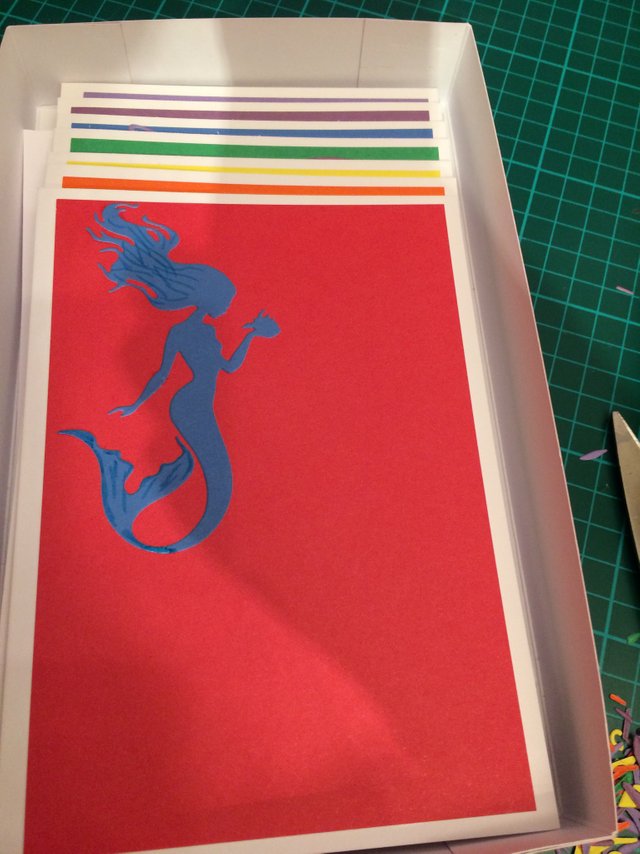
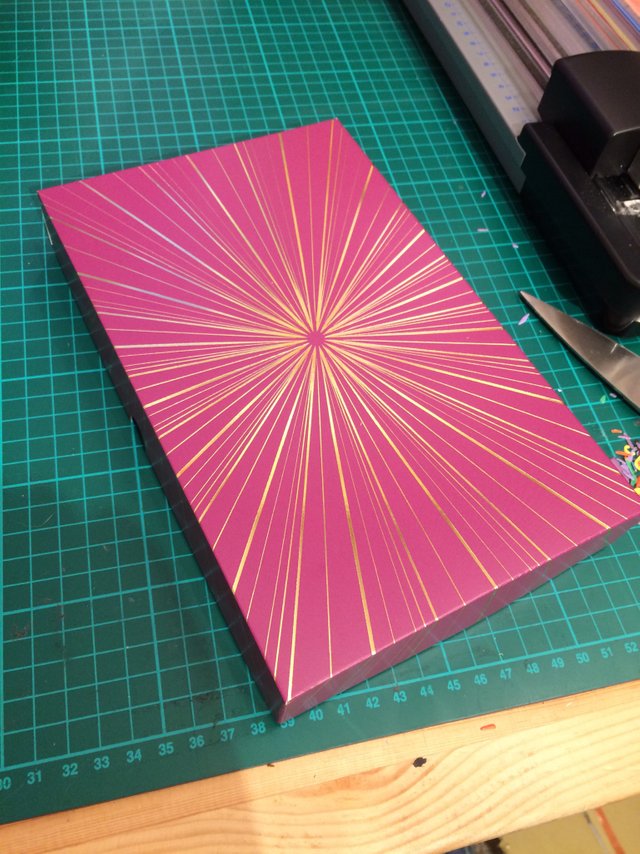
Then I added the lid. I chose a spectacular foiled card for this one. I think it works well.

Now... who to give it to?
Happy Crafting!
Good work, a lot of creativity!!!
Downvoting a post can decrease pending rewards and make it less visible. Common reasons:
Submit
Thank you :)
It's certainly enjoyable :)
Downvoting a post can decrease pending rewards and make it less visible. Common reasons:
Submit
What a neat hobby! My girlfriend and I should start doing stuff like this for family members and friends as little gifts. Thanks for sharing this :)
Downvoting a post can decrease pending rewards and make it less visible. Common reasons:
Submit
Thank you. I've found that friends and family are delighted to receive a hand-made gift or card. It shows you were thinking of them when you made it :)
Downvoting a post can decrease pending rewards and make it less visible. Common reasons:
Submit
Good work again @michelle.gent. upvoted @chanthasam
Downvoting a post can decrease pending rewards and make it less visible. Common reasons:
Submit
Thank you :) I appreciate your comments :)
Downvoting a post can decrease pending rewards and make it less visible. Common reasons:
Submit
good work here
Downvoting a post can decrease pending rewards and make it less visible. Common reasons:
Submit
Thank you :)
Downvoting a post can decrease pending rewards and make it less visible. Common reasons:
Submit
Great work my sister and wonderfull
Fllowed and upvote
Please my sister fllow me and vote on my page
Thanks
Downvoting a post can decrease pending rewards and make it less visible. Common reasons:
Submit
Thank you :)
Downvoting a post can decrease pending rewards and make it less visible. Common reasons:
Submit
Welcom sister
Downvoting a post can decrease pending rewards and make it less visible. Common reasons:
Submit
Sister plz vote on my page
Downvoting a post can decrease pending rewards and make it less visible. Common reasons:
Submit
Well organised steps. Nice job keep it up
Downvoting a post can decrease pending rewards and make it less visible. Common reasons:
Submit
Thank you, I'll be doing my best to do just that :)
Downvoting a post can decrease pending rewards and make it less visible. Common reasons:
Submit
it's cool you show people how they can do it themselves ...Nice work
Downvoting a post can decrease pending rewards and make it less visible. Common reasons:
Submit
Thank you. I thought it might help to show exactly what I do... including the mistakes :)
Downvoting a post can decrease pending rewards and make it less visible. Common reasons:
Submit