Have you ever wondered that how good could it be to have a source page that includes all of your social links?
For example on Instagram, you can only add one website links to your bio. Or it’s not so professional to write a lot of links on your business cards. So it would be an excellent opportunity to gather all of your essential links (emails, blogs, social accounts, etc.) in only one link. We provide a great tool that helps a lot with this situation.
iLink lets you create a source page where you can store your multiple links via one link and just use that link anywhere you want to introduce yourself.
What are the advantages of using iLink?
1- You will be able to direct your customers from anywhere to your:
- blog pages
- websites
- youtube
- social media accounts
- New product introductions
2- You can customize your profile that shows people your email, phone number, mobile number, and your current location.
3- You can add a description about yourself and your business so that people will know you better.
4- You can upload a profile photo for your iLink page.
5- It’s easy to set up
6- It has beautiful free themes
7- It provides you stats include numbers of clicks on every link.
8- You can use it for your affiliate business and easily count the clicks.
9- You can add your social accounts to your page via default, and it will show your visitors little clickable icons of every social media, so they will be able to see your account just by clicking on the icons.
10- It has no limits; you can add as much link as you want.
11- It’s free!
How to use iLink?
You can create your own link by signing up to the site
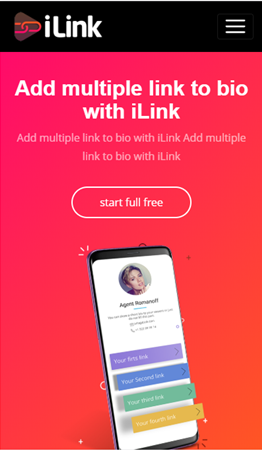
- Go to il.ink
- Tap on the more tab on the upper right side.
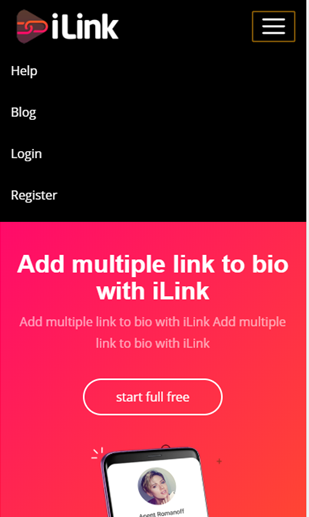
- Tap on register
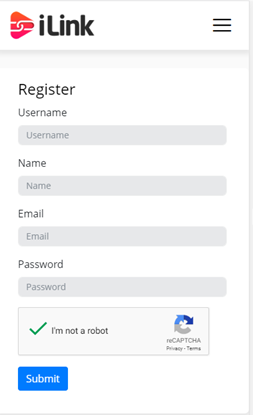
- Fill up your information there.
How to personalize your iLink?
After signing up, you can change and customize your iLink account:
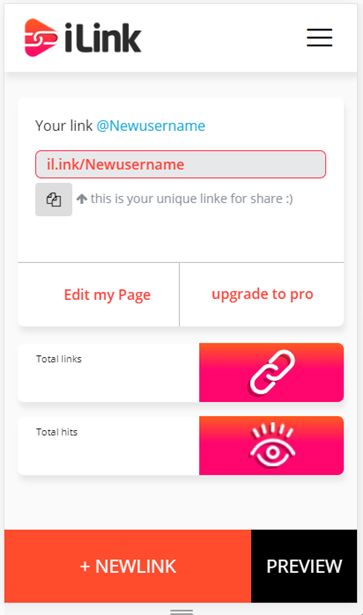
- You can change your link by clicking at the link tap; this is the link that you will use for your landing page on iLink.
As you can see, taps are showing total links and total hits, that will show you how many links you have attached to your account and how many people have been seen your iLink till now.
- You can add your new blog links or whatever link you want via +NEWLINK tab.
- You can preview your page with the preview tab.
- If you want to edit your page, tap on Edit my page tab.
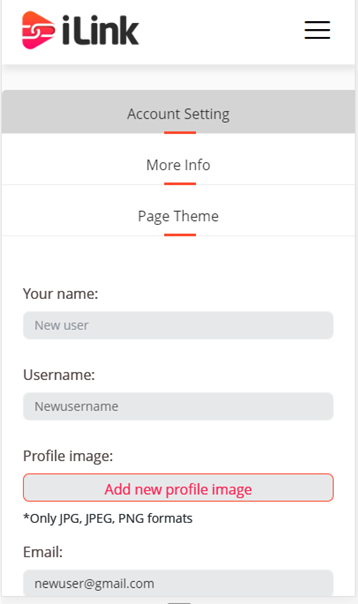
There are three taps here:
1- Account setting:
You can change your iLink setting like:
Your name: you can change your name, this is the name that appears on your iLink profile. You can use your full name or the name of your brand there.
Username: you can change your username here, this is the username of your iLink which you log in with.
Profile image: you can upload a profile which will appear on your profile page.
Note! It must be with JPG, JPEG or PNG formats.You can change your email address too.
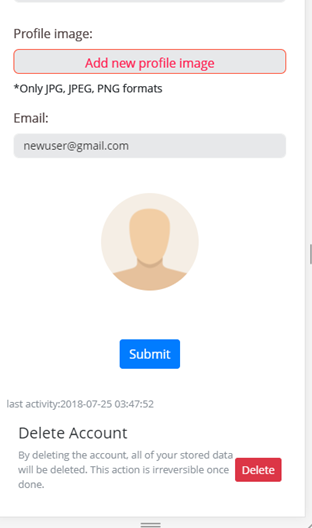
- Submit: After changing what you need, you must click on the submit tab to save the changes.
- Delete account: you can delete your iLink account by tapping on delete, but remember the action is irreversible.
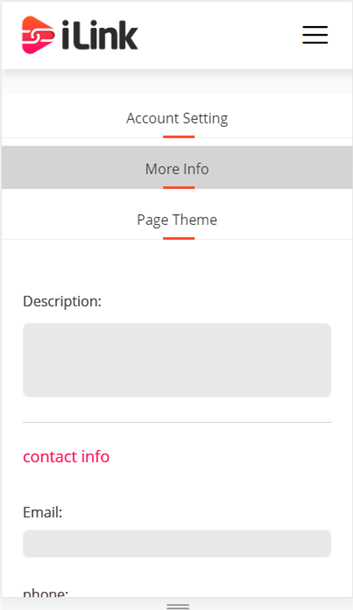
2- More info:
You can add more info to your account by clicking on more info tab. This includes:
- Description: you can add whatever description about yourself or your business on this part. Basically it is like bio tabs that will show your audience more information about you.
- Contact info: You should add your contact info here to let your audience stay in touch with you. These will be shown on your profile:
Email address
Phone number ( home or work)
Mobile number
Address
Note! These will appear to your page as a direct link, so, for example, they can contact you just by clicking on your phone number.
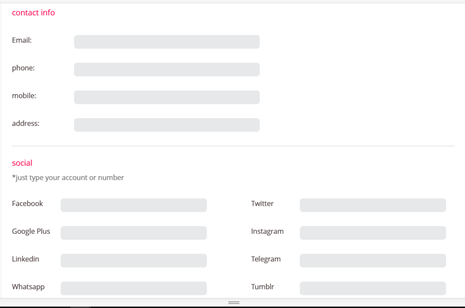
Social:
You can add the links of every social media account you have, so people will be able to contact to your social accounts only by clicking on their little icon appearing under your iLink profile page
List of available social media:
- G+
- Blogger
- Telegram
- Tumblr
- Viber
- Vk
- Your brand ( whatever extra link you want to add)
After adding the information, tap on the submit and it will be all done.
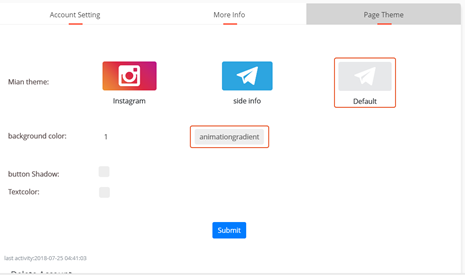
- Page Theme:
You can change the theme of your iLink page via this tool.
Main themes are an Instagram theme, side info theme, and default theme.
Background color: you can change your background color to every color/colors you want.
Button shadow: you can add a shadow to the button of your link to make it bold.
Text color: you can change the color of the text on your page.
After changing these, you should tap on the submit button to save the changes.
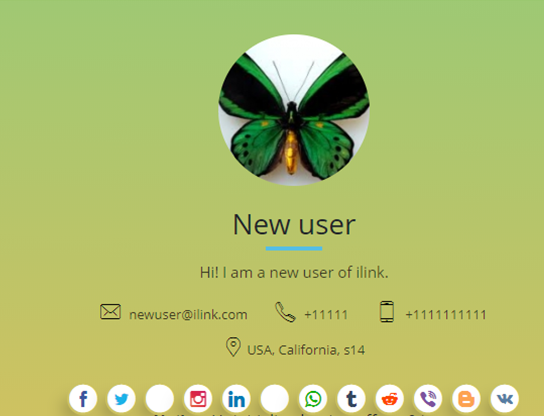
After doing the following steps, your main page will look like this.
How to add new links to your iLink page:
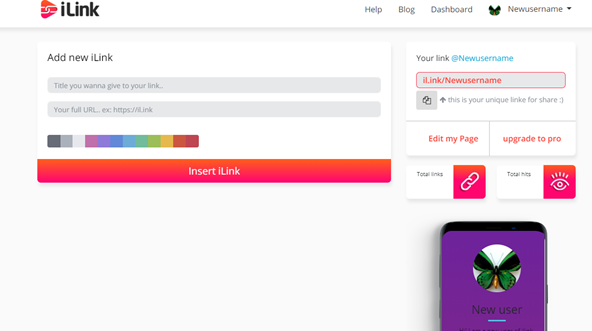
To add the new link, you should:
- go to your dashboard panel
- Type the title you want to give to your link that will appear to your audience via the link.
- You should copy paste or just manually type your link with https://, etc.
- You can choose the color of your link from the color pallet.
Note! It will be soon an update for iLink that will allow you to add photo tumblers to your link too.
- Then press the insert link button
Done! You have added a new link to your profile.
How to edit your added links?
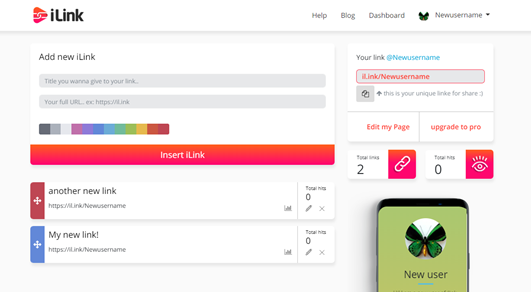
After adding your links, you can edit them on your dashboard by clicking on the little pen icon on the right side of its bar, or you can delete it if you want. There is a total hits icon there too that you can see the viewer numbers of each link.
You can see the stats of the links by clicking on the bars icon on the right side.
How to see the final appearance of my iLink page?
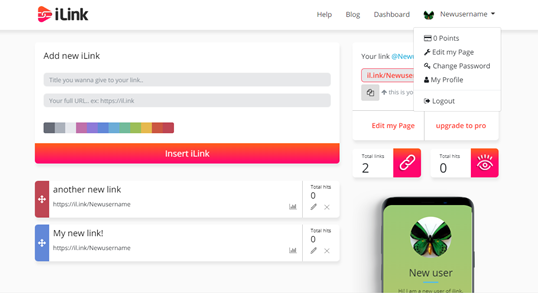
- Click on the username setting tap on the top right of your page.
- Click on my profile.
- This preview will appear for you:
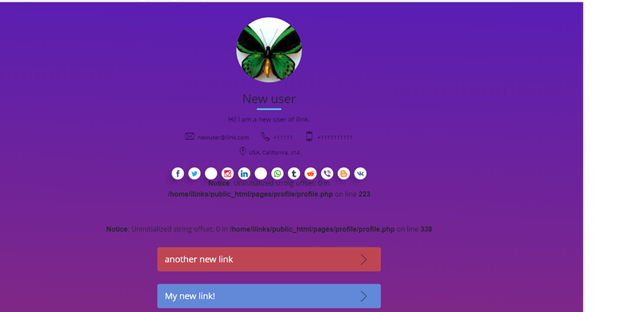
That would be all.
Thanks for reading this review. For more information and any advice to improve our site, please contact us.