Today I want to show how to install an easy to use Linux distribution. I will show how to install Linux Mint, which is an userfriendly Linux distribution for beginners. There will be more Tutorials where I will show you how to install other Linux distributions for beginners and also for intermediate users.
First of all, go to www.linuxmint.com and click on the download button. You will see the following
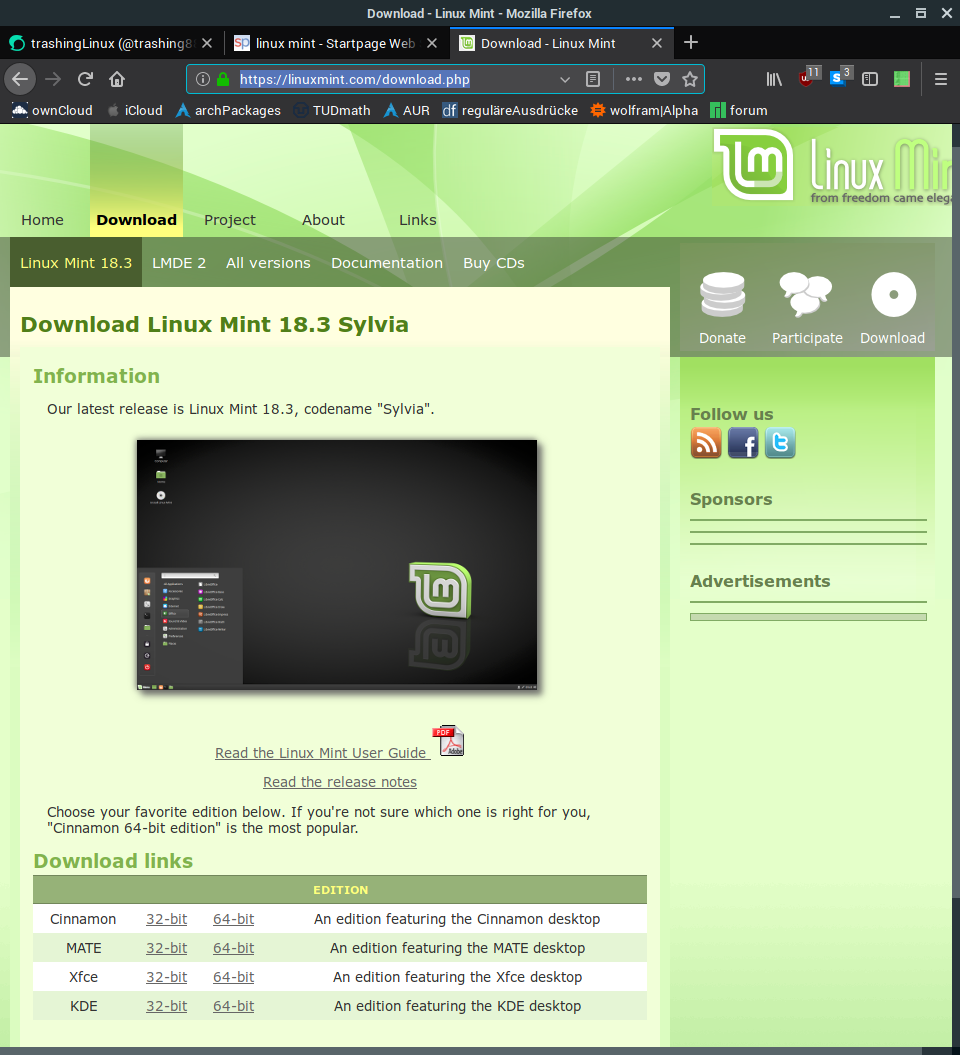
You can choose between 32Bit and 64Bit architechture. Confused? If you have a computer which is not more than 10 years old you'll probably have a 64Bit computer. I chose the Cinnamon Desktop which is the standard Desktop for Linux Mint. You can choose whatever you like. The iso-file is about 1.8GB large. You have to write the iso file on an USB-stick with at least 4GB of space. If you have no clue how to do this I refer to https://unetbootin.github.io/
After finishing this simply restart your PC. You will see the following bootscreen
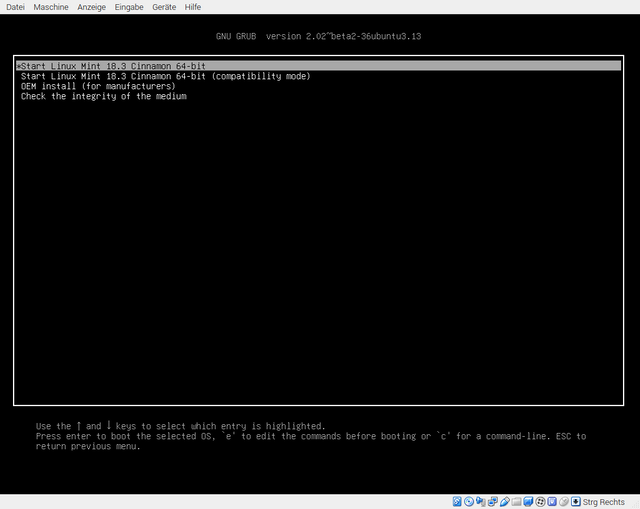
Simply press ENTER wait until the boot procedure is finished. On the Desktop there is a symbol labeled "Install Linux Mint". Double Click and you will see something like this
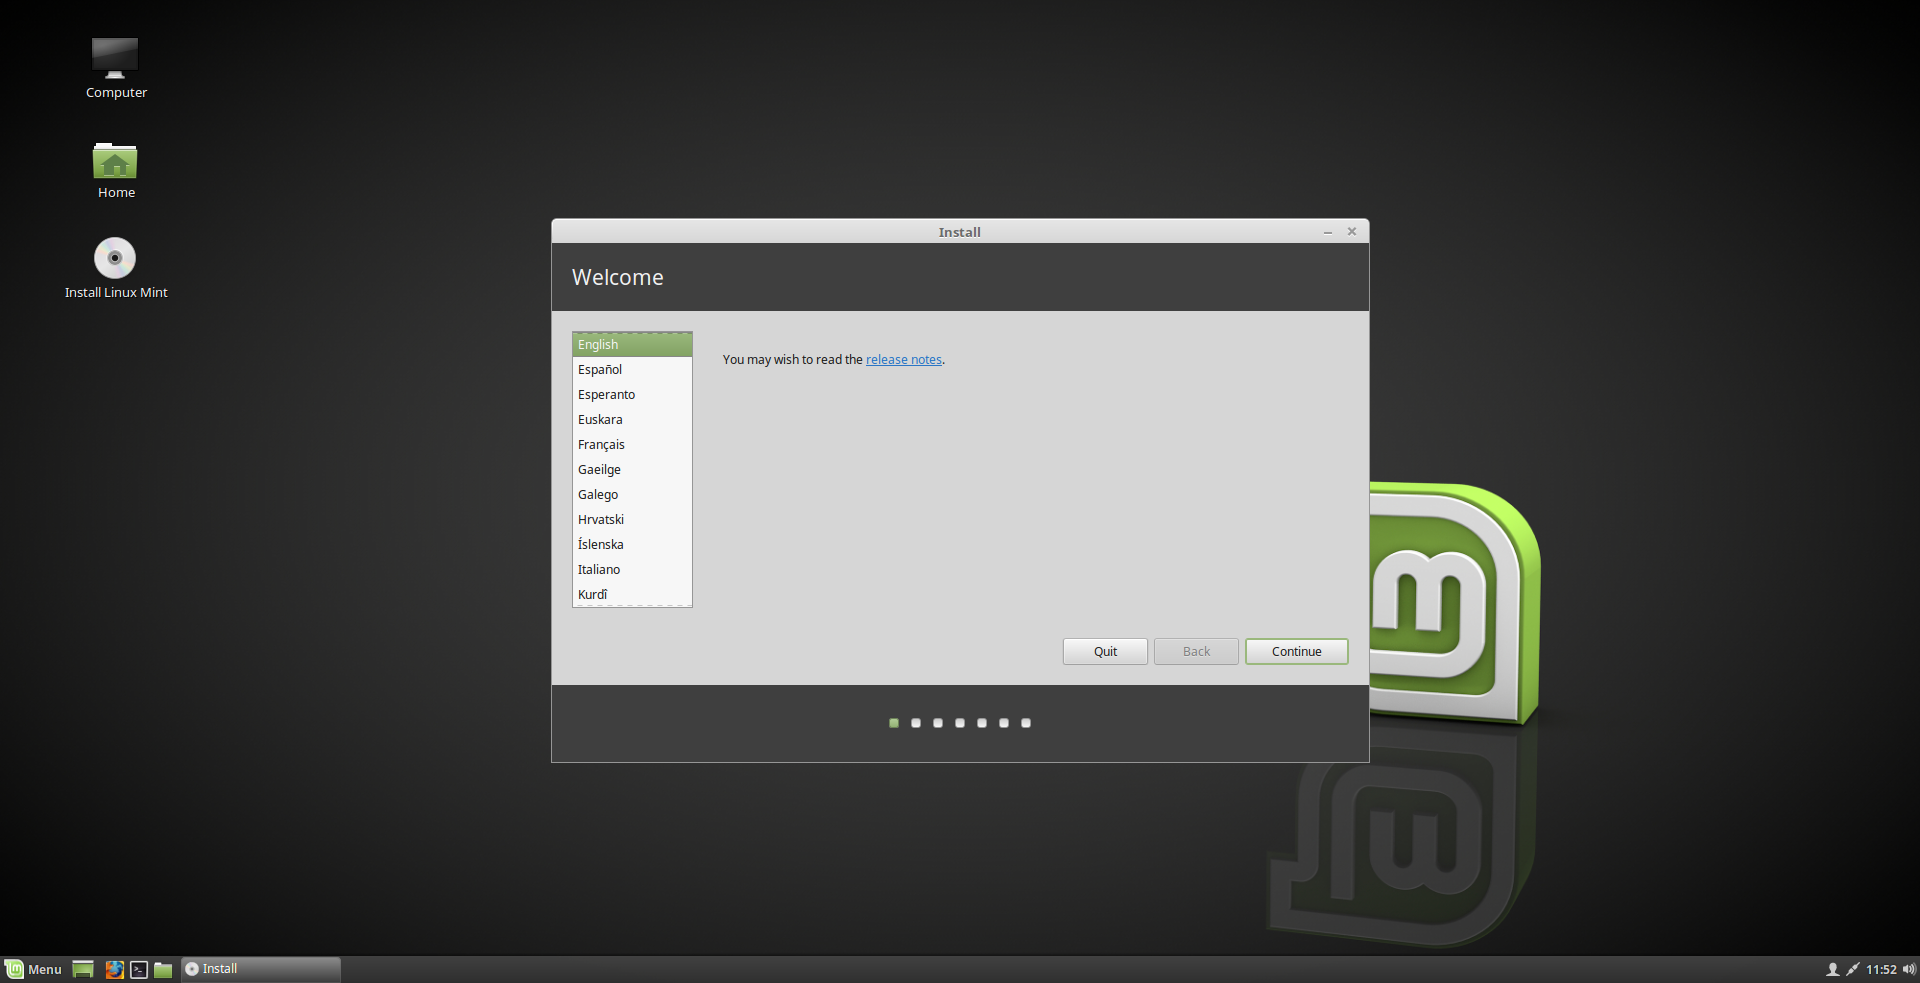
Choose your language. After that you will be asked about whether to install so called *proprietary drivers" which simply means that this drivers are not open source software. I recommend to install this proprietary drivers since many Wifi cards and graphic cards only work well with this drivers.
Then you get a dialog for formatting your harddisk.
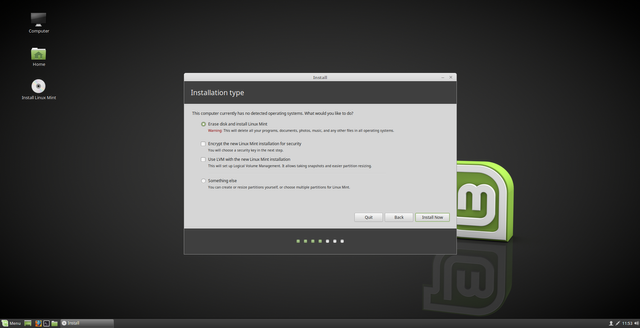
Attention! This will erase your entire disk and data. If you want to keep Windows or your personal data you have to stop here. I will make another Tutorial where I will show you how to install Linux beside Windows. But for now I chose "Erase disk and install Linux Mint". After this is finished you will get asked about your time zone.
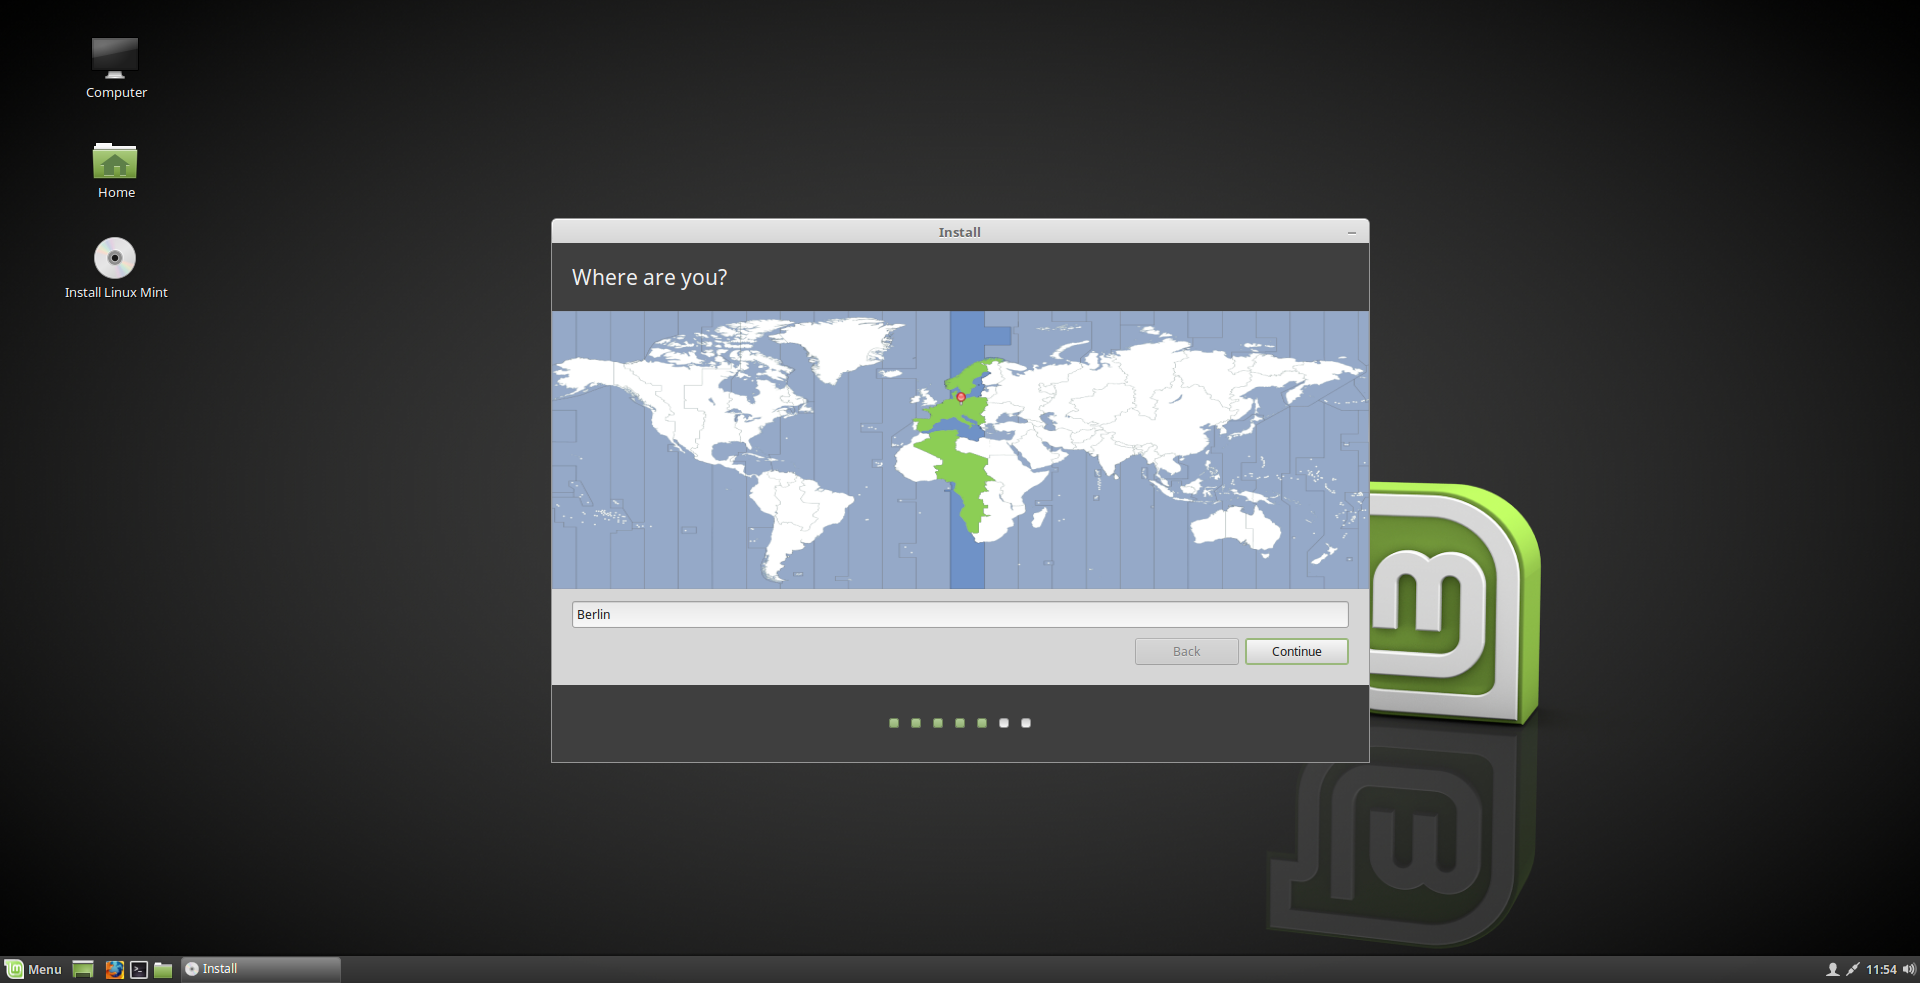
If you are connected with the Internet it will pick your timezone automaticly. Then you get asked about your keyboard layout.
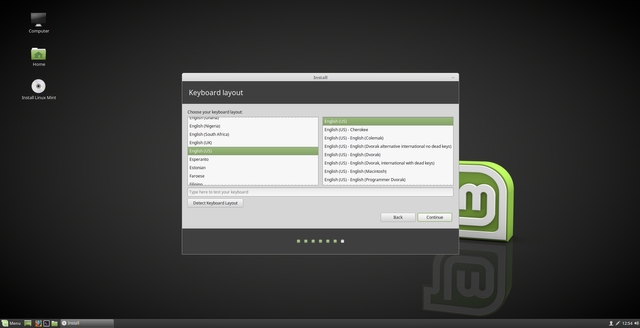
Simply choose the layout you want and confirm with "Continue". Then you have to create an user account.
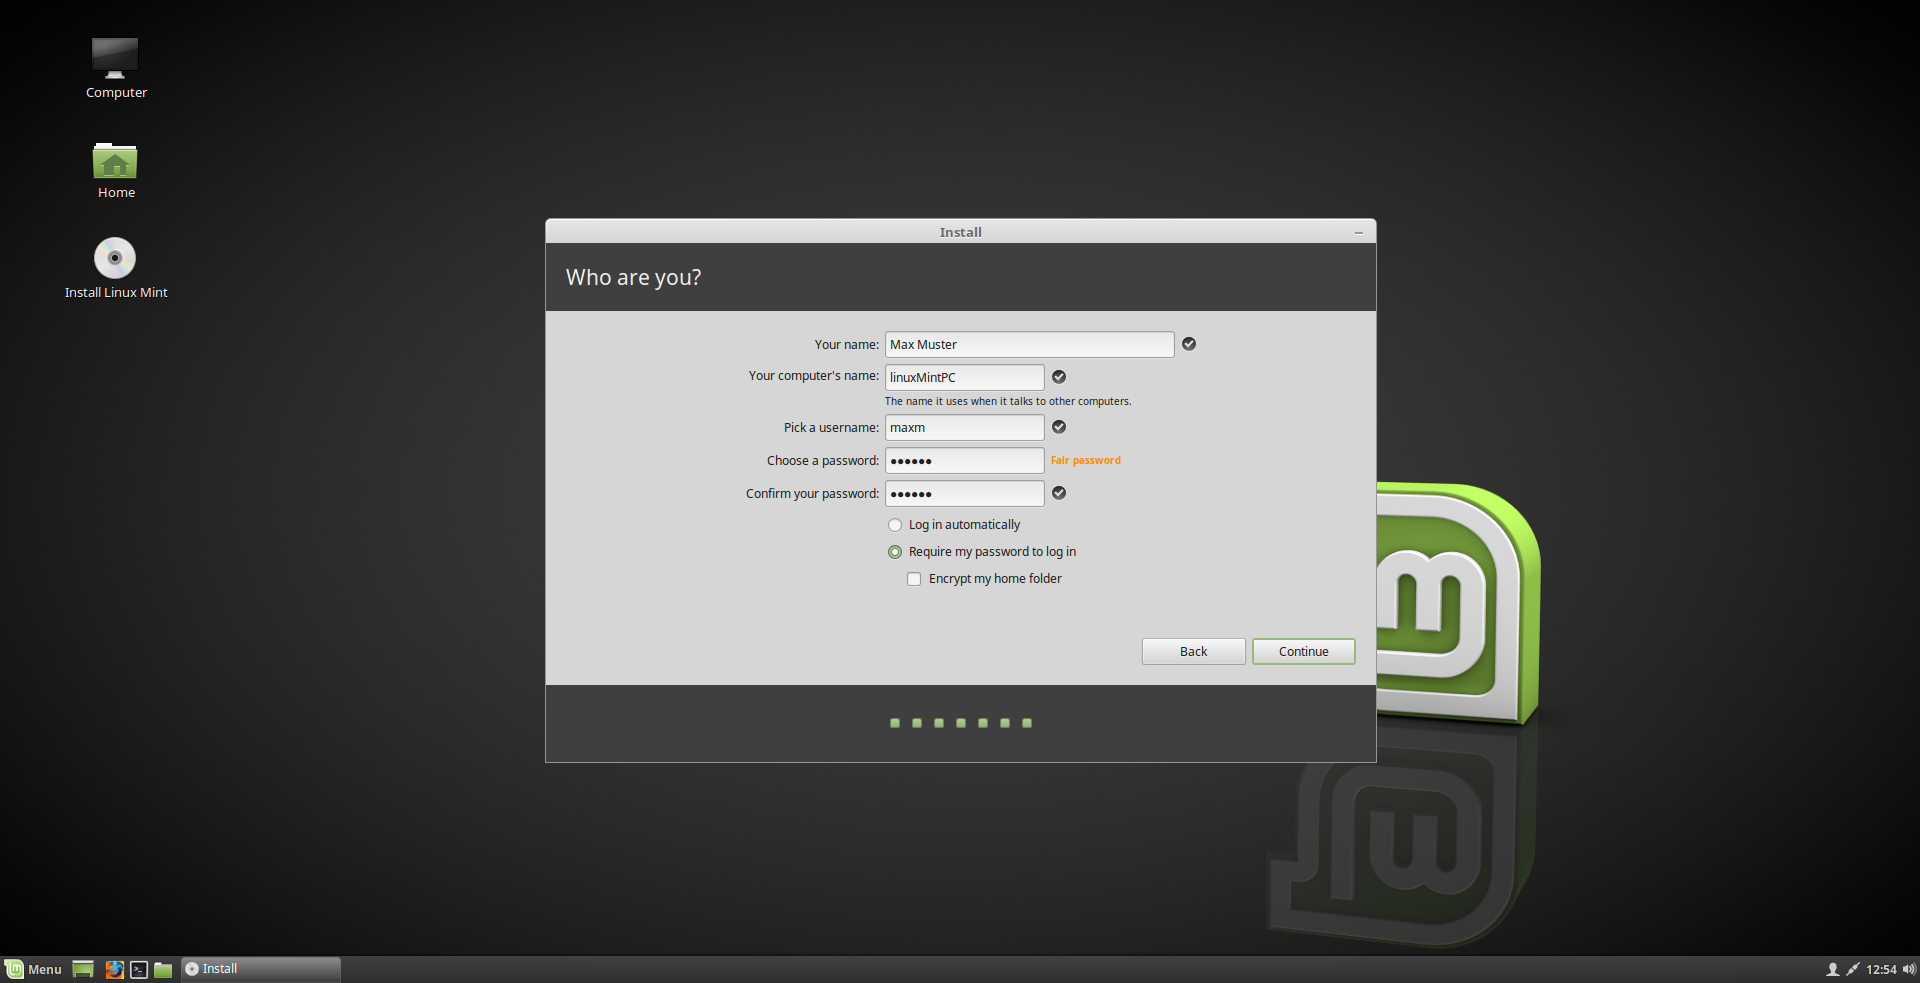
You have to enter your Name, a name for your PC and the user name. After that you have to type in a safe password of your choice. You will get a hint whether your password is safe (on the screenshot I chose "123456" as the password and I get a hint that it is a "fair password"). Then the installation starts. All necessary files will be copied. This may take a while. After this is finished you will see this
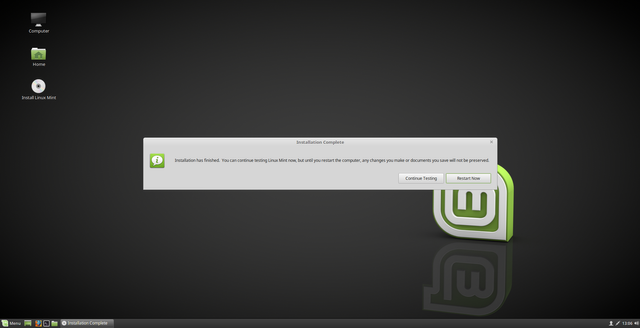
Click on "Restart now". You will getting asked to remove the USB stick. After doing this you will boot into the fresh installation of your own Linux Mint. Simply login with your created password and enjoy.
Note: This is only the installation procedure. After the fresh install you probably have to install the software of your choice to make it your own computer. But this is a completely different chapter. I will make a tutorial on this later, as well.