Dear steemians,
On my previous post, I have shared on Make your photos look more attractive with this simple Apps and Steps.
https://steemit.com/photography/@aburmeseabroad/how-to-make-your-photos-look-better-using-this-simple-apps-and-steps-steemit-newbie-tips-2-2017811t103641880z
That post was super basic but give your photos instant boost , but if you want to know more for the details , this post is for you. I use the same photo that was taken by my phone.

( To give you an idea, this is some of the photos that I have edited )
Do not worry , if you do not have a camera, even with normal phone camera , you can make your photos look much professional. ( but require a little bit of patience )
Step 1: Run Snapseed and open a photo
To get started,Open Snapseed and open a photo to start editing .
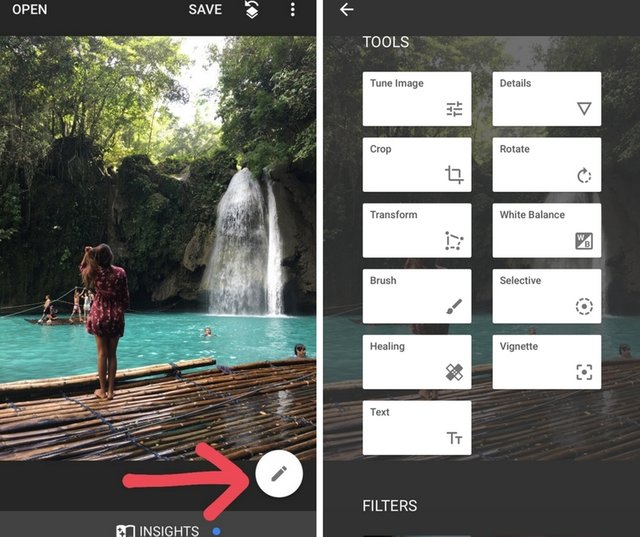
Note : There are preset setting avaiable below ( but I personally never use them as they are not my style )
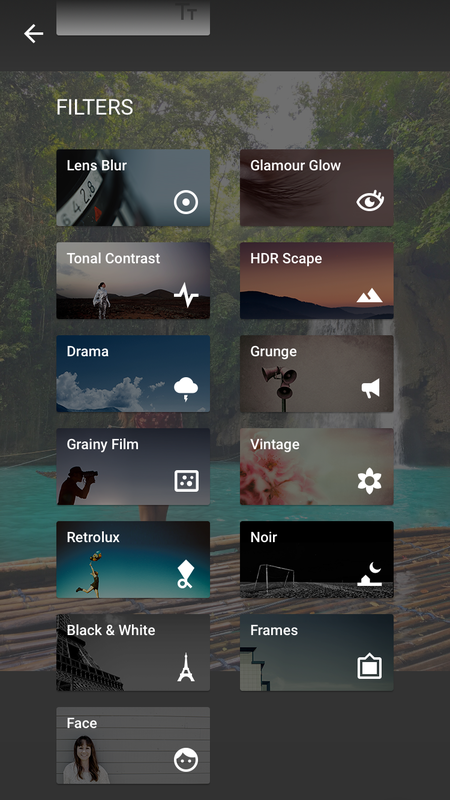
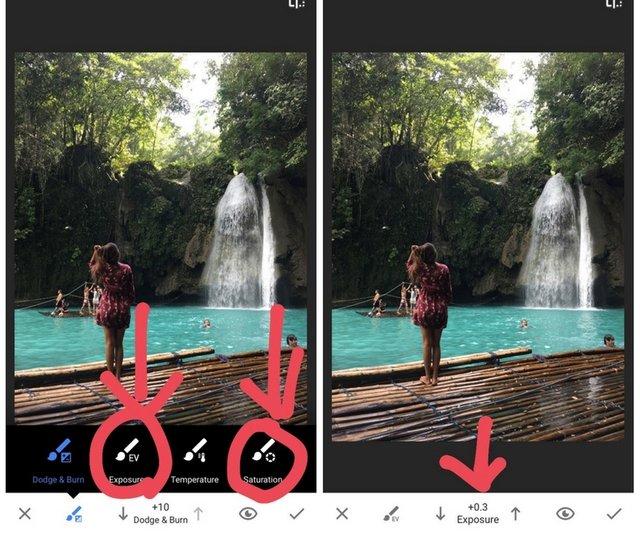
Step 2 : Exposure and saturation using Brush tool
- I really like this function as you can brighten only on certain areas ( not the whole pictures)
- Start with lower exposure value, and repeat the process to increase more per your liking
- Adjust the same for saturation
Step 3:AMBIANCE from Tune Image Tool
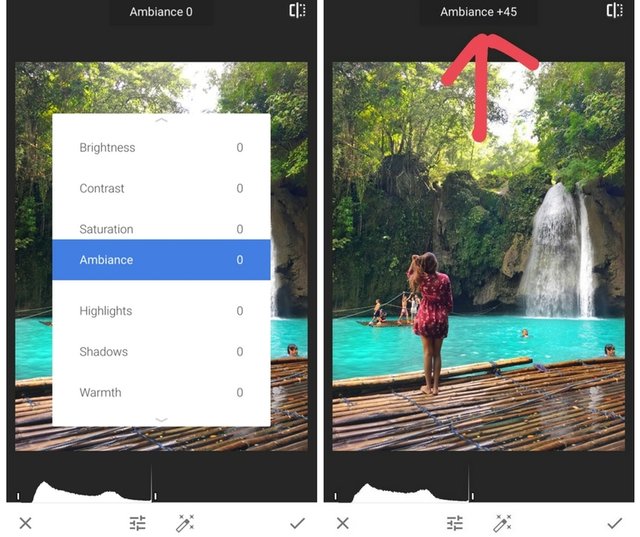
- As you can see there are there are also brightness and saturation in here, but using this will make the whole photos brighter ( we do not want everything to wash out ) .
- Ambiance brings back the details from the photos which I really love.
- Set it to around + 30
Setp 4 : TRANSFORM
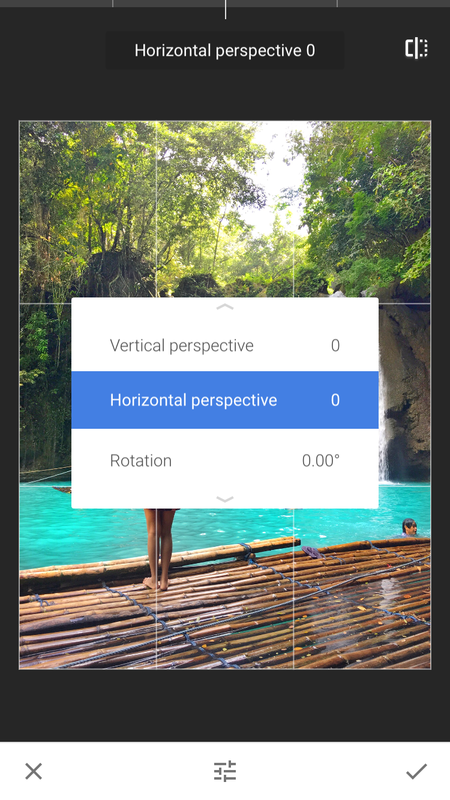
- Don't worry , if your photos doesn't look straight , you can use either of these to adjust it.
Step 5: CROP
Again; you can experience using this tool. A simple crop change the whole look of the picture. Please take note : the below photo was taken by a camera, the resolution from the phone may be not be very good after cropping.
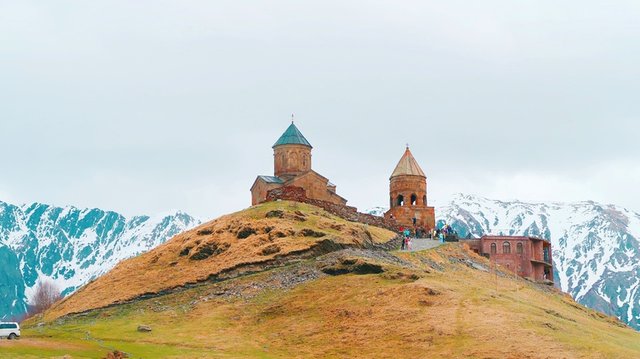
Before cropping
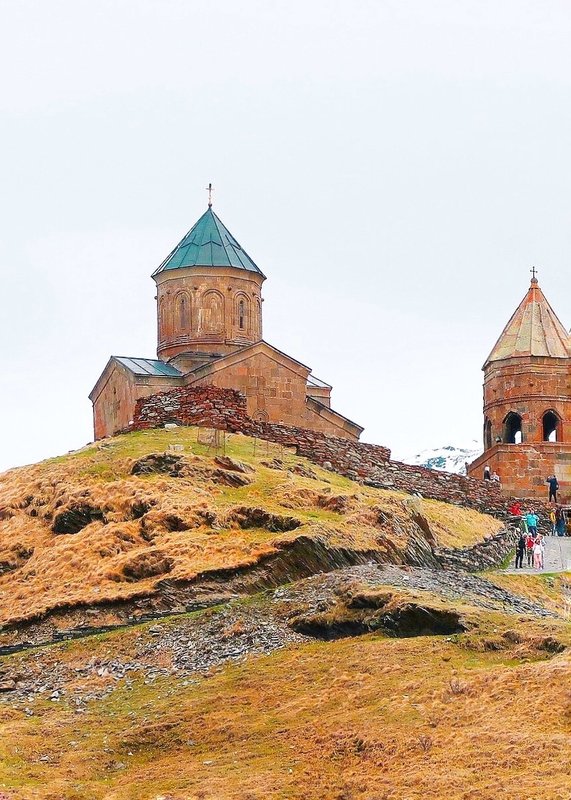
After cropping
Step 6: HEALING
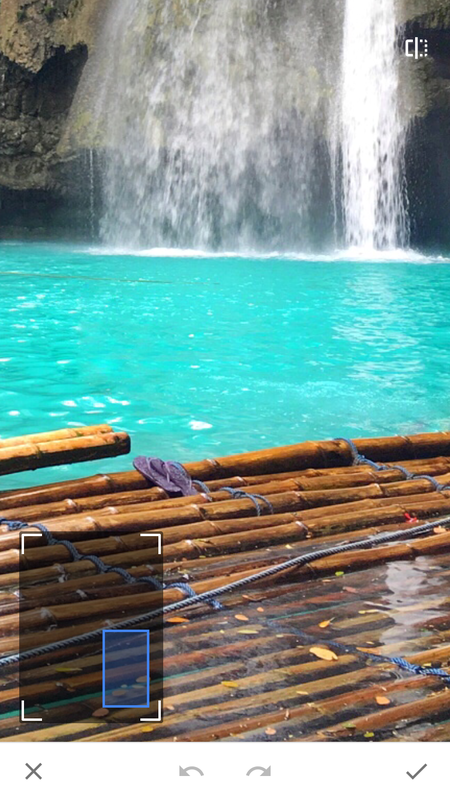
This is so cool, because you do not need complicated software to remove unwanted objects from your photos. The healing function can help you get rid of any unwanted parts in the photo. For example, in the photo below I would like to remove a few people from the photos. zoom into the area you would like to cover up and simply tap or drag your finger over that area. The Healing tool can be a bit tricky because it automatically chooses the area from which to select the cover up.
You might need to try many times to achieve what you want. For me, I use only to remove the small objects , not a very huge objects.
Step 7 : Sharpening
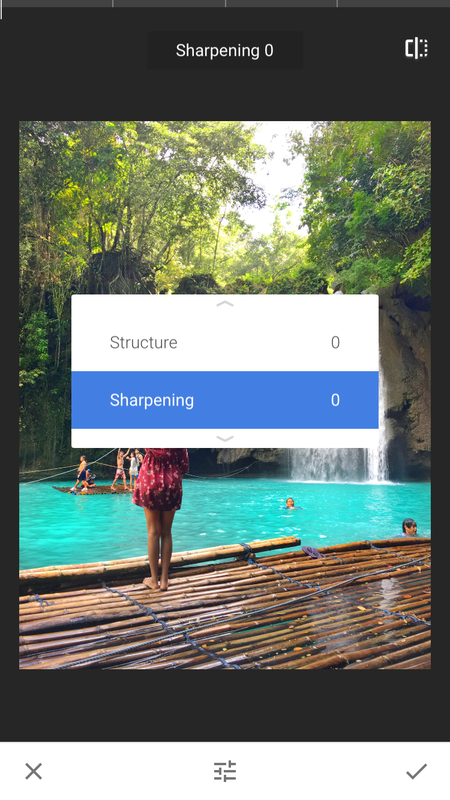
- Set it to around 20 or 30.It is very simple but make your photos look more professional.
Other functions
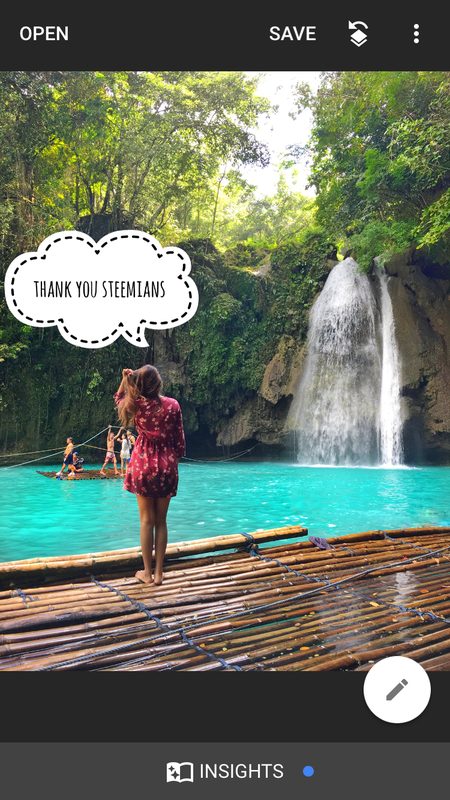
Adding texts/ Rotate
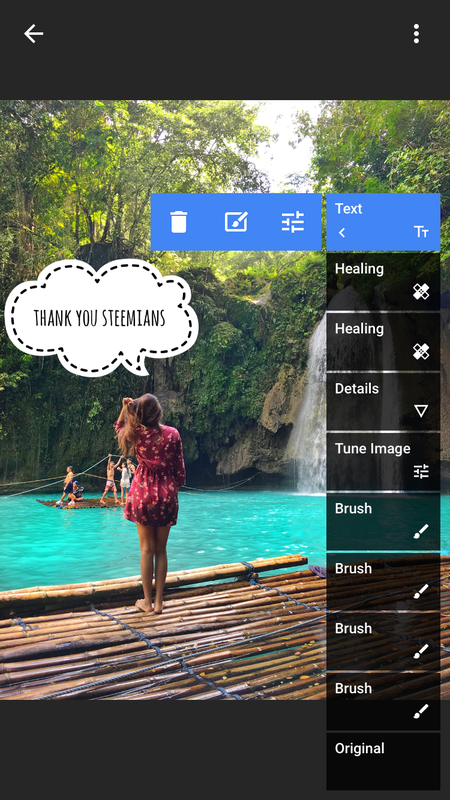
Deleting unwanted steps
Comparison of BEFORE AND AFTER
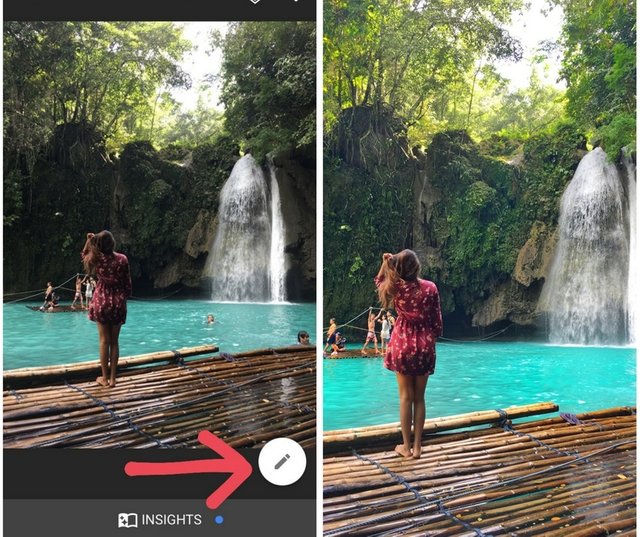
As you can see , the final result look much nicer and professional looking. I have been using these steps for most of my photos and very happy with the results.If you have used these methods, tag me on your posts, and I will be sure to take a look.
Very useful post just u forget to talk about brightness level
Downvoting a post can decrease pending rewards and make it less visible. Common reasons:
Submit
hi, Thanks, I normally use exposure tool and it works better than brightness , like I mention brightness make the whole photos look bright and I prefer using exposure personally, feel free to explore.
Downvoting a post can decrease pending rewards and make it less visible. Common reasons:
Submit
I always use Snapseed. Is for me the best photo app ever. Thank you for sharing it
Downvoting a post can decrease pending rewards and make it less visible. Common reasons:
Submit
yes, Snapseed is the best , I have bought some paid apps but always use snapseed for all photos edited by mobile.
Downvoting a post can decrease pending rewards and make it less visible. Common reasons:
Submit
very nice. thx for the insight. I haven't used it before but will give it a go.
Downvoting a post can decrease pending rewards and make it less visible. Common reasons:
Submit
it's one of the my most favourite apps, let me know how it turns out.
Downvoting a post can decrease pending rewards and make it less visible. Common reasons:
Submit
Great post! Followed you on IG :)
Downvoting a post can decrease pending rewards and make it less visible. Common reasons:
Submit
thanks a lot.. sorry for the late reply.. already followed you back on ig too. :)
Downvoting a post can decrease pending rewards and make it less visible. Common reasons:
Submit
haha it's ok! It's hard to keep track of posts and comments when you don't get notifications here :( Hopefully Steemit keeps improving! :)
Downvoting a post can decrease pending rewards and make it less visible. Common reasons:
Submit
Wonderful tutorial. Though one must have a good camera phone to be able to edit pictures. A dud camera will only give dud pictures even after you edit them. I liked all your pictures, specially the cropped one as cropping did make the whole scene come alive.
Downvoting a post can decrease pending rewards and make it less visible. Common reasons:
Submit
But eve if u have a dud camera , it will definitely give better look. I have tried :), crop is like secret discovered, simple but many ppl didn't give much attention I think !
Downvoting a post can decrease pending rewards and make it less visible. Common reasons:
Submit
I just installed it on my phone and I came back here to see your tutorial as I had seen this one previously. Thanks for writing this helpful review :)
Downvoting a post can decrease pending rewards and make it less visible. Common reasons:
Submit
You are welcome ..
Downvoting a post can decrease pending rewards and make it less visible. Common reasons:
Submit