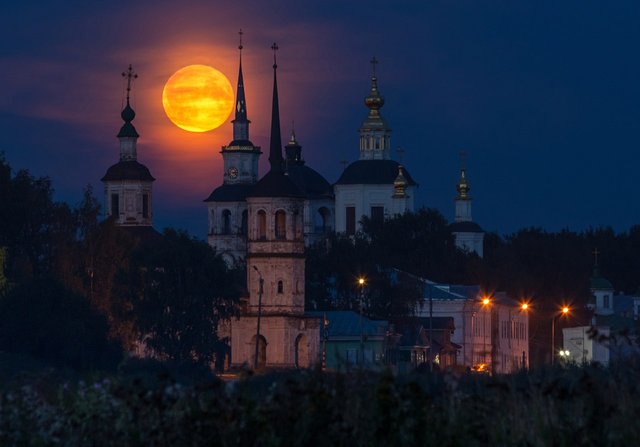
One of my first posts on the Steemit was about shooting the moonrises, but it was a long time ago, so I'll make a new post with fresh photos.
Everything begins with preparation! Let's start with the elementary things. We need a camera, preferably a DSLR, and even more desirable with a good multi-megapixel and low-noise matrix. A tripod is required! It is also very desirable to shoot on a tele-focus lens (135-300 mm) and as more the focal length that is better! If it is 400 mm - super! If it is 600 mm - even great! Still need to have a remote control or use the mirror pre-up and a timer if there is no remote. Everything is with the equipment.
Next, we need to somehow find out where this moon will go from behind the horizon and what it is tied to. The city in which I live is oversaturated with temples, so I do not have a question of what and how to shoot. Whoever does not have this sights, you can use any interesting object (bridge, tree, forest, mountain), which would be the basis of the frame. After all, the moon is not the main subject of photography (if the main one, this is an astrophoto).
To match the object with the rising moon, you need to use the special application The Photographer's Ephemeris (the application is paid), it shows all the points of sunrise and sunset, as well as the exact time. Choose an object as far as possible from yourself, so that the moon seemed bigger.
On the site you need to come at 10-15 minutes before moonrise, in order to have time to choose the desired angle, set the settings and set the camera on a tripod.
Recommendations for settings: the aperture - f/8-11, the exposure should be shorter, because the moon can be smeared on a tele-focus. I usually stick to values of up to 2-3 seconds. The ISO value is selected based on the above mentioned values. Sometimes it comes to ISO800-1000 (see the recommendation about the low-noise matrix in the camera).
Here comes the edge of the moon from behind of the city - we start shooting! Constantly you have to change the point of shooting, because the moon is moving in the sky very quickly!
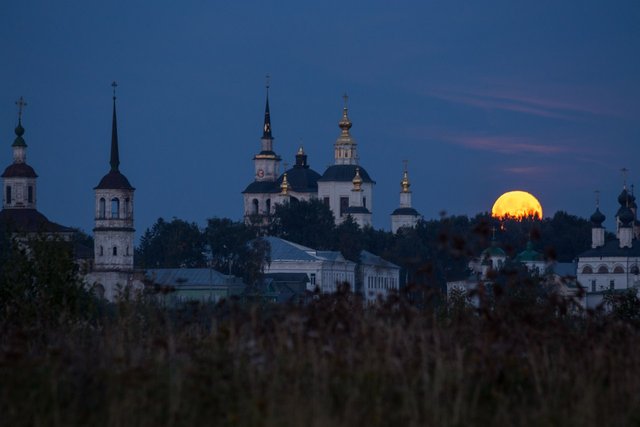
Further already as will go. Always check and adjust the exposure.
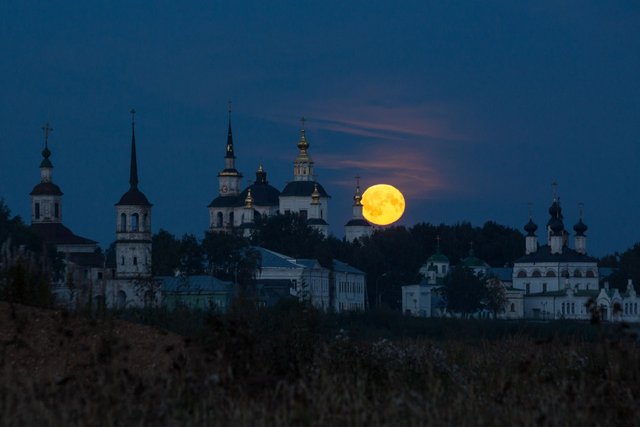
Experimenting. Hide the moon behind the temples. For this I had to run off to the side for a dozen meters.

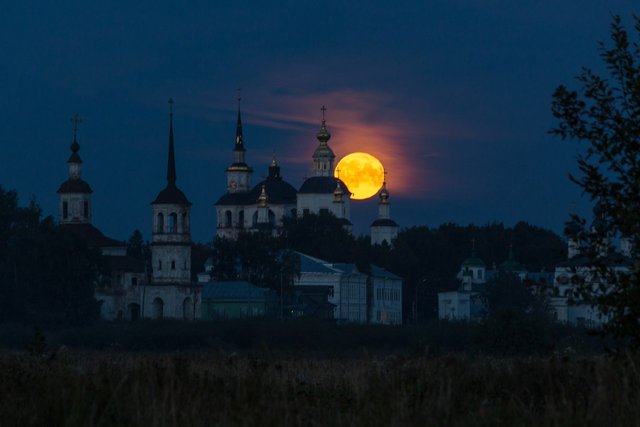
To compose the frame, you have to strongly crop. But it's just like one of the options. We go further to our once photo, for which all this was started.
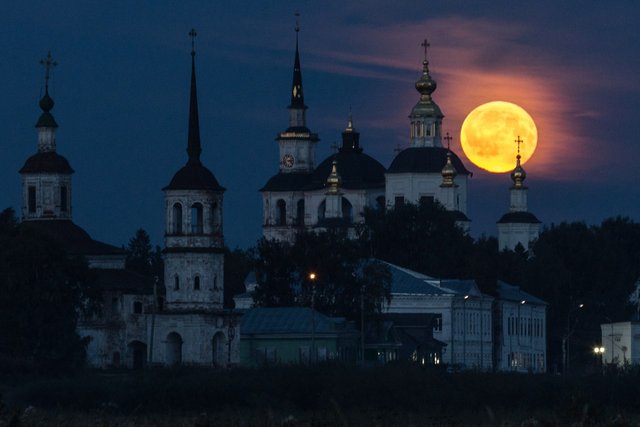
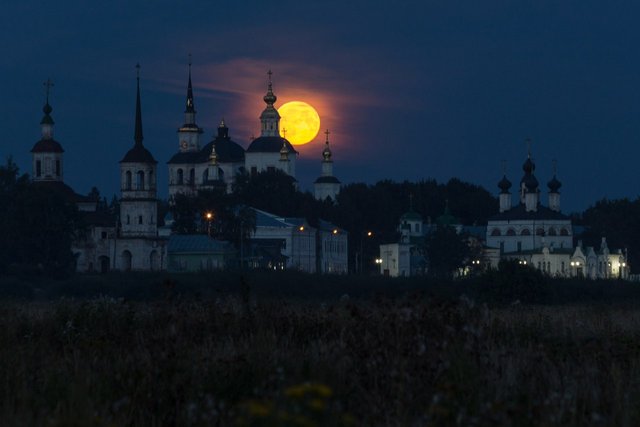
With the lights turned on, it becomes much more interesting.
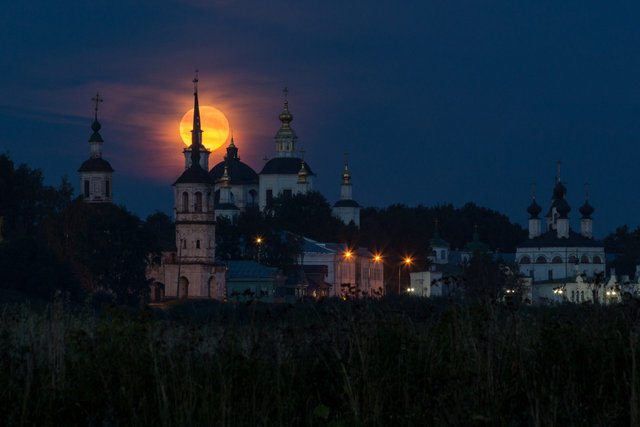
Crop the same picture. Getting close. The setting moon for the haze creates an even more picturesque effect!
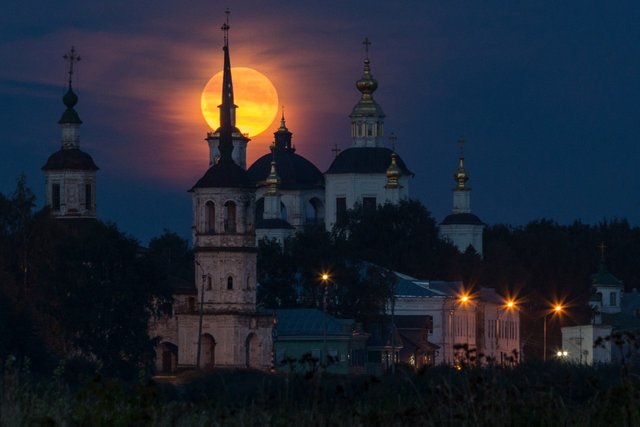
Let's try it vertically. Also not bad, for the cover of the magazine just!
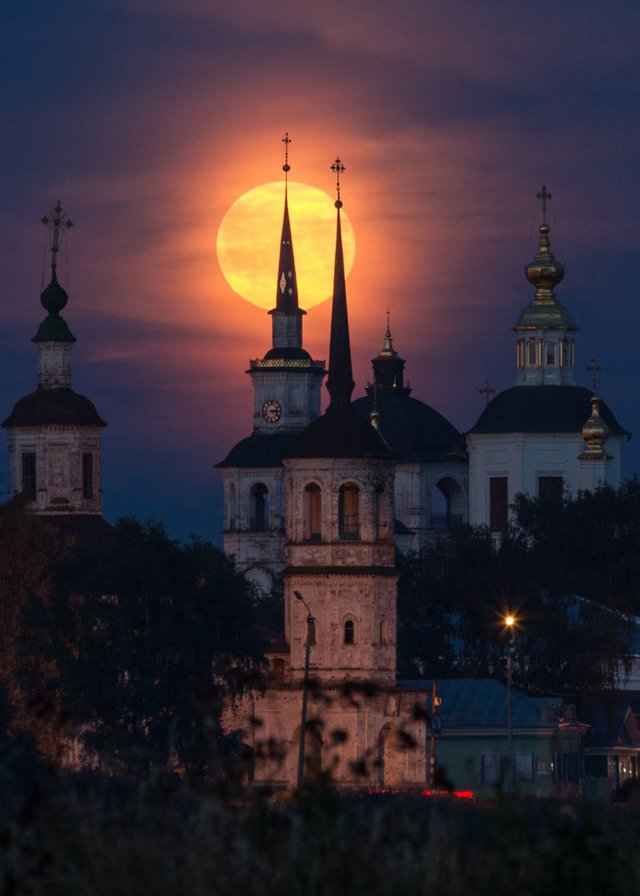
Thus, we come to the final version, which can be printed as a postcard. Done!
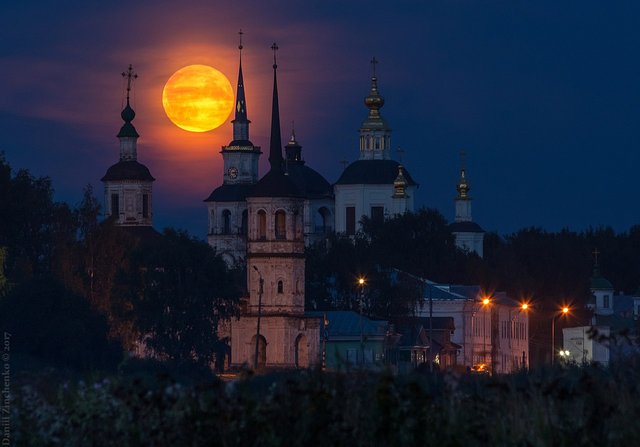
But even after the result, continue to shoot some more time, it is never known how events unfold.
The final frame at parting!
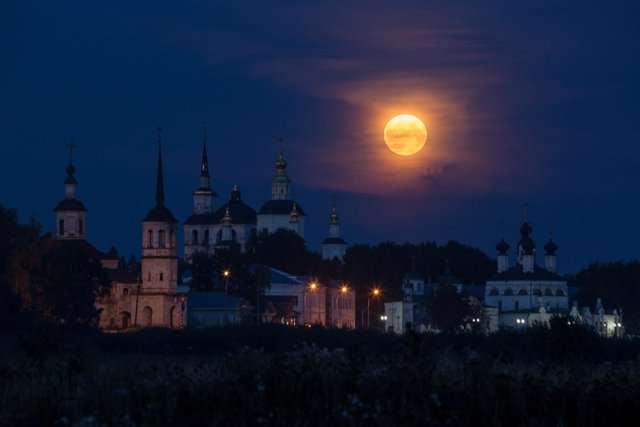
I hope somebody this post will be useful and I will see photos with a rising full moon in the feed!
It's so fantastic.
Do not you become a werewolf because of the moon?
It's a really good picture. Thank you.
Downvoting a post can decrease pending rewards and make it less visible. Common reasons:
Submit
Downvoting a post can decrease pending rewards and make it less visible. Common reasons:
Submit
Fantastic tutorial and beautiful pictures.
Thank you definitely gave me some tips.
Downvoting a post can decrease pending rewards and make it less visible. Common reasons:
Submit
Looks really great, especially the colour of the moon.
Downvoting a post can decrease pending rewards and make it less visible. Common reasons:
Submit
Whoa these are fuckign amazing.
Downvoting a post can decrease pending rewards and make it less visible. Common reasons:
Submit
Congratulations @evildeathcore! You have completed some achievement on Steemit and have been rewarded with new badge(s) :
Click on any badge to view your own Board of Honor on SteemitBoard.
For more information about SteemitBoard, click here
If you no longer want to receive notifications, reply to this comment with the word
STOPDownvoting a post can decrease pending rewards and make it less visible. Common reasons:
Submit
Wow, gorgeous! Thanks for sharing..
Downvoting a post can decrease pending rewards and make it less visible. Common reasons:
Submit
Thank you for the photo lesson!!
Downvoting a post can decrease pending rewards and make it less visible. Common reasons:
Submit