While I was showing components of the Jetbot, I was asked whether I would put them together, the answer was "YES". So now I am going to show the steps of assembling this little so called "Robot". I think it is more like a car than a robot.
在過去的一段時間中, 當我仍是每天的在展示這車的部件時, 有位大哥大問我會否把車組裝起來. 這個當然是會啦. 現在就開始示範如何組裝這車.
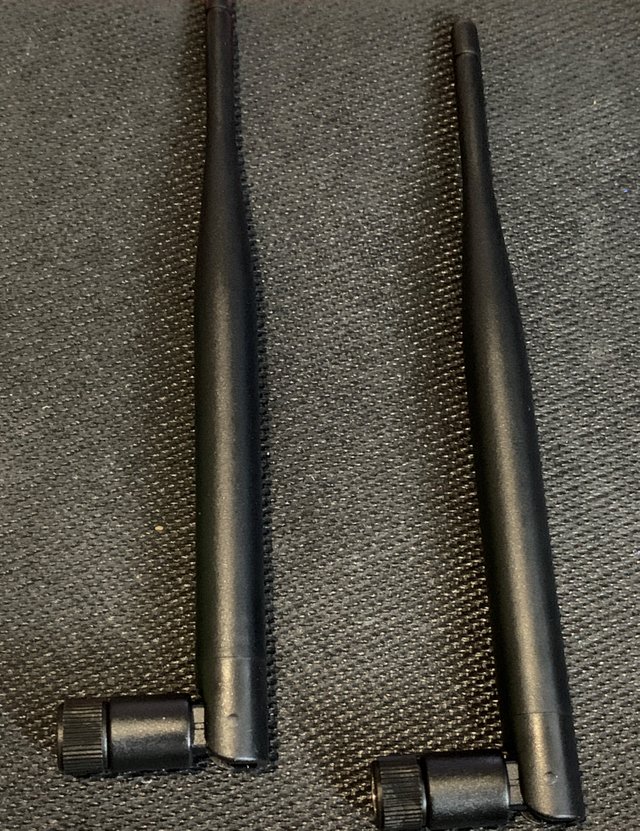
Finally, we connect the 2 antennas to Jetbots.
最後把兩根天線接好在Jetbot上。
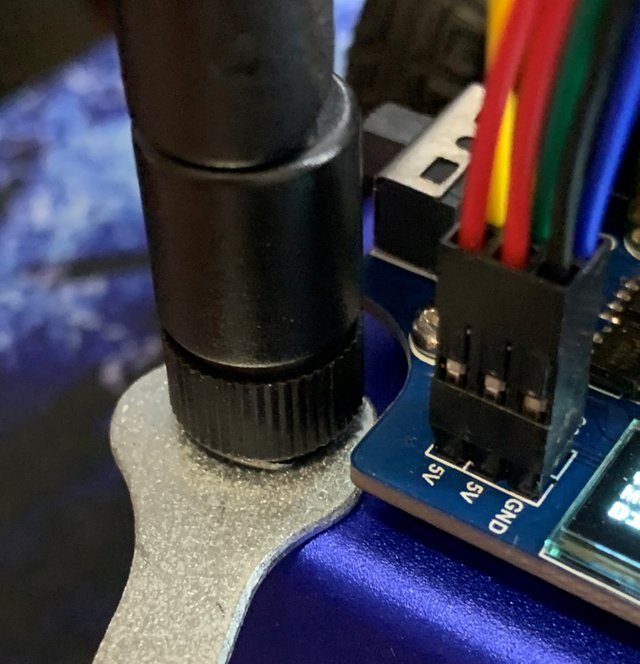
Because of the type of connector, we need to use this tool to help.
因為那個接口有點特別,我們要借助這工具的幫忙。
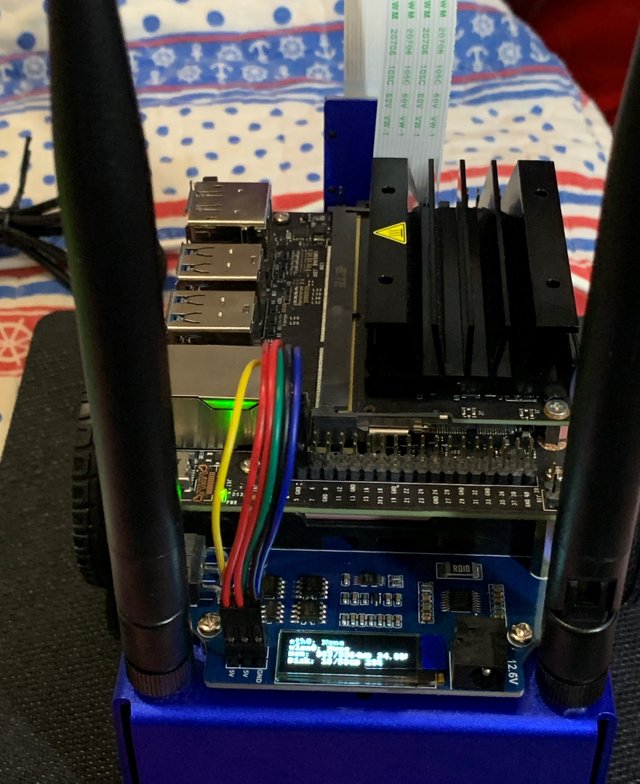
After connection, the whole Jetbot should look like this.
接好之後,整輛Jetbot看起來就是這樣。
請關注!點讚!轉發!


excellent work done :)
Downvoting a post can decrease pending rewards and make it less visible. Common reasons:
Submit