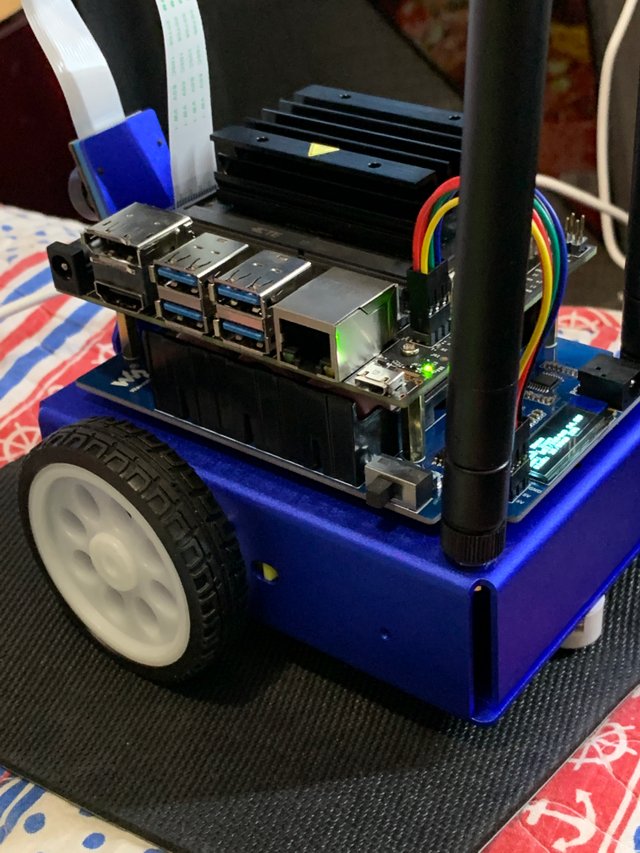
While I was showing components of the Jetbot, I was asked whether I would put them together, the answer was "YES". So now I am going to show the steps of assembling this little so called "Robot". I think it is more like a car than a robot.
在過去的一段時間中, 當我仍是每天的在展示這車的部件時, 有位大哥大問我會否把車組裝起來. 這個當然是會啦. 現在就開始示範如何組裝這車.
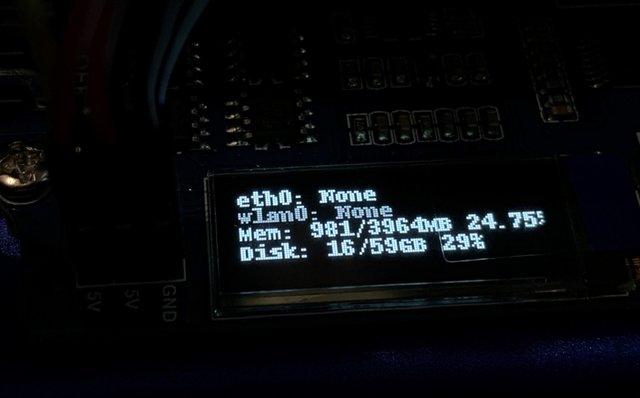
However, after power on Jetbot, it cannot connect to Wifi network. As you can see, there is no IP address at wireless connection.
但在起動Jetbot之後,發現它不能連接到Wifi網絡。看看無線介面沒有IP地址就是了。
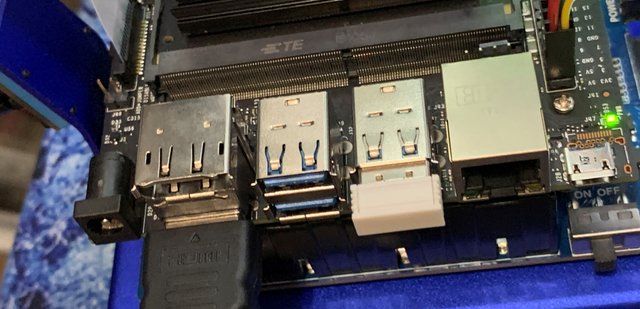
Insert SD card to the card reader as the back of Jetson Nano.
回憶起來,當初設置時,還未接上Wifi模組,當時還是在用USB Wifi模組的。所以現在應該要改一改無線網絡的設定,於是我就接上無線鍵盤和
Then complete configuration at the web-based interface.
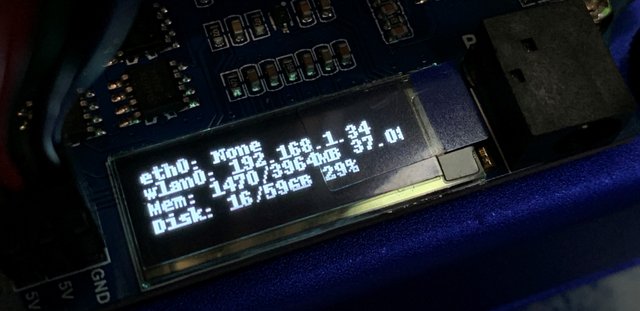
改好設定之後,就可以連上Wifi網絡。
Jetbot is now ready to go!
Jetbot亦已準備就緒!
請關注!點讚!轉發!
Congratulations @guyverckw! You have completed the following achievement on the Steem blockchain and have been rewarded with new badge(s) :
You can view your badges on your Steem Board and compare to others on the Steem Ranking
If you no longer want to receive notifications, reply to this comment with the word
STOPTo support your work, I also upvoted your post!
Vote for @Steemitboard as a witness to get one more award and increased upvotes!
Downvoting a post can decrease pending rewards and make it less visible. Common reasons:
Submit