While I was showing components of the Jetbot, I was asked whether I would put them together, the answer was "YES". So now I am going to show the steps of assembling this little so called "Robot". I think it is more like a car than a robot.
在過去的一段時間中, 當我仍是每天的在展示這車的部件時, 有位大哥大問我會否把車組裝起來. 這個當然是會啦. 現在就開始示範如何組裝這車.
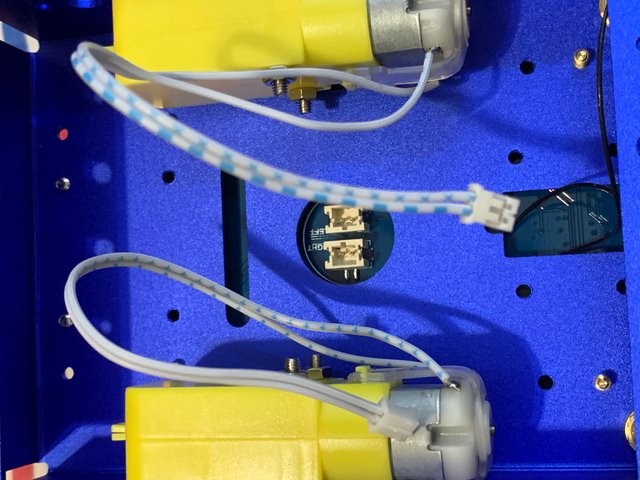
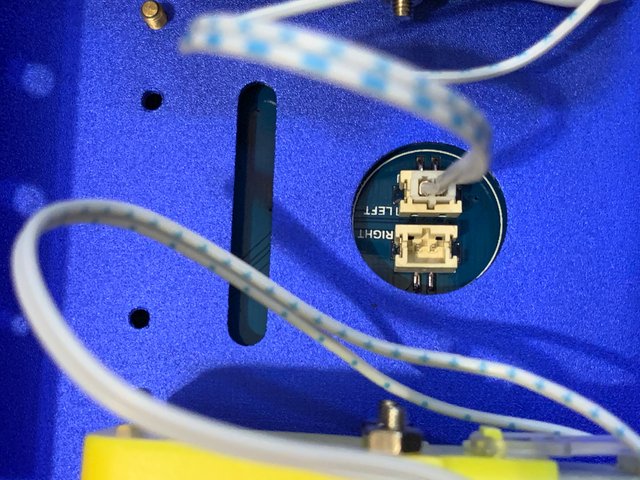
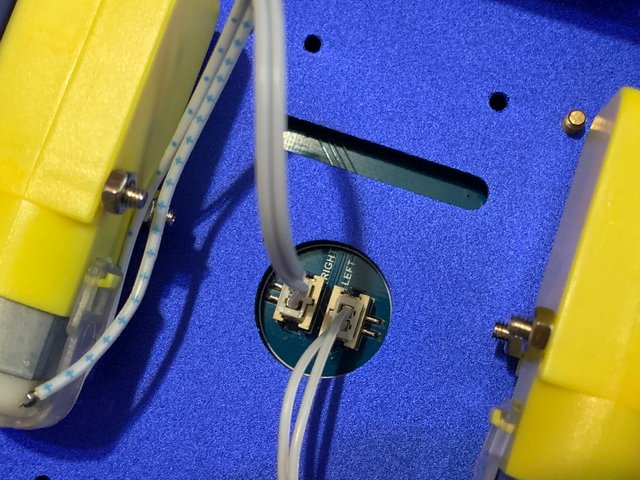
Turn around the body of Jetbot, there are the battery connectors for the 2 motors.
反轉Jetbot,就會見到兩個摩打的電源接口。
Connected motors to the power supply:
接好電源:
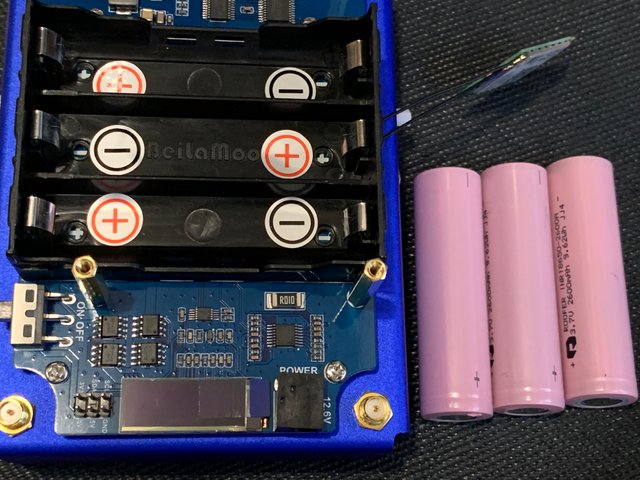
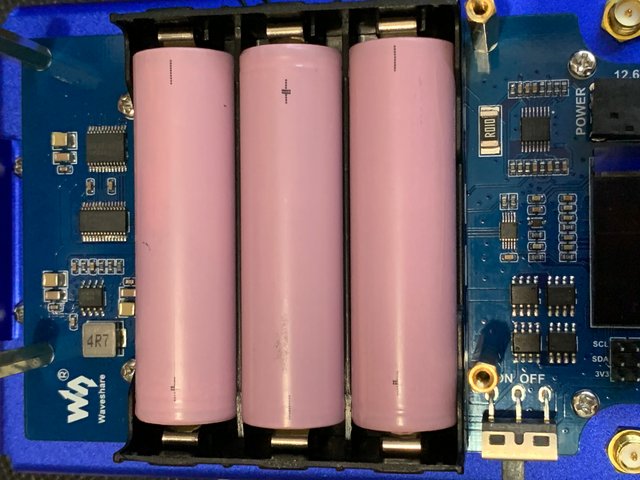
Insert the 3 batteries, pay attention to the +/- signs.
將3顆電池放好,留心+/-極的方向。
請關注!點讚!轉發!
Congratulations @guyverckw! You have completed the following achievement on the Steem blockchain and have been rewarded with new badge(s) :
You can view your badges on your Steem Board and compare to others on the Steem Ranking
If you no longer want to receive notifications, reply to this comment with the word
STOPTo support your work, I also upvoted your post!
Vote for @Steemitboard as a witness to get one more award and increased upvotes!
Downvoting a post can decrease pending rewards and make it less visible. Common reasons:
Submit