Hi there Steemians. This is the first of what will hopefully be a series of posts about my photography techniques. If you appreciate what I am doing, please upvote and re-steem so that I am encouraged to do more.
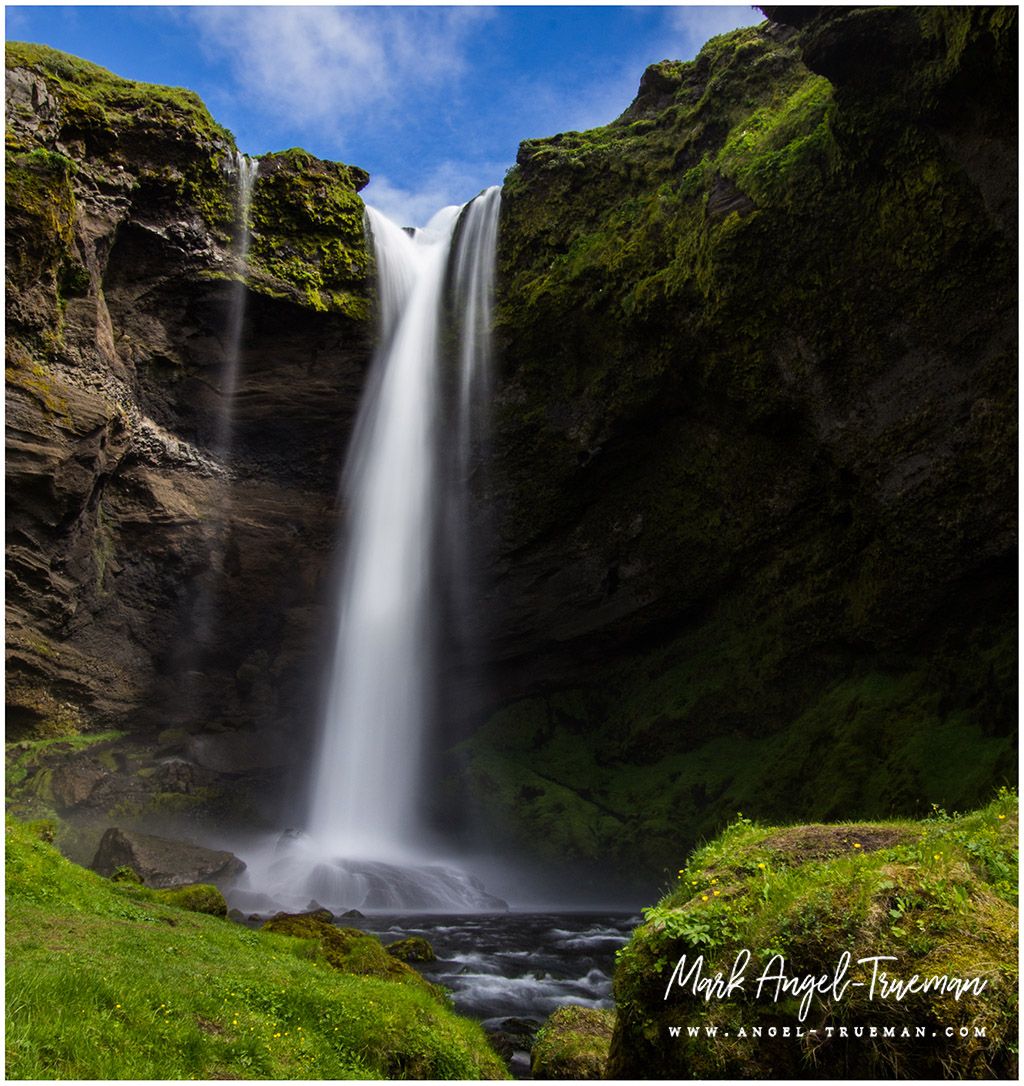
I find waterfalls intriguing. They can range from the ethereal to downright terrifying in their power. There are limitless variations in height, width, the number of falls and surrounding interest, which makes photographing them a challenge, albeit a fun challenge. In this article, I am going to describe my approach to photographing these wonderful natural phenomena. Of course, there will be people who photograph them differently to me, but as with all photography, there are a million different ways to skin a cat and get a satisfactory outcome, and this is mine.
Slow or fast
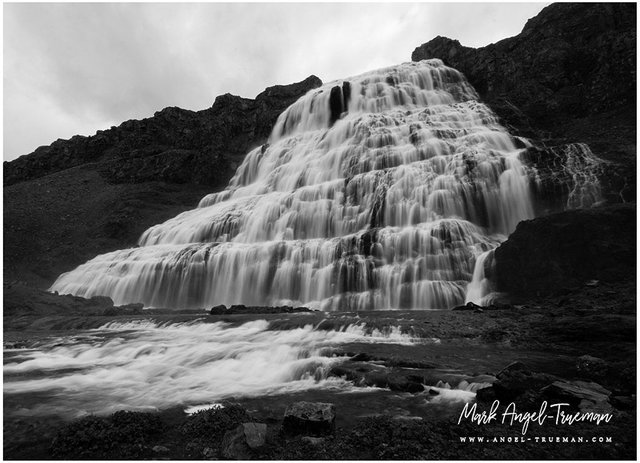
The first thing that I would normally do when approaching a waterfall photograph is determined by how I want the final image to reflect the waterfall. Broadly, this falls into 2 categories; torrential raging waterfalls and slow, smoother waterfalls. I’m sure you have all seen the waterfall photographs where the water looks all smooth like a bridal veil - these fall into the second category. For really raging waterfalls it is more often than not a better approach to catch more detail in the water by not using the method that I will describe below to “smooth out” the water. This gives the viewer a better indication of the amount of water coming over the falls and therefore, it’s ferocity and power.
Composition
Waterfalls tend to be easier to photograph if you are down at the level at which they meet the ground. Some falls are only easily accessible from the top, such as Granni in iceland which makes it harder to get a good leading line or any foreground interest in order to push the viewer’s eye into the falls.

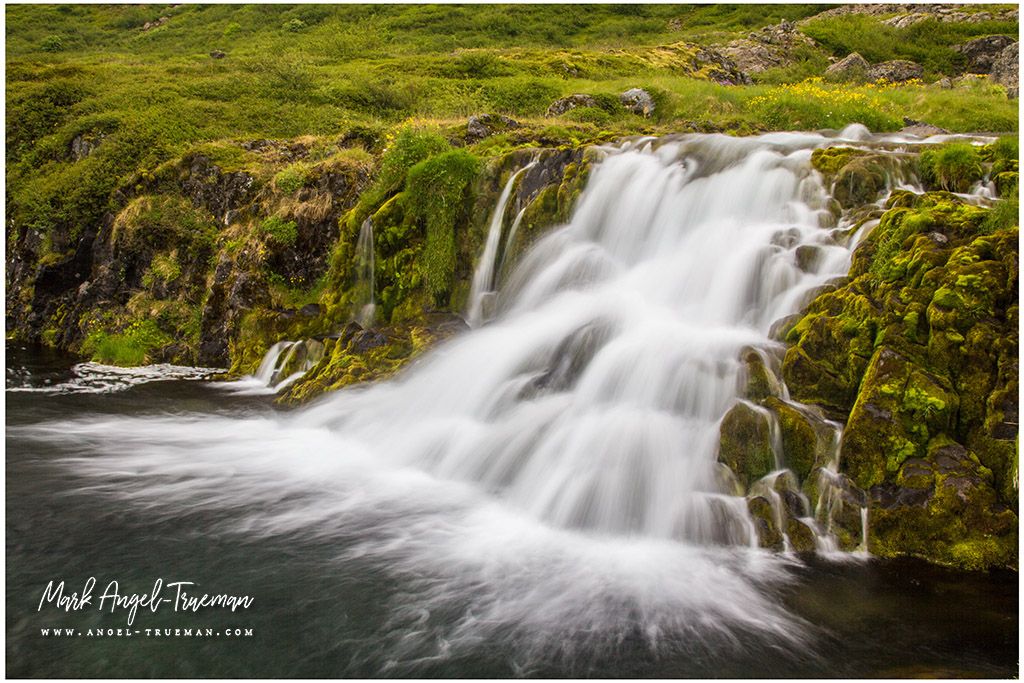
When you are at ground level, for all but the largest of falls, it is normally relatively easy to find something that leads the eye to the falls. I normally, in the absence of anything more obvious, opt for the water course that is created by the falls. If it is a small stream, it might even be advantageous to try to cross to the other side or even set up to take the photo from the middle of the stream. Of course, safety first. If the water course is too rough, don’t risk your gear or your life for a photograph.
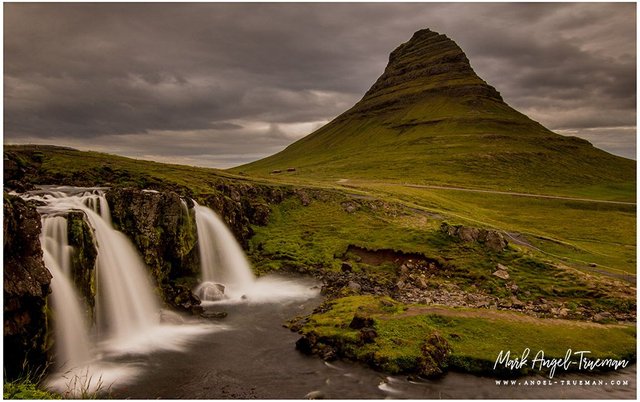
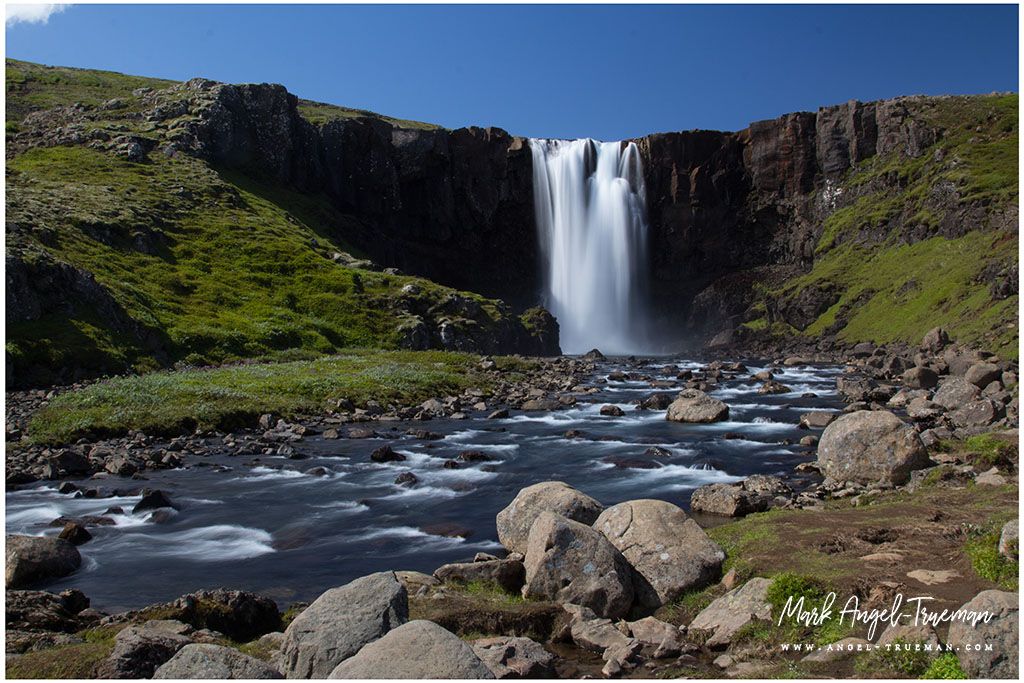
Use the path of the stream or river to lead the eye through the frame, placing the falls at the final point of this eye movement. The whole “leading line” and “foreground interest” tend to only apply to smaller falls. It’s quite often both impossible and preferable when shooting large falls to just put the whole falls in shot unless you can get to a position a lot further downstream that doesn’t lose the impression of power by being further away. The lower you can get down for this kind of shot the better as this creates an impression of the falls being even more dominating in the scene. One other thing to think about is if you can make a falls the foreground interest in a wider landscape shot. Photos of Kirkjufellsfoss in Iceland are a prime example of this where the falls appear in the foreground with the amazing mountain in the background. In all cases, composition is the photographer's preference but hopefully these tips will help you make a decision on how you want to frame up your shot.
Technical Tips.
I would advise that you always use a tripod if you can for photographing any kind of waterfall, even if you are not using a long exposure technique. This will allow you to get pin sharp images at low film/sensor sensitivity while still being able to stop down the aperture, also increasing the final sharpness of the image. I normally aim for a minimum of f11 if i’m shooting larger falls with nothing in the foreground or f16 at a minimum in images where I’m trying to get both the falls and some foreground interest in focus. The smaller aperture will grant you a greater depth of field which will mean both the closer part of the image and the parts in the distance will all be in focus. The other thing to be aware of here is where to focus the camera. There are many schools of thought here which i might go into in another article but I'd suggest focusing about ⅓ of the way into your shot in order to get the foreground and background to appear sharp to the eye.
When taking images on a tripod, I will always either use a cable release so that I’m not touching the camera when I fire the shutter or put the camera on a 2 second timer. This allows any camera shake to subside after pushing the shutter release.
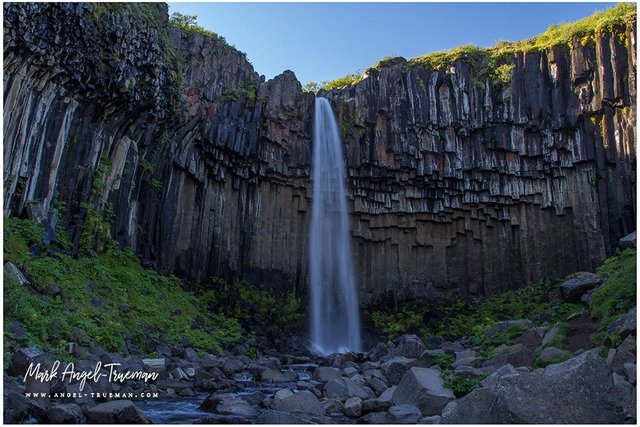
Shutter speed is probably the most important technical aspect to address when trying to control the look of your final image. A shutter speed of 1/250th of a second or shorter is what I aim for in a shot where I want to show a high amount of detail in the water. This shutter speed will freeze the image and you will get none of that ethereal effect in the falls. If it’s the ethereal shot that I am going for, then my preference is to aim for a shutter speed somewhere between 1 and 2 seconds. This way, the water is smoothed out but I don’t completely lose detail in the falls; I don’t want a long white streak in the middle of my photograph. Getting to an exposure of more than 1 second is where a filter will come in.
Filters
There are 2 types of filters that I use when photographing waterfalls; polarizers and neutral density (ND) filters. The former cut out glare and reflections in photographs. I won’t go into detail here on that, but needless to say, they may help you in getting your shutter speed down as they will darken the frame and decrease your shutter speed by up to 2 stops. Generally though I find that just a polariser is not enough, so I have to put an ND filter on my lens. ND filters effectively just cut down on the amount of light without any other effect on the image (apart from in the case of cheaper filters, where you may get some colour cast on the image - however, this is usually quite easy to fix in post process). I find that the ND filter I use most is a 3 stop filter. This normally gives me a large enough shutter speed to get the smooth effect that I want during the day. You might find that in the evening or on a darker day you can get away with a lighter filter.
Problems
I find a couple of problems occur regularly when taking waterfall shots. The first one is the ever annoying problem of water/mist on the lens. I always carry a microfiber cloth for this reason. For really wet situations where I only have a couple of seconds before there is an inevitable water drop on the lens, I will take a couple of identical shots and hope that i can clone a watery area from one photo out with the detail from another one.

Exposure can also be an issue. It’s quite often the case that a waterfall will fall against a dark rock background. If this is the case you end up with a large dynamic range in your image (the difference between the lightest area to darkest area). To combat this, i generally shoot in RAW and expose to the right (known as ETTR). Shadow areas are more easy to recover in post-processing when you shoot raw so it is worth making sure that the brighter areas of your image are not “blown out” and appearing without any detail. You can check this on site by looking at the histogram on the camera. It should not be clipped on the right-hand side.
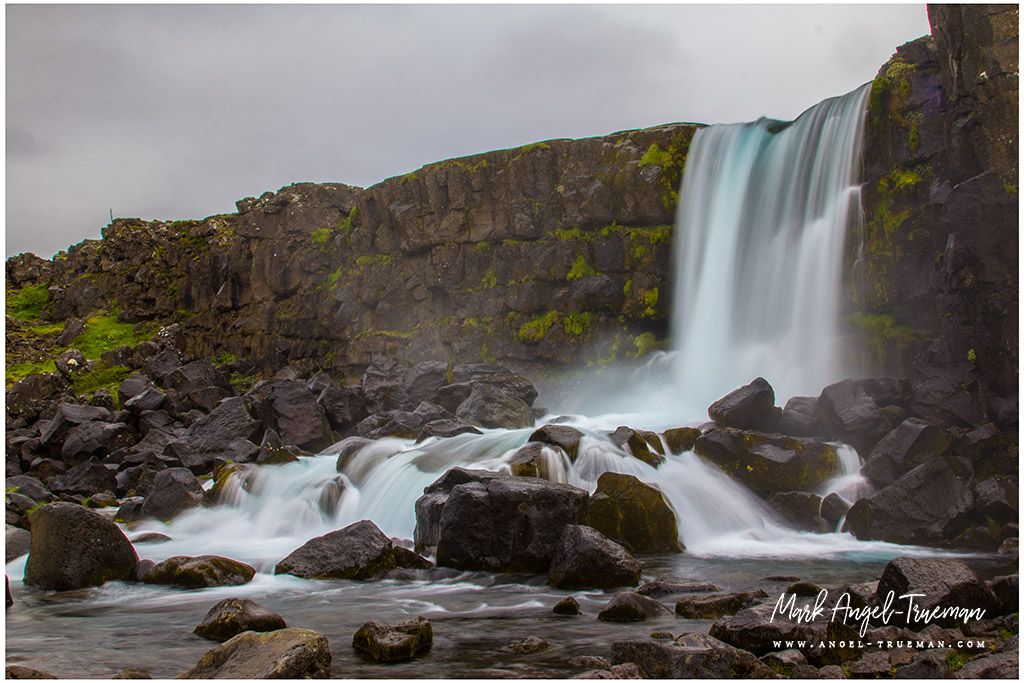
All of these tips have allowed me to produce waterfall images that I am proud of and hopefully then can do the same for you.
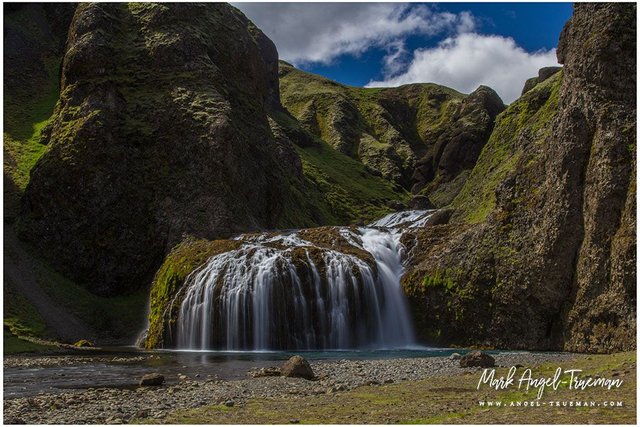
Thanks for reading

great post with beautiful photos !
Downvoting a post can decrease pending rewards and make it less visible. Common reasons:
Submit
meep
Downvoting a post can decrease pending rewards and make it less visible. Common reasons:
Submit
Mark your photos are just stunning and some sound advice there! I shall be looking forward to more tutorials. As photographers we can all learn from each other, so this is such a great set of posts to do. RESTEEMED!!!!
Downvoting a post can decrease pending rewards and make it less visible. Common reasons:
Submit
Thanks for the comment, much appreciated
Downvoting a post can decrease pending rewards and make it less visible. Common reasons:
Submit
Pictures look so beautiful!
Downvoting a post can decrease pending rewards and make it less visible. Common reasons:
Submit
Excellent post @markangeltrueman, very fine examples. Upvoted, resteemed & DPS.
Please state clearly in the comments how would you like to be featured in the “Daily Photo Selection”: with a linked photo, or with link only without a photo. We are making a list of photographers who are ready to improve the visibility of their work through the DPS.
Downvoting a post can decrease pending rewards and make it less visible. Common reasons:
Submit
Thanks @photo-trail. A linked photo would be great, thanks
Downvoting a post can decrease pending rewards and make it less visible. Common reasons:
Submit
Thank you @markangeltrueman.
Downvoting a post can decrease pending rewards and make it less visible. Common reasons:
Submit
Great work! I specially like the panoramic.
And good tip on taking multiple exposures and constantly cleaning the lens. It applies for shooting in ocean breeze as well.
Downvoting a post can decrease pending rewards and make it less visible. Common reasons:
Submit
Good to see someone taking this as serious as I am, keep those tutorials coming!
Downvoting a post can decrease pending rewards and make it less visible. Common reasons:
Submit
Thanks, can't wait to do some more tutorials. Any suggestions what to do next? :)
Downvoting a post can decrease pending rewards and make it less visible. Common reasons:
Submit
as a layman when it comes to photographs I would like to see a tutorial which cover options in terms of composition. I know about thirds, but it would be nice to have some other tried and tested rules of photography/composition.
Downvoting a post can decrease pending rewards and make it less visible. Common reasons:
Submit
That's the thing about rules in photography, there aren't any real rules. ;)
Downvoting a post can decrease pending rewards and make it less visible. Common reasons:
Submit
Im already having a hard time myself thinking of new stuff :) Maybe you could choose one photo or a theme and tell something more about how you took it
Downvoting a post can decrease pending rewards and make it less visible. Common reasons:
Submit
wow, great! thanks for sharing
Downvoting a post can decrease pending rewards and make it less visible. Common reasons:
Submit
Excellent work! If you are looking for suggestions ...
Can you do a tutorial about how to take photos in foggy conditions? :D
Until then up & resteem!
Downvoting a post can decrease pending rewards and make it less visible. Common reasons:
Submit
Thanks, I havent really had much experience with foggy conditions but it is something im interested in. I'll see if i can get out there as winter comes and get some pictures, sharing my experience. Followed you back.
Downvoting a post can decrease pending rewards and make it less visible. Common reasons:
Submit
Amazing post!
What did you think about my waterfalls photos? https://steemit.com/photography/@mihainegurici/daily-post-5-or-waterfalls
Downvoting a post can decrease pending rewards and make it less visible. Common reasons:
Submit
Thanks for sharing.... Nice info
Downvoting a post can decrease pending rewards and make it less visible. Common reasons:
Submit
You have dun a great job at capture the beauty of our Icelandic waterfalls. The tips and technical info are super, thanks fore both!
Downvoting a post can decrease pending rewards and make it less visible. Common reasons:
Submit