Get Creative When You Don't Want To Go Outside To Photograph!

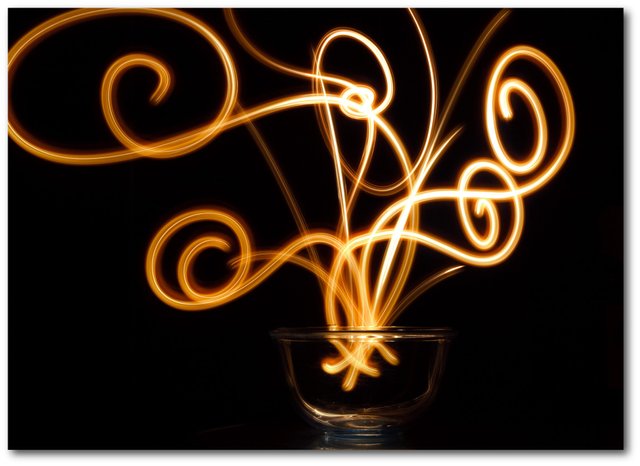
Made with a small flashlight at night inside the house with the lights turned off.

Today I'll show you how you can have fun with photography at home without fancy gear, all you need is a creative spark!
Tools you'll need:
- A camera
- A tripod or a way to secure the camera
- A point-light source; smartphone in flashlight mode should work fine
- A cable release for the camera if you have one
- A willingness to experiment and have fun!
Steps:
- Plan your shot in an area where you can shoot in the dark.
- Setup your subject and frame your shot.
- Set your camera aperture to around f/11~f/22. You can experiment with this one.
- Set your camera to BULB exposure if you have a cable release, otherwise just set it to the longest exposure time you can, ie. 30 seconds.
- Set your camera to a timed-release if you don't have a cable release, ie. 2 seconds or 10 second delay.
- Turn off the lights and start your camera exposure.
- Start painting with your light source, while aiming the light towards the camera. Remember to turn off the light source when moving across an area where you don't want to have light streaks show up in the final picture!
- Have fun and try again, experiment!
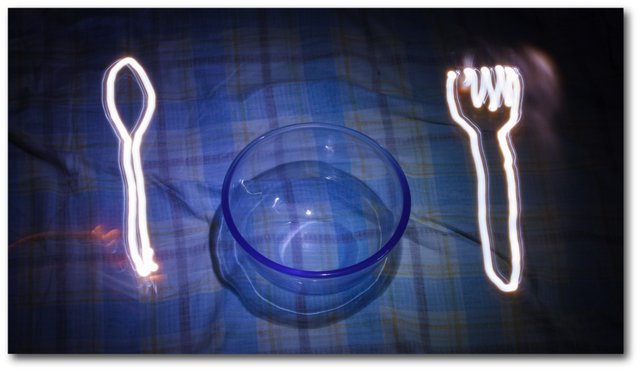
Here's another example of mine:


Very good idea, I'll try it!
Downvoting a post can decrease pending rewards and make it less visible. Common reasons:
Submit
Have fun :)
Downvoting a post can decrease pending rewards and make it less visible. Common reasons:
Submit
Nice idea! 8)
Downvoting a post can decrease pending rewards and make it less visible. Common reasons:
Submit
Thanks!
Downvoting a post can decrease pending rewards and make it less visible. Common reasons:
Submit
这个方法太有创意了。
Downvoting a post can decrease pending rewards and make it less visible. Common reasons:
Submit
無聊的時候可以玩玩 ~
Downvoting a post can decrease pending rewards and make it less visible. Common reasons:
Submit
Great post, thank you for sharing this light painting tutorial!
Downvoting a post can decrease pending rewards and make it less visible. Common reasons:
Submit
Thank you, I've been to your website and have watched your videos before, nice to see you on Steemit!
Downvoting a post can decrease pending rewards and make it less visible. Common reasons:
Submit