Bedroom Makeover
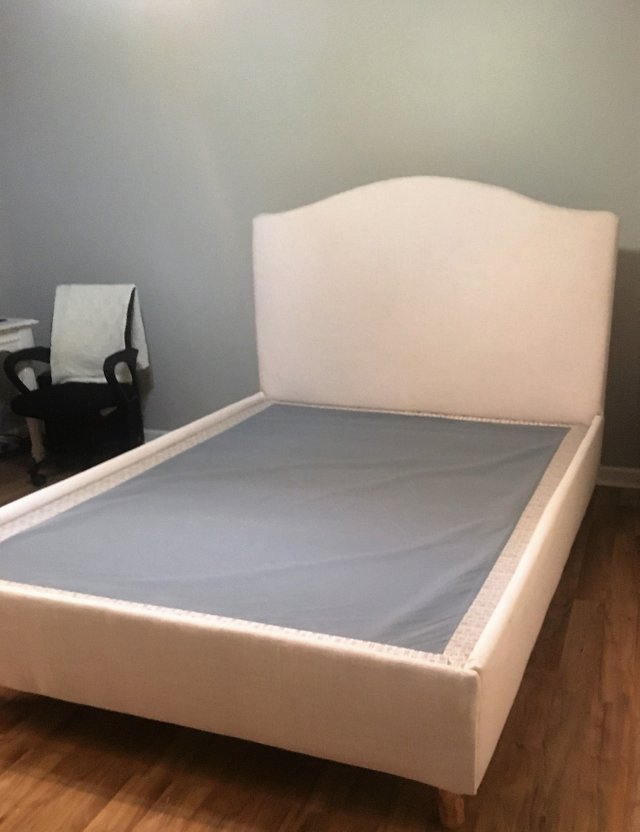
Hello steemits, I wanted to share with you a weekend project me and my better half did. We took our old box springs and turned it into a platform bed.
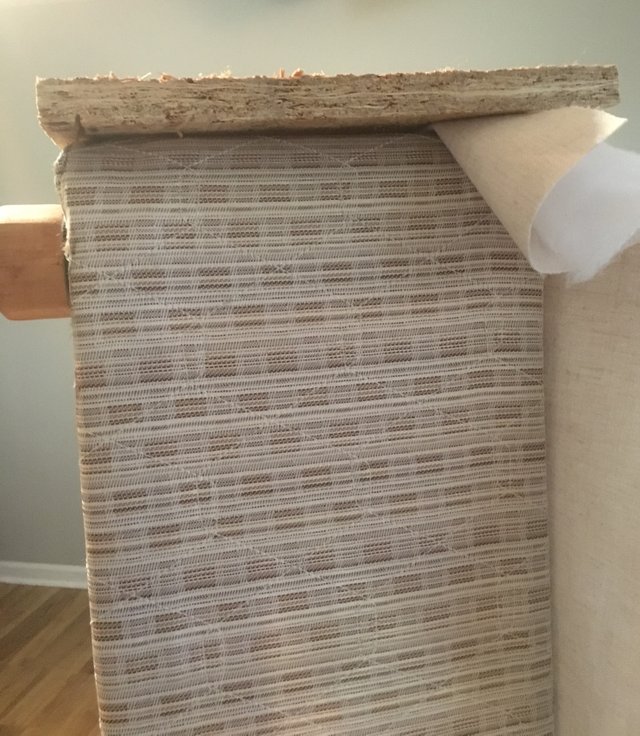
Here is a photo without the mattress.
It was a weekend day project. What took me so long is gathering up all the supplies needed to do the project. I was very particular on what material to use on the bed. I went to hobby lobby and purchased the upholstery material.
The supplies needed for the project
- 2 8x4 sheets of plywood
- 1 inch screws
- 1 1/2 inch screws
- sanding paper
- saw
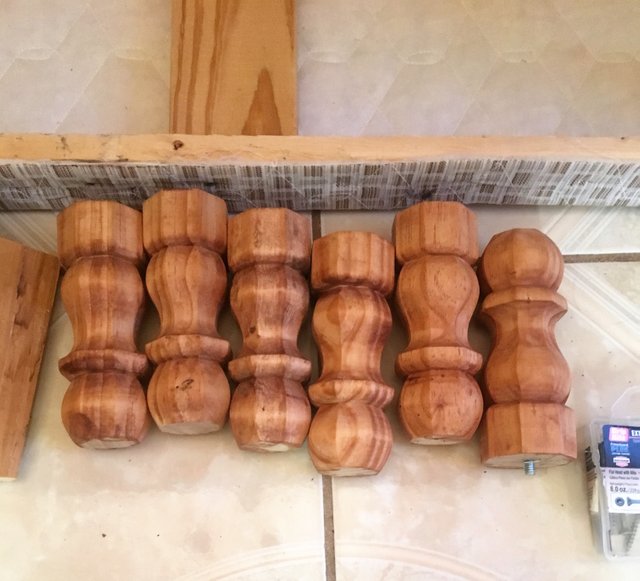
- 6 furniture legs ( I used 7 inch legs) I got them at Lowes and they were only 2.83 a piece. (cost 16.98)
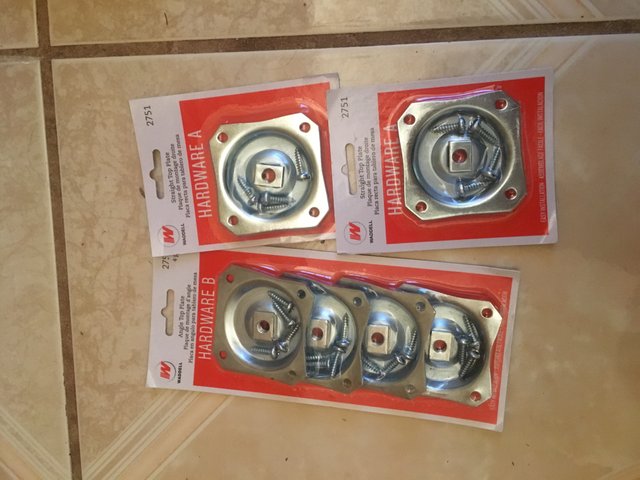
- 6 Flat top plates for the legs purchase at Lowes. ( cost about 15.00)
- 2 mattress toppers I used 1 1/2 inch but if you get a 3 inch topper then you will only have to purchase one. ( I got full size one's at Walmart ) ( cost is about 14.00 a piece)
- Poly- fill Batting ( I used 2 bags full size at Walmart) (cost 26.00)
- Muslim 4 yards ( this is for the liner for the headboard ( 2.00 yard I used my coupon at Hobby Lobby)
- 6 yards of upholstery material ( The material was 56.00 for 6 yards at Hobby Lobby)
- adhesive glue ( this is for the mattress topper to stick to the headboard) (cost around 5.00, I already had the glue)
- staples and staple gun
- Box springs
- Stain for the furniture legs
- 4 pieces of 1 by 4 about 4 inches in length for support of the legs at the corners of the box springs.
- 2 pieces of 1x4 s to the back of the headboard for support.
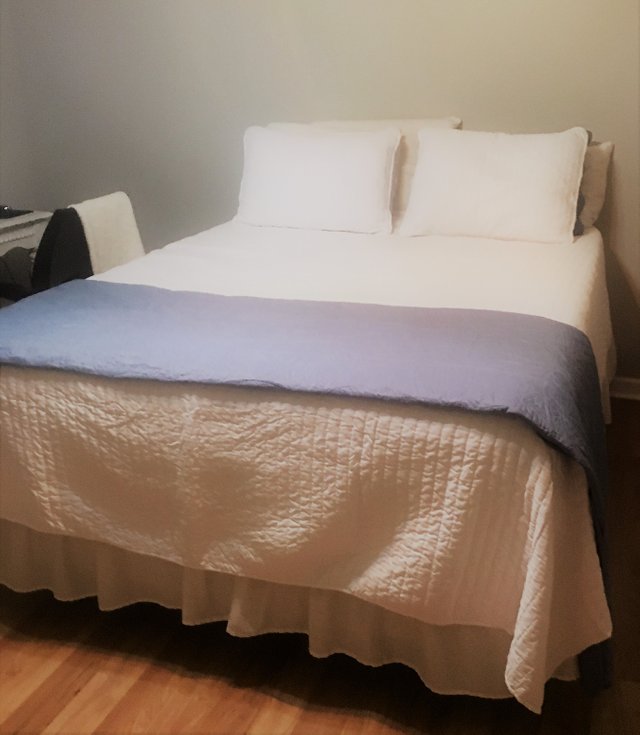
The project cost me around 150.00 . I seen this bed online and loved it. It costs around 400.00 and I just could not afford it. So I decided to try and make one. Here is a before picture.

Directions
Stain the furniture legs.
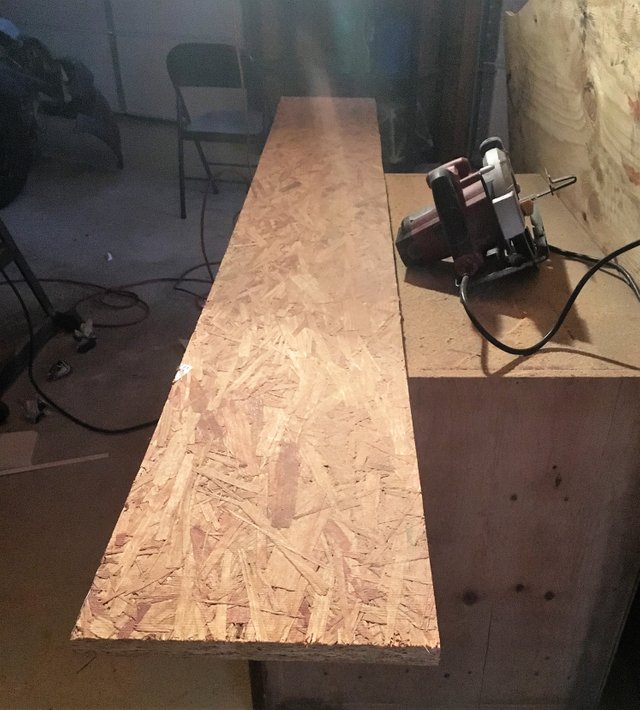
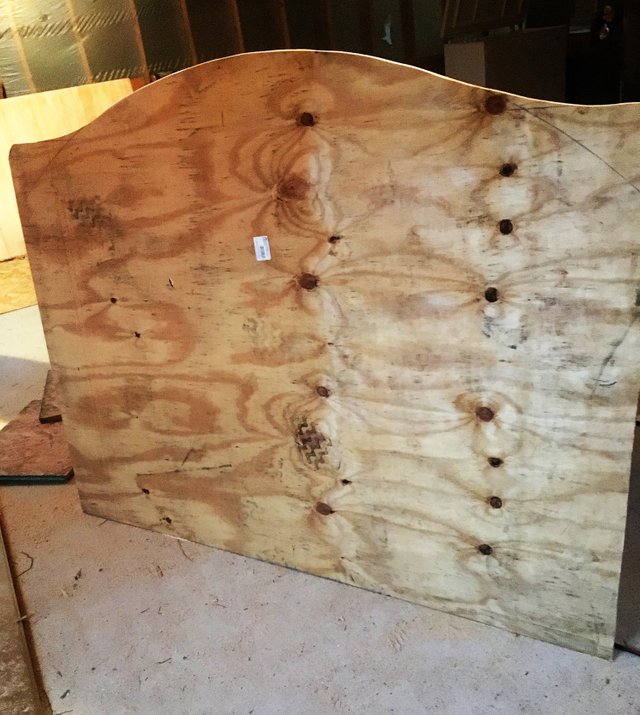
Measure the size of your bed, and add an 1 1/2 to 2 inches wider than the width of the box springs. This will allow you to cover the wood and staple the material to the back of the wood. The length needs to be at least 1 to 1 1/2 inch longer for the headboard. The headboard we drew out a camel back using a string from one end of the board to the other to get a more accurate circle hump at the top of the headboard. It was four feet in height. We cut the sides for the platform bed first.
Next, we cut the head board after we cut all the side panels for the platform bed.
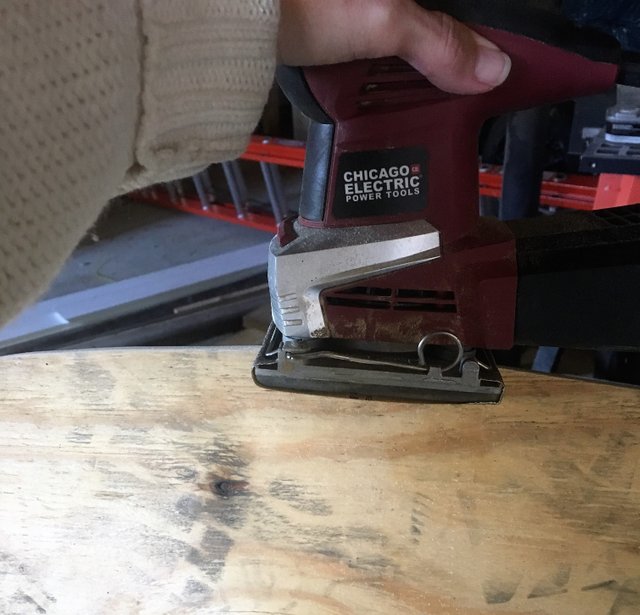
Then I sanded and made all the edging of the wood smooth.
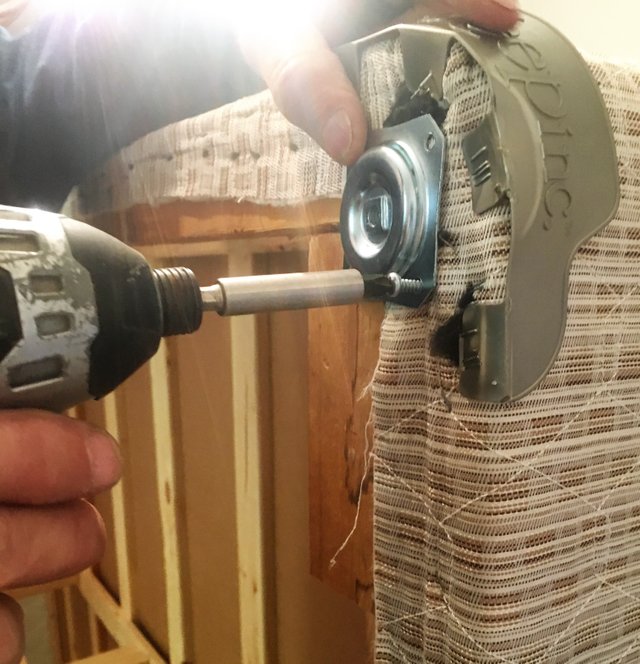
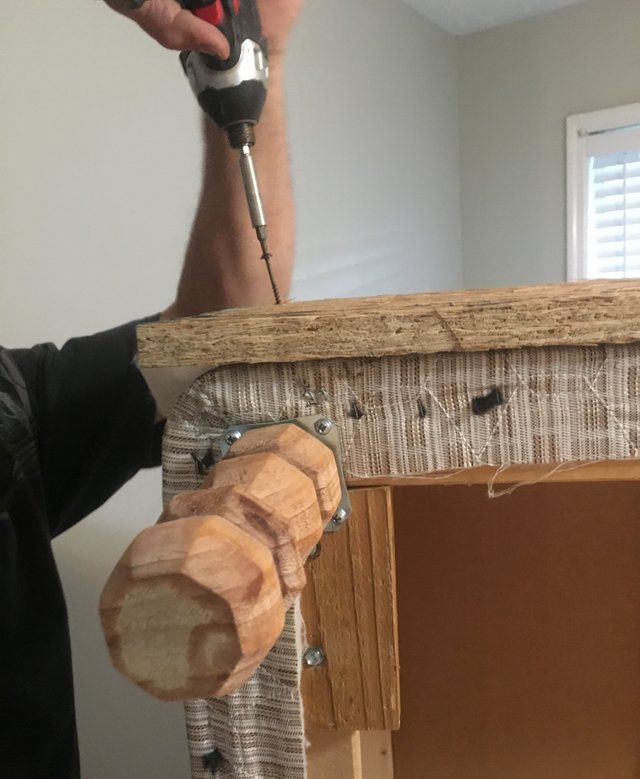
Next, we took our 4 pieces of scrap wood for support of the legs at the corners and screwed them in. Then we put on the 6 Flat top plates onto the bottom of the box springs.
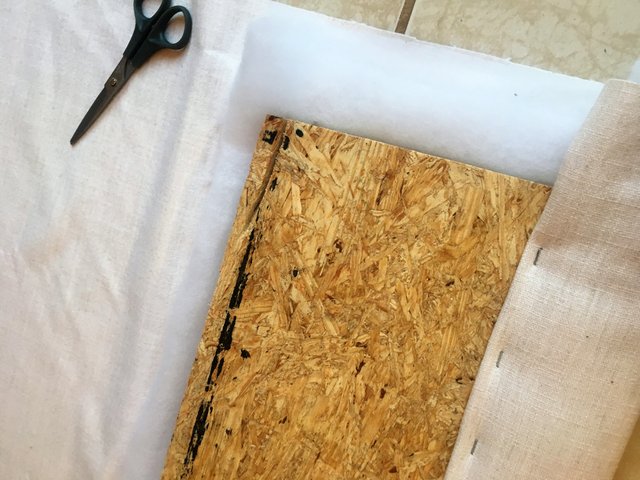
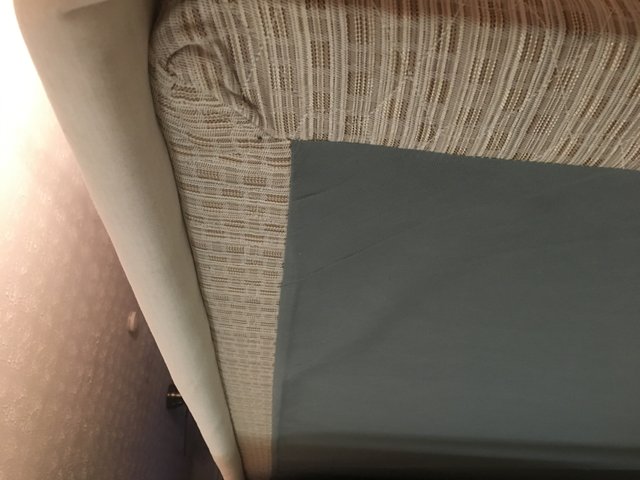
Next, screwed all the legs onto the bed. Then we cut the material and the batting to fit the sides of the bed. Make sure you leave extra material at the ends and sides so you have enough to staple to the back of it. We stapled the material and batting to one side of the wood. Make sure your material is on the right side. I had made the mistake on one of the panels, and I had the material on the wrong side. I had to take it off and re- due it.

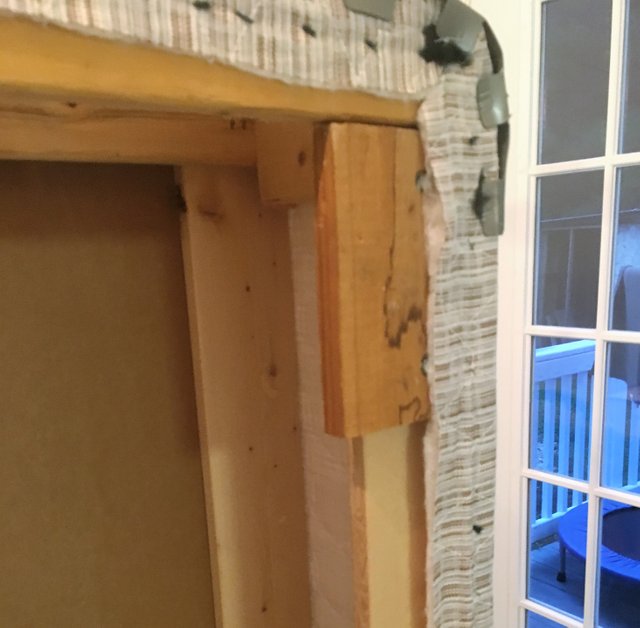
Next, take it and lay it on the box springs to screw it into the box springs. Leaving it flush at the bottom at the box springs. Leave your material draped over so the screws will not be seen.
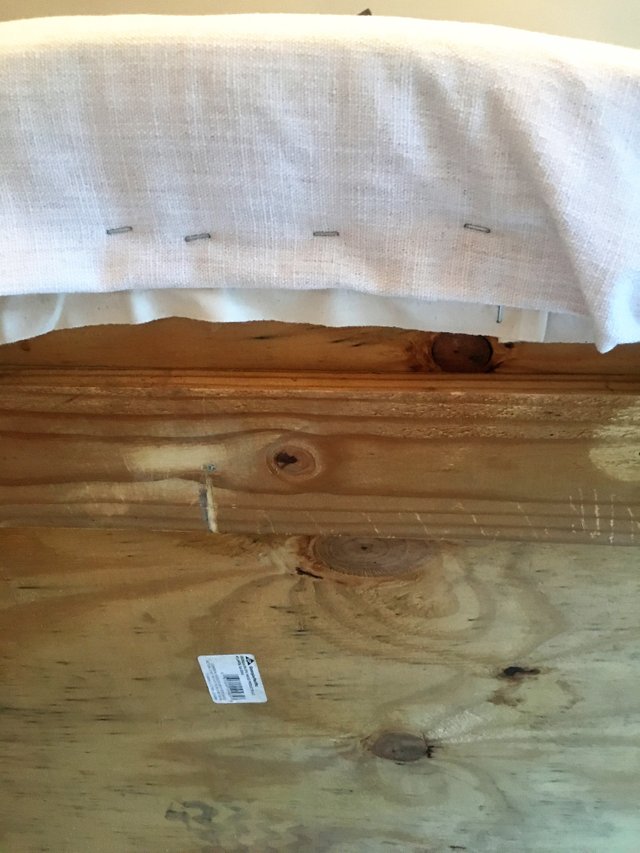
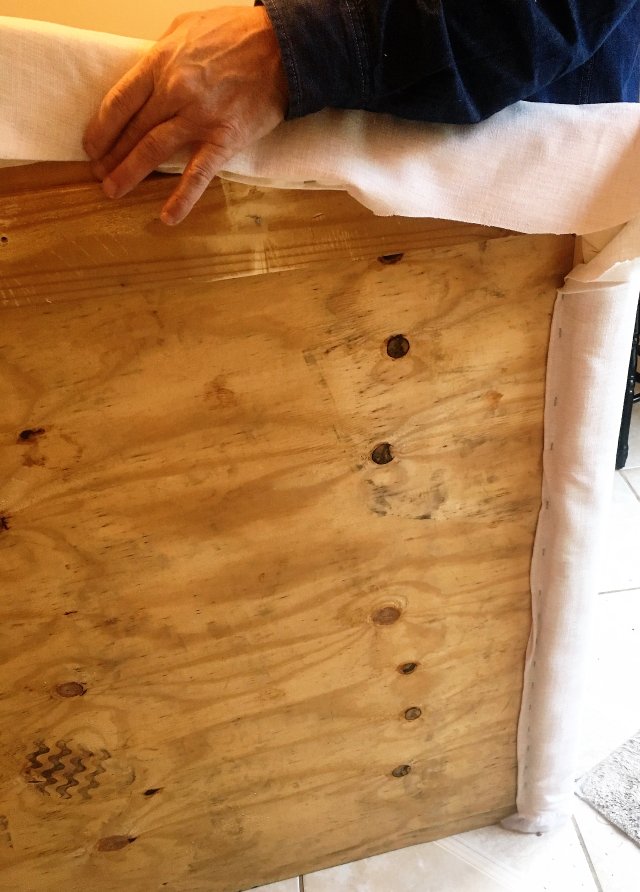
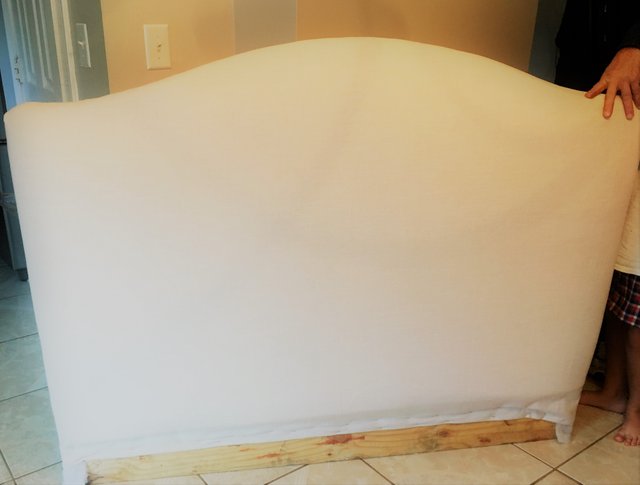
After you have screwed in the board, cut the extra material off but leave enough to cover the inside of the wood, and staple in the material. Then continue on repeating the process with the other boards. Now is the headboard. I cleaned the headboard, then cut the topper to the shape of the headboard. I would use an electric knife to get a smooth clean cut. Then spay on the adhesive then put the topper on. Next, after it has dried add the other topper unless you purchased a 3 inch topper. You will only have to do this process once. I purchased two 1 1/2 inch toppers. Let it dry over night. Then after it has dried, add the batting and cut to fit the headboard. Next, add the liner (muslin) leaving extra for the back to be stapled, and the material cut with leaving extra material to go on the back of the headboard.
We started at the side of the headboard and stapled it on. Next, we pulled it tight to the other side and stapled it on. We did the bottom of the headboard. Then we did the top of the headboard, but be careful and take your time because you want it to look professional. It is a little tricky doing the top, and making it straight.
We finished upholstering the headboard. I ironed it to get all the wrinkles out of it.
Last thing we did was attach t he headboard to the bed. We screwed it to the box springs. Make sure you add a little extra material at the bottom of the headboard to cover any wood from showing.
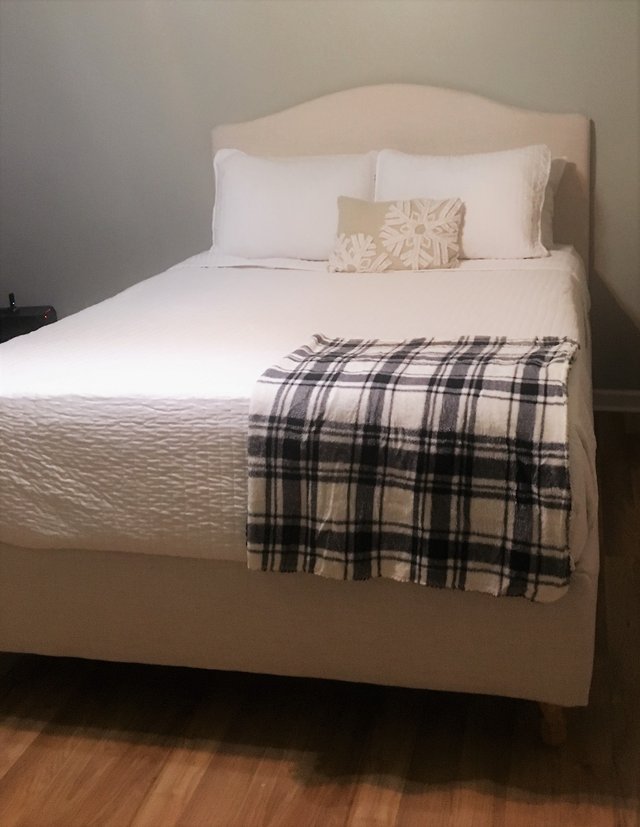
Here is the finished product. I am happy it turned out so well. Just having an idea and making it happen is a great feeling of accomplishment.
Thanks for reading my post! Please leave a comment I would love to hear your thoughts.


Congratulations @christir! You received a personal award!
You can view your badges on your Steem Board and compare to others on the Steem Ranking
Vote for @Steemitboard as a witness to get one more award and increased upvotes!
Downvoting a post can decrease pending rewards and make it less visible. Common reasons:
Submit