Server Created by Virtual Box
Specs :
Intel core i3
RAM 1GB
Storage 20 GB
1 Ethernet adapter
3 disk Iso files of Debian 7.8
Now I have the basic tutorial to Installing Debian server, in this case I am using Debian 7.8 as Server installation. In this post, I will display the full steps to Install Debian 7.8 as Server. I am using the Virtual PC as PC Server by VirtualBox.
The first step we need to create the virtual server from virtualbox, after created we need the ISO files Debian 7.8 there is 3 disks. ISO Debian 7.8 files is free you can download here for all disks.
To install Debian server is by Disk 1, mount the disk to the PC Server virtual and run the PC to begin installation.
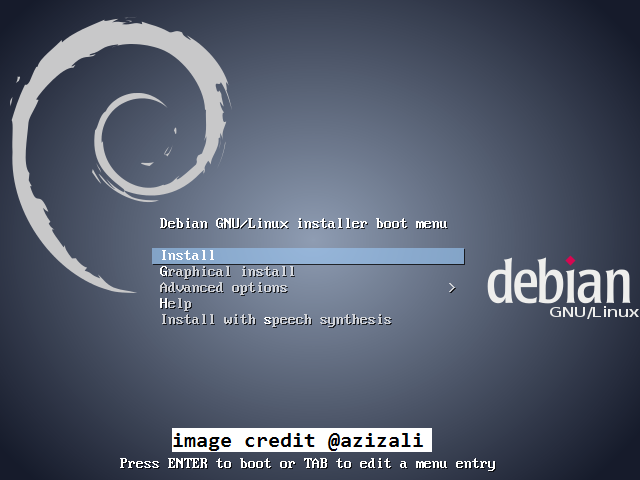
Select Install to start the installation by Text Mode (press Enter), you can to install by Graphical Installation too, but my tutorial is using Text Mode.
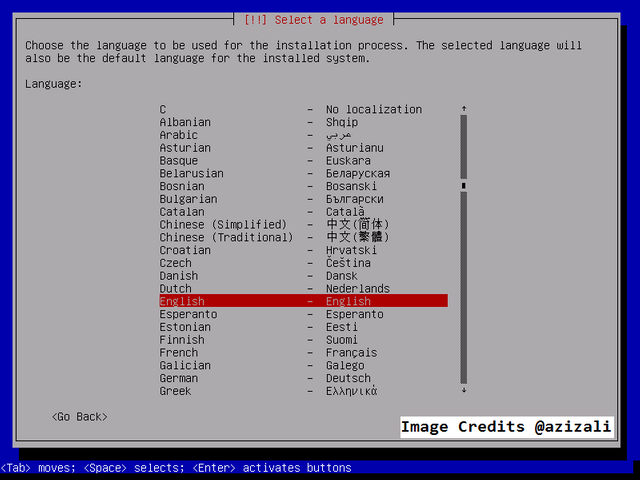
Select language for system, for default just select English. Press Enter
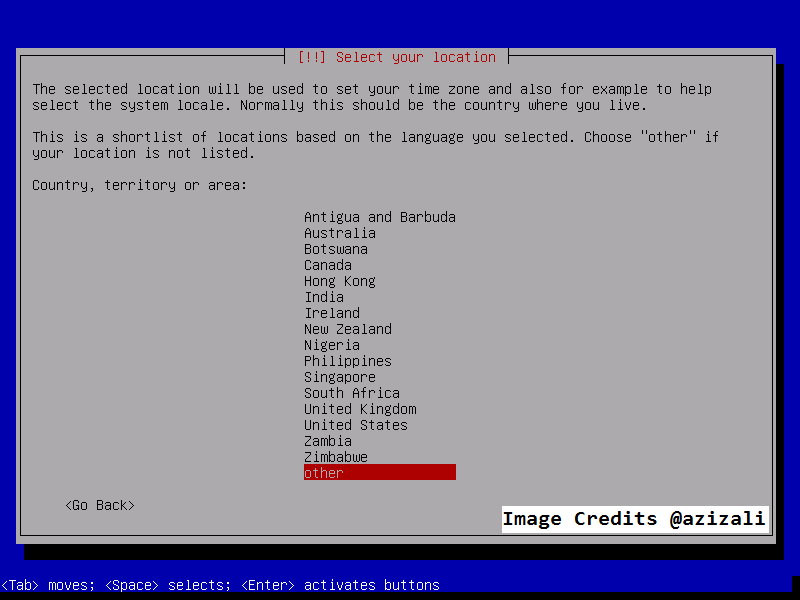
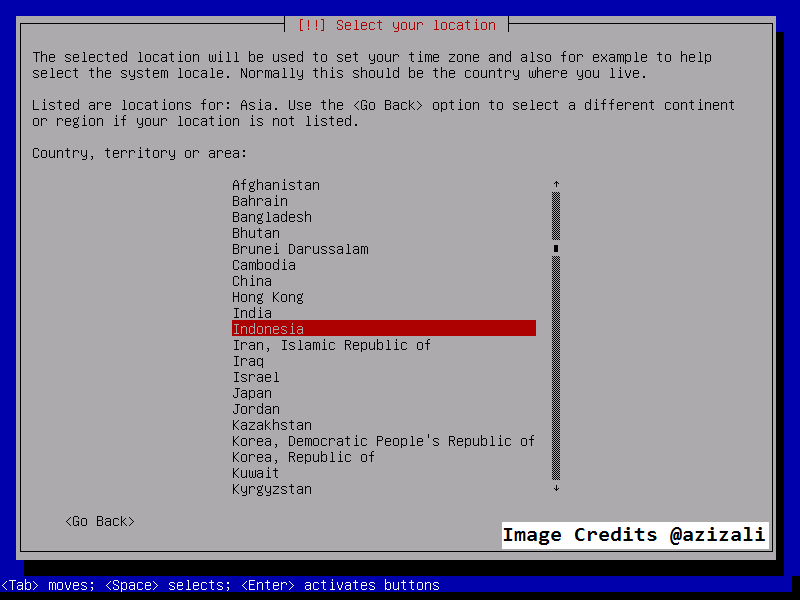
Select your location, we recommend adjusting the location to your country. In this installation I choose my country "Indonesia". First select Other
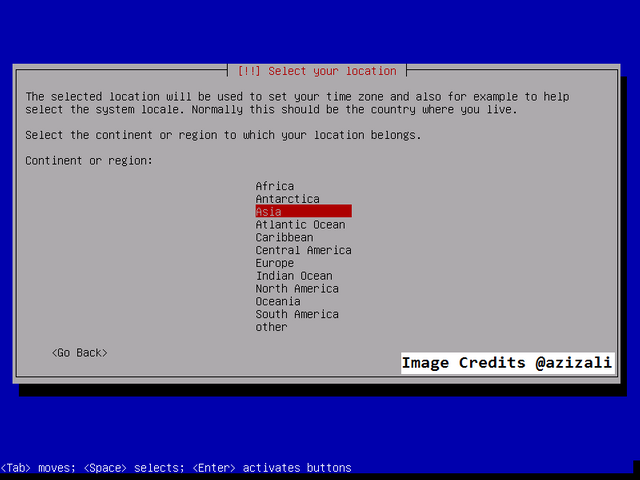
Next, select Asia
Then, Select Indonesia.
Adjust to your country
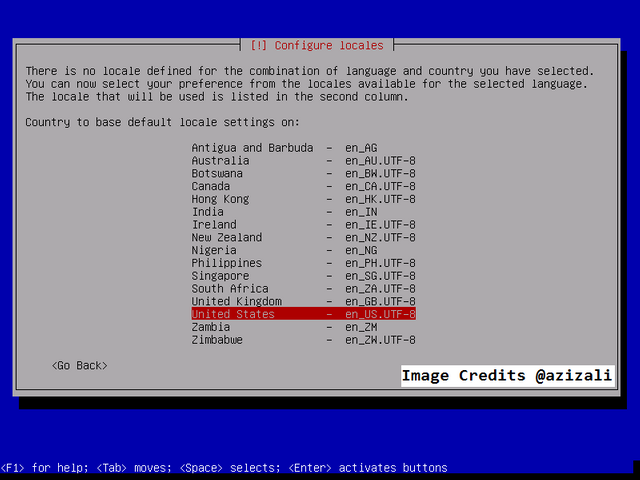
For default locales setting, I suggest to choose United States, press Enter to continue.
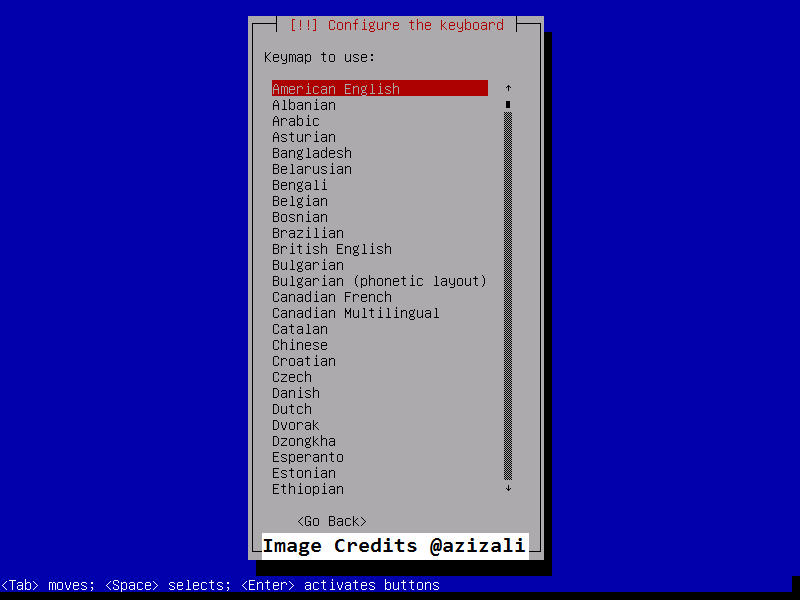
Select keyboard type that matches the keyboard you use. I use QWERTY keyboard type.
Configure the Network
This is the important point, some times this point is bypassed, if on the network there is an active DHCP server service, I suggest to disconnect the network connected to the server being installed, so we can fill in the static or manual IP on the server. Just press Enter,
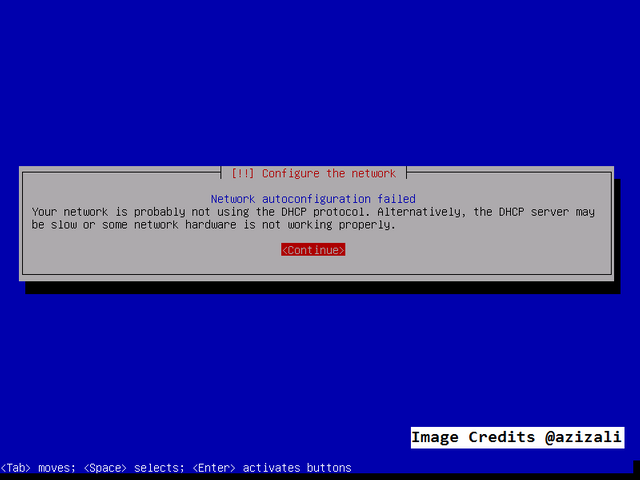
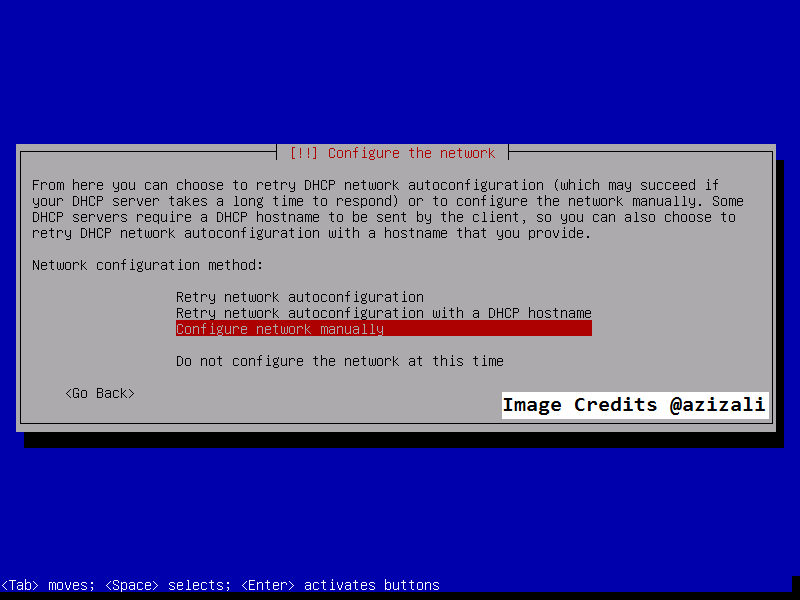
Select Configure Network Manually to config manual IP, press Enter
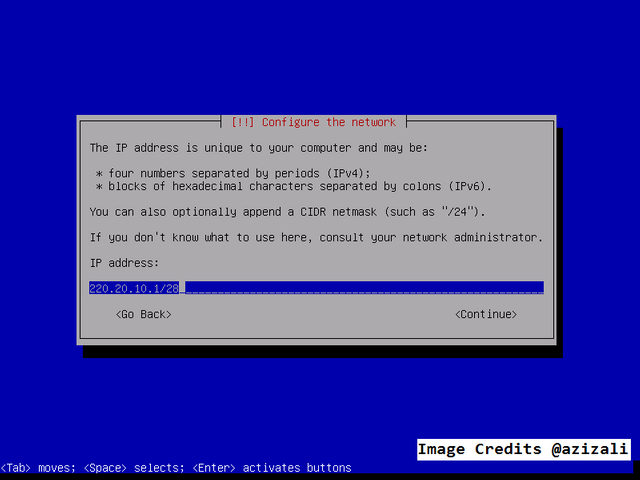
Enter the IP Address corresponding to the network. I m using the class "C" IP 220.20.10.1/28, 28 is Classless Inter-Domain Routing (CIDR) it's mean Netmask : 255.255.255.240, read more about CIDR-Wikipedia.
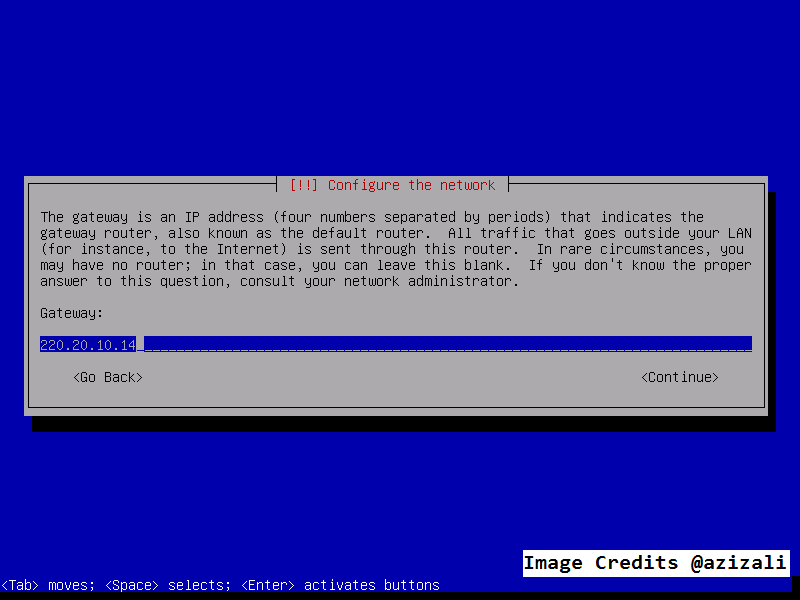
Gateway, fill in according to your network gateway, in my case gateway is 220.10.10.14.
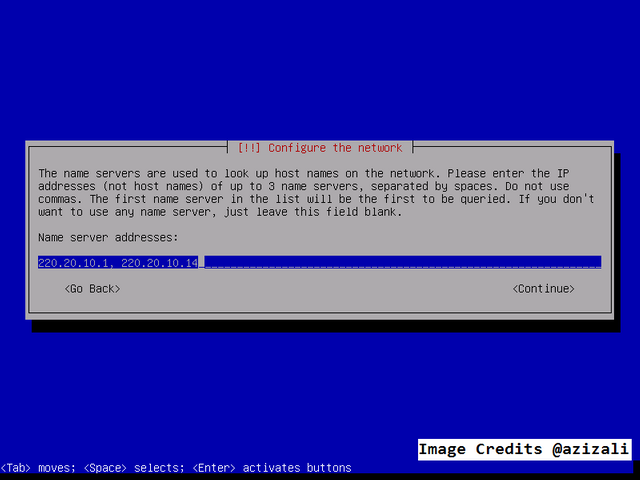
Name server address or DNS use your local DNS and Public DNS or adjust with your ISP, I am using one other public of Google DNS 8.8.8.8 or 8.8.4.4
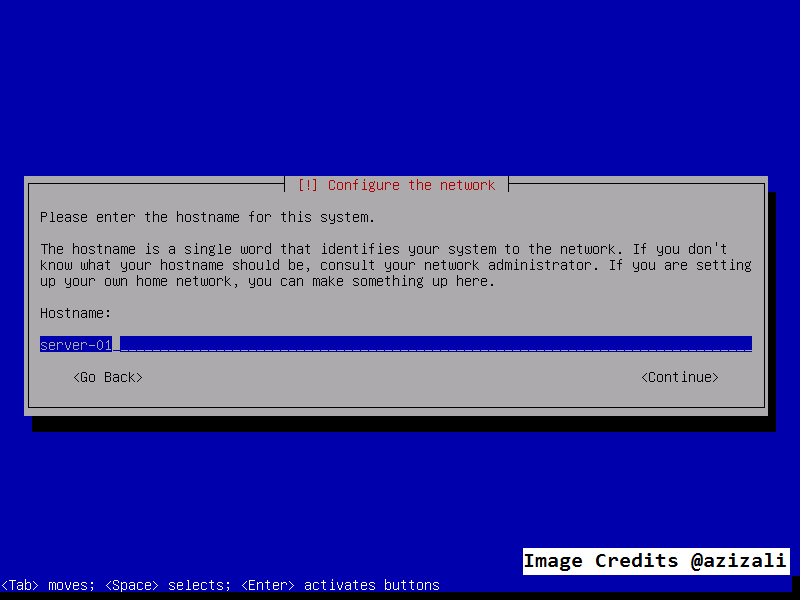
Hostname also knows in Windows as Computer-name.
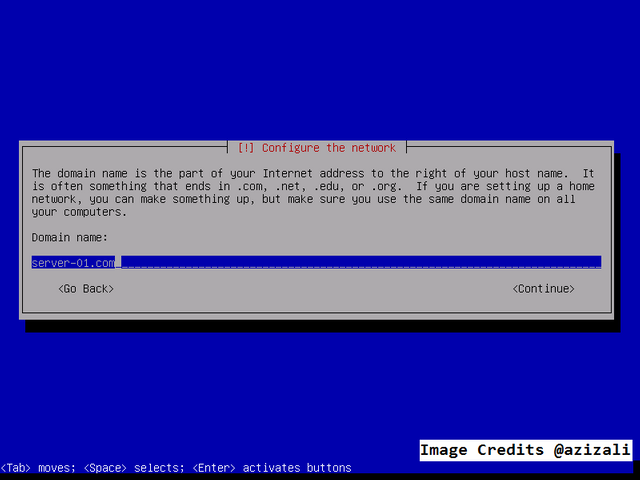
Domain name, please enter your domain name.
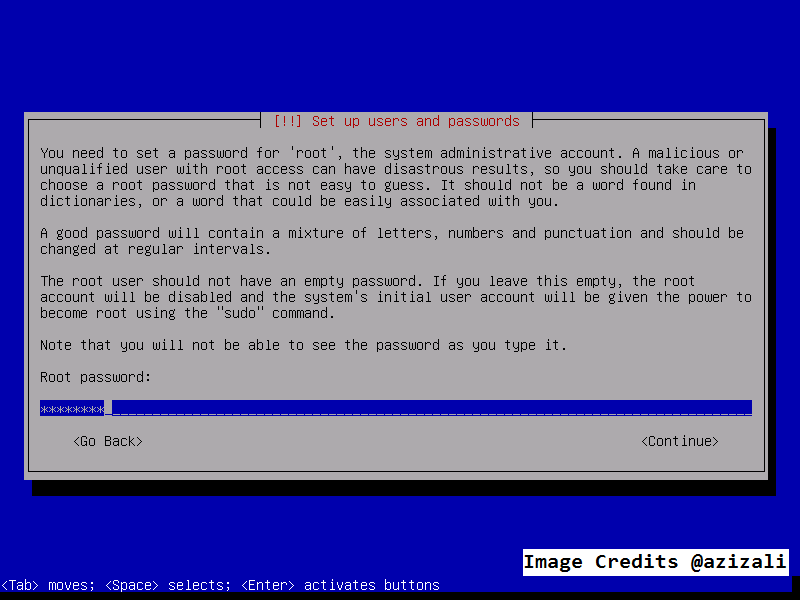
Root Password is password for Super User, do not share this password.
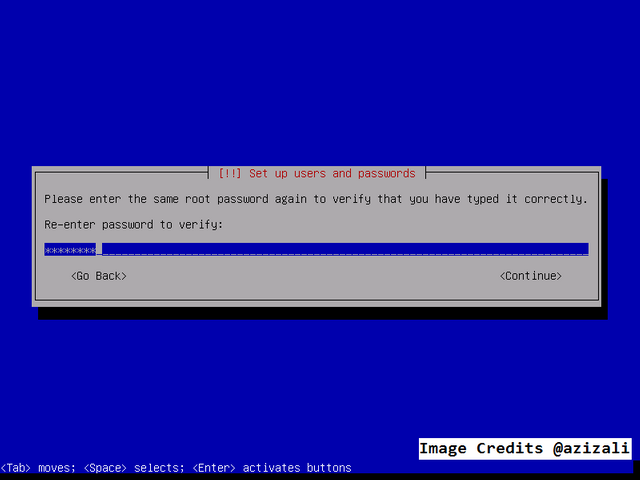
Re-enter Root-Password.
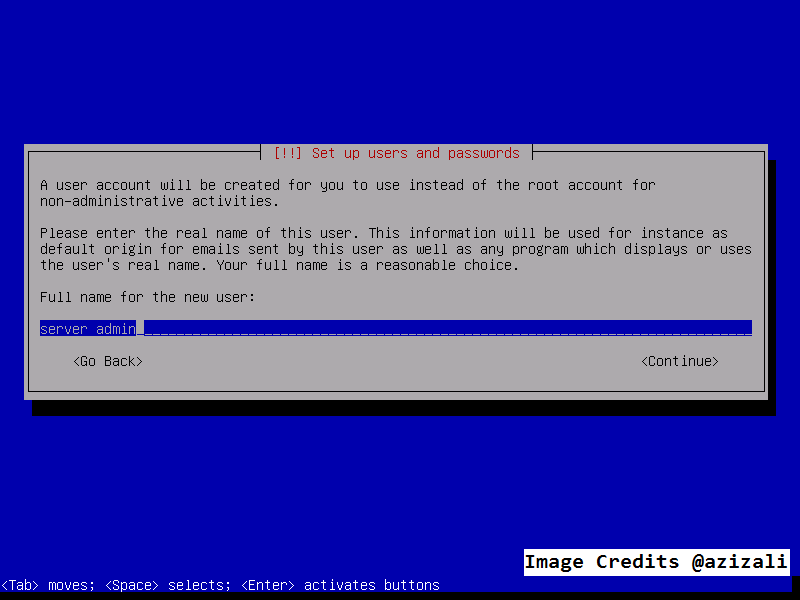
In this form you can fill in full name for user.
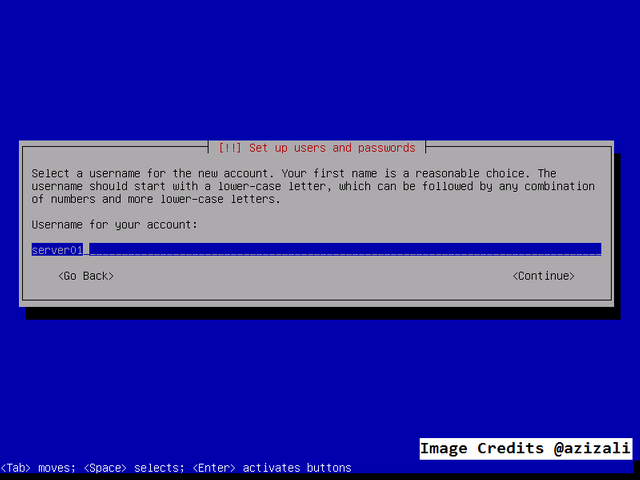
User account must type without space, just use the simple name.
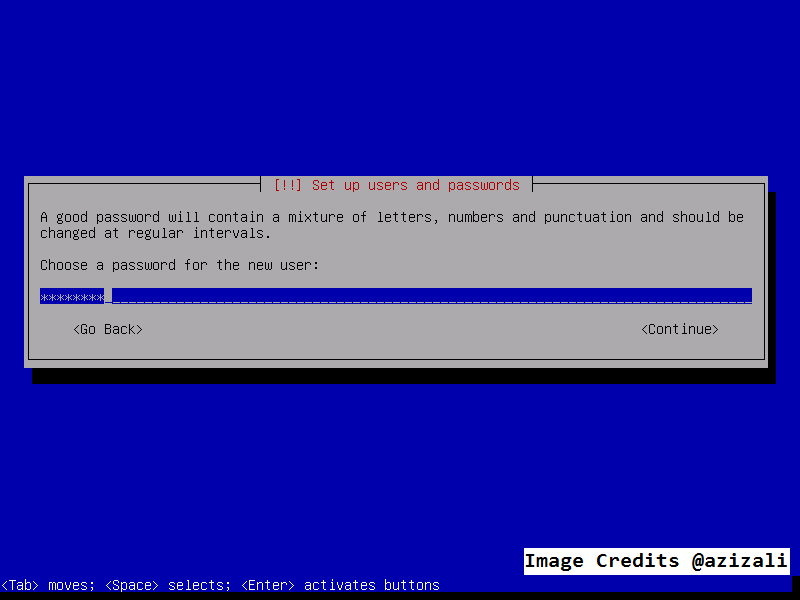
Password for User is user password not super user password, it must be different with root password.
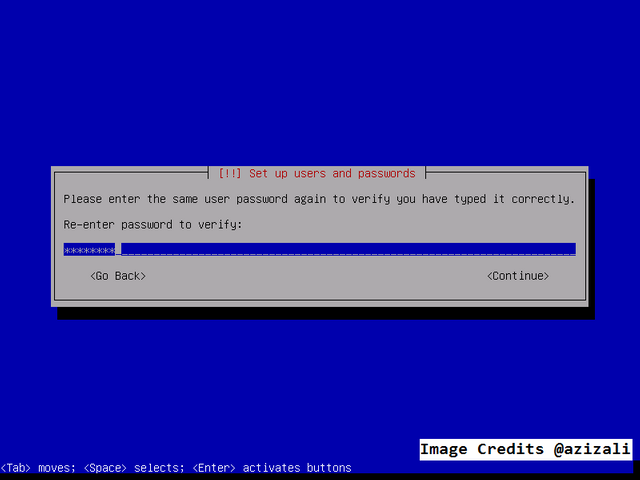
Re-enter to verify the password.
Time zone according to your Country and City.
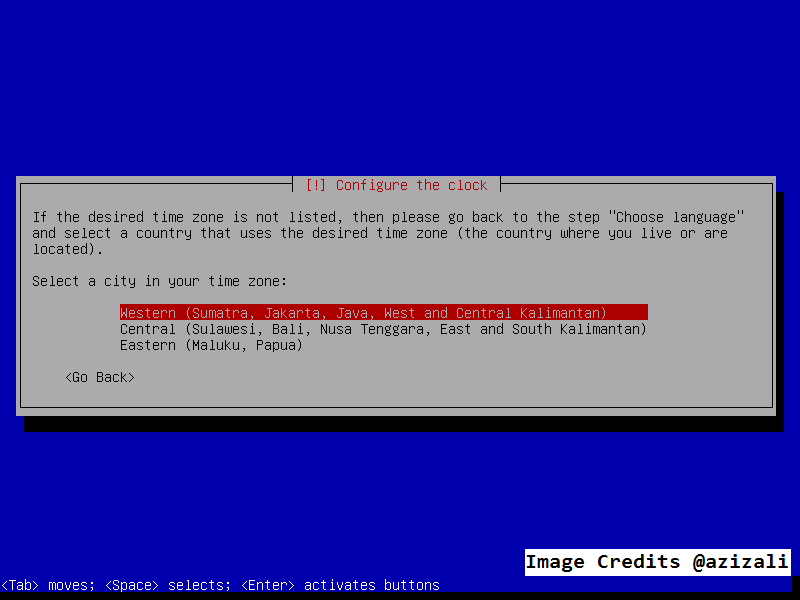
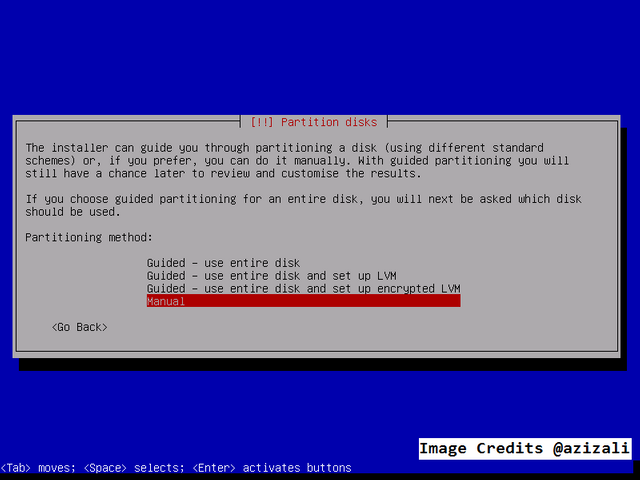
Partitioning method, I am using the manual partition, to specify disk partition.
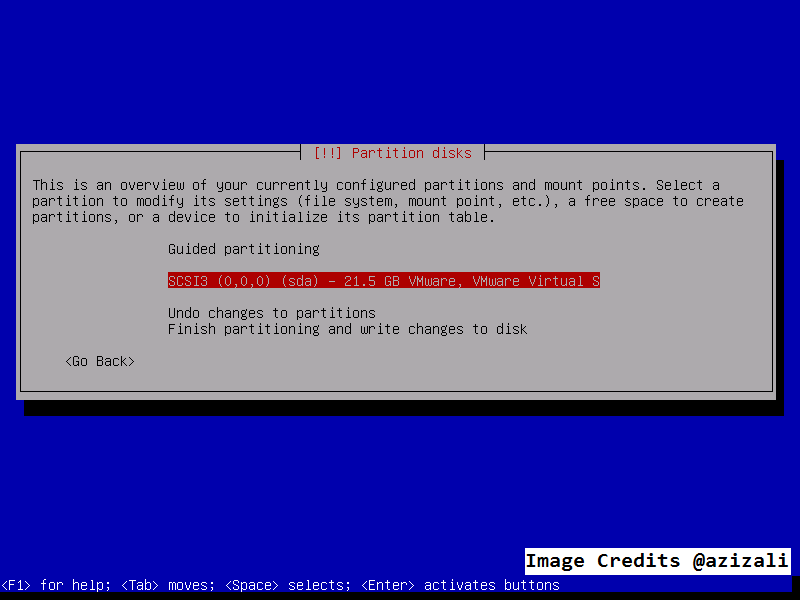
Select the disk to start partitioning.
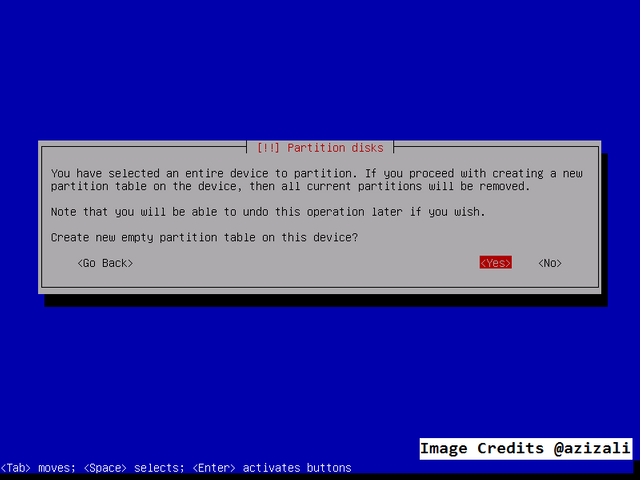
YES
Select free space
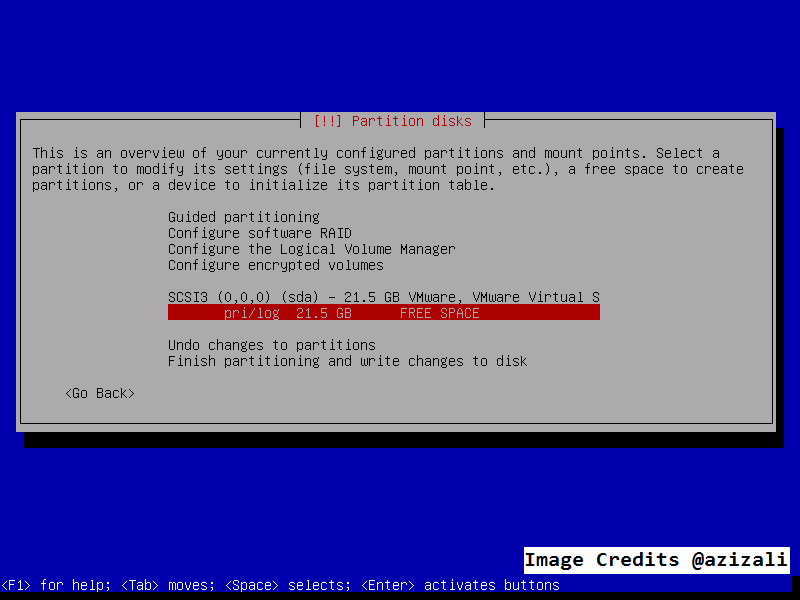
The first partition is for Swap partition
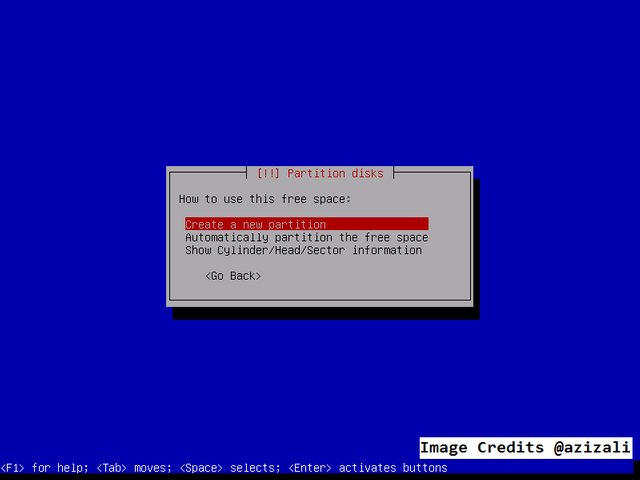
Create a new partition
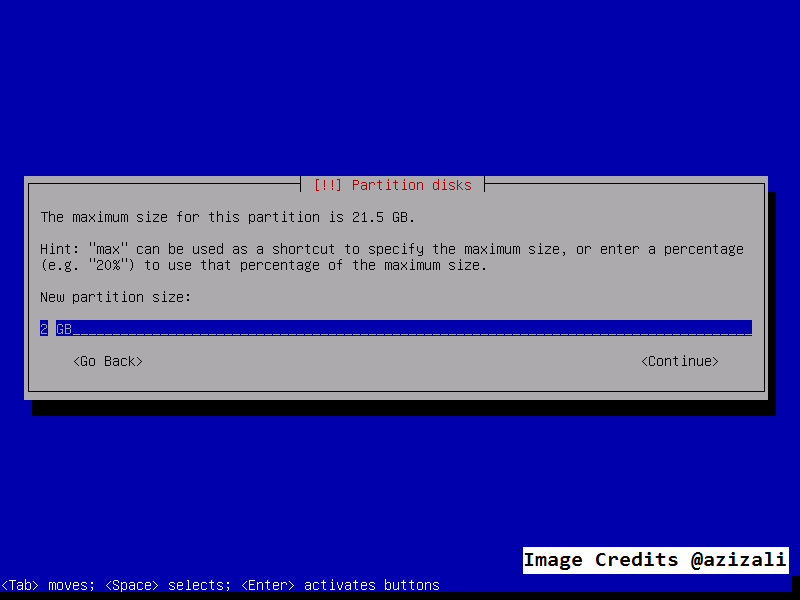
For Swap partition size is double size of memory (in my case I have 1 GB memory installed).
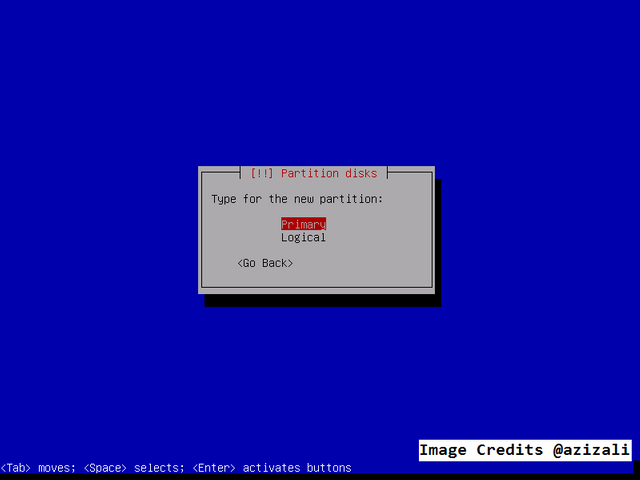
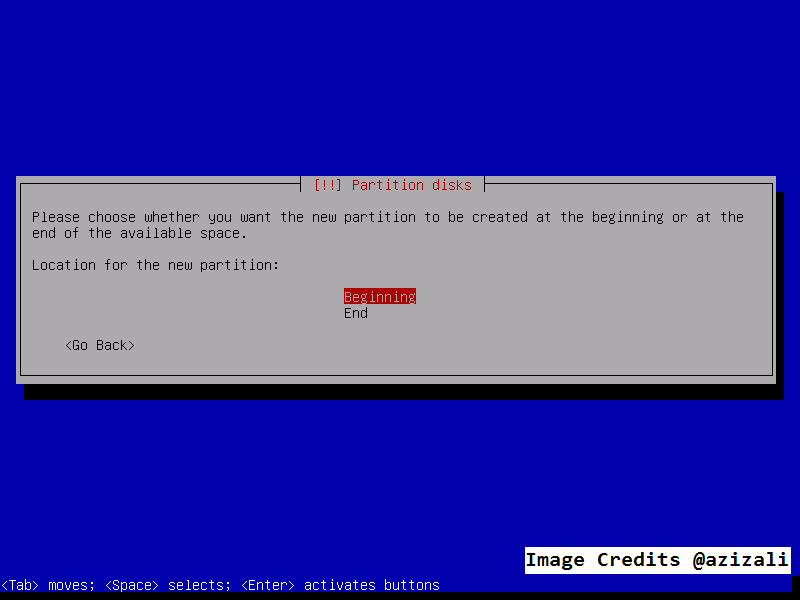
Select Primary
Select Begining
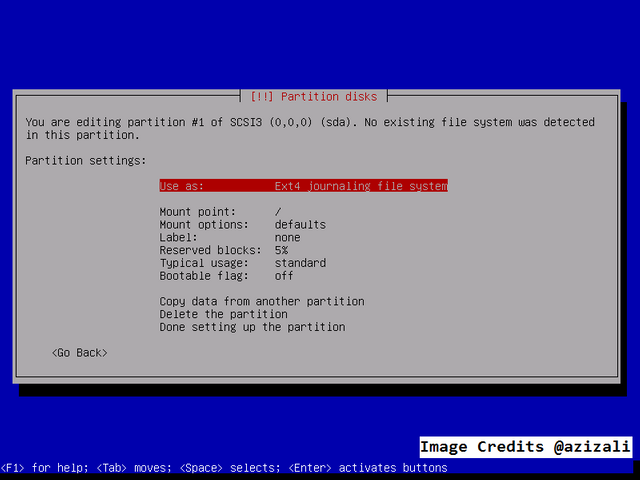
Change use as partition (press enter)
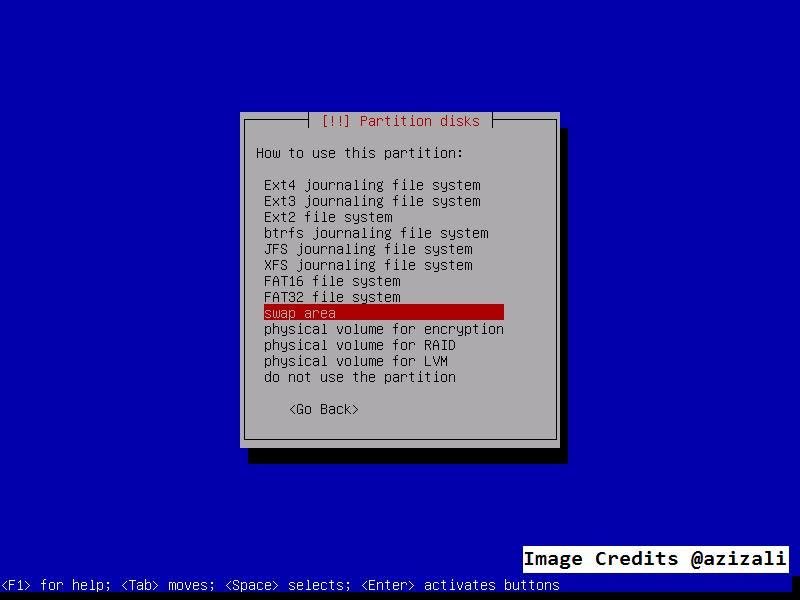
Select Swap Area
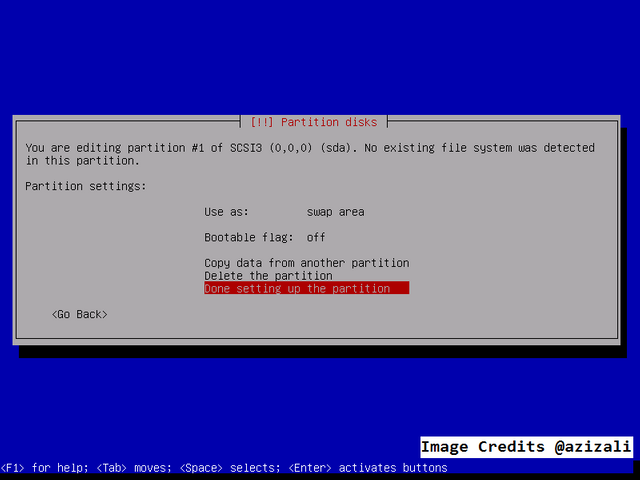
Select Done setting to finish first swap partition.
Second partition, select Free space
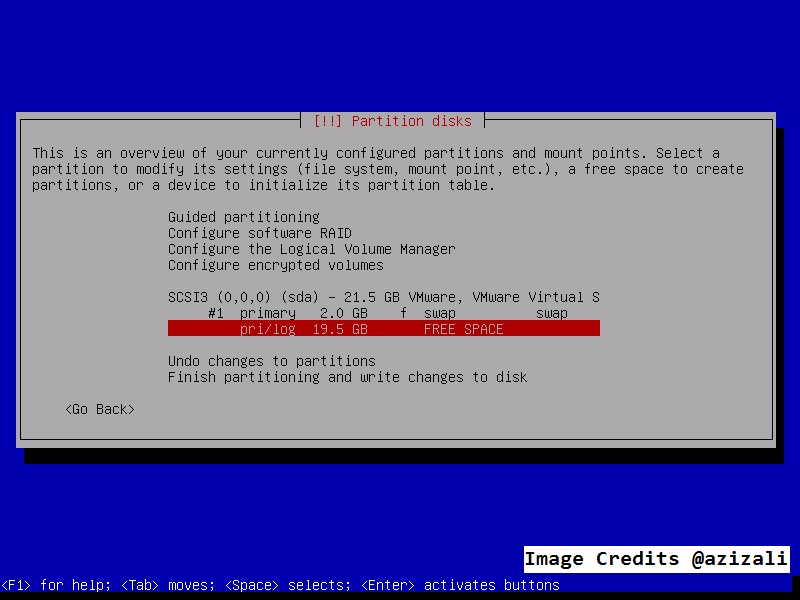
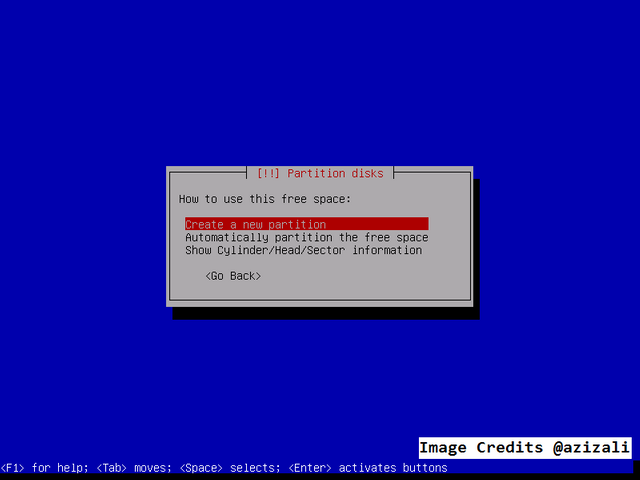
Create New partition
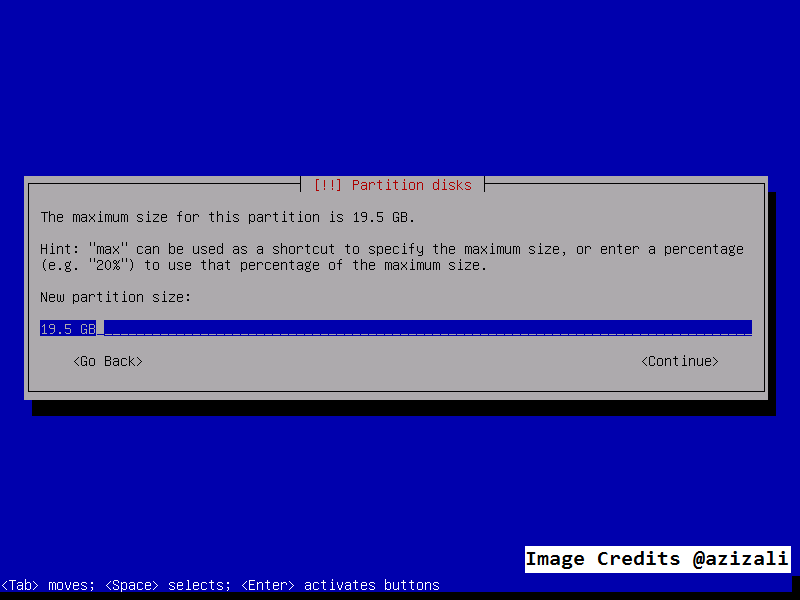
Enter all remaining partition.
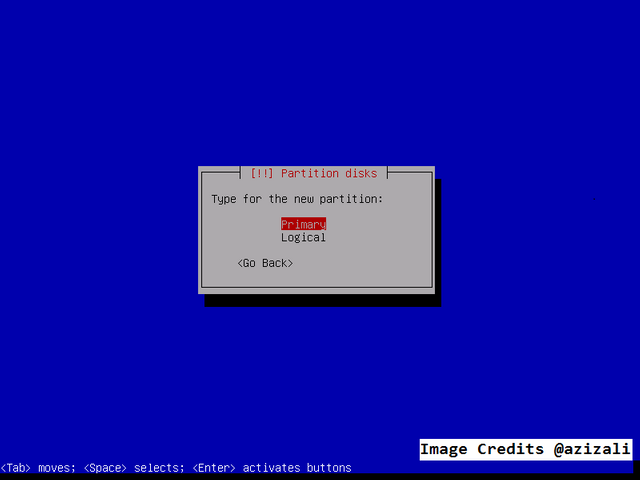
Select Primary
Use as : Ext4 and then select Done setting
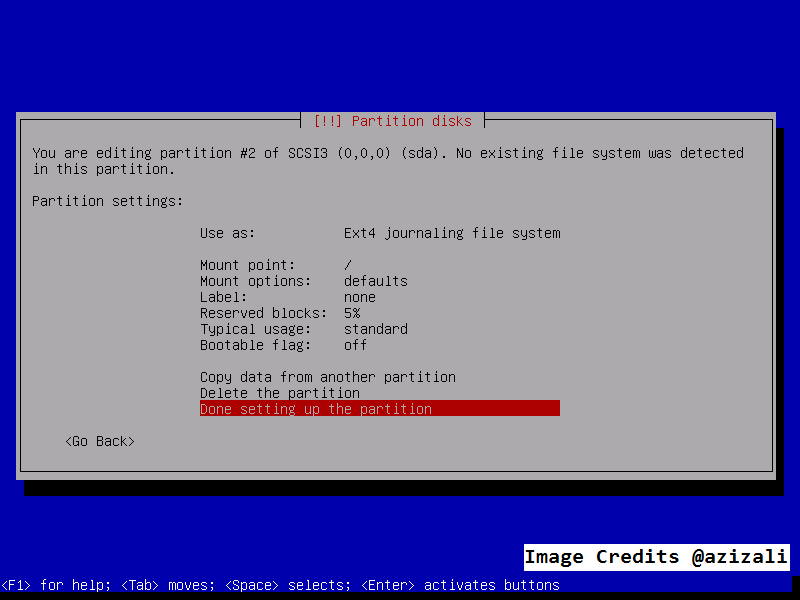
Finish Partitioning
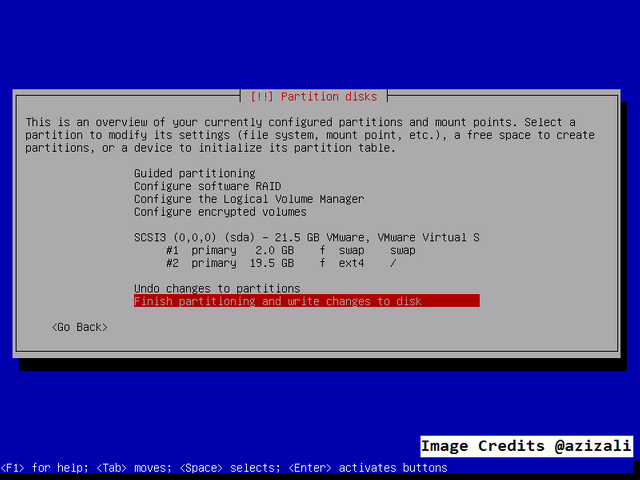
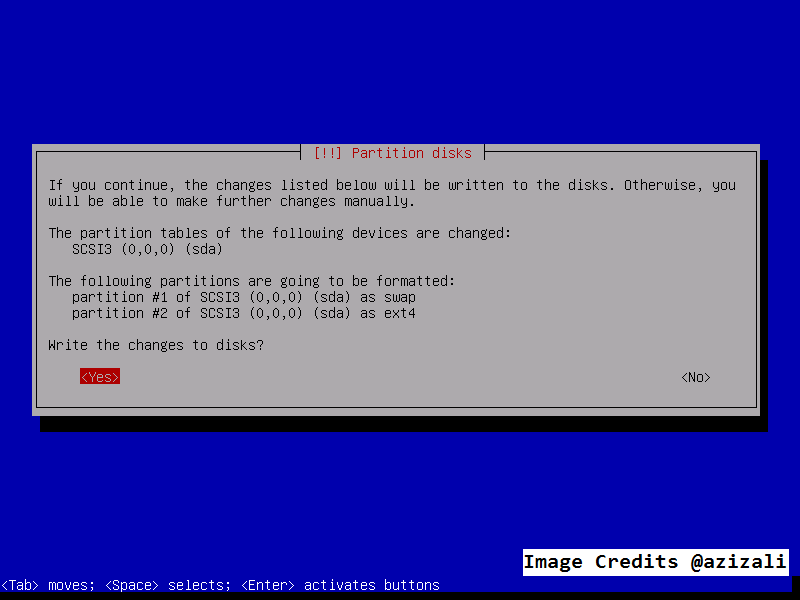
Select YES to finish second partition.
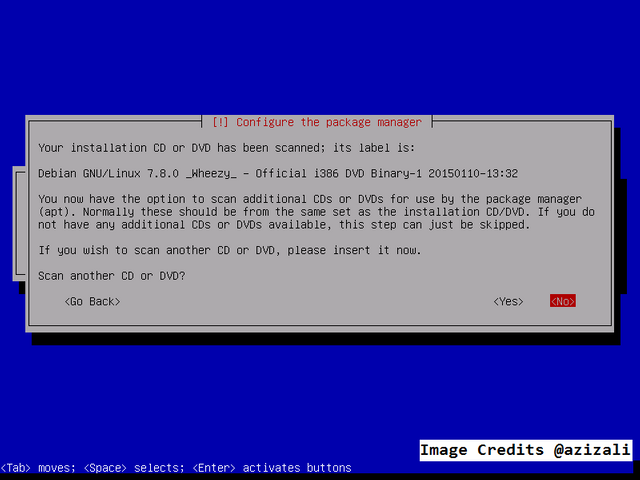
This is optional selection, for fast installation I choose NO for Scan another disk.
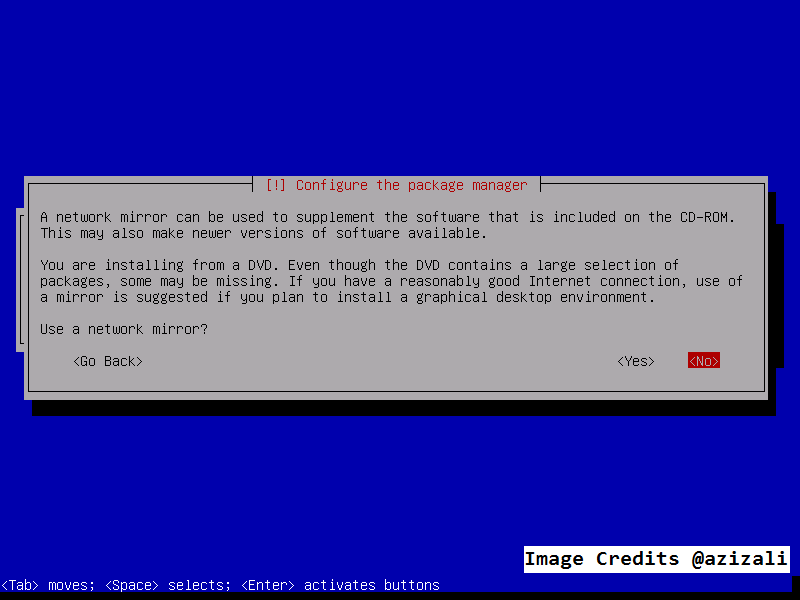
Same like before, I am selecting NO for network mirror.
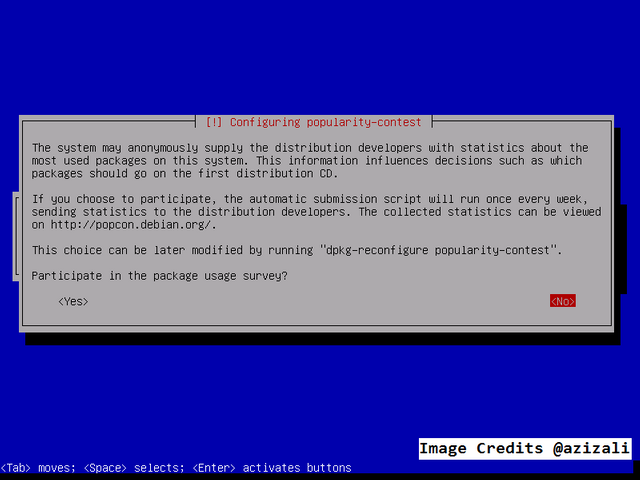
For participate in package survey you can choose YES or NO, if YES you will participate in survey for debian development.
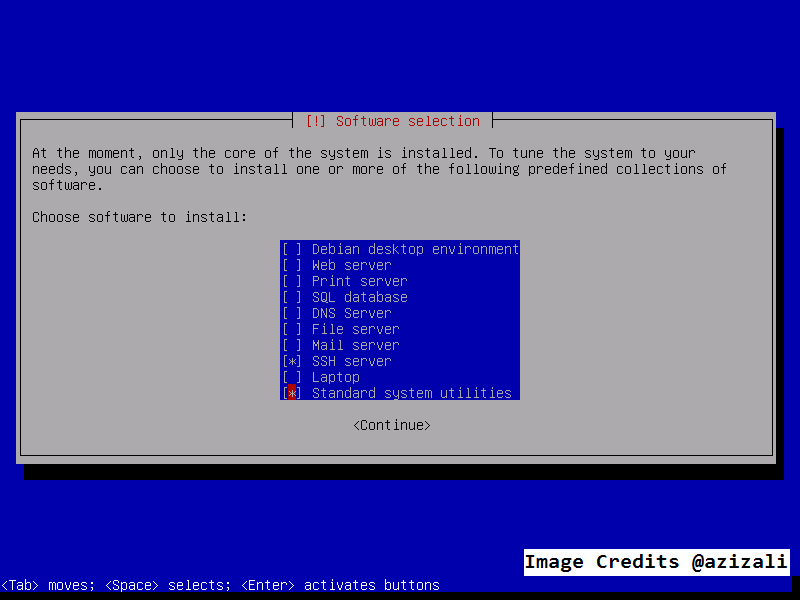
This is important part, I am using virtual server, so my PC server is not powerful, so I don't recommended to install [ Debian desktop environment ], because it will decrease you PC server power. About all other software I am not choosing right now, I will install them later.
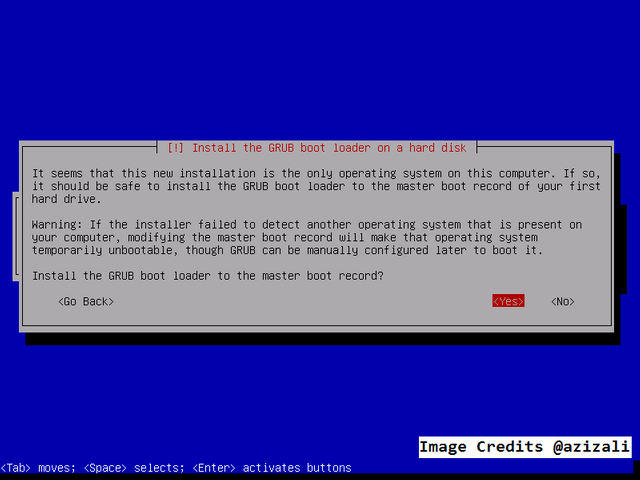
This is final step of installation. You must select YES, in this step for system boot.
FINISH.
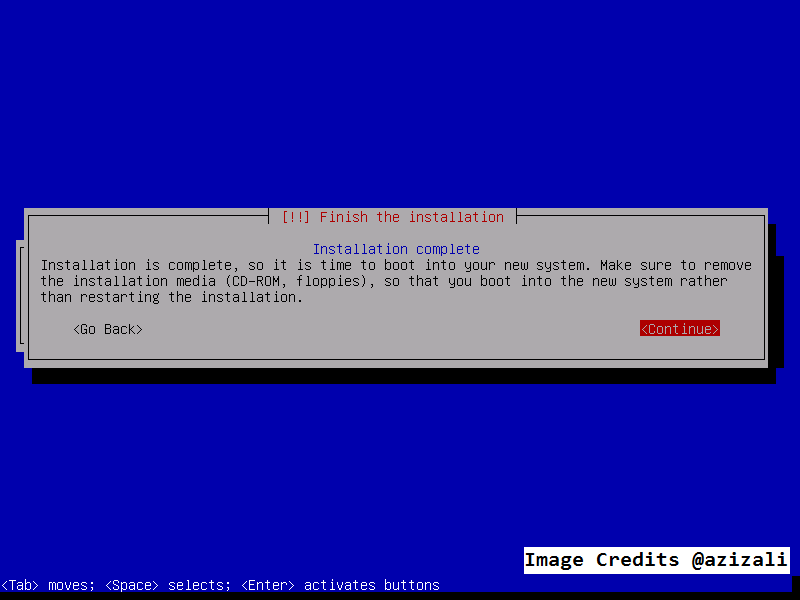
Installation is completed.
The hardware that has been aged, is still very useful and can run well on Linux. In addition, never found newer documents can not be read on older versions of Linux @azizali
Downvoting a post can decrease pending rewards and make it less visible. Common reasons:
Submit
Every spirit just for you... Semoga semakin berjaya @azizali 😉😘😍
Downvoting a post can decrease pending rewards and make it less visible. Common reasons:
Submit
This is very helpful
Downvoting a post can decrease pending rewards and make it less visible. Common reasons:
Submit
Very usefull posting, thanks Mr @azizali
Downvoting a post can decrease pending rewards and make it less visible. Common reasons:
Submit
Thanks for visiting my blog @faisalimmer
Downvoting a post can decrease pending rewards and make it less visible. Common reasons:
Submit
Very great work, this what i like from you,
Downvoting a post can decrease pending rewards and make it less visible. Common reasons:
Submit
Yea yea yea, you are very thankyou @jamhuery. I hope tomorrow is better.
Downvoting a post can decrease pending rewards and make it less visible. Common reasons:
Submit
Great post @azizali..
Downvoting a post can decrease pending rewards and make it less visible. Common reasons:
Submit
Great post my friend.... @azizali
Downvoting a post can decrease pending rewards and make it less visible. Common reasons:
Submit
Great, Post is very useful for beginners, who are new to linux, especially for students who are very fond of science teknogi and computer science
Downvoting a post can decrease pending rewards and make it less visible. Common reasons:
Submit