Hi steemit!
Today we are going to learn how to create a lawn in Blender 2.8
Resources needed for this tutorial:
Blender 2.8: https://www.blender.org/
Nature Assets: https://gumroad.com/l/OtdNq
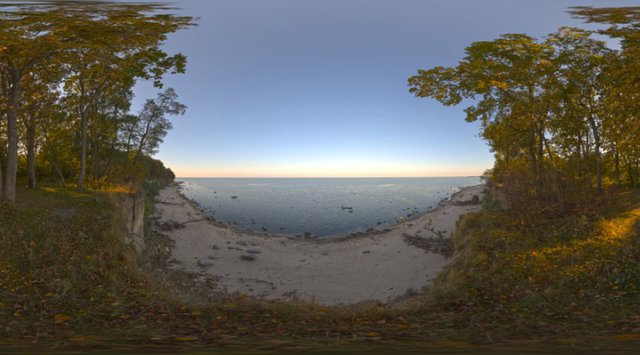
HDRI: 
Step 1:
Open Blender and append all the assets from the "Nature Assets" that you want by clicking on File/append/Free Nature Assets.blend/Object/"choose the Objects u want"/Append from Library


Step 2:

Add a new scene and create a Plane by pressing shift+a then mesh and then plane.
Step 3:
Select the plane and go in "Edit Mode" by pressing tab or press on "Object Mode" in the top left corner and choose "Edit Mode".
Step 4:
Subdivide the plane by right clicking it.
On the bottom left should be a subdivide menu open it and change the Number of Cuts to about 50.

Step 5:
Create about 3 (you can also do more if u need additional variation) weight paint vertex groups by changing from "Edit Mode" to "Weight Paint".
Now the plane should be blue and you are able to draw on it.

On the right side you can change the brush settings as seen on the picture.
Add a new vertex group when you are happy with the current one by going to Obejct data and press on the + symbol and draw on the new group again.

Step 6:
Add a particle system by going to Particles and press on the + symbol.

Then change the type from Emitter to Hair enable Advanced and Rotation.
Step 7:
In the particles settings go to Render and change the "Render As" to Object and select a Object from the "Nature Assets". Also adjust the scale and Scale Randomness under Render.
Now you can choose a vertex group for the Density.

You can also adjust the Rotation by opening the enabled Rotation settings and change the Randomize to something like 0.2 (if the Object on your Plane are upside-down you also wanna change the Orientation Axis)

You can also change the density and look of your Particle system by changing the Emission Nuber and Seed.
Repeat this step with diffrent Objects from the "Nature Assets" and use your different weight painted Vertex groups to create further randomness.
(Tipp: if your PC can't handle too many particles you can go to Viewport Display in the Particle settings and change the Amount to a lower value)
Step 8:
Change the plane texture to one called "erde (n)"

Step 9:
Add a sun lamp or a HDRI for lighting. We are going to use a HDRI because it looks better imo.
Go to World and add a new one by clicking on the + symbol. Next go to the "Shader Editor" change the mode to World and add the nodes as seen in the picture by pressing shift+a or use the Add on top.
Then open your HDRI and adjust the strength if needed (had to change the strength to 3 for the HDRI in the resources).

Step 10:
Add a camera and place it by pressing ctrl+alt+0 or press n go to view and Lock Camera to View and press 0.
Change the Render Engine to Cycles and use your GPU if you have one. Also u can change the Render Sapling to something like 200 or more to reduce noise and press F12 to start rendering :)

I hope this was helpful for you and if u have any questions feel free to leave them in the comments <3
Congratulations @nedits! You have completed the following achievement on the Steem blockchain and have been rewarded with new badge(s) :
You can view your badges on your Steem Board and compare to others on the Steem Ranking
If you no longer want to receive notifications, reply to this comment with the word
STOPTo support your work, I also upvoted your post!
Vote for @Steemitboard as a witness to get one more award and increased upvotes!
Downvoting a post can decrease pending rewards and make it less visible. Common reasons:
Submit