In this article you can see the steps necessary to mount SwiftNode.

To mount the SwiftNode we need to have exactly 50,000 Swift Cash. Currently Swift Cash isn't in any exchange, as soon as it does, I will edit the article to tell you which is the best place to buy them. Meanwhile, you can buy it in discord with the otc bot,
We need to hire a VPS that has at least 1GB of RAM, 20 GB of disk space and a static IPV4 address.
My recommendation is use this:

Once we have registered with the VPS provider, we will proceed to create a server, select the “Servers” option in the menu and click on  Select the location that you want and choose the version Ubuntu 18.04 x64
  and select the option 5$/mo
Once this is done, click on the “Deploy Now” button and wait for the server to appear in the Servers panel.

With this data, we can connect to our server through a terminal. I use MobaXterm Personal Home Edition Free.
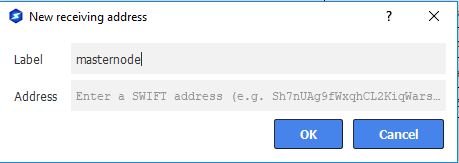
Before continuing we must prepare our local wallet. Install the node client wallet to save our SwiftCash. Once we open our wallet and transfer the SwiftCash from the exchange to our wallet, we will proceed to generate a new address for it, we will mark the option File → Receiving address and there we add a new address by pressing the button NEW.
Then enter an alias for our address, for example SwiftNode

Copy the new address, and send in a single transaction exactly 50.000 SwiftCash, neither one more nor one less. Be careful not to deduct the commissions and remain less than 50.000.
Wait for the transaction to be confirmed, at least 10 confirmations would be fine.
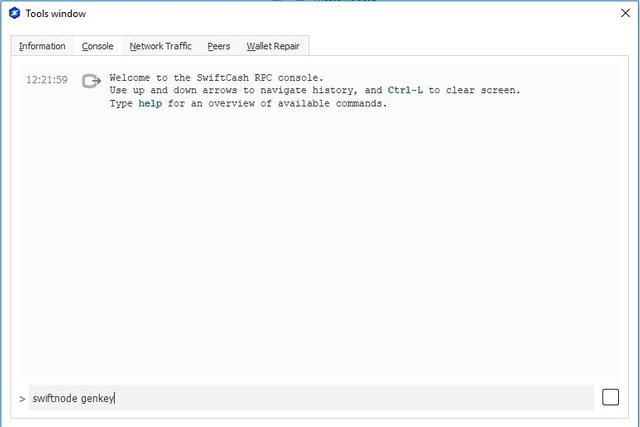
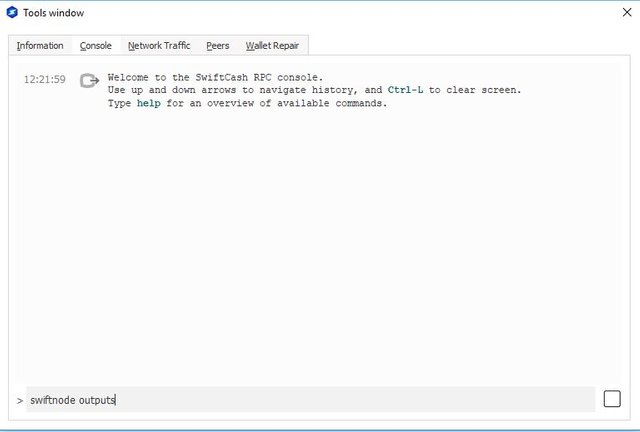
Then go to the menu option Tools →Debug Console and write the following commands:
swiftnode genkey

Copy the result, we will need for later and write the following command:
swiftnode outputs

Push ok and proceed to connect to the VPS.
Start Mobaxterm , enter ip server and user root.

In the command line execute the following commands:
fallocate -l 4G /swapfile
chmod 600 /swapfile
mkswap /swapfile
swapon /swapfile
cp /etc/fstab /etc/fstab.bak
echo ‘/swapfile none swap sw 0 0’ | tee -a /etc/fstab
wget https://raw.githack.com/swiftcashproject/swiftnode-installer/master/install.sh -O install.sh
bash ./install.sh
When the installer asks for ssh port, you can let it in port 22 (default port). If we are not careful in this point, is possible we are unable to connect to VPS later
Installer asks you SwiftNode GenKEY and it will install the software and start it. You can check the sync status with the command: SwiftCash-cli getinfo
When it is sync you can start the SwiftNode. For it, you must back to your desktop wallet and select Tools → Open Configuration file Masternodes.
Edit the file with the next values
Example: mn1 127.0.0.2:8544 93HaYBVUCYjEMeeH1Y4sBGLALQZE1Yc1K64xiqgX37tGBDQL8Xg 2bcd3c84c84f87eaa86e4e56834c92927a07f9e18718810b92e0d0324456a67c 0
Name ip:port genkey output1 output2
Name: A simply name that identifies the masternode.
Ip:port: VPS ip and port 8544
Genkey: the value returned swiftnode genkey
Output1: the first value returned by swiftnode outputs
Output2: the second value (0 or 1) returned by swiftnode outputs
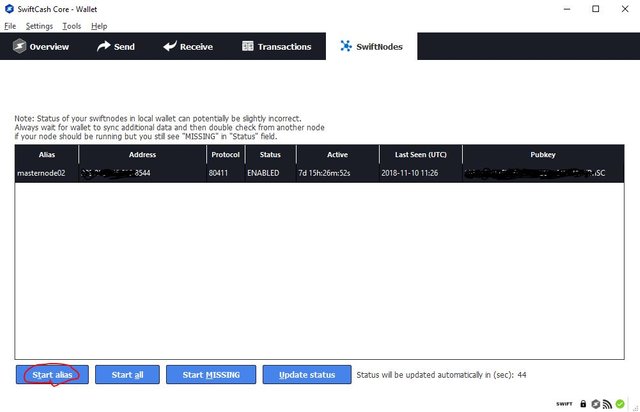
Restart the wallet .Go to tab SwiftNodes and select masternode in satus Missing. Wait to total sync and press button Start Alias.

Your Swiftnode will change status to PRE-ENABLED. After some hours it will change status to ENABLED;.
If this article is helpful for you , can contribute to the Swiftcash address: SPCG5x19AmzU8AHsE2ZjGfVi7PhcmtEFuf
or ETH: 0x765f5d2c05ce18f3b77c91f796a1b42e5679935a
Congratulations @pacobits! You received a personal award!
You can view your badges on your Steem Board and compare to others on the Steem Ranking
Do not miss the last post from @steemitboard:
Vote for @Steemitboard as a witness to get one more award and increased upvotes!
Downvoting a post can decrease pending rewards and make it less visible. Common reasons:
Submit