Dust is the inevitable problem that most computers suffer with and can cause damage to your beloved rig.
Maintaining your computer is something that most computer owners/users don't think about but it can be a big problem. It can be even worse if you keep your tower on the floor or if you have fury little friends living with you, or both.
So just like a spring clean for your house, you should give your pc guts a good clean every now and then to keep it working at its optimal level.
The issue with dust in your system is mainly heat issues. If you have a direct mounted heat sink on your CPU or a water cooling radiator, if they get clogged with dust, they can restrict the airflow flowing over them to help dissipate the heat. If the heat sink or radiator get really clogged, it can cause physical damage to the CPU because it is getting too hot and worst case scenario, the CPU will burn up/blow and your computer will not turn on.
The same situation applies to your graphics card and even the system fans that help blow fresh cold air in and exhaust hot air out. This can cause damage to Hard Drives, SSD's, Ram, Power supplies and even the motherboard chipsets, all of which will produce heat when under load.
In this post I will be showing you how to clean and maintain your computer.
So lets jump straight into it and get everything ready.
PLEASE NOTE!
1 - Be cautious, there are delicate components that can be damaged if handled incorrectly.
2 - Only use the correct tools for the job.
3 - Do not remove the CPU heat sink or Water Block.
4 - Do Not remove the GPU heat sink or Water Block.
5 - Do this at your own Risk.
I will not be held liable for any damage you cause to your PC.
- Note... Take Pictures and/or Label as you go.
1st – Get everything ready...
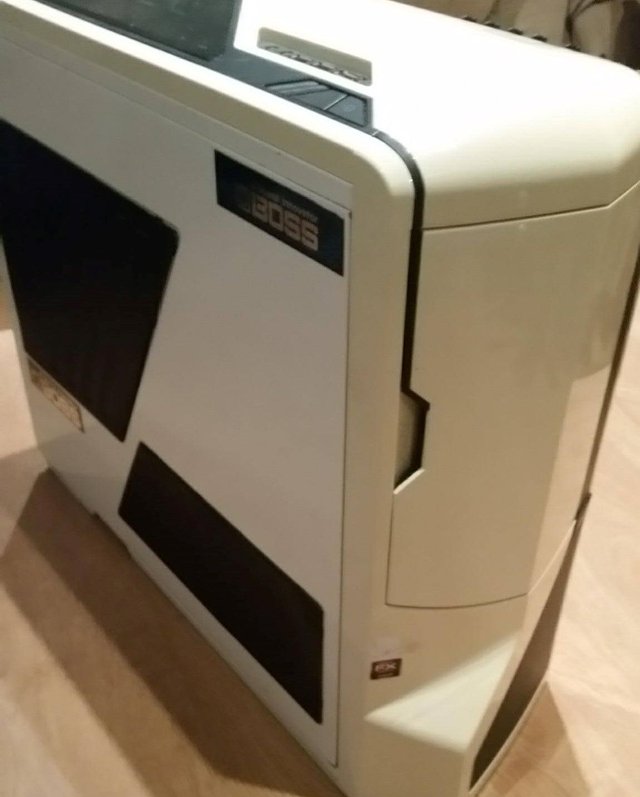
Start by getting a clean hard surface to work on, a table or wooden floor.
Unplug all the leads out of your tower and place on the prepared surface.
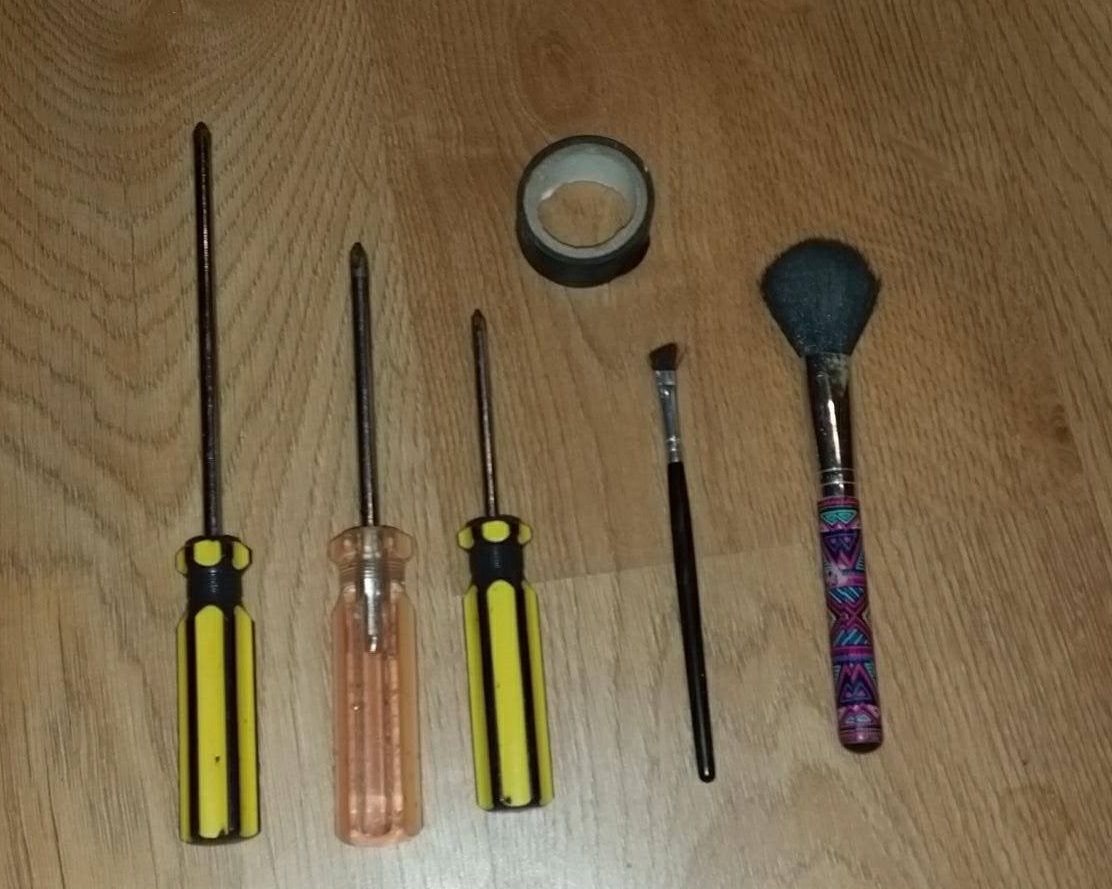
You will need only basic tools for this...
Various sized Magnetic Head fillip head screwdrivers.
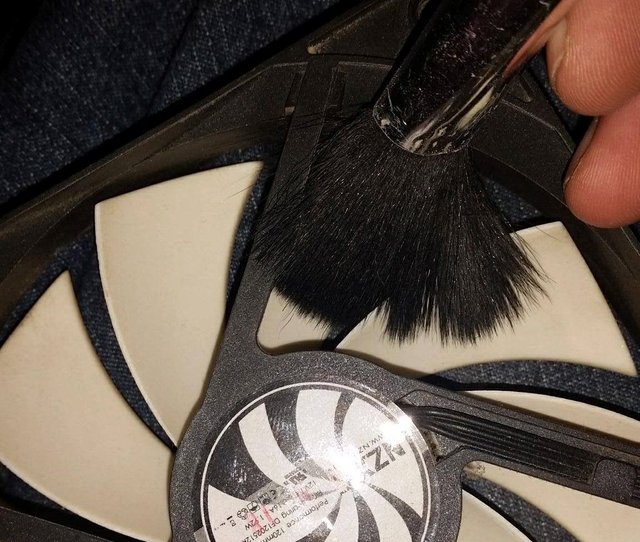
A couple of different sized soft brushes (they must be very soft and static free, Synthetic make-up brushes work well).
Some zip ties or wire clips to replace any you cut out. (I only had some insulation tape to hand as the inside of my tower isn't all that pretty)
And a Vacuum to clean collect the dust (Don't use it on any part of the PC, just the floor and brushes.)
Don't use a microfiber cloth on anything other than the outside of the case.
2 – time to unplug everything.
Take both side panels of your tower to gain access to all the cables and plugs.
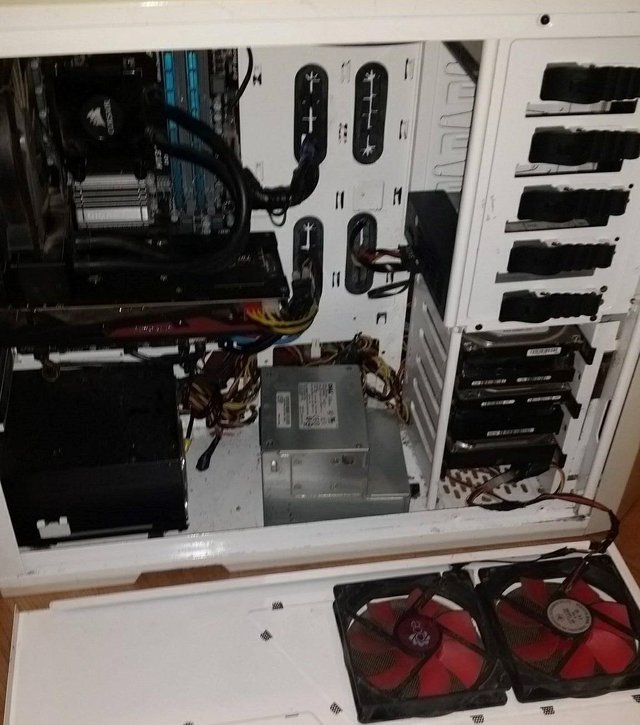
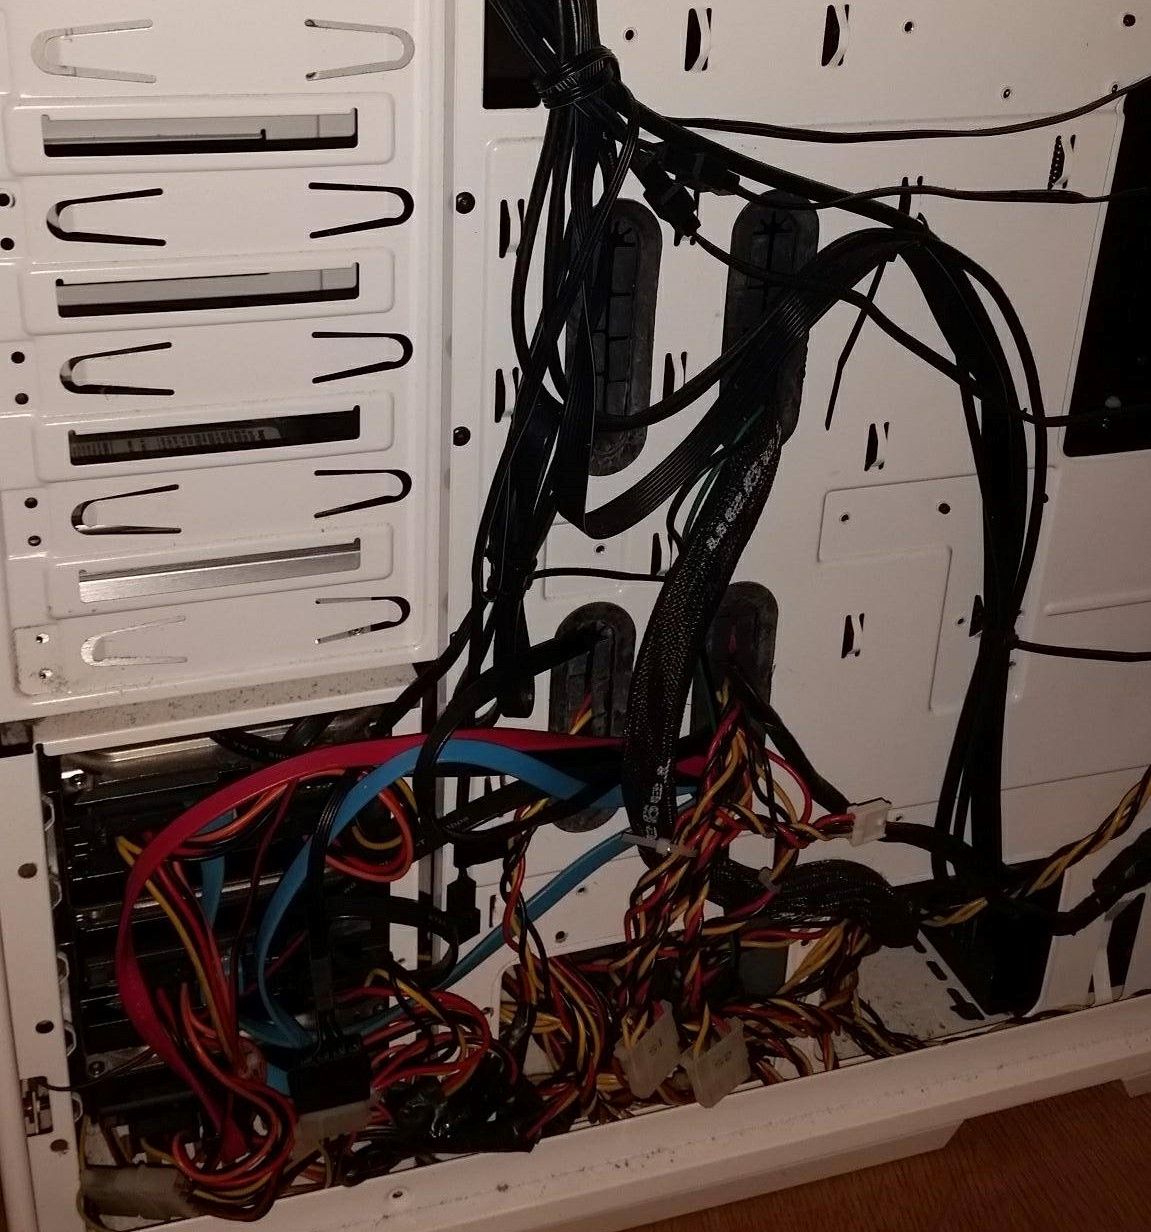
Starting with just the cables, start unplugging them all one by one and removing out of the case if they are not connected to the Power Supply.
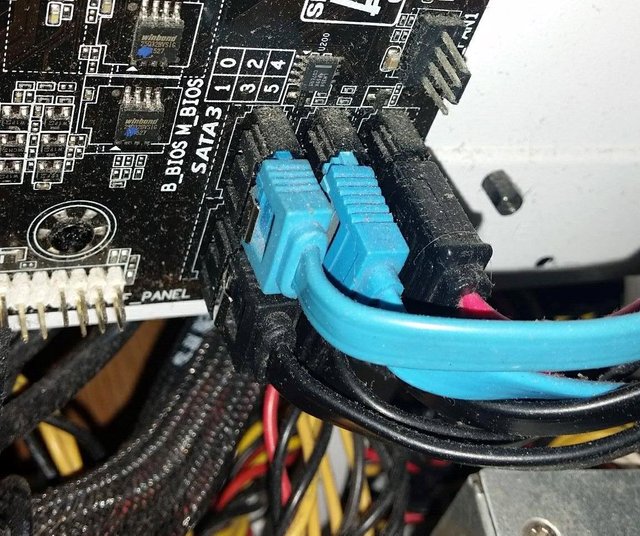
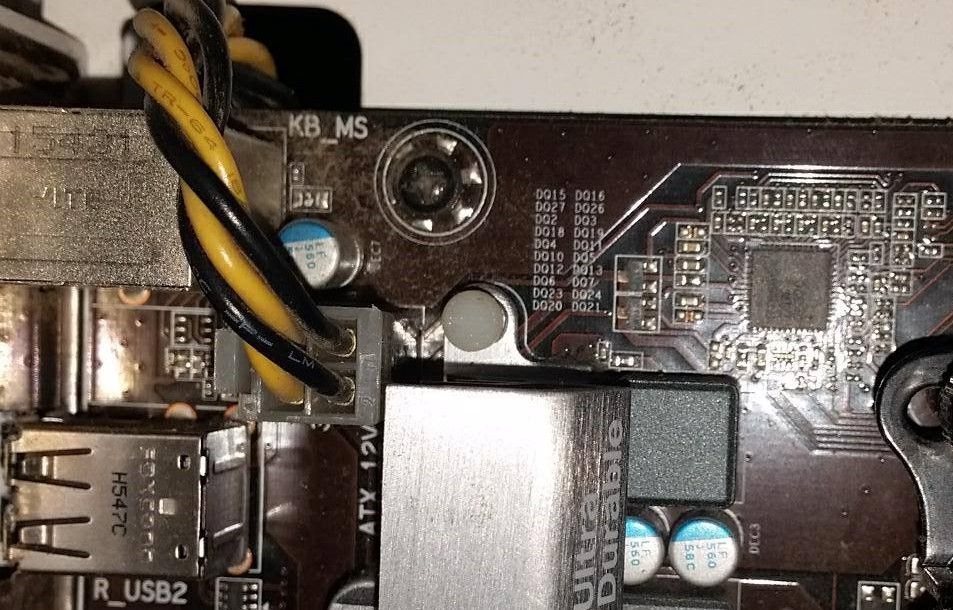
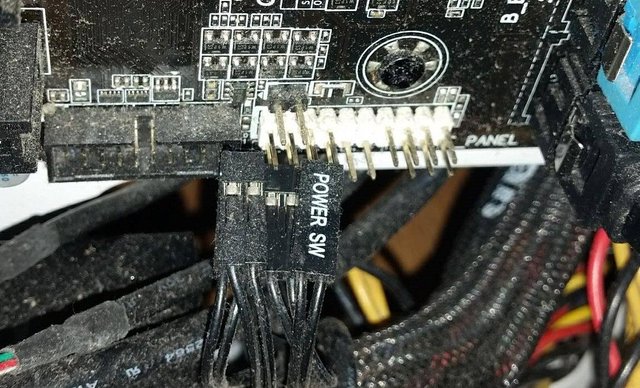
3 – Hardware Removal.
Now that everything is unplugged, you can now go ahead by taking out all the hard ware, taking extra care when doing so and laying them down flat.
Start by taking all the fans out first as they are usually the components that will be covered with the most dust. Then remove the Power Supply Unit(s).
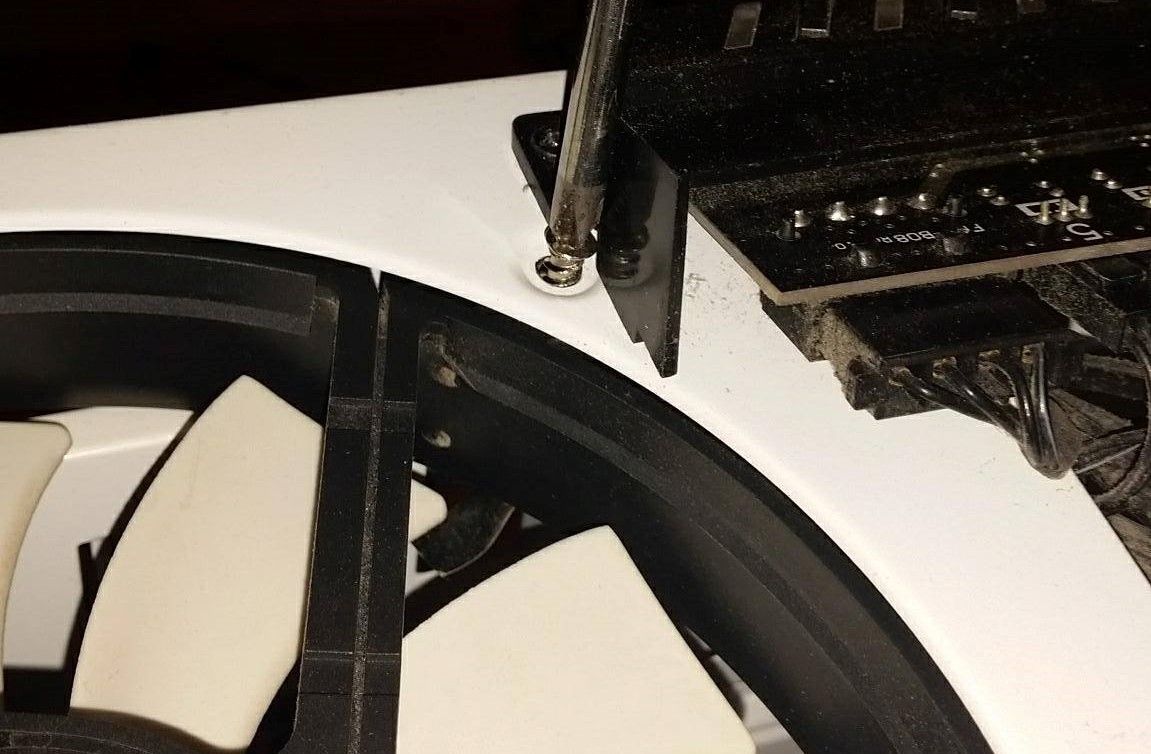
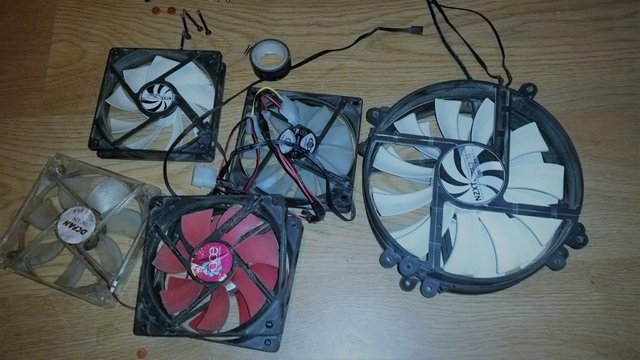
Once all the fans are out, start by removing the Graphics card, the RAM and any other expansion out of the motherboard, but do not take the CPU heatsink off or water cooler unless you have some fresh thermal paste and are confident you can replace it but it is not recommended. It is only a clean.
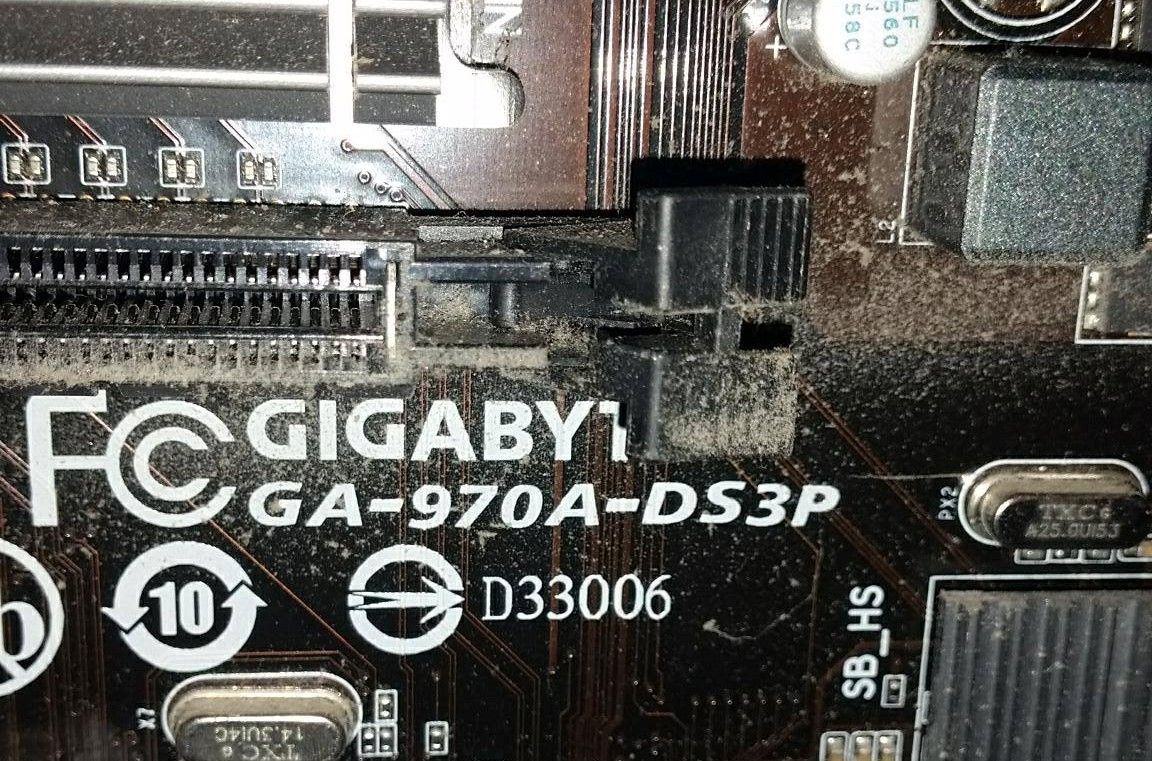
The Graphics card should come out easy enough by pressing on the tabs at the back of the PCIe Slot.
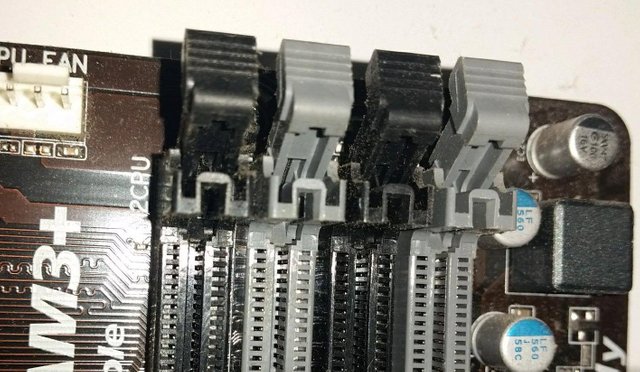
The ram has 2 tabs on both end that need to be pressed down to release them.
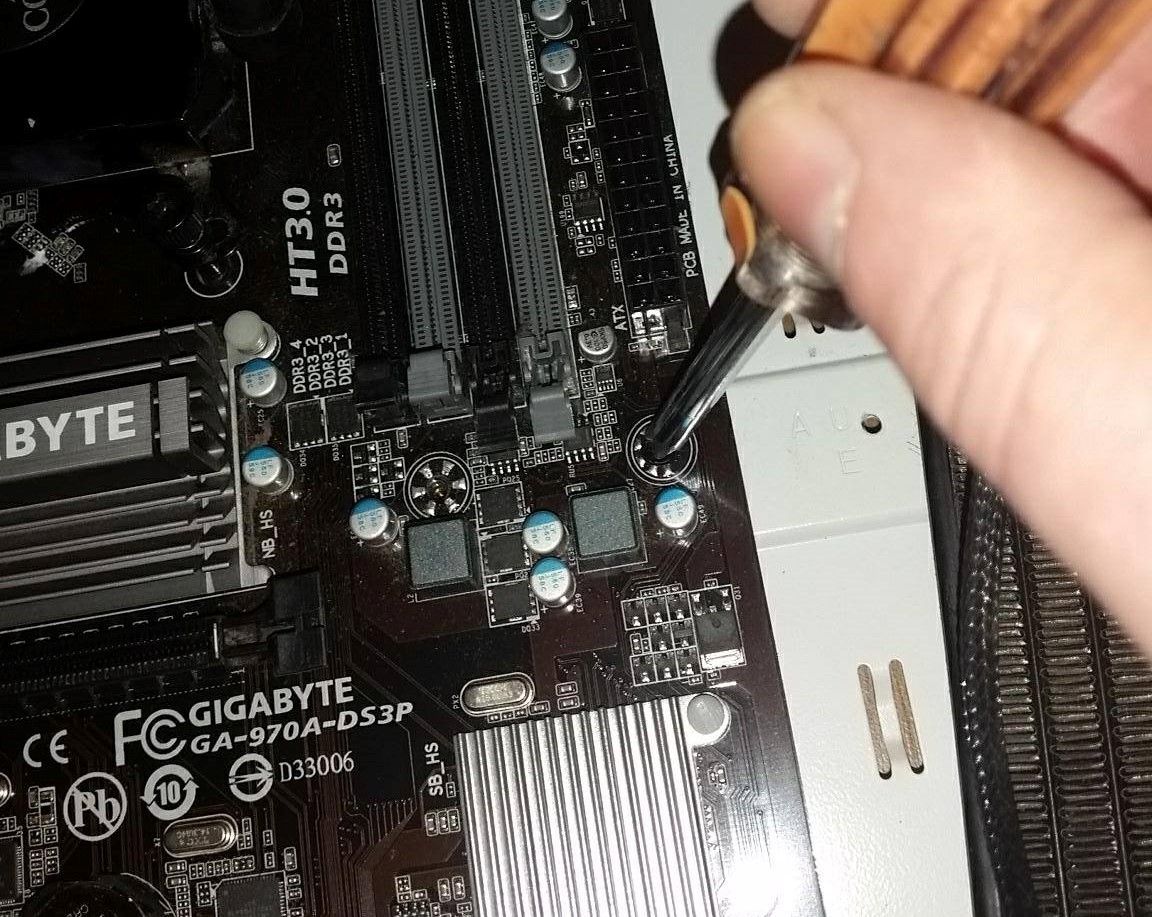
Finally take the motherboard out by lying the tower flat and unscrewing the 6 or more screws found around the edge and a little ways in from the right hand side.
4 – Cleaning.
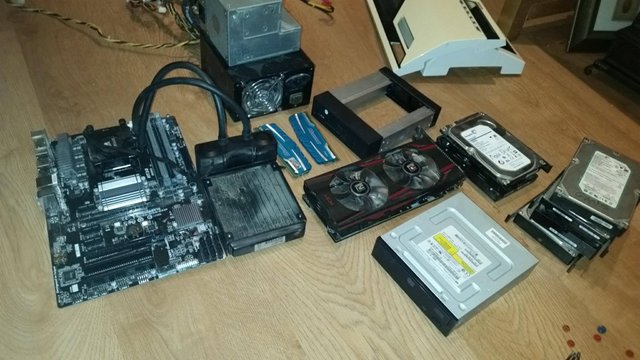
Once everything is out you can start by cleaning the tower of any dust accumulated in there... it is best to do this with a Vacuum nearby to get rid of the dust as and when.
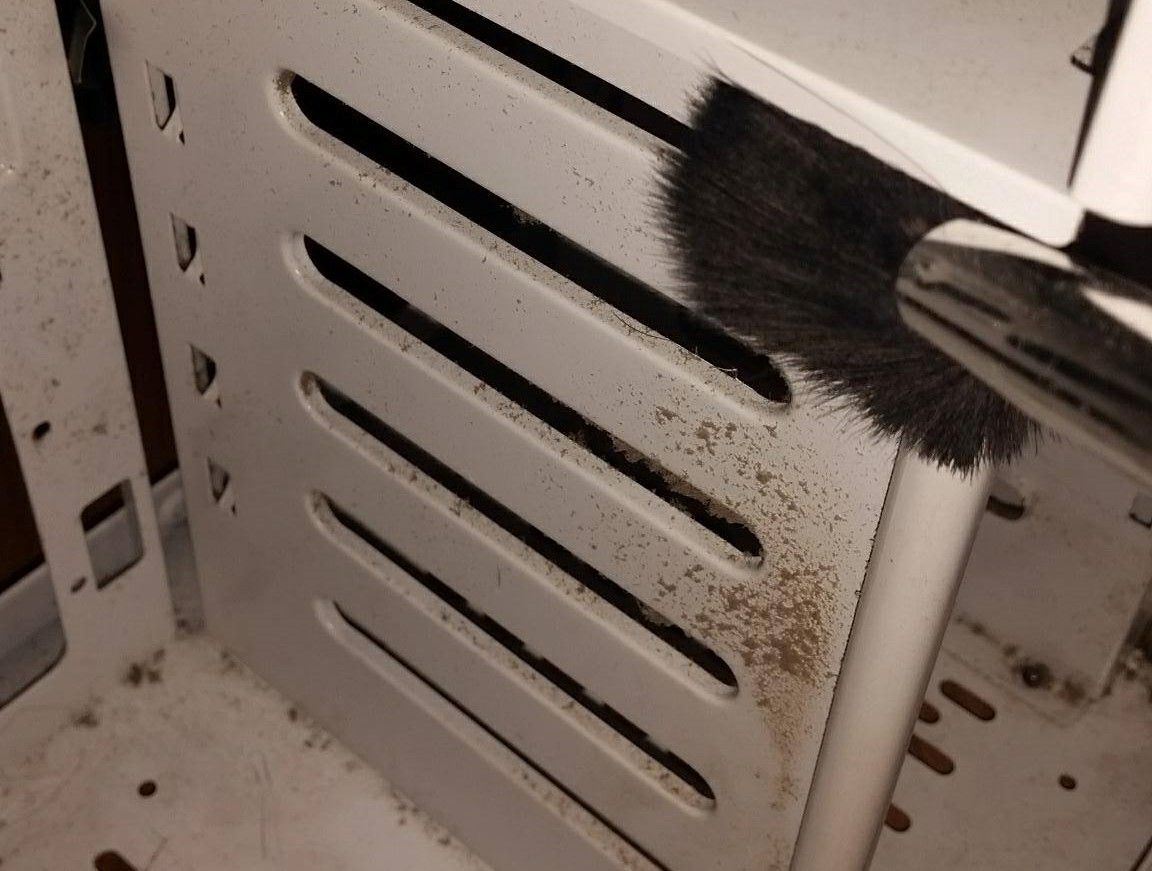
Once the tower is clean. You can start cleaning the hardware and place it back in the case, in the order it was taken out. Start with the Motherboard and the Heatsink/Radiator first followed by the board itself. Make sure to use a soft touch on the board as there are lots of delicate components that could break.
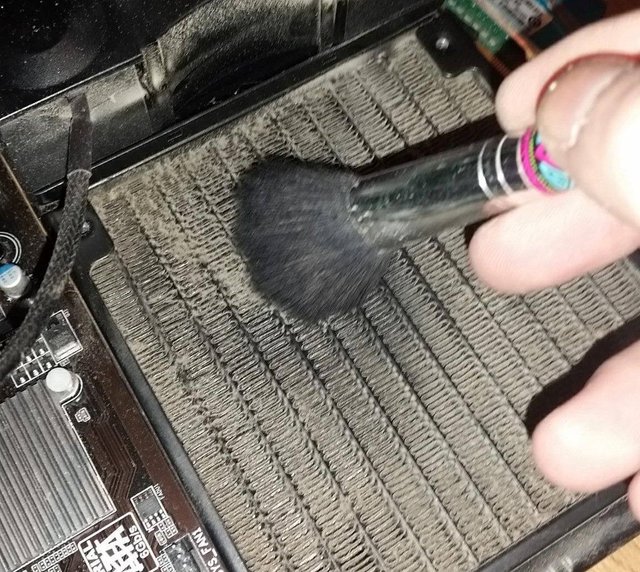
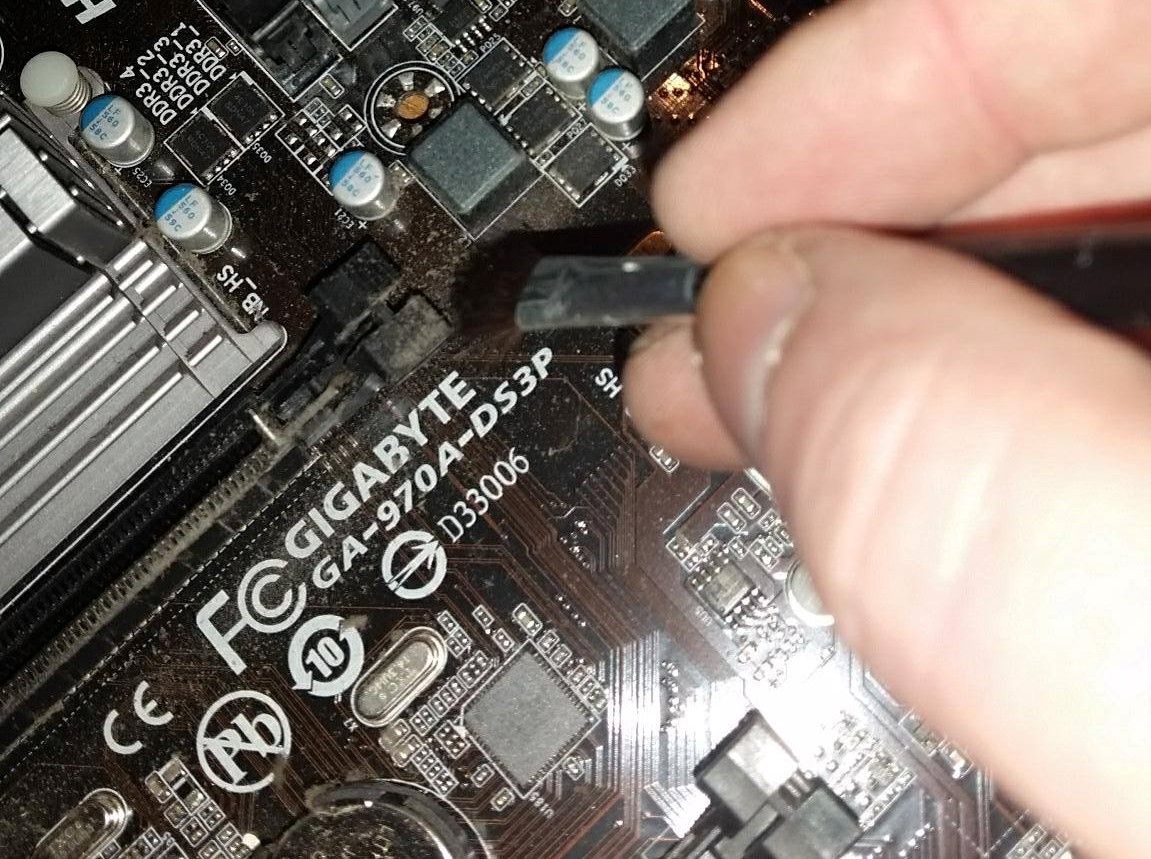
Once the motherboard is back in, clean the parts off with the brushes and re-assemble in the order it was taken apart.
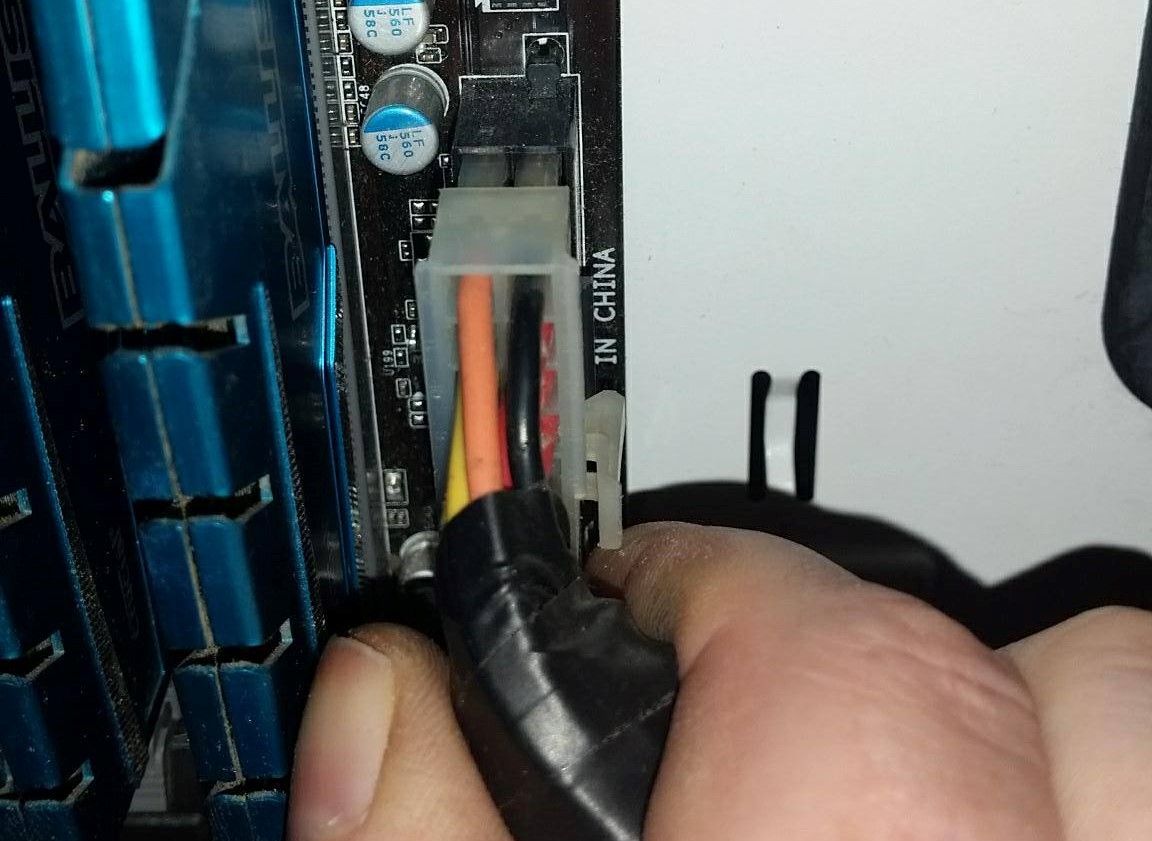
5 – Test.
Once the inside of your case is cleaned and everything plugged in, it is time to put the side panles back and and go test.
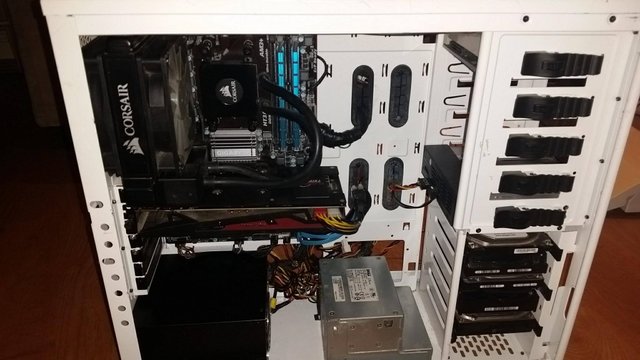
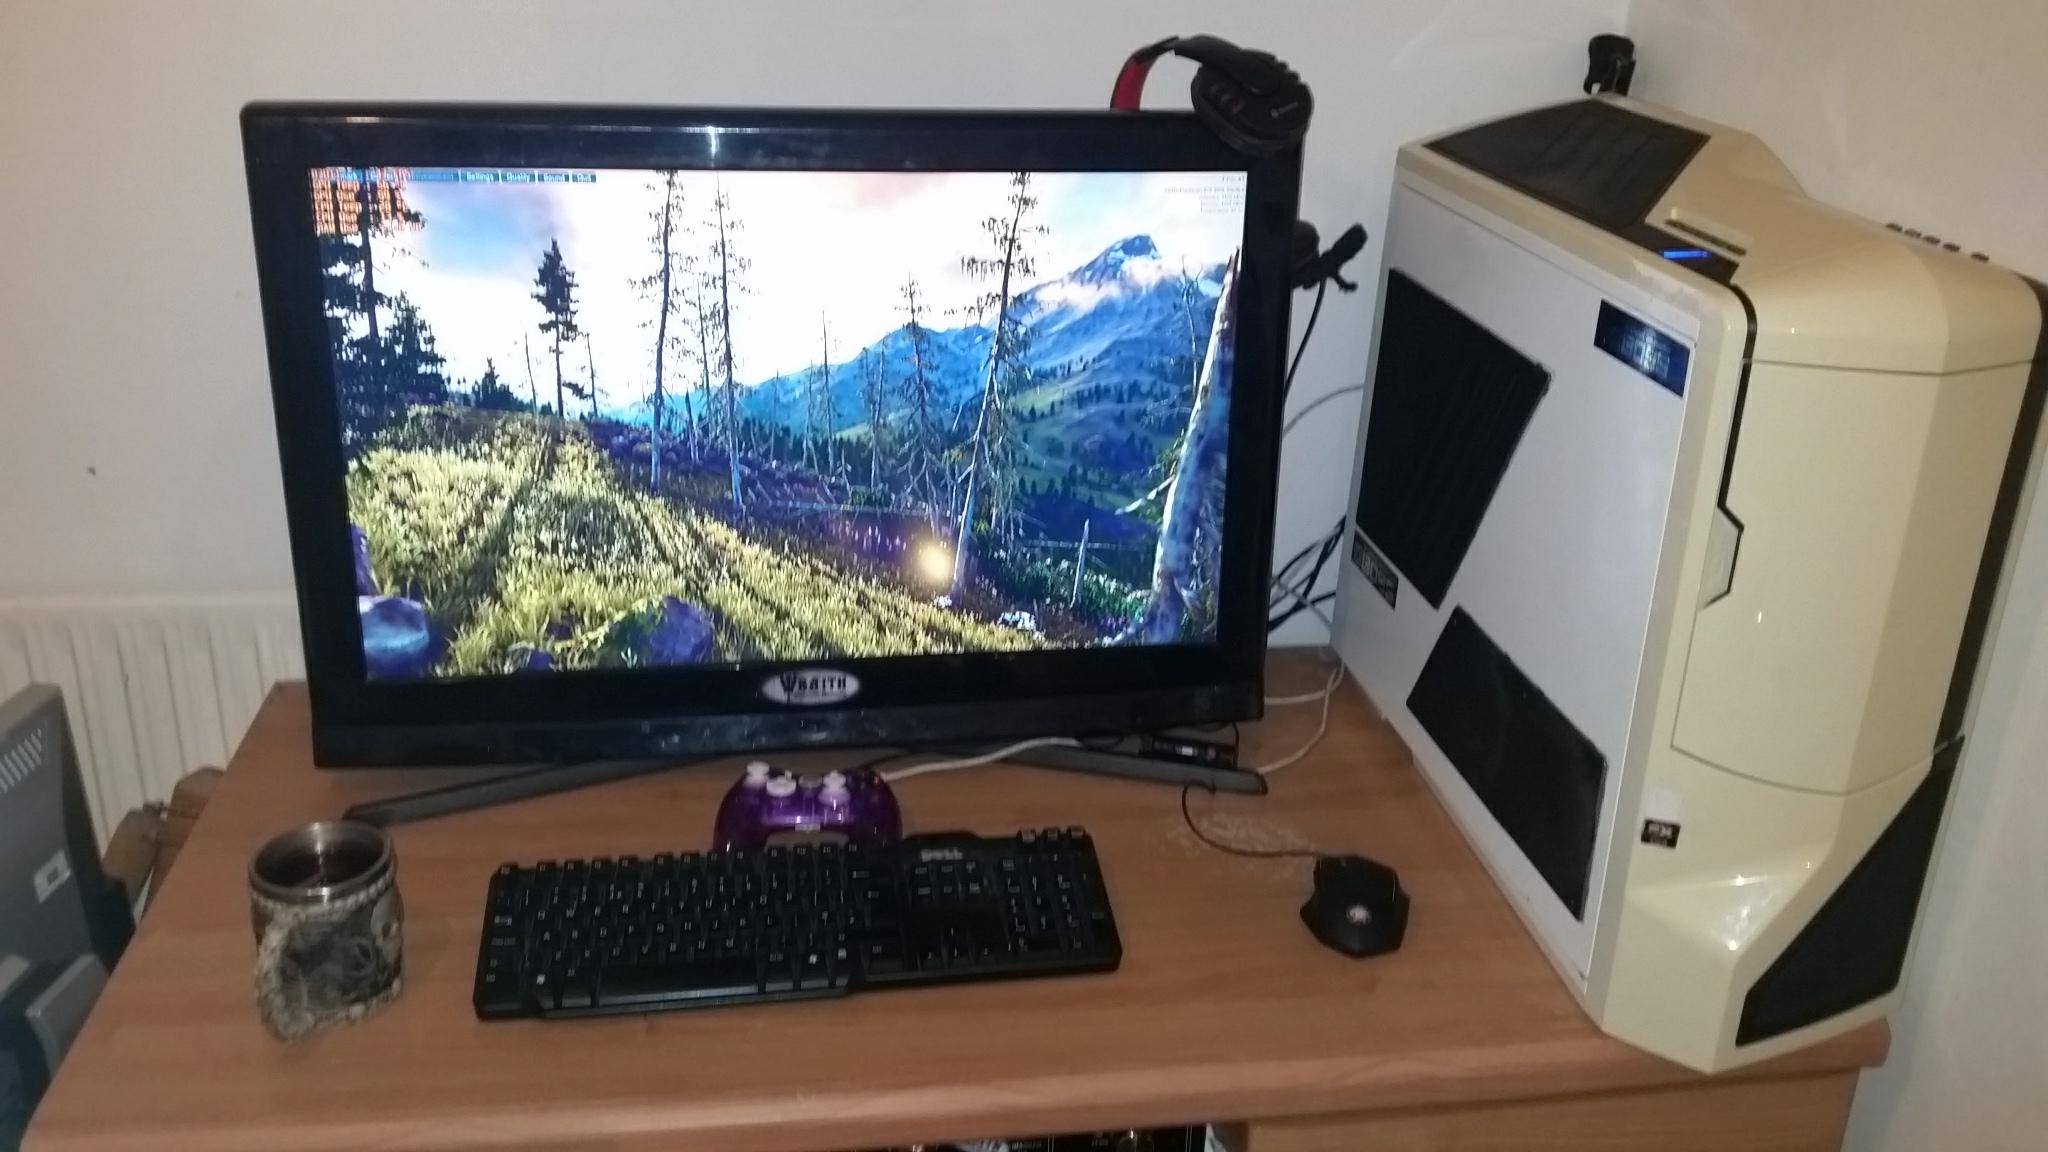
I hope that you found this quick guide helpful and has given you insight into basic cleaning of your PC.
Thanks for reading.

Stu @TechMojo
Join the chat TechMojo Discord Channel
Follow us TechMojo OnG Social Page
Like us TechMojo Facebook Page
Follow us TechMojo Twitter
Superb guide, I had a GPU fan fail because it clogged up with dust and gunk and the fan just burnt out - only realised when the graphics kept going wonky under load! It's really worth getting in regular to clean out to ensure nothing ends up broken. Hopefully my new build will keep running smoothly - I'll use this guide for keeping it clean! Which reminds me - would you mind commenting on my components choice? https://steemit.com/gaming/@c0ff33a/building-a-gaming-pc-part-2-the-components-for-the-pc Not upto your PC desk by a long way.
Downvoting a post can decrease pending rewards and make it less visible. Common reasons:
Submit
I just get the cans of air and give it a good blowout, not as thorough but does the job if done regularly.
Downvoting a post can decrease pending rewards and make it less visible. Common reasons:
Submit
very true. you could use the air cans instead of the brushes.
Downvoting a post can decrease pending rewards and make it less visible. Common reasons:
Submit
Great tutorial and its things like this I enjoy reading on steem
Downvoting a post can decrease pending rewards and make it less visible. Common reasons:
Submit
cheers buddy ;-)
Downvoting a post can decrease pending rewards and make it less visible. Common reasons:
Submit
@techmojo soo much detail dude keep it up
Downvoting a post can decrease pending rewards and make it less visible. Common reasons:
Submit
@originalworks
Downvoting a post can decrease pending rewards and make it less visible. Common reasons:
Submit
The @OriginalWorks bot has determined this post by @techmojo to be original material and upvoted(1.5%) it!
To call @OriginalWorks, simply reply to any post with @originalworks or !originalworks in your message!
Downvoting a post can decrease pending rewards and make it less visible. Common reasons:
Submit