Introduction:
Achieving a flawless tile installation requires a combination of precision, attention to detail, and the right tools. Whether you're a seasoned professional or a DIY enthusiast, mastering tile installation techniques is essential for creating aesthetically pleasing and long-lasting surfaces. This comprehensive guide will walk you through the key steps and considerations to ensure your tile installations are not only visually appealing but also durable and functional.
I. Surface Preparation:
Before delving into the intricacies of tile installation, proper surface preparation is crucial. Begin by thoroughly cleaning and leveling the substrate to create a smooth and stable foundation for your tiles. Fix any cracks or imperfections, ensuring a solid and even surface that will contribute to the longevity of your installation.
II. Selecting the Right Tiles:
Choosing the right tiles is a critical step in perfecting your tile installation. Consider factors such as tile type, size, and color, keeping in mind the overall design and functionality of the space. Porcelain and ceramic tiles are popular choices for their durability and versatility, while natural stone tiles add a touch of elegance. Take the time to plan your layout, ensuring a balanced and visually appealing arrangement.
III. Proper Layout and Spacing:
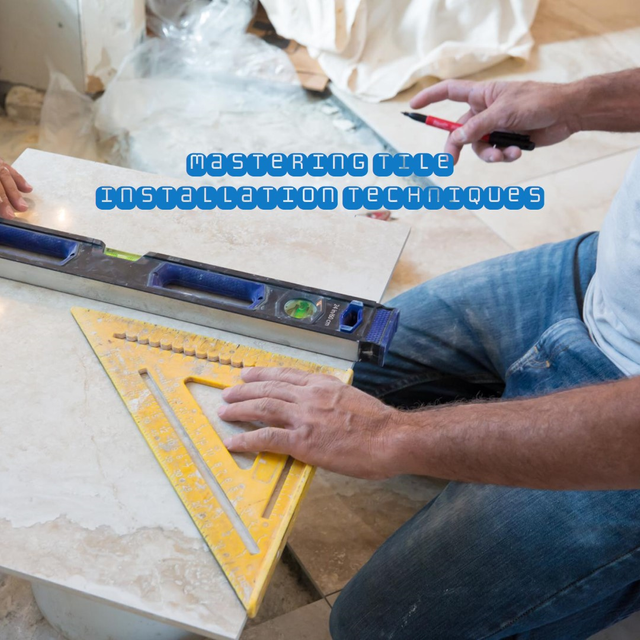
Achieving symmetry and balance in your tile installation requires careful planning of the layout and spacing. Start by establishing reference lines using a chalk line, ensuring straight and parallel rows. Pay attention to the grout lines, ensuring consistent spacing between tiles. Proper layout and spacing contribute to the overall aesthetic and help prevent alignment issues during installation.
IV. Adhesive Application:
Selecting the right adhesive is crucial for a successful tile installation. Follow the manufacturer's guidelines and choose an adhesive that is suitable for your tile type and substrate. Use the appropriate trowel size to apply the adhesive evenly, preventing air pockets and ensuring a strong bond between the tiles and the substrate.
V. Precision Cutting and Installation:
Mastering the art of precision cutting is essential for achieving seamless transitions and tight corners. Utilize a wet saw or tile cutter to make accurate cuts, ensuring a perfect fit for each tile. Take your time during the installation process, pressing each tile firmly into the adhesive and using spacers to maintain consistent gaps.
VI. Grouting and Finishing Touches:
After allowing the adhesive to set, proceed to grouting. Choose a high-quality grout that complements your tile selection. Ensure thorough grout application, pressing it into the spaces between tiles using a rubber float. Once the grout has set, clean excess grout with a damp sponge, and finish the installation by sealing the grout for added durability.
Fix Masters GTA:
For expert guidance and professional flooring installations, consider the services of Fix Masters GTA. With a commitment to excellence, Fix Masters GTA specializes in delivering top-notch flooring solutions tailored to your specific needs. Their skilled team of professionals utilizes advanced techniques and quality materials to ensure a flawless finish. Whether you're embarking on a DIY project or seeking professional assistance, Fix Masters GTA is a reliable partner in achieving outstanding tile installations.
Conclusion:
Perfecting your tile installation techniques requires a combination of meticulous planning, precision, and the right materials. By following these comprehensive steps, you'll be well on your way to creating stunning and durable tile surfaces. Whether you're a DIY enthusiast or seeking professional assistance, mastering these techniques ensures a successful and visually appealing outcome for your tile installations.