What Will I Learn?
In this tutorial;
- You will learn how to add check boxes in a Java GUI.
- You will learn how to desing a listener for check boxes.
- You will learn how to use check boxes as Item Listeners.
- You will learn how the font class changes the type of writing in a Java GUI.
Requirements
-Java SE Development Kit (Not necessarily the last version) is required.
-Eclipse IDE or any similar Interated Development Enviroment (IDE) that is designed for Java programming language is required.
Difficulty
The program does not consist of too simple codes, the difficulty level of this tutorial can be defined as;
-Intermediate
Tutorial Contents
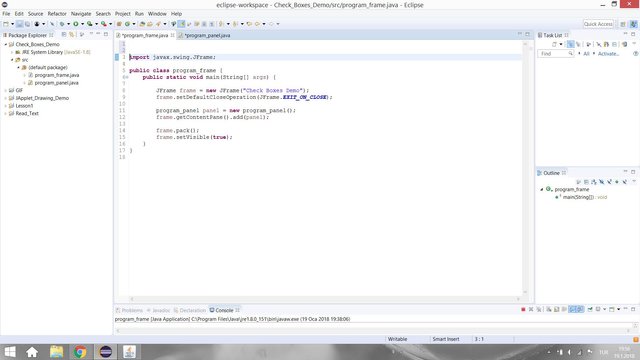
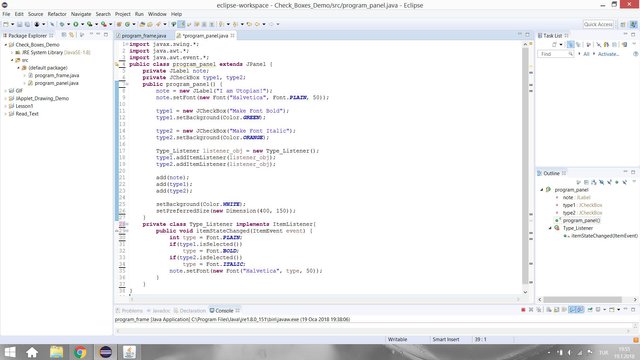
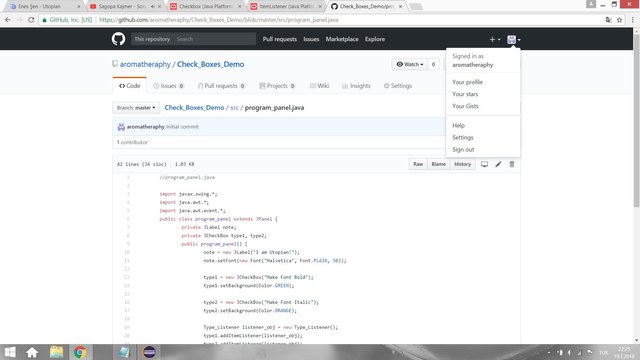
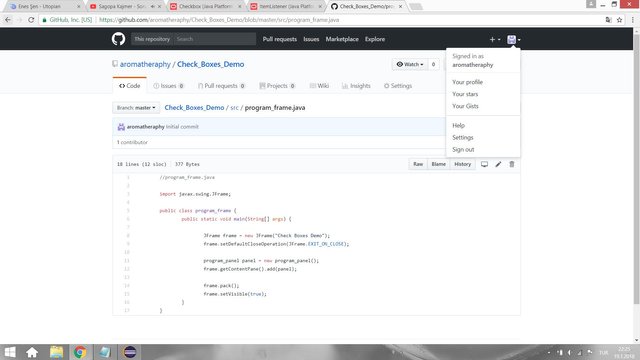
The purpose of this tutorial is showing the effective usage of check boxes in a Java GUI. The program which is used for this tutorial displays two check boxes and a label. The check boxes changes the font of the writing in the label. For this program, we have 2 different Java file. You can see these in below figures.
-To create and show the program frame (program_frame.java);
-To set up panel and Item Listener (program_panel.java);
The Panel of the Program
When defining the panel of the program, we used the following code since the panel class need to extend the JPanel as usual.
public class program_panel extends JPanel {
In this panel we are going to use one label for the note and two check boxes to change the font of the note in the label. Therefore, we defined the following label and check boxes;
    private JLabel note;
    private JCheckBox type1, type2;
To set up the panel with a label, following code is added;
    public program_panel() {
        note = new JLabel("I am Utopian!");
The setFont Method in the Font Class
The setFont method in the font class allows us to change the font style of writing. To change the font of the note in the label with Helvatica font, plain font style and 50 punto, the following code is used;
note.setFont(new Font("Halvetica", Font.PLAIN, 50));
Check Box (JCheckBox)
A check box is a graphical component that can be in either an "on" (true) or "off" (false) state. Clicking on a check box changes its state from "on" to "off," or from "off" to "on."Oracle
Creating a check box is very easy. After defining the JCheckBox object, you can create a check box by entering the name of the heading into its constructor. The following code creates check box with its heading;
type1 = new JCheckBox("Make Font Bold");
With the following code, you can choose the background color of your check box;
type1.setBackground(Color.GREEN);
In this program, we also need another check box for italic font;
        type2 = new JCheckBox("Make Font Italic");
        type2.setBackground(Color.ORANGE);
The Listeners for Check Boxes
The check boxes have a function if and only if you create a listener for check boxes. The check boxes generates an item event (checked or unchecked). The listener uses the following package;
import java.awt.event.*;
For item events, the ItemListener interface contains itemStateChanged method which is invoked when an item has been selected or deselected by the user. Therefore, if our listener implements the ItemListener interface we can use itemStateChanged method. Then, we can start to implement our listener;
    private class Type_Listener implements ItemListener{
        public void itemStateChanged(ItemEvent event) {
Firstly create variable for type of font which is initially plain;
int type = Font.PLAIN;
We can check the boolean result of each check box with .isSelected() method. It gives true if the chech box is selected and gives false if the check box is not selected. Then, the following code makes the type bold if bold box selected;
            if(type1.isSelected())
                type = Font.BOLD;
And, the following makes the type italic if italic box is selected.
            if(type2.isSelected())
                type = Font.ITALIC;
Then, listener changes the font according to selected box with this last code;
note.setFont(new Font("Halvetica", type, 50));
At this point, we designed our listener for changing the font style according to selected check box. However, we also need to activate the listener. In order active the listener, we need to create our designed listener at the panel of the program;
Type_Listener listener_obj = new Type_Listener();
Lastly, we need to add the our designed and created listener as item listener to the both check boxes with following code. We can directly use addItemListener method since our listener object imlements the Item Listener interface.
        type1.addItemListener(listener_obj);
        type2.addItemListener(listener_obj);
Now our check boxes have a function.
Results
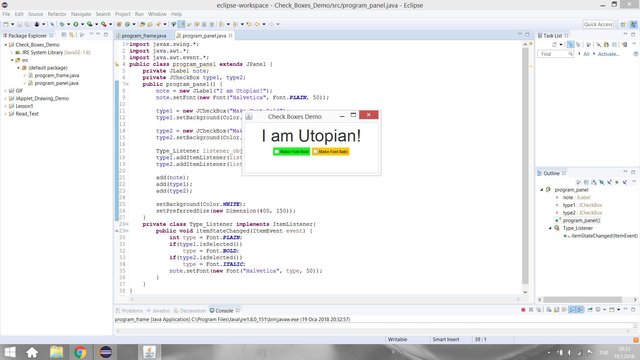
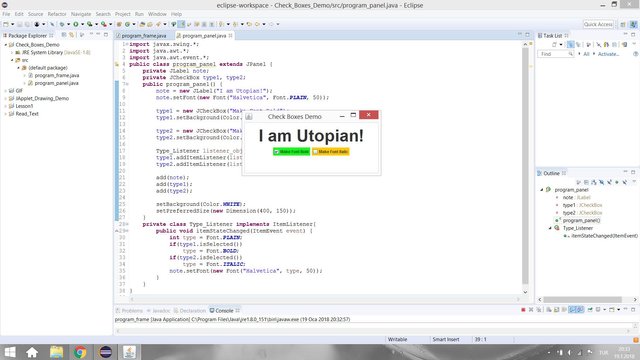
When you run the program, the following frame open. As you can see from below figure, when no check box is selected, the font is plain.
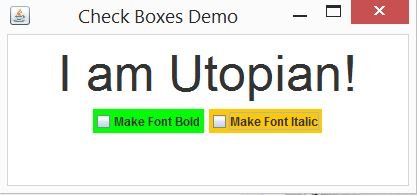
When you select Make Font Bold check box, the font type changes to bold as you can see below figure.
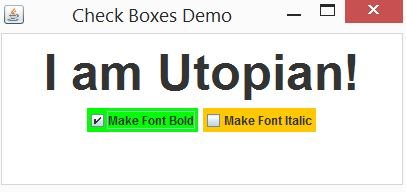
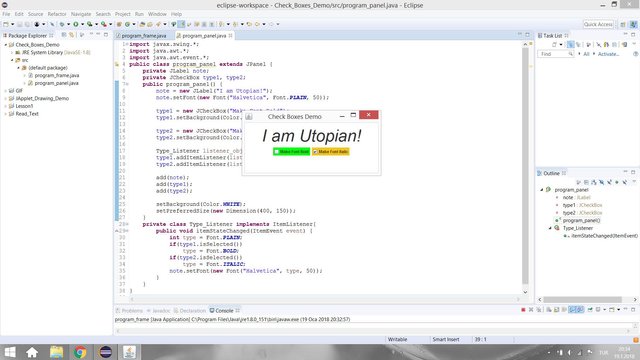
When you select Make Font Italic check box, the font type changes to italic as you can see below figure.
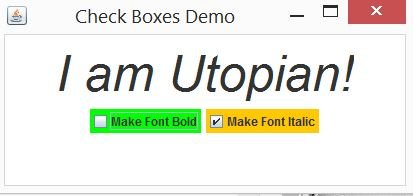
Github
You can get this program from Github.
Curriculum
You can find my other java related tutorials in below links.
-Adding JPEG or GIF image files into the GUI in Java using Eclipse IDE
-Reading Text Files and Parsing It Using Iterators and Delimiter in Java with Eclipse IDE
-Drawing Methods in Java Applet (JApplet) Using Eclipse IDE: Drawing a Snowman
Code of the Program
//program_frame.java

import javax.swing.JFrame;

public class program_frame {
    public static void main(String[] args) {

        JFrame frame = new JFrame("Check Boxes Demo");
        frame.setDefaultCloseOperation(JFrame.EXIT_ON_CLOSE);

        program_panel panel = new program_panel();
        frame.getContentPane().add(panel);

        frame.pack();
        frame.setVisible(true);
    }
}


//program_panel.java

import javax.swing.*;
import java.awt.*;
import java.awt.event.*;
public class program_panel extends JPanel {
    private JLabel note;
    private JCheckBox type1, type2;
    public program_panel() {
        note = new JLabel("I am Utopian!");
        note.setFont(new Font("Halvetica", Font.PLAIN, 50));

        type1 = new JCheckBox("Make Font Bold");
        type1.setBackground(Color.GREEN);

        type2 = new JCheckBox("Make Font Italic");
        type2.setBackground(Color.ORANGE);

        Type_Listener listener_obj = new Type_Listener();
        type1.addItemListener(listener_obj);
        type2.addItemListener(listener_obj);

        add(note);
        add(type1);
        add(type2);

        setBackground(Color.WHITE);
        setPreferredSize(new Dimension(400, 150));
    }
    private class Type_Listener implements ItemListener{
        public void itemStateChanged(ItemEvent event) {
            int type = Font.PLAIN;
            if(type1.isSelected())
                type = Font.BOLD;
            if(type2.isSelected())
                type = Font.ITALIC;
            note.setFont(new Font("Halvetica", type, 50));
        }
    }
}
Posted on Utopian.io - Rewarding Open Source Contributors
Good job. What about the same guide using Netbeans? Would be of great value.
Downvoting a post can decrease pending rewards and make it less visible. Common reasons:
Submit
Thanks. You can also use this code in Netbeans. Netbeans is an IDE like Eclipse. Both of them are desingned for Java programming language.
Downvoting a post can decrease pending rewards and make it less visible. Common reasons:
Submit
Ok. I like the section of your curriculum. I've been thinking about it myself. The best curriculum is your previous work not only to write in a document that you know about a given technology. I will implement that as well.
Downvoting a post can decrease pending rewards and make it less visible. Common reasons:
Submit
Thank you for the contribution. It has been approved.
You can contact us on Discord.
[utopian-moderator]
Downvoting a post can decrease pending rewards and make it less visible. Common reasons:
Submit
Hey @aromatheraphy I am @utopian-io. I have just upvoted you!
Achievements
Suggestions
Get Noticed!
Community-Driven Witness!
I am the first and only Steem Community-Driven Witness. Participate on Discord. Lets GROW TOGETHER!
Up-vote this comment to grow my power and help Open Source contributions like this one. Want to chat? Join me on Discord https://discord.gg/Pc8HG9x
Downvoting a post can decrease pending rewards and make it less visible. Common reasons:
Submit