Good day !!
I'm gonna have a tutorial of creating a PCB(Printed Circuit Board) layout. I'm gonna show to you the simplest applicable method of having a printed circuit board.

Here are the materials needed for creating a PCB:
1.) Circuit layout/ Schematic diagram - Before you start designing your PCB, it’s a good idea to make a schematic of your circuit. The schematic will serve as a blueprint for laying out the traces and placing the components on the PCB.
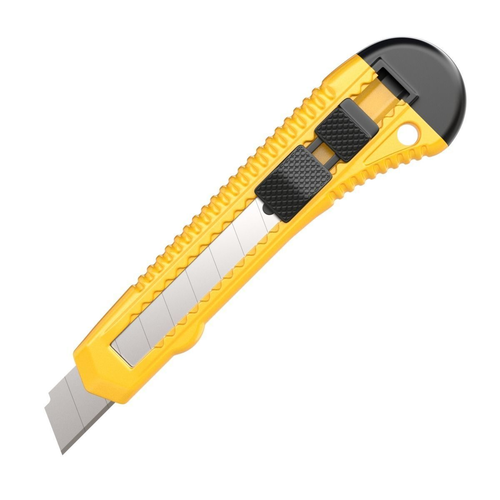
- Paper Cutter - it will used to cut out the unnecessary tape on the circuit board and in order to form the circuit diagram on the blank PCB.
- Pencil and Pen - will be used as guide of the paper cutter on where it should be cut only.

- Ferric Chloride Liquid (Solution) - Ferric chloride is a traditional home-use circuit board etchant. Etching, the process of process of using strong acid or mordant to cut into the unprotected parts of a metal surface to create a design in intaglio (incised) in the metal.[1] In modern manufacturing, other chemicals may be used on other types of material. As a method of printmaking, it is, along with engraving, the most important technique for old master prints, and remains in wide use today. In a number of modern variants such as microfabrication etching and photochemical milling it is a crucial technique in much modern technology, including circuit boards.
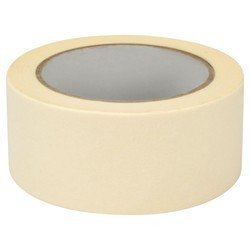
- Paper Tape - we use paper tape since we will have to cut the paper tape to form into our desired circuit based on the schematic diagram.
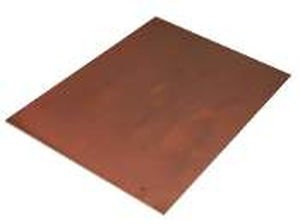
- Blank PCB Board - it mechanically supports and electrically connects electronic components or electrical components using conductive tracks, pads and other features etched from one or more sheet layers of copper laminated onto and/or between sheet layers of a non-conductive substrate. Components are generally soldered onto the PCB to both electrically connect and mechanically fasten them to it ( we will just use the bank one).
Procedures:
- Clean the blank PCB for any possible dirts. Then cover the whole front of the blank PCB with the paper tape.
- The draw your desired circuit ont the blank PCB using the pencil for easy erasure and use ballpen for finalization of the circuit.
- Then using the paper cutter, remove the paper tape with no markings of ballpen.
- Soaked it in the Ferric Chloride Liquid for 12-15 minutes.
- After soaking, wash it with water and then dry it.
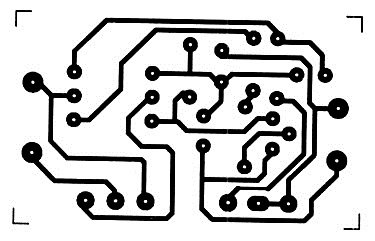
- Remove the paper tape and your circuit should be formed after removing all the paper tape just like the first image of this tutorial.
Hope this will be added to your knowledge :D
Thank you for reading .
Posted on Utopian.io - Rewarding Open Source Contributors
Your contribution cannot be approved yet because it is not as informative as other contributions. See the Utopian Rules. Please edit your contribution and add try to improve the length and detail of your contribution (or add more images/mockups/screenshots), to reapply for approval.
Also, please perform the task yourself and give more detailed images of the same.
You may edit your post here, as shown below:

You can contact us on Discord.
[utopian-moderator]
Downvoting a post can decrease pending rewards and make it less visible. Common reasons:
Submit
Your contribution cannot be approved because it does not follow the Utopian Rules.
You can contact us on Discord.
[utopian-moderator]
Downvoting a post can decrease pending rewards and make it less visible. Common reasons:
Submit
Great job. This is amazing1!!! PCB manufacturing process : pcb maker uk and usa
Downvoting a post can decrease pending rewards and make it less visible. Common reasons:
Submit