Xamarin.Forms is a cross platform mobile framework that uses .NET wrappers and renderers to translate your C# code into native code for each platform. Xamarin.Forms applications are built using classes and libraries from the framework. However, situations arise where you need to employ platform specific APIs that are inbuilt in the OS. In these special circumstances, xamarin.forms provides a medium with which to plug right into platform specific APIs and use these functionalities in your shared code. This service is called Dependency Service.
To get an introduction on how creating your first xamarin.forms application, go through my previous xamarin tutorial https://utopian.io/utopian-io/@johnesan/introduction-to-xamarin-forms-creating-your-first-cross-platform-application

What Will I Learn?
- You will learn how to access platform specific native features in your shared Xamarin.Forms cross platform application.
Requirements
- Visual Studio IDE (2015 or 2017 preferably)
- Visual Studio for Mac (If you intend testing your iOS application)
- Android Emulator or Physical Android device
Difficulty
- Advanced
Tutorial Contents
To use Dependency Service, there are several components to take into consideration. Firstly you have to identify the platform service you want to access. Examples include, Text To Speech, File Helper, Checking Battery Status, Picking Photo from Library, Device Orientation, etc.
For this tutorial, we will implement Text To Speech service.
Normally, you write xamarin.forms code in a portable project which is rendered and loaded directly in your native project during runtime. A dependency service is a way to tell the runtime to look inside of your specific platform, instead of the portable library when the execution gets to that point.
DependencyService is a class in the Xamarin.Forms framework that resolves dependencies appropriately. Consequently, each implementing class must be registered with it, so it(DependencyService) can direct the runtime to the right implementing class.
To do this, we need to define an Interface in our portable project, which every native project's implementing class will implement. Whenever execution gets to that interface, the platform specific implementation is called and the appropriate native platform functionality is executed.
First, create your Xamarin.Forms portable project.
Refer to this tutorial if you do not already know how to
Now we create our Text to speech interface in our portable project.
Create a New Interface Class in your portable project and define one simple method
public interface ITextToSpeech {
    void Talk( string YourSpeech);
}
Now we implement this interface in our specific platform projects. This implementation entails code definition of how we want to interact with our platform-specific functionality when this interface gets called.
This would require an understanding of the native implementation of each OS. For instance, if we were trying to access the "select image from library feature", we would need to write native code to perform this, on each of the platforms (Android, iOS and Windows).
For this tutorial, we are using Text To Speech functionality. I would simply paste the implementation for each of the platforms here. I would not go into the details of how these work simply because it is out of the scope of this tutorial. The main idea is to learn and understand how to access native functionalities in your xamarin.forms app. How you go about your implementation and modification is up to you and your application's requirement.
Implementation on Android
  public class TextToSpeechImplementation : Java.Lang.Object, ITextToSpeech, TextToSpeech.IOnInitListener
    {
        TextToSpeech speaker;
        string toSpeak;

        public void Talk(string text)
        {
            toSpeak = text;
            if (speaker == null)
            {
                speaker = new TextToSpeech(Forms.Context, this);
            }
            else
            {
                speaker.Speak(toSpeak, QueueMode.Flush, null, null);
            }
        }

        public void OnInit(OperationResult status)
        {
            if (status.Equals(OperationResult.Success))
            {
                speaker.Speak(toSpeak, QueueMode.Flush, null, null);
            }
        }
    }
Implementation on iOS
 public class TextToSpeechImplementation : ITextToSpeech
    {
        public TextToSpeechImplementation() { }

        public void Talk(string text)
        {
            var speechSynthesizer = new AVSpeechSynthesizer();
            var speechUtterance = new AVSpeechUtterance(text)
            {
                Rate = AVSpeechUtterance.MaximumSpeechRate / 4,
                Voice = AVSpeechSynthesisVoice.FromLanguage("en-US"),
                Volume = 0.5f,
                PitchMultiplier = 1.0f
            };

            speechSynthesizer.SpeakUtterance(speechUtterance);
        }
    }
Implemnetation on Windows UWP
public class TextToSpeechImplementation : ITextToSpeech
{
    public async void Talk(string text)
    {
        var mediaElement = new MediaElement();
        var synth = new Windows.Media.SpeechSynthesis.SpeechSynthesizer();
        var stream = await synth.SynthesizeTextToStreamAsync(text);

        mediaElement.SetSource(stream, stream.ContentType);
        mediaElement.Play();
    }
}
Registering the Dependency Service
Like I earlier mentioned, for Xamarin.Forms DependencyService manager to regard these classes as dependencies, they need to be registered. We do that by adding a metadata attribute to the namespace of each of these specific implementations.
Just before the namespace declaration on the implementing class, add the registration in this manner:
[assembly:Dependency(typeof(TextToSpeechImplementation))]
public class TextToSpeechImplementation : ITextToSpeech
{
.
.
.
Calling the Service
Now that we have successfully defiend and registered the service, all that remains is to use it in our Xamarin.forms application.
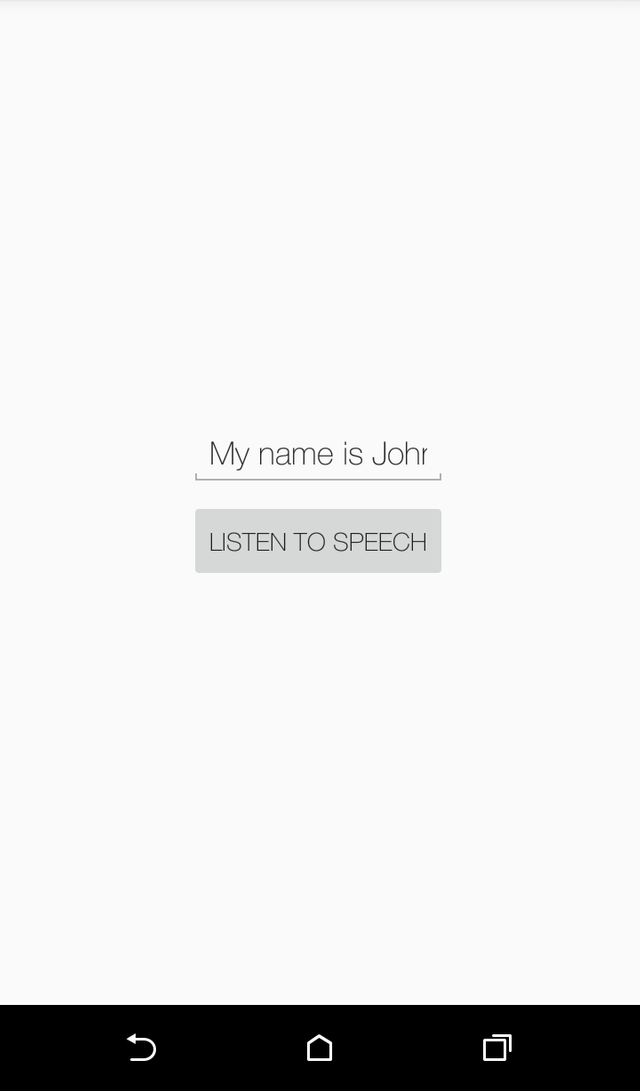
Create a new Page, add an Entry text box and a Button
   <StackLayout HorizontalOptions="Center" VerticalOptions="Center">
        <Entry x:Name="textEntry"/>
        <Button Text="Listen to Speech" Clicked="Button_Clicked"/>
    </StackLayout>
In the code behind, add the button clicked event code
  private void Button_Clicked(object sender, EventArgs e)
        {
            DependencyService.Get<ITextToSpeech>().Talk(textEntry.Text);
        }
Now Run the Aplication. When you type in some text in the Entry box and click the "Listen To Speech" Button, you should hear the Android system speak to you! (or iOS/Windows in the other cases).

With this knowledge, you can implement any platform specific functionality in your Xamarin.Forms application. You still get the leverage of having a common code base for all three platforms (both logic and UI code) and now, you can plugin directly to each of these platforms.
Previous Tutorials on Xamarin.Forms
Introduction to Xamarin.Forms-Creating your first Cross-Platform Application
Posted on Utopian.io - Rewarding Open Source Contributors
Yes! This is amazing! @ajkapss gotta reward the open-source. think this tutorial is already listed with your computer scientists' forum?
Downvoting a post can decrease pending rewards and make it less visible. Common reasons:
Submit
Thank you for the contribution. It has been approved.
You can contact us on Discord.
[utopian-moderator]
Downvoting a post can decrease pending rewards and make it less visible. Common reasons:
Submit
Wow nice post
Downvoting a post can decrease pending rewards and make it less visible. Common reasons:
Submit
Hey @johnesan I am @utopian-io. I have just upvoted you!
Achievements
Suggestions
Get Noticed!
Community-Driven Witness!
I am the first and only Steem Community-Driven Witness. Participate on Discord. Lets GROW TOGETHER!
Up-vote this comment to grow my power and help Open Source contributions like this one. Want to chat? Join me on Discord https://discord.gg/Pc8HG9x
Downvoting a post can decrease pending rewards and make it less visible. Common reasons:
Submit