Glucosio is an open source diabetes tracker application which is available on the Google Playstore. Glucosio is an application for blood glucose, HB1AC, Cholesterol, Blood Pressure, Ketones, Body Weight. Glucosio tracker helps us for easy track of all aspects of your diabetes. Here are some on the features of Glucosio.
• Quick and easy logging (blood glucose, HB1AC, Cholesterol, Blood Pressure, Ketones, Body Weight etc.)
• Designed for both type 1 & type 2 diabetes
• Estimated HbA1c & HbA1c conversion calculator
• Choose Glucose Target (ADA, NICE, AACE, Custom)
• Reminders;
• Daily, weekly and monthly graphs and analysis
• Assistant gives tips and more
• Backup to Google Drive and export data to CSV
• Import from CSV
• Free support (average response time under 24 hours!)
• Accesibility features
• Opt-in to support diabetes research anonymously through the app
• Support for Android 7.1 shortcuts
Let's start the tutorial to learn how to use the application and how to learn to track diabetes with it.
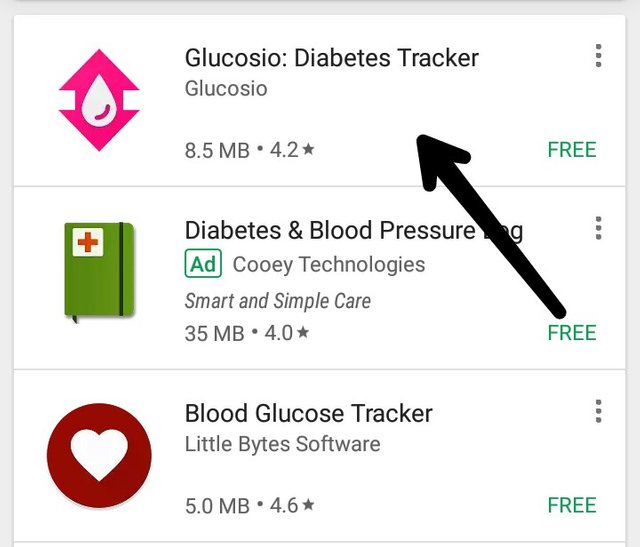
First you have to go to the Google Playstore and search for the Glucosio Diabetes Tracker application and click on the above shown application.
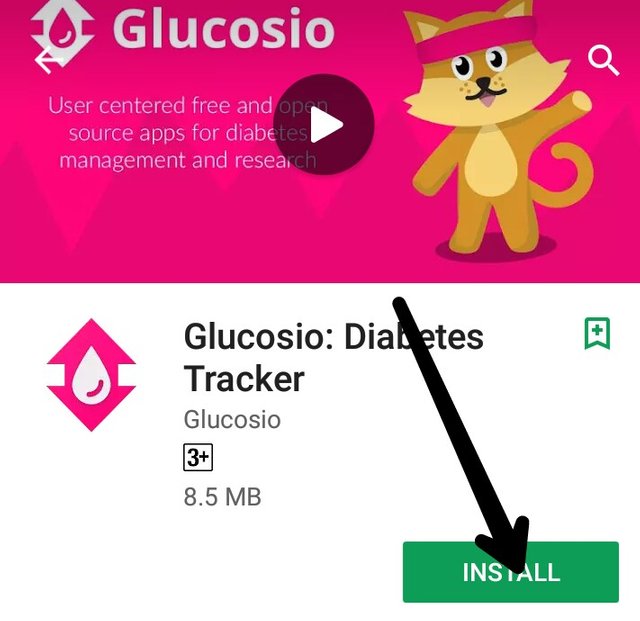
After you have found the application on the Google Playstore. Youjust have to install the application in our device, You can do that by just hitting the install button to start installation.
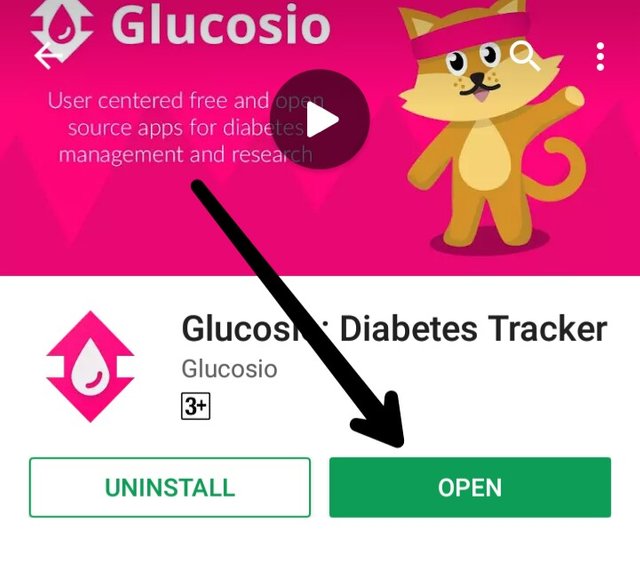
When you are done with the installation of the application you just have to open the application so for that just open the application by hitting the open button by clicking on it as shown above.
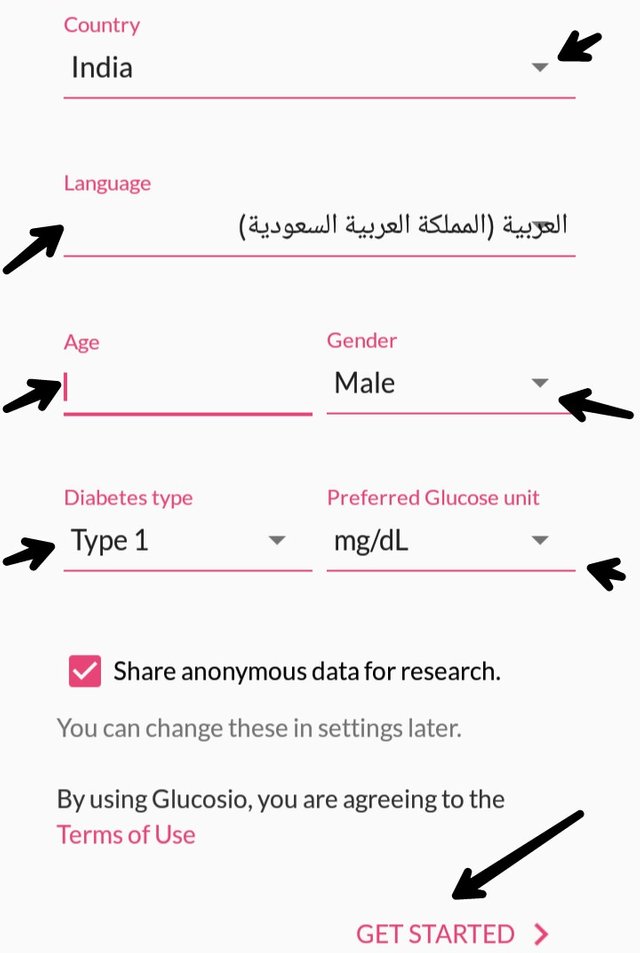
To get started with the application the above shown page will display before you open the application, this will be available in your settings options too and can be changed later, Just Fill the place you belong to, your age, gender and type of diabetes you have been suffering with.
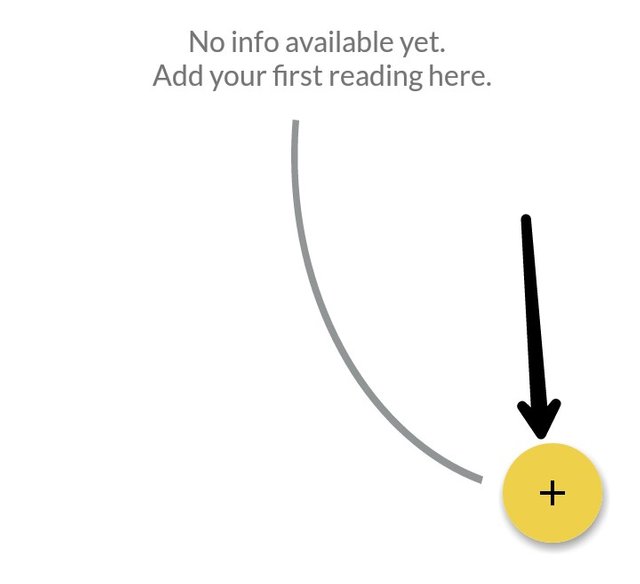
Now as you are done with the information to be filled up, you can start to add the information about the various results of glucose level, blood pressure level, and other details for that just hit the '+' button.
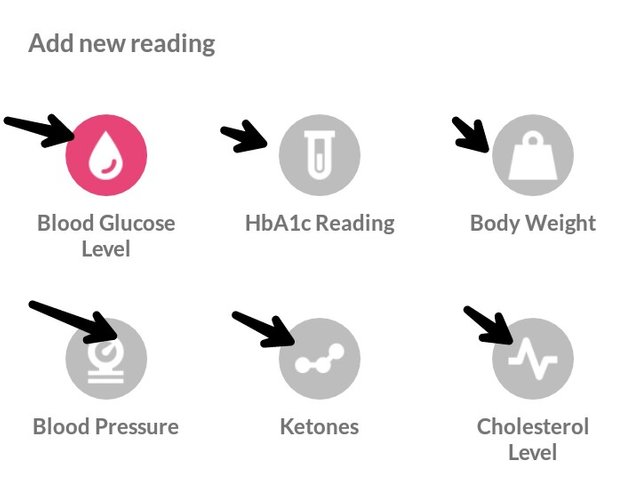
The above picture will tell you what new readings you have to add daily or whenever you record them, what the readings have to be about is evident from the given options just click on the option and fill in the details.
Now we will see how to add details.
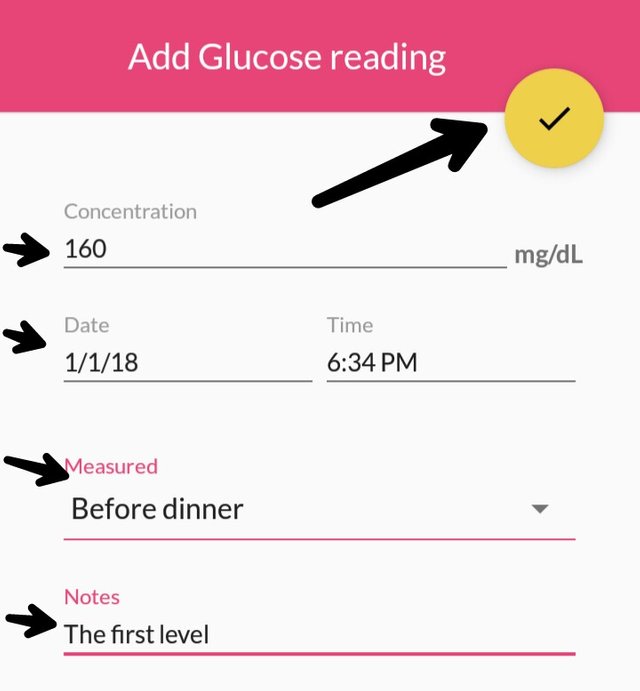
Click on the blood glucose option available by hitting the '+' button we have already discussed! Now write down the concentration of the blood suger level, the date and time is available, now we have to add whether the readings are taken before or after dinner, so choose the right option.
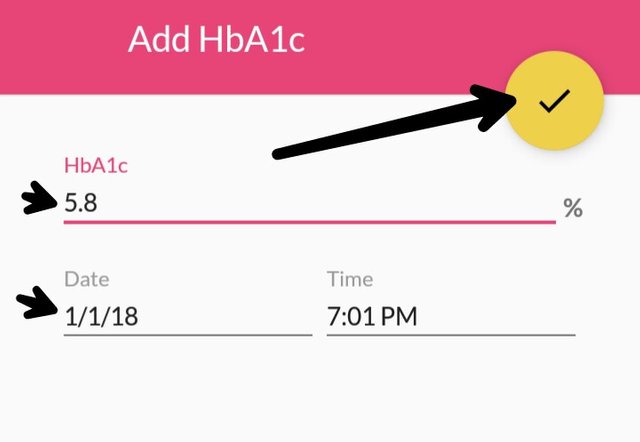
As you have already entered the blood glucose level, you can now add the Hb1Ac level also which is again an option present next to blood glucose level. Click on the Hb1Ac and fill in the percentage level of Hb1Ac for it to be recorded.
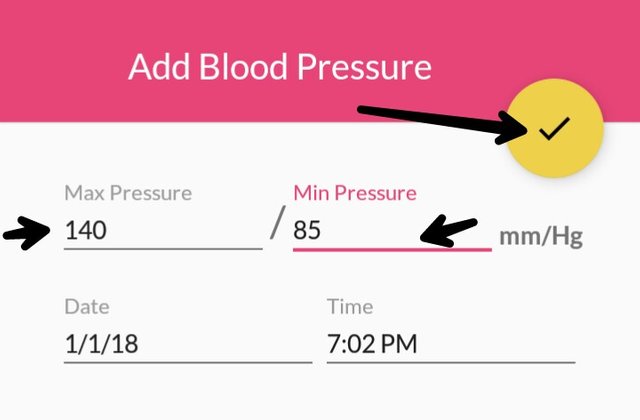
You are already done with blood glucose and Hb1Ac levels, you must fill in the details of you blood pressure too. As shown in the above picture you have to fill in the both levels the systolic and diastolic levels of blood pressure.
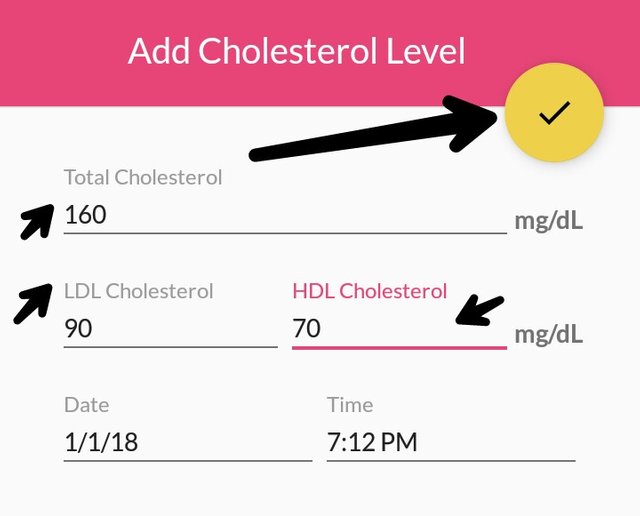
For adding the cholesterol details you must know the LDL and HDL cholesterol levels and the total cholesterol level to keep the recording. The readings can then be added here frequently as depending on how frequently you record it.
Just like you added the readings of cholesterol, blood pressure, blood glucose and Hb1Ac levels we can add the body weight and ketones readings too.
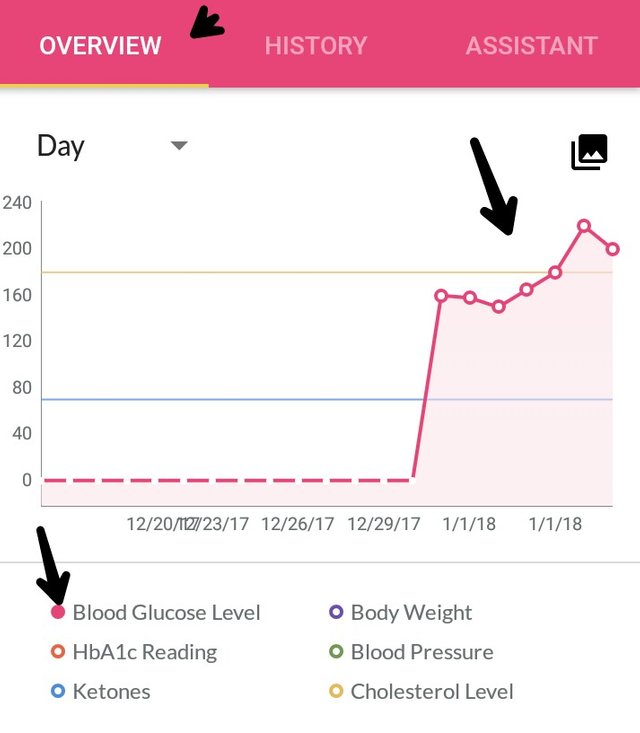
You get the overview of the readings that we have stored for a certain type, In the above picture it is the fluctuations of the readings of the blood glucose, the rise and fall of the blood glucose is shown in the graphical representation.
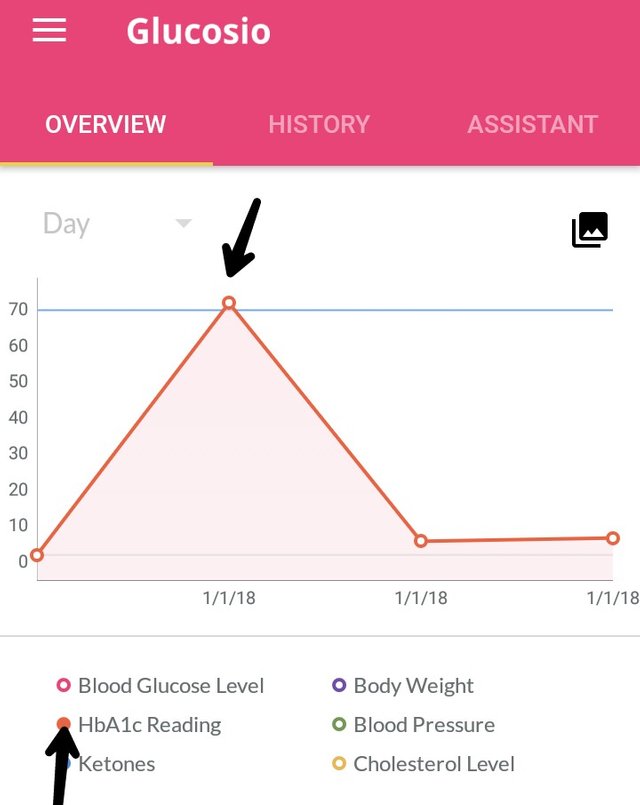
To change the overview of the readings shown for the blood glucose to the Hb1Ac, just click on the dot representing Hb1Ac as shown in the above picture. This will help us to keep check of our Hb1Ac ratings.
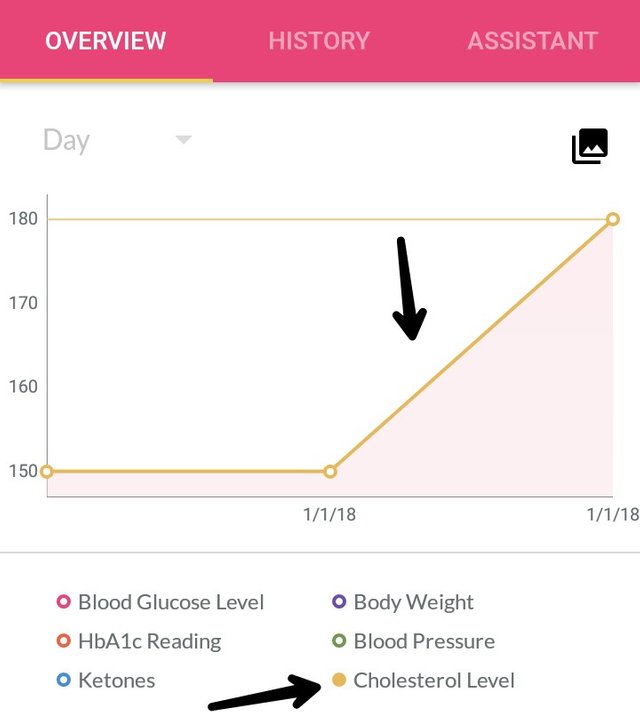
To get the overview of the cholesterol levels that we have already added we must click on the button that will depict cholesterol levels which is shown in the above picture too.
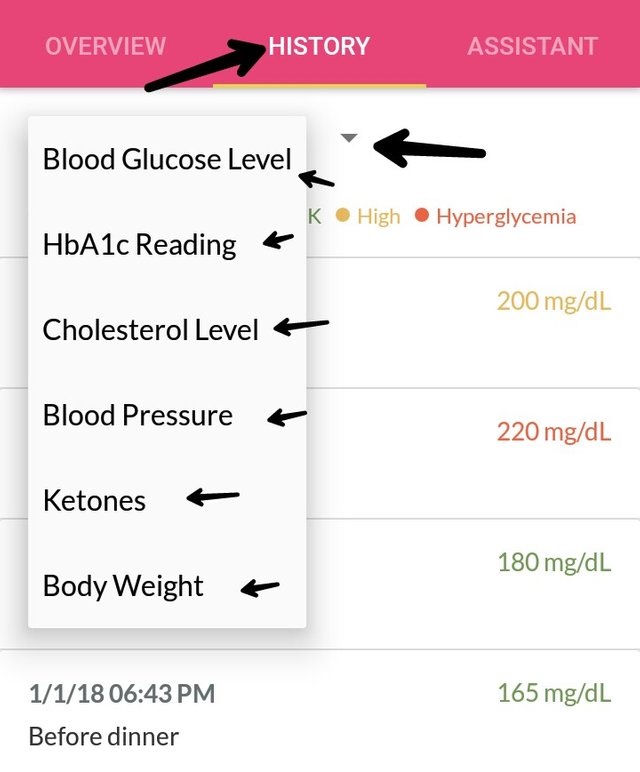
You can now know the history of the recordings that you have made, above i have shown thw history of the blood glucose recordings, it will tell us when the readings were uploaded and what the readings were also we can switch the history from blood glucose to Blood pressure or others as shown in the above picture.
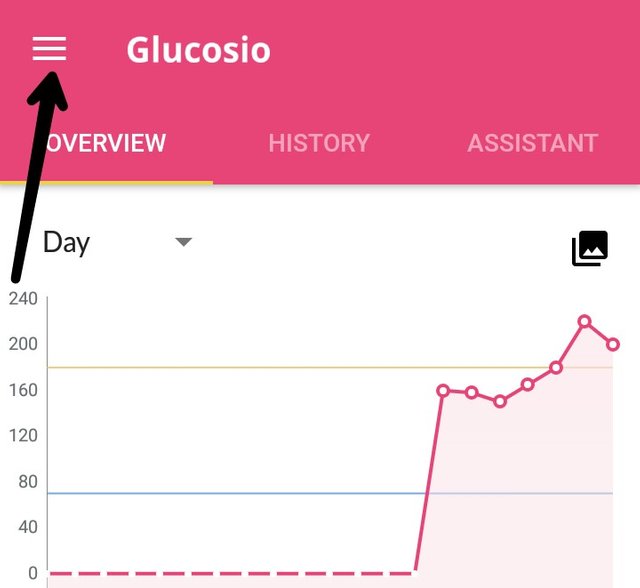
On the left top side of the application we have the options button just click on it and get the options that you may need! Click on the options needed depending on the need of it.
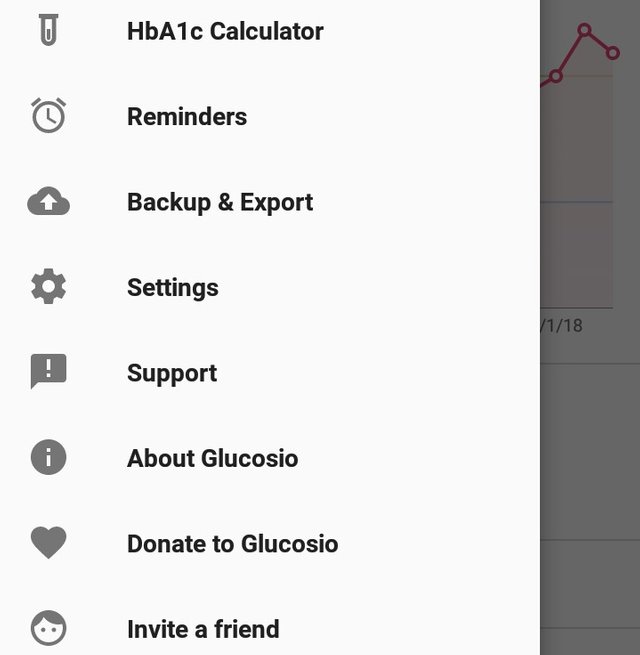
Going to the 4th step of this tutorial the settings option can help us to change the same information.
We can backup the data and export the data with the of the google drive.
We can keep reminders which will remind us when to update or keep check of the diabetes.
Most importantly we can calculate Hb1Ac results by calculating them which will be shown below.
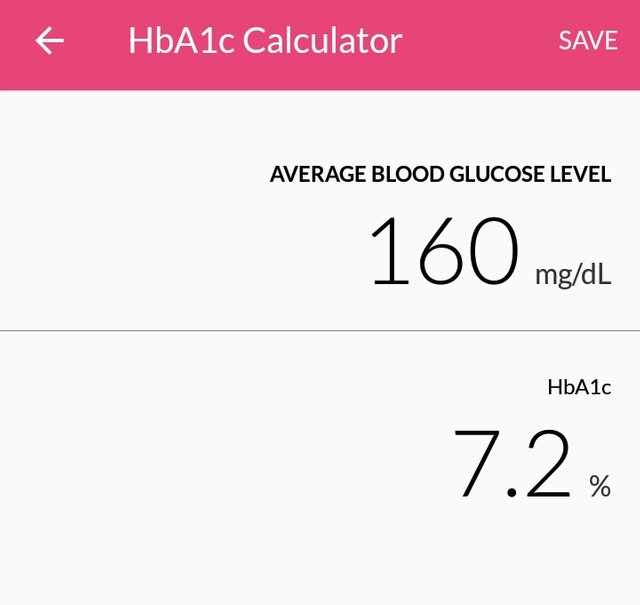
As shown in the above picture we can easily get the Hb1Ac value. As shown above just fill in the blood glucose value and get the conversion done. Converted data will be the Hb1Ac value you need.
This was all from this tutorial.
Keep check of your diabetes if ever you need it.
Have a great time, Be healthy .
Posted on Utopian.io - Rewarding Open Source Contributors
Your contribution cannot be approved because it does not follow the Utopian Rules.
You can contact us on Discord.
[utopian-moderator]
Downvoting a post can decrease pending rewards and make it less visible. Common reasons:
Submit