Repository
What will I learn
- Creating websocket threads
- Managing the websocket threads
- Managing multiple orderbooks
- Locking
- Accessing data from the main thread
- Ping/pong
Requirements
- Python 3.7.2
- Pipenv
- websocket-client
- requests
Difficulty
- intermediate
Tutorial
Preface
Websockets allow for real time updates while putting less stress on the servers than API calls would. They are especially useful when data is updated frequently, like trades and the orderbooks on crypto currency exchanges. This tutorial will look at how to connect to multiple websockets in parallel. It's a direct continuation on the previous two parts, if anything is unclear refer to the previous tutorials.
Setup
Download the files from Github and install the virtual environment
$ cd ~/
$ git clone https://github.com/Juless89/tutorials-websockets
$ cd tutorials-websockets
$ pipenv install
$ pipenv shell
$ cd part_3
Creating websocket threads
To allow for multiple websocket streams to be active in 'parallel' the threads library is used. Keep in mind that in Python threads are not real threads. That is, they do not execute at the exact same moment. However, since websockets are mostly dealing with network I/O this is no problem. Real threads can be achieved by using processes.
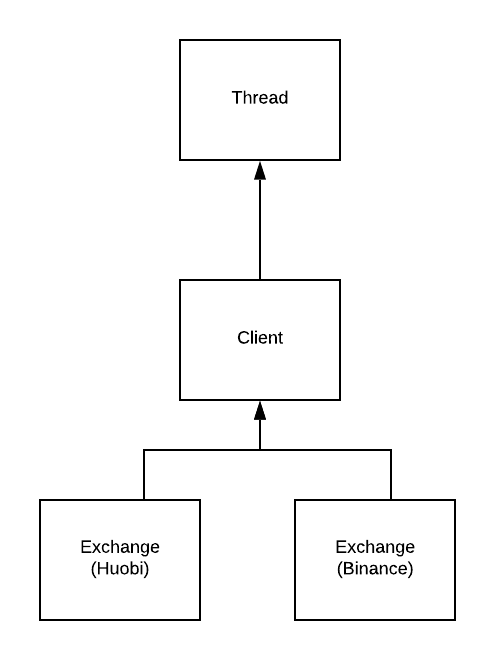
In order to keep the code clean and dynamic the websocket has been split up into multiple classes. The Client class contains the basic fundamentals in order to connect to a websocket stream, this class inherits from Thread, which is in essence just a class by itself. Then two more classes Huobi and Binance are created which represent the Exchanges. Inside these classes the custom code is put for dealing with those particular exchanges. These classes inherit from Client.
This creates the structure:

# huobi.py

# inherits from Client
class Huobi(Client):
    # call init from parent class
    def __init__(self, url, exchange):
        super().__init__(url, exchange)

    # convert message to dict, decode, extract top ask/bid
    def on_message(self, message):
        data = loads(gzip.decompress(message).decode('utf-8'))

        # extract bids/aks
        if 'tick' in data:
            bid = data['tick']['bids'][0]
            ask = data['tick']['asks'][0]

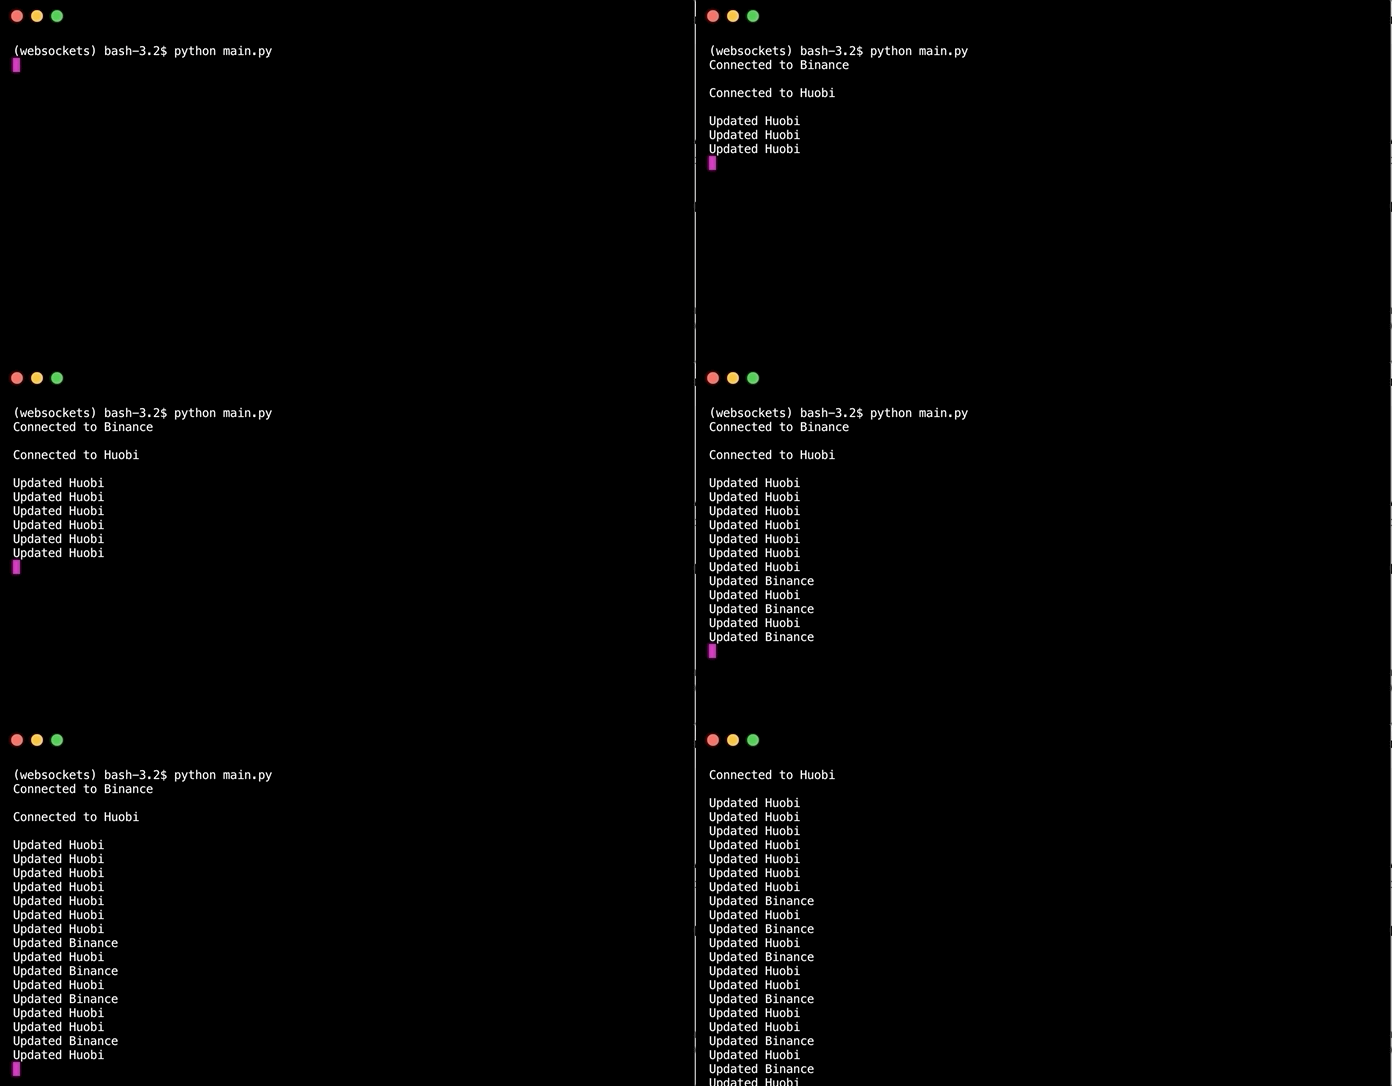
            print(f'Updated {self.exchange}')
        # respond to ping message
        elif 'ping' in data:
            params = {"pong": "data['ping']"}
            self.ws.send(dumps(params))

    # convert dict to string, subscribe to data streem by sending message
    def on_open(self):
        super().on_open()
        params = {"sub": "market.steembtc.depth.step0", "id": "id1"}
        self.ws.send(dumps(params))
Inheritance is achieved by calling the Class name between () in the class constructor, like: class Huobi(Client). This copies all the code from the parent class. Function and variables can be overwritten by rewriting the functions/variables in the child class. super().<function_name>allow for the original function to be called. Code can be added before or after.
In this example super().__init__(url, exchange) is called in the __init__ function to pass the variables url and exchange to the Client class. on_message and on_open are rewritten, therefor replacing the original functions with the same name from the Client class.
The same is done inside Client, which inherits form Thread.
class Client(threading.Thread):
    def __init__(self, url, exchange):
        super().__init__()
Managing the websocket threads
As Threads are just classes they are created like any other class. However, they require one function the manages the thread. Usually this is start() or run(). In this case run has been set inside Client.
# client.py

# keep connection alive
def run(self):
    while True:
        self.ws.run_forever()
run() is called when calling .start() on the thread class.
# main.py

from binance import Binance
from huobi import Huobi


if __name__ == "__main__":
    # create websocket threads
    binance = Binance("wss://stream.binance.com:9443/ws/steembtc@depth", "Binance")
    huobi = Huobi("wss://api.huobipro.com/ws", "Huobi")

    # start threads
    binance.start()
    huobi.start()

Managing multiple orderbooks
At the moment there are three active threads. The two exchange websockets and the main thread that created the other two threads. The main thread can be used to process the data from the websockets. For this a shared data structure is needed, as well as a locking mechanism to prevent data corruption.
# data management
lock = threading.Lock()
orderbooks = {
    "Binance": {},
    "Huobi": {},
}

# create websocket threads
binance = Binance(
    url="wss://stream.binance.com:9443/ws/steembtc@depth",
    exchange="Binance",
    orderbook=orderbooks['Binance'],
    lock=lock,
)

huobi = Huobi(
    url="wss://api.huobipro.com/ws",
    exchange="Huobi",
    orderbook=orderbooks['Huobi'],
    lock=lock,
)
Locking
A Lock has two important functions acquire() and release(). By default these are set to blocking, which means that a thread will block until it can acquire a lock. If the lock is already taken it will wait for the lock to be freed. If something goes wrong while the lock is acquired a program can halt if the lock is not released when using blocking statements.
This is prevented with the following code:
lock.acquire()

try:
    # execute code
finally:
    lock.release()
This entire code block can be placed with:
with lock:
    # execute code
This does exactly the same thing and looks as follows in the code:
# binance.py

# Loop through all bid and ask updates, call manage_orderbook accordingly
def process_updates(self, data):
    with self.lock:
        for update in data['b']:
            self.manage_orderbook('bids', update)
        for update in data['a']:
            self.manage_orderbook('asks', update)
Accessing data from the main thread
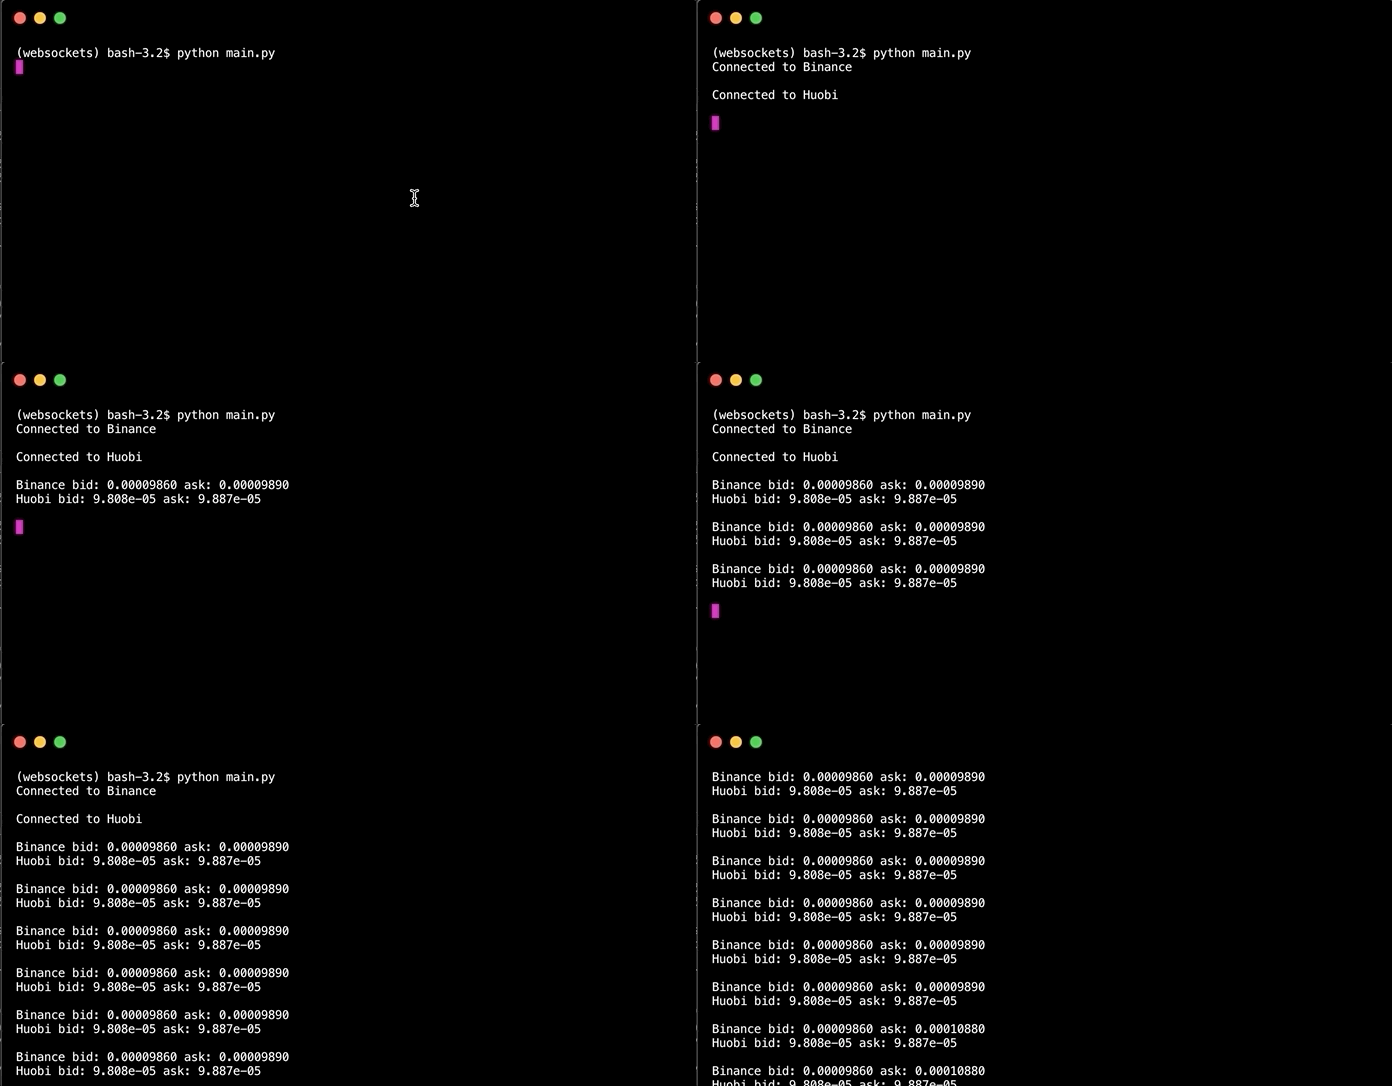
The same orderbooks dict is also accessible from the main thread and is accessed in the same way. To prevent the thread from keeping the orderbooks locked it sleeps 1 second on every pass. The try/except block is for when the orderbook has not been filled with data yet.
# main.py

# print top bid/ask for each exchange
# run forever
def run(orderbooks, lock):
    while True:
        try:
            with lock:
                # extract and print data
                for key, value in orderbooks.items():
                    bid = value['bids'][0][0]
                    ask = value['asks'][0][0]
                    print(f"{key} bid: {bid} ask: {ask}")
                print()
            time.sleep(1)
        except Exception:
            pass

A different approach would be keep track of when the orderbooks were last updated and only accessing the data if that is the case. This can be achieved by adding a last_update variable to the shared dict and then comparing this to a local last_update in the main thread.
orderbooks = {
    "Binance": {},
    "Huobi": {},
    "last_update": None,  # new
}

def run(orderbooks, lock):
    # local last_update
    current_time = datetime.now()
    while True:
        try:
            # check for new update
            if orderbooks['last_update'] != current_time:
                with lock:
                    # do stuff

                    # set local last_update to last_update
                    current_time = orderbooks['last_update']
            time.sleep(0.1)
        except Exception:
            pass
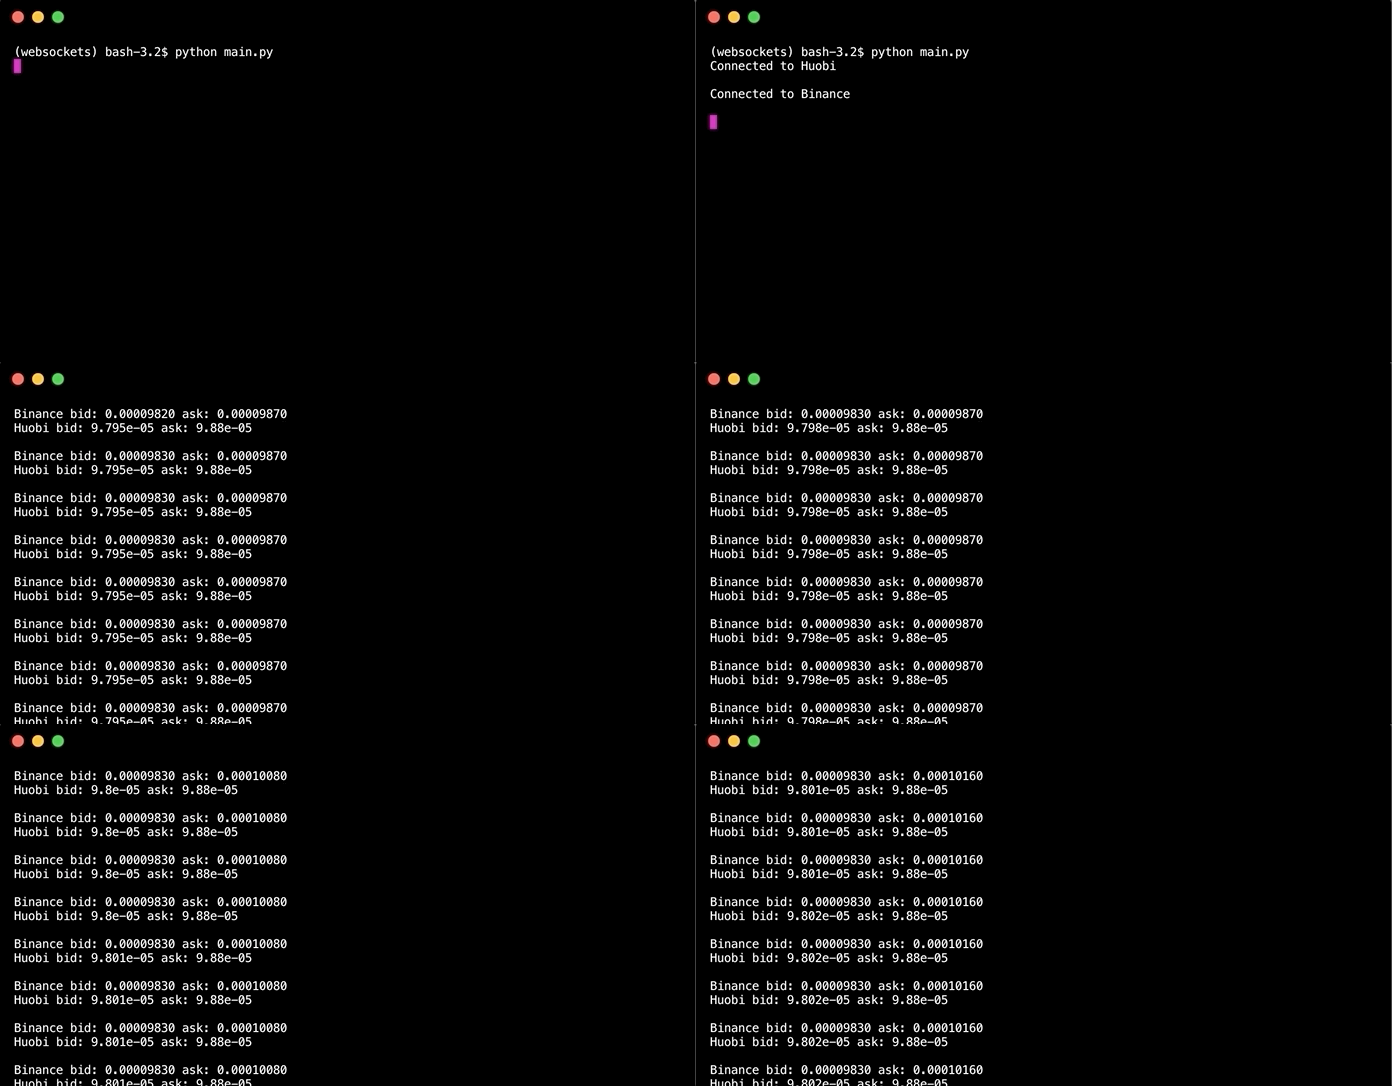
This way only when the there is a new update the main thread will lock the orderbook and process the data. In addition the sleep time has been decreased to 0.1, making processing almost instant. Also, in both the Huobi and Binance classes changes have been made to update the last_update variable after each update.
# init
self.orderbook = orderbook[exchange]
self.last_update = orderbook


# after update
self.last_update['last_update'] = datetime.now()
Ping/pong (amendment to tutorial 1)
In tutorial 1 there was a part about ping messages. After some testing it appears these messages have to be replied to to keep the connection alive.
# huobi.py

# respond to ping message
elif 'ping' in data:
    params = {"pong": "data['ping']"}
    self.ws.send(dumps(params))
Running the code
python main.py

Curriculum
- Part 1: Connecting to STEEM orderbook stream via websockets on different exchanges
- Part 2: Manage local 'STEEM' orderbook via websocket stream from exchange
The code for this tutorial can be found on Github!
This tutorial was written by @juliank.
Thank you for your contribution @steempytutorials.
Excellent work in the elaboration of this tutorial!
Your tutorials are very interesting to show the results in GIFs.
Thank you for your work in developing this tutorial.
Looking forward to your upcoming tutorials.
Your contribution has been evaluated according to Utopian policies and guidelines, as well as a predefined set of questions pertaining to the category.
To view those questions and the relevant answers related to your post, click here.
Need help? Chat with us on Discord.
[utopian-moderator]
Downvoting a post can decrease pending rewards and make it less visible. Common reasons:
Submit
Thank you for your review, @portugalcoin! Keep up the good work!
Downvoting a post can decrease pending rewards and make it less visible. Common reasons:
Submit
Hi @steempytutorials!
Your post was upvoted by @steem-ua, new Steem dApp, using UserAuthority for algorithmic post curation!
Your post is eligible for our upvote, thanks to our collaboration with @utopian-io!
Feel free to join our @steem-ua Discord server
Downvoting a post can decrease pending rewards and make it less visible. Common reasons:
Submit
Congratulations @steempytutorials! You have completed the following achievement on the Steem blockchain and have been rewarded with new badge(s) :
You can view your badges on your Steem Board and compare to others on the Steem Ranking
If you no longer want to receive notifications, reply to this comment with the word
STOPVote for @Steemitboard as a witness to get one more award and increased upvotes!
Downvoting a post can decrease pending rewards and make it less visible. Common reasons:
Submit
Hey, @steempytutorials!
Thanks for contributing on Utopian.
We’re already looking forward to your next contribution!
Get higher incentives and support Utopian.io!
Simply set @utopian.pay as a 5% (or higher) payout beneficiary on your contribution post (via SteemPlus or Steeditor).
Want to chat? Join us on Discord https://discord.gg/h52nFrV.
Vote for Utopian Witness!
Downvoting a post can decrease pending rewards and make it less visible. Common reasons:
Submit
Hi, @steempytutorials!
You just got a 0.09% upvote from SteemPlus!
To get higher upvotes, earn more SteemPlus Points (SPP). On your Steemit wallet, check your SPP balance and click on "How to earn SPP?" to find out all the ways to earn.
If you're not using SteemPlus yet, please check our last posts in here to see the many ways in which SteemPlus can improve your Steem experience on Steemit and Busy.
Downvoting a post can decrease pending rewards and make it less visible. Common reasons:
Submit