What Will I Learn?
- The user will learn the concept behind the Swing Construct called
JSlider - The user will learn how to create a slider and use it to perform a simple task.
- The user will also learn about the ChangeListener Interface associated with
JSlider
Requirements
- A computer System is required for this tutorial.
- Java Software Development Kit(JDK) must be installed on your computer.
- An Integrated Development Environment(IDE) such as Eclipse or NetBeans is required to be installed on your computer.
Get JDK here
Get Eclipse here
Get NetBeans here
Difficulty
Intermediate.
Tutorial Contents
Moving forward from our last tutorial, we are still in the subject of Swing constructs beginning with J as these constructs are vital and necessary for every Java programmer to know. This tutorial looks at another construct and the Listener interface associated with it; which is the subject of this tutorial.
JSlider
A JSlider allows us to select a value from a list of values between two integers by sliding a knob along a track.
JSlider has four important properties:
- an orientation
- a minimum value
- a maximum value
- a current value
The orientation determines whether it is displayed horizontally or vertically. We can use SwingConstants.VERTICAL and SwingConstants.HORIZONTAL values for its orientation.
Commonly used Methods of JSlider class
public void setMinorTickSpacing(int n)- is used to set the minor tick spacing to the slider.public void setMajorTickSpacing(int n)- is used to set the major tick spacing to the slider.public void setPaintTicks(boolean b)- is used to determine whether tick marks are painted.public void setPaintLabels(boolean b)- is used to determine whether labels are painted.public void setPaintTracks(boolean b)- is used to determine whether track is painted.
In this tutorial, we will create three classes;
Class 1: We will draw a circle and set a diameter.
Class 2: We will then create a slider, the slider will be used to set the diameter of the circle; thereby increasing or reducing the size of the circle.
Class 3: Contains main method for run instructions.
This tutorial is done in assumption that the user follows through previous tutorials and is familiar with the coding terms used therein, also, have basic Java programming knowledge.
IMPORTANT NOTE
If you follow previous tutorials, you will notice these Swing Constructs are created the same way, however, their functionalities differ.
You may use the same line of code to create objects of these constructs, but making them function requires different methods of coding.
This is where this tutorial comes in handy. The tutorial uses an example to illustrate its functions and Listener interface.

CODE BLOCK
slider Class
import java.awt.*;
import javax.swing.*;
import javax.swing.event.*;
public class slider extends JFrame {
    private JSlider slider;
    private circle myCircle;
    public slider() {
        super("JSlider Demo");
        myCircle = new circle();
        myCircle.setBackground(Color.ORANGE);
        add(myCircle, BorderLayout.CENTER);
        slider = new JSlider(SwingConstants.HORIZONTAL, 0, 200, 10);
        slider.setMajorTickSpacing(10);
        slider.setPaintTicks(true);
        slider.addChangeListener(
                new ChangeListener() {
                    public void stateChanged(ChangeEvent event) {
                        myCircle.setDiameter(slider.getValue());
                    }
                }
                );
        add(slider, BorderLayout.SOUTH);
    }
}
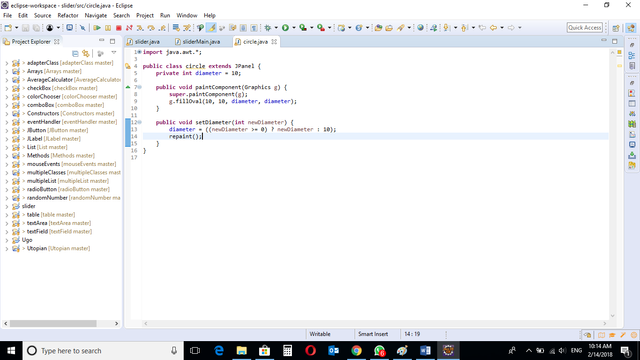
circle Class
import java.awt.*;
import javax.swing.*;
public class circle extends JPanel {
    private int diameter = 10;
    public void paintComponent(Graphics g) {
        super.paintComponent(g);
        g.fillOval(10, 10, diameter, diameter);
    }
    public void setDiameter(int newDiameter) {
        diameter = ((newDiameter >= 0) ? newDiameter : 10);
        repaint();
    }
}
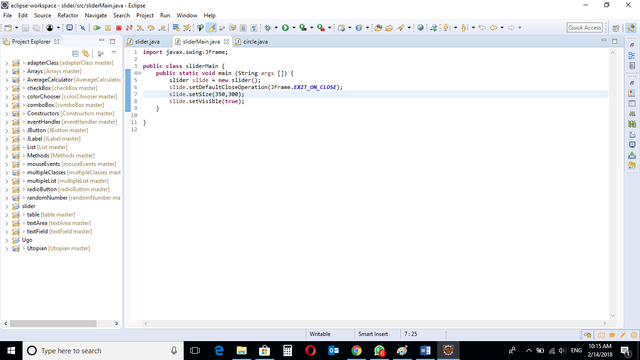
sliderMain class
import javax.swing.JFrame;
public class sliderMain {
public static void main (String args []) {
        slider slide = new slider();
        slide.setDefaultCloseOperation(JFrame.EXIT_ON_CLOSE);
        slide.setSize(350,300);
        slide.setVisible(true);
    }
}
Output
circle Class
public void paintComponent(Graphics g) {
super.paintComponent(g);
g.fillOval(10, 10, diameter, diameter);
Java Graphics Interface - paintComponent
When we want to draw our own graphics on the screen, we should put our graphics code inside the paintComponent() method. But we never call this method directly. The system calls it.
A Graphics object is the argument to this method. It is the actual drawing canvas that will be displayed. We should give it to the system. However, we can ask the system to refresh the display by calling repaint(). The repaint() call eventually leads to paintComponent() being called.
Applications that have components with any custom rendering may need to override this method to perform that custom rendering. This rendering may include drawing graphics inside a canvas, but it also include doing anything custom to a standard component, such as rendering a gradient for the background of a button. Standard Swing components already handle this functionality for their graphics, so it is only for the case of custom components with specialized rendering that this method must be overridden.
Overriding paintComponent() is arguably the most important concept to understand in writing custom Swing components.
public void setDiameter(int newDiameter) {
diameter = ((newDiameter >= 0) ? newDiameter : 10);
repaint();
This method setDiameter checks if the new diameter is greater than or equal to zero; if it is, it uses the new diameter, if it is not, it uses default diameter of 10.
slider Class
private circle myCircle;
An object called “myCircle” of the circle class is defined. This object represents the created circle.
myCircle = new circle();
myCircle.setBackground(Color.ORANGE);
add(myCircle, BorderLayout.CENTER);
The circle object is created.
The background color of the frame is set to Orange
Circle is added to the frame.
slider = new JSlider(SwingConstants.HORIZONTAL, 0, 200, 10);
slider.setMajorTickSpacing(10);
slider.setPaintTicks(true);
The Slider is created here. The Slider type is set to HORIZONTAL, with starting and ending points set to 0 and 200 respectively, current position of the slider set to 10.
To display the minor and major ticks on a JSlider, set the interval at which these ticks need to be displayed, and call its method to enable the tick paintings using the above code.
slider.addChangeListener(
new ChangeListener() {
public void stateChanged(ChangeEvent event) {
myCircle.setDiameter(slider.getValue());
}
}
);
add(slider, BorderLayout.SOUTH);
ChangeListener
This is the Listener interface associated with JSlider. A change listener must have a stateChanged(...) method, which has a ChangeEvent parameter. You can call the ChangeEvent getSource() method to get the slider which caused this event.
Add a change listener to the slider so that it will be called when the slider is changed. The listener will be called in two situations.
- It will be called repeatedly while the user is dragging the slider knob thru different values, and
- It will also be called again when the user lets go of the knob.
The changeListener interface is added to the slider object.
The method stateChanged is implemented with a ChangeEvent. This will set the behavior of the program if the Slider is moved.
The .setDiameter method is then called on the myCircle object, this will set the diameter of the circle to the value of the Slider.
The Slider is then added to the bottom of the screen.
sliderMain class
import javax.swing.JFrame;

public class sliderMain {
public static void main (String args []) {
slider slide = new slider();
slide.setDefaultCloseOperation(JFrame.EXIT_ON_CLOSE);
slide.setSize(350,300);
slide.setVisible(true);
    }
}
Main class containing main method with instructions on how the program runs.
An object of the Slider class is created. The slider class holds instructions for running the program.
The program Exit Mode is set. This will close the program when user clicks the “X” button on the frame.
Size of the window is set using inbuilt methods .setSize
Visibility setting is set, making the frame visible, the code .setVisible(true) is used.
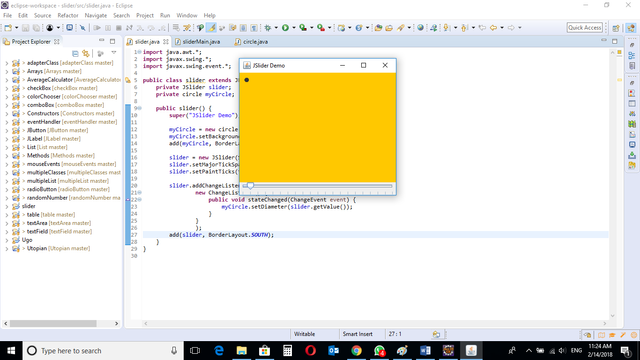
The program is run and the window is displayed with a small circle of diameter 10.
The horizontal slider displayed at the bottom of the frame.
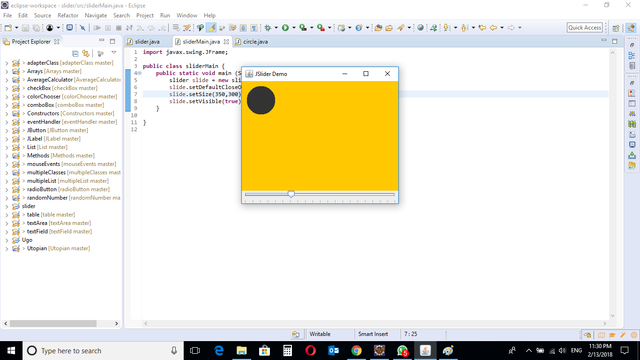
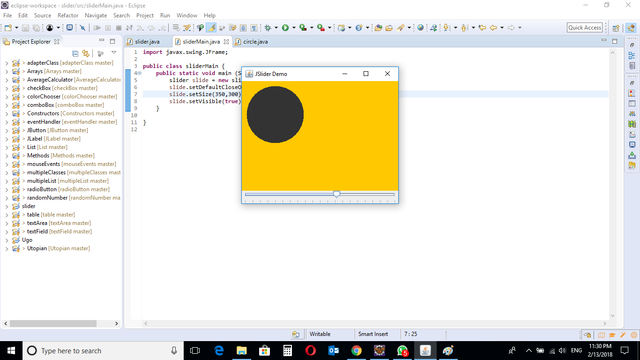
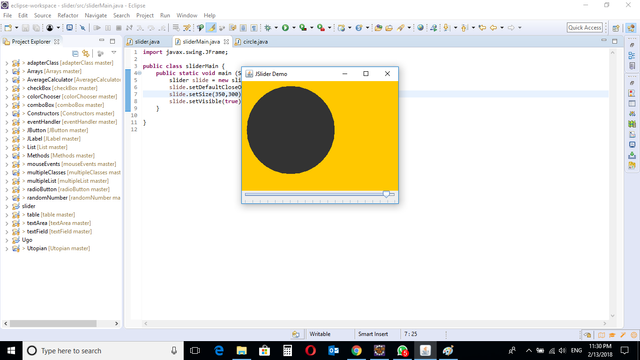
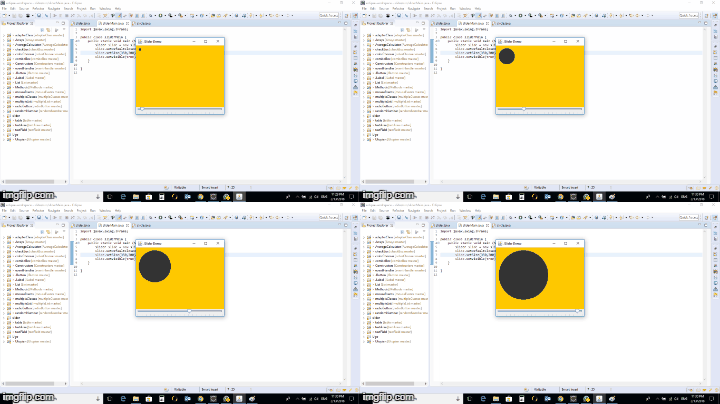
When the Slider is moved, the diameter of the circle changes, thereby causing the circle to increase and decrease.
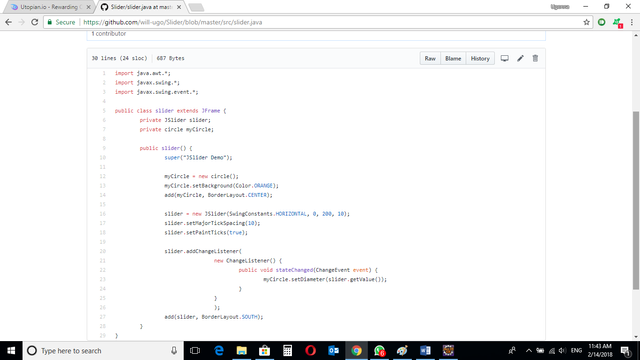
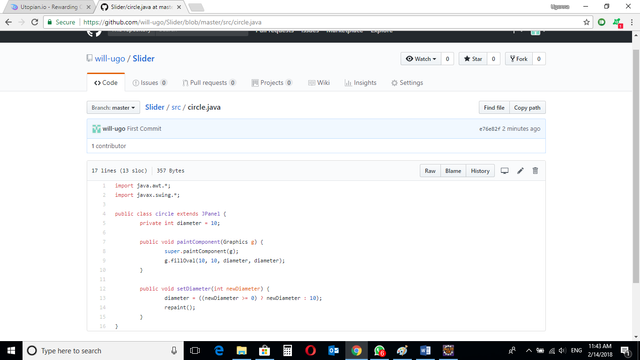
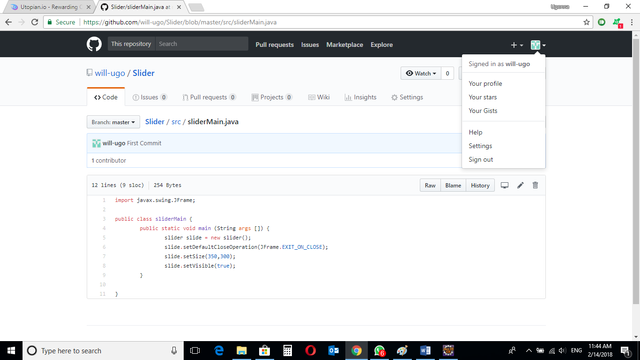
Source Codes from GitHub Account.
You can get the codes here if you want to try it on your own.
REFERENCES
Curriculum
Similar posts already posted on Utopian are:
Java Graphical User Interface(GUI): JTextArea Using Eclipse IDE
Java Graphical User Interface(GUI): Adapter Class Using Eclipse IDE
Java Graphical User Interface(GUI): Mouse Events and Listeners Using Eclipse IDE
Posted on Utopian.io - Rewarding Open Source Contributors
Hey @will-ugo I am @utopian-io. I have just upvoted you!
Achievements
Suggestions
Get Noticed!
Community-Driven Witness!
I am the first and only Steem Community-Driven Witness. Participate on Discord. Lets GROW TOGETHER!
Up-vote this comment to grow my power and help Open Source contributions like this one. Want to chat? Join me on Discord https://discord.gg/Pc8HG9x
Downvoting a post can decrease pending rewards and make it less visible. Common reasons:
Submit
Thank you for the contribution. It has been approved.
You can contact us on Discord.
[utopian-moderator]
Downvoting a post can decrease pending rewards and make it less visible. Common reasons:
Submit
This post has received a 0.03 % upvote from @drotto thanks to: @banjo.
Downvoting a post can decrease pending rewards and make it less visible. Common reasons:
Submit