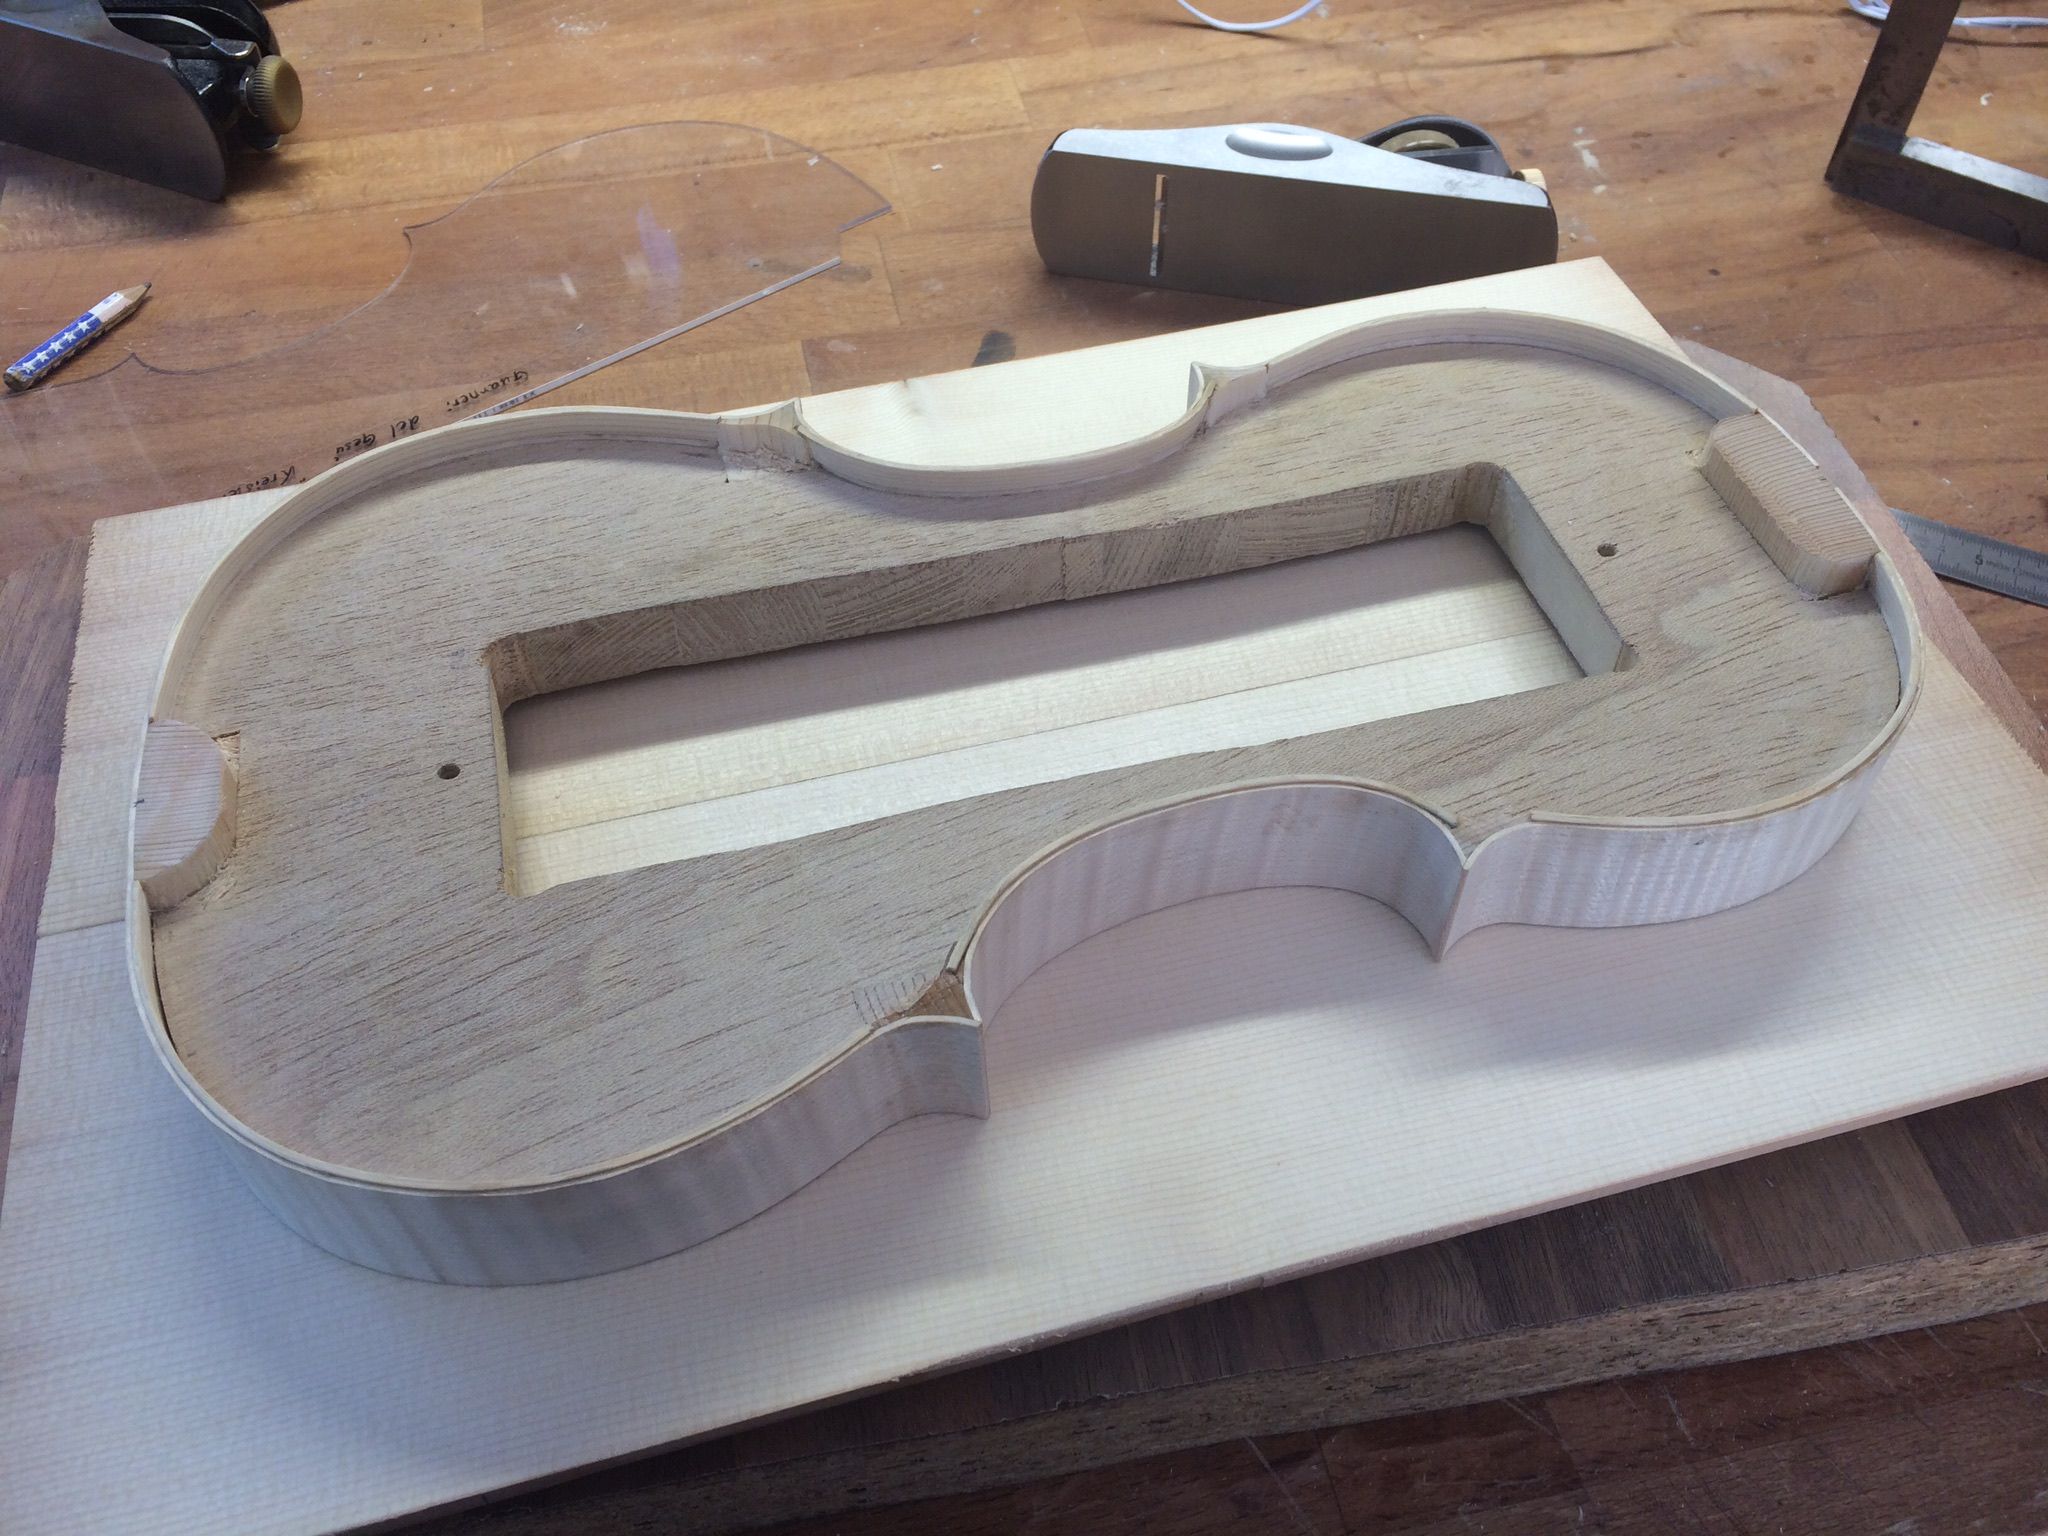
In the last post we have put the two plates together. The next step is to make a curve. By attaching the two plates, the underside becomes bumpy again. So plan to flatten it again. Then draw it to fit the frame and cut off the unwanted parts first.

After cutting, set the edge thickness to 4.5 mm to prepare the entire curve. The final thickness is 4 ~ 4.3mm.

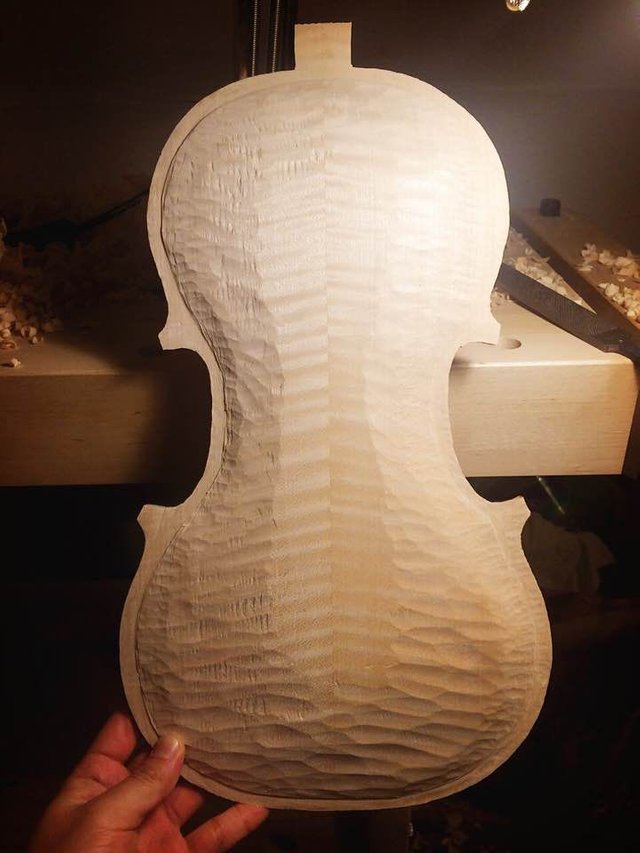
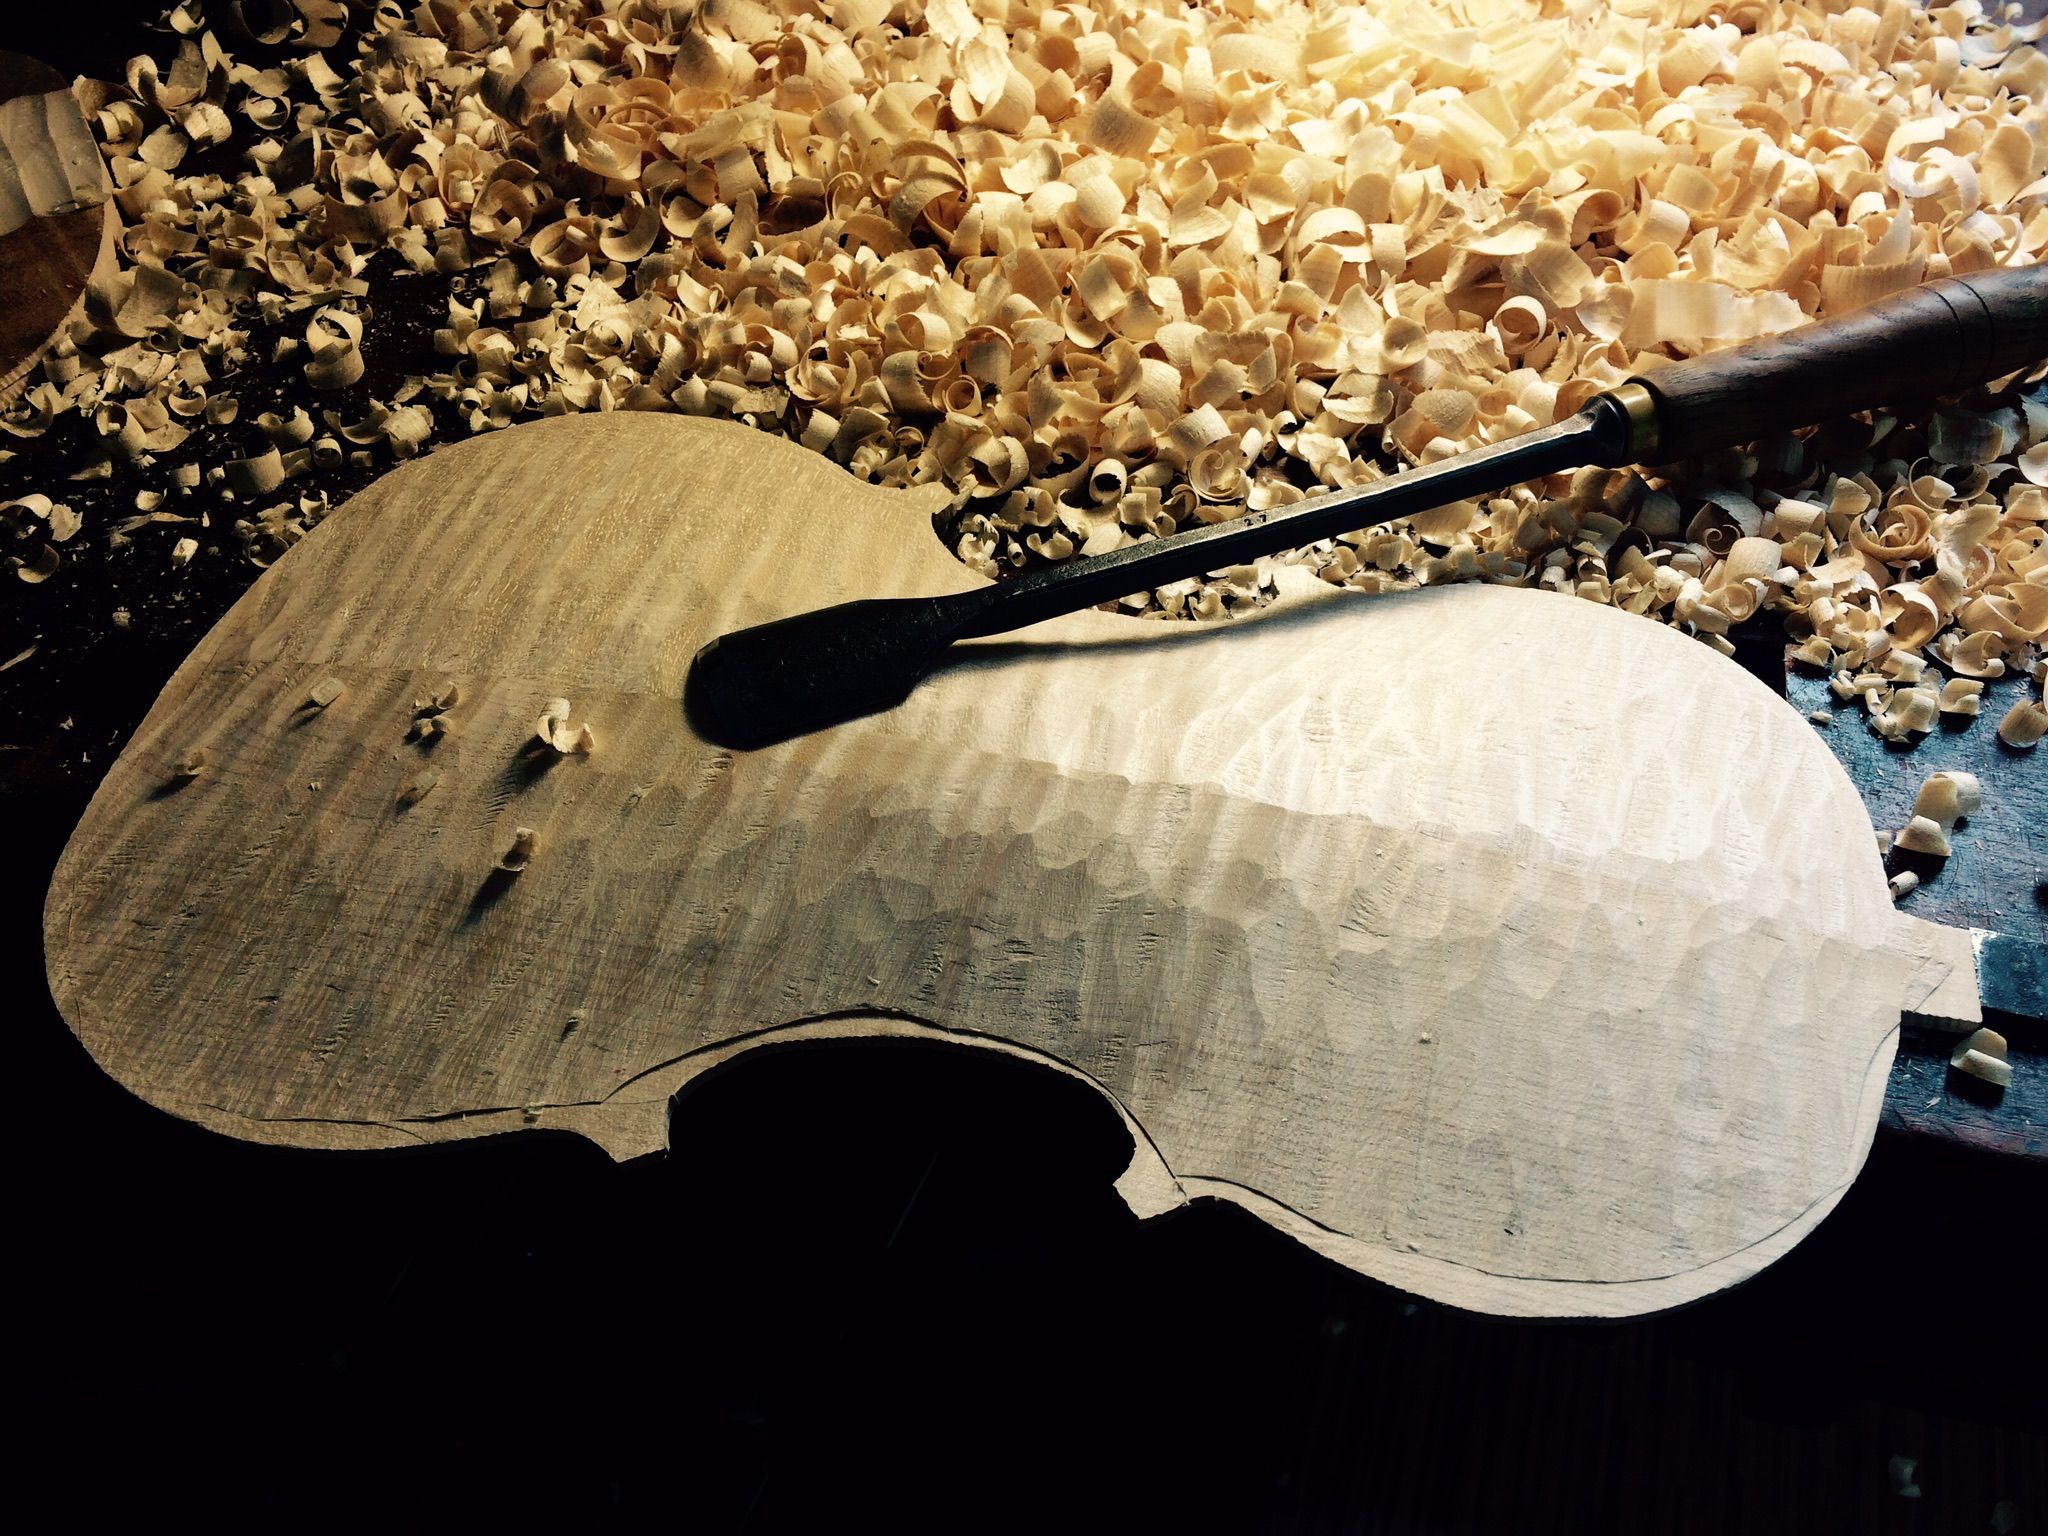
Then we do primitive work of making curves with sculpture. The curves are different for each model of the instrument, so be careful not to shrink it.

By this the preparatory steps for making a delicate curve is done.
Thank you for reading today also. See you at the next post!!
지난번 글에서 두 판을 하나로 붙이기 까지 했습니다. 판의 아랫면을 평평하게 대패질 했지만 두개를 하나로 붙임으로써 면은 다시 울퉁불퉁 해 졌을겁니다. 그래서 다시한번더 아랫면의 수평을 대패질을 통해 잡아주도록 합니다. 평평하게 대패질 했다면 틀에 맞게 그려서 쓰지않는 부분을 잘라주도록 합니다.
자른 후 전체적인 곡선의 준비를 위해 가장자리를 4.5mm정도로 깍아줍니다. 이 부분의 최종두께는 4~4.3mm가 됩니다.
그런다음 조각도(끌) 을 이용해 초벌단계의 곡선을 잡아주도록 합니다. 악기의 모델마다 곡선의 형태가 다르기 때문에 그 곡선보다 더 파내려가지 않도록 끌질에 주의해야 합니다.
이것으로 세밀한 곡선을 만들기 위한 준비단계가 마무리 되었습니다.
오늘도 역시 글을 읽어주셔서 감사하고 다음 글에서 뵙겠습니다!!