Today’s step is purfling.

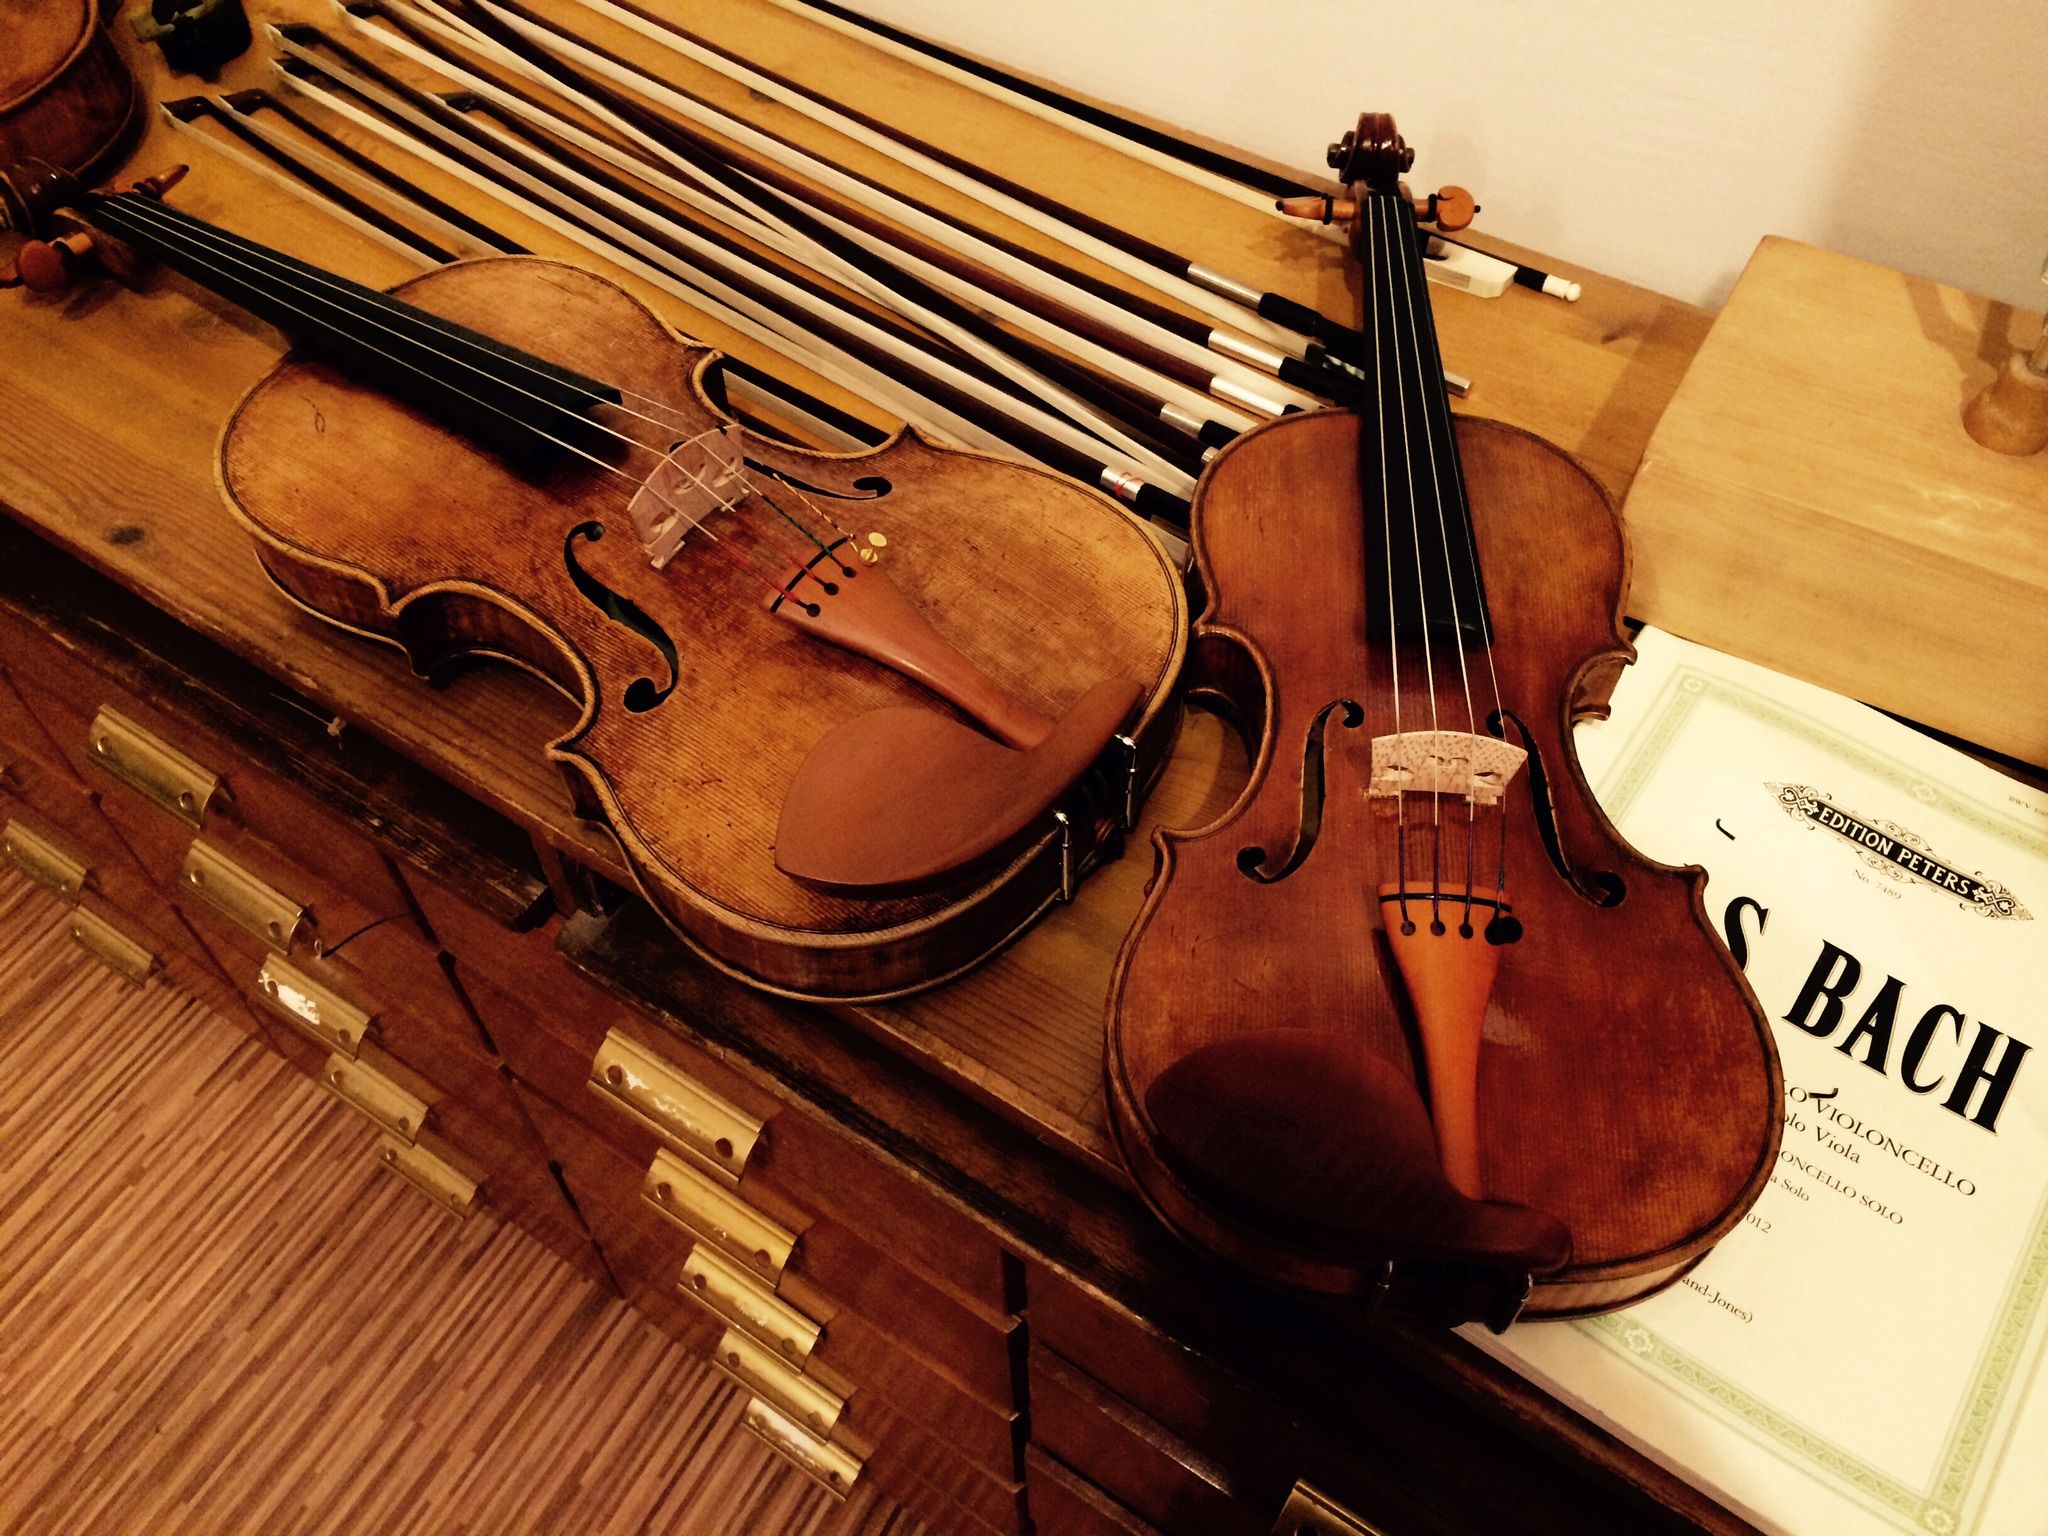
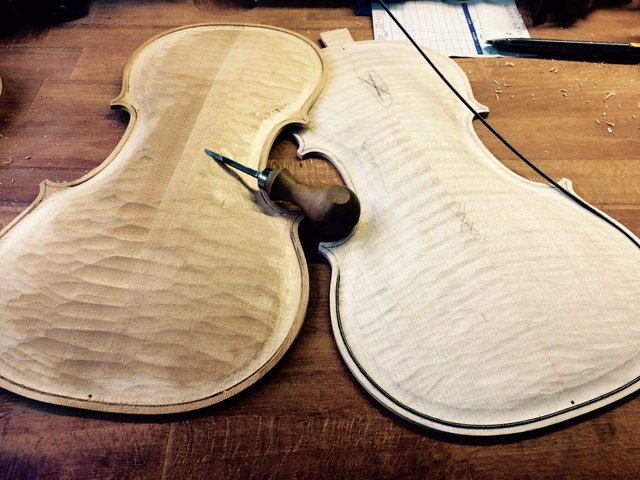
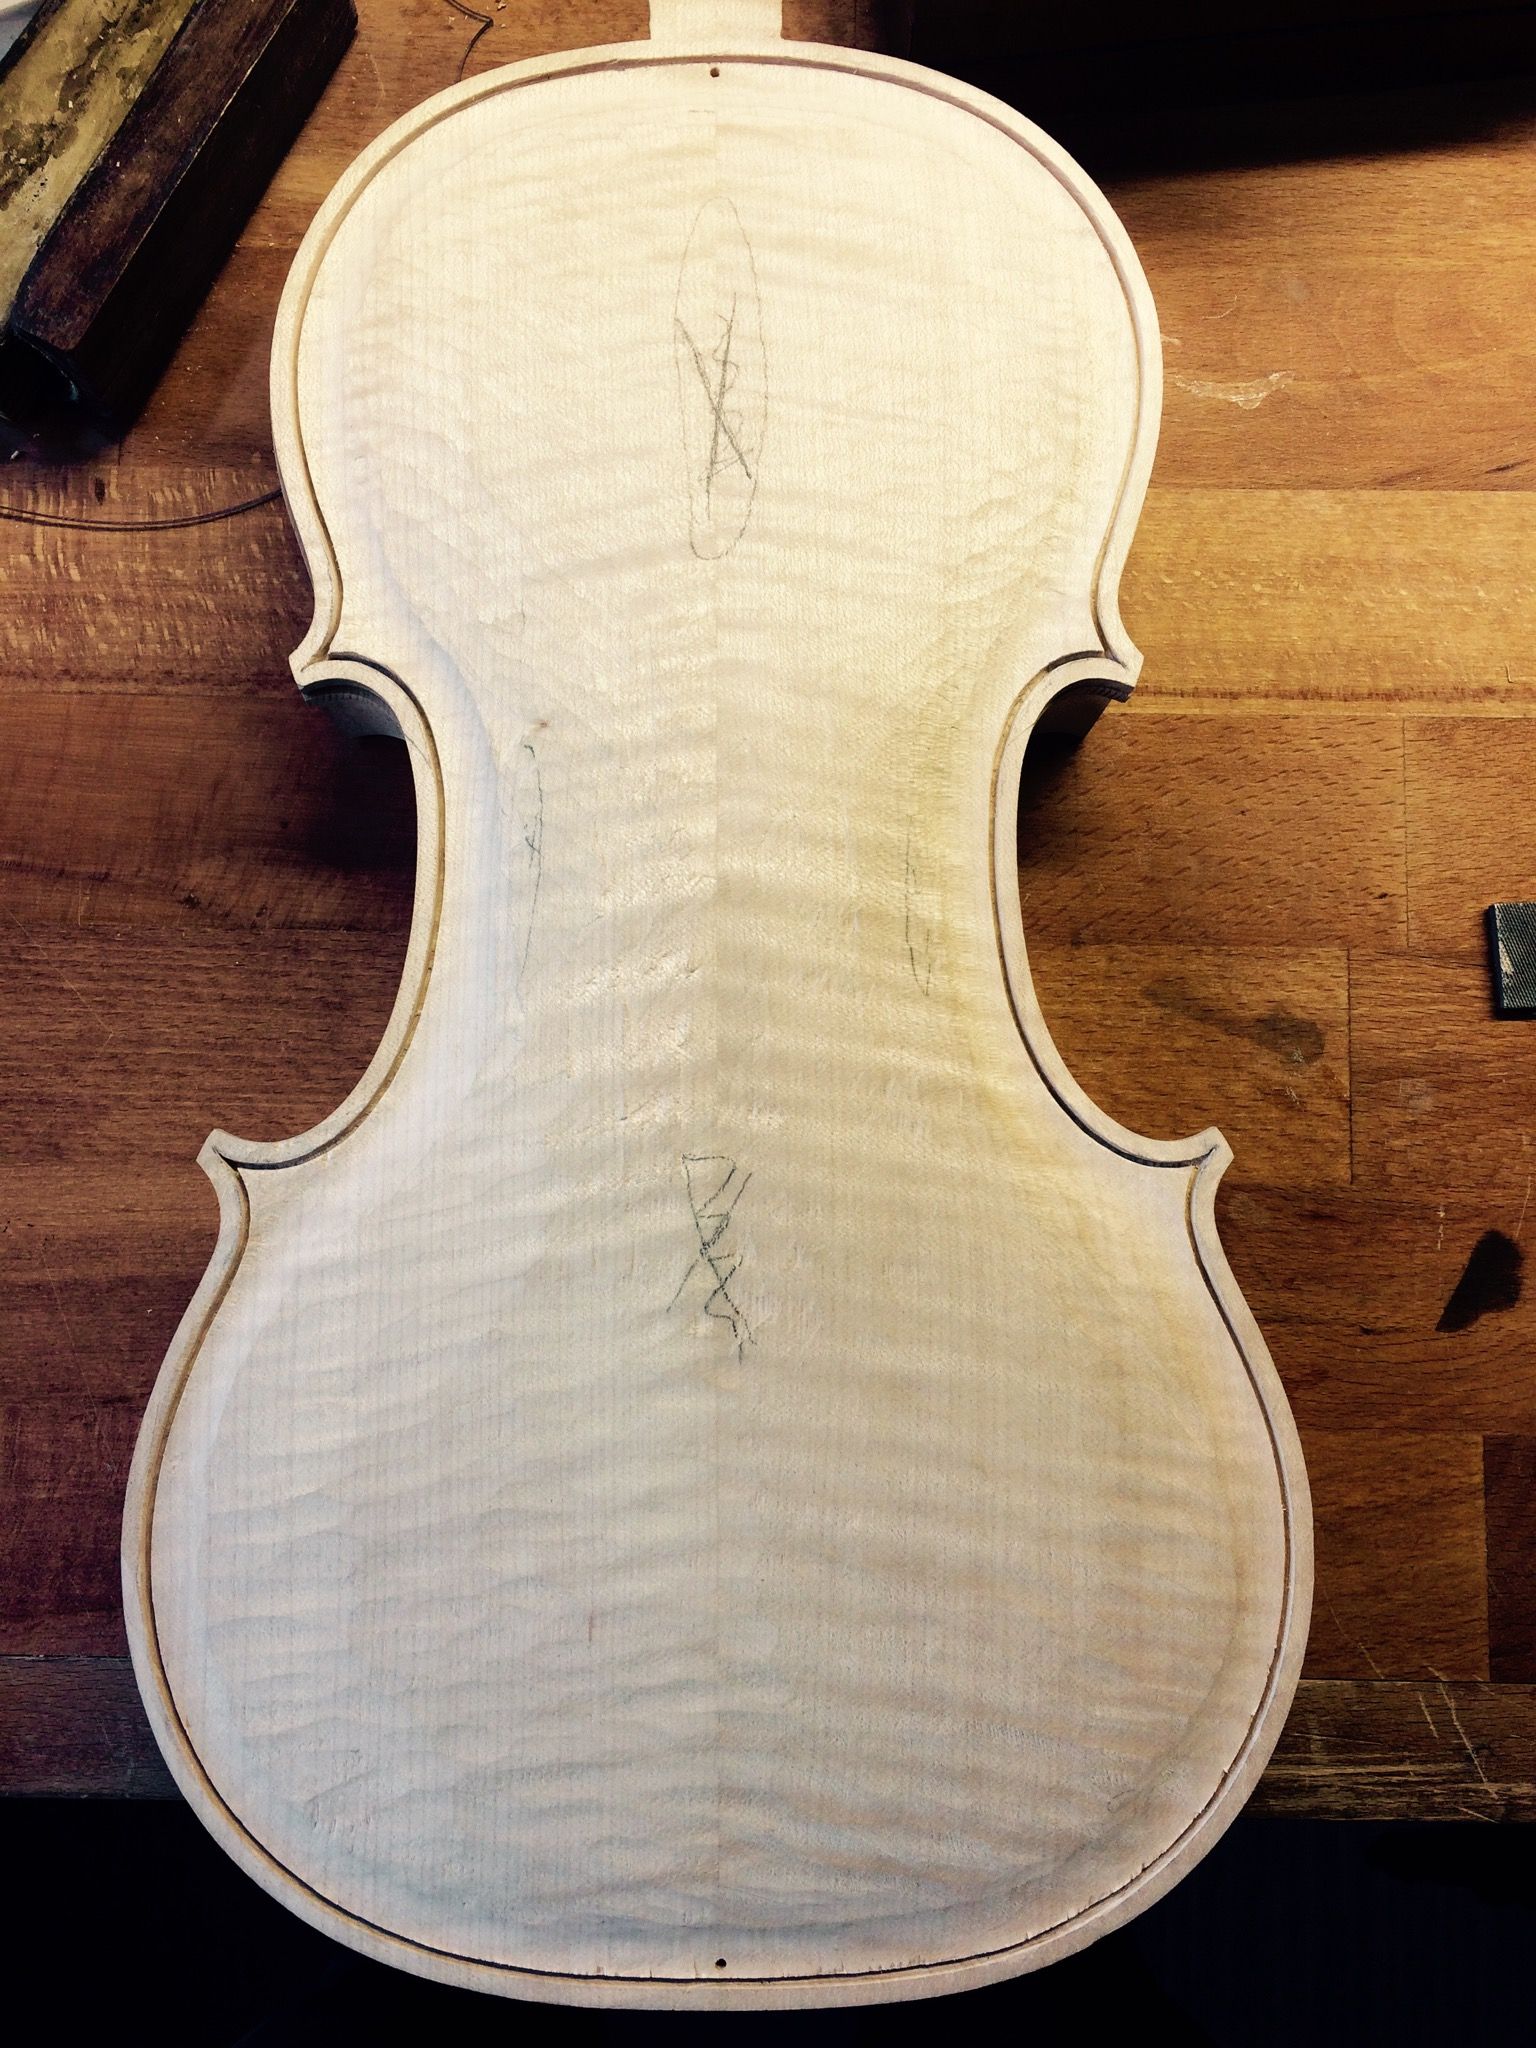
The black line of the violin rim is purfling. Purfling is not painted, but rather digging a groove the plate and planting the material. Ebony wood is used for the material. Then let us dig a groove.

If you dug all of the front and back boards, cut the purfling and bend it like the rib.

And then put the purflings into the groove. If you carve the board after this, it looks like an one piece of board.
In the next post, let us finish the curve. Thank you for reading. Have a good day!! :)
오늘 알아볼 단계는 바이올린 테두리무늬 심기 입니다. 사진에서 보이는것 처럼 바이올린을 보면 테두리에 검은 선이 보이는데요 이건 그냥 색칠을 한것이 아니라 판에 홈을 파서 검은색 나무를 붙여 넣은것입니다. 재료는 흑단나무가 쓰입니다.
앞판과 뒷판나무에 테두리선을 심어넣을 홈을 다 팠다면 심어넣을 재료를 재단해서 옆판을 휘었던것 처럼 마찬가지로 휘어줍니다. 그다음 아교로 잘 붙여주도록 합니다.
이렇게 테두리선을 심고 난 후에 곡선잡기위한 대패질을 할 경우 마치 원래 하나의 나무였던것 처럼 보이게 됩니다. 자 그럼 오늘도 글을 읽어주셔서 감사하고 다음 포스팅땐 곡선을 마저 마무리 지어 보도록 하겠습니다!!