I was just around 6 years old when I took interest in drawing and started doing it as an hobby. Lacking any formal education in drawing, I developed various hacks that make my drawings (almost) close to looking like a professional artist drew them so I can say I'm an amateur artist. Also, I don't have and don't know how to use professional drawing kits so I basically use whatever I find and in this post, I'm gonna try to demonstrate how I draw using just a pencil, eraser and charcoal.
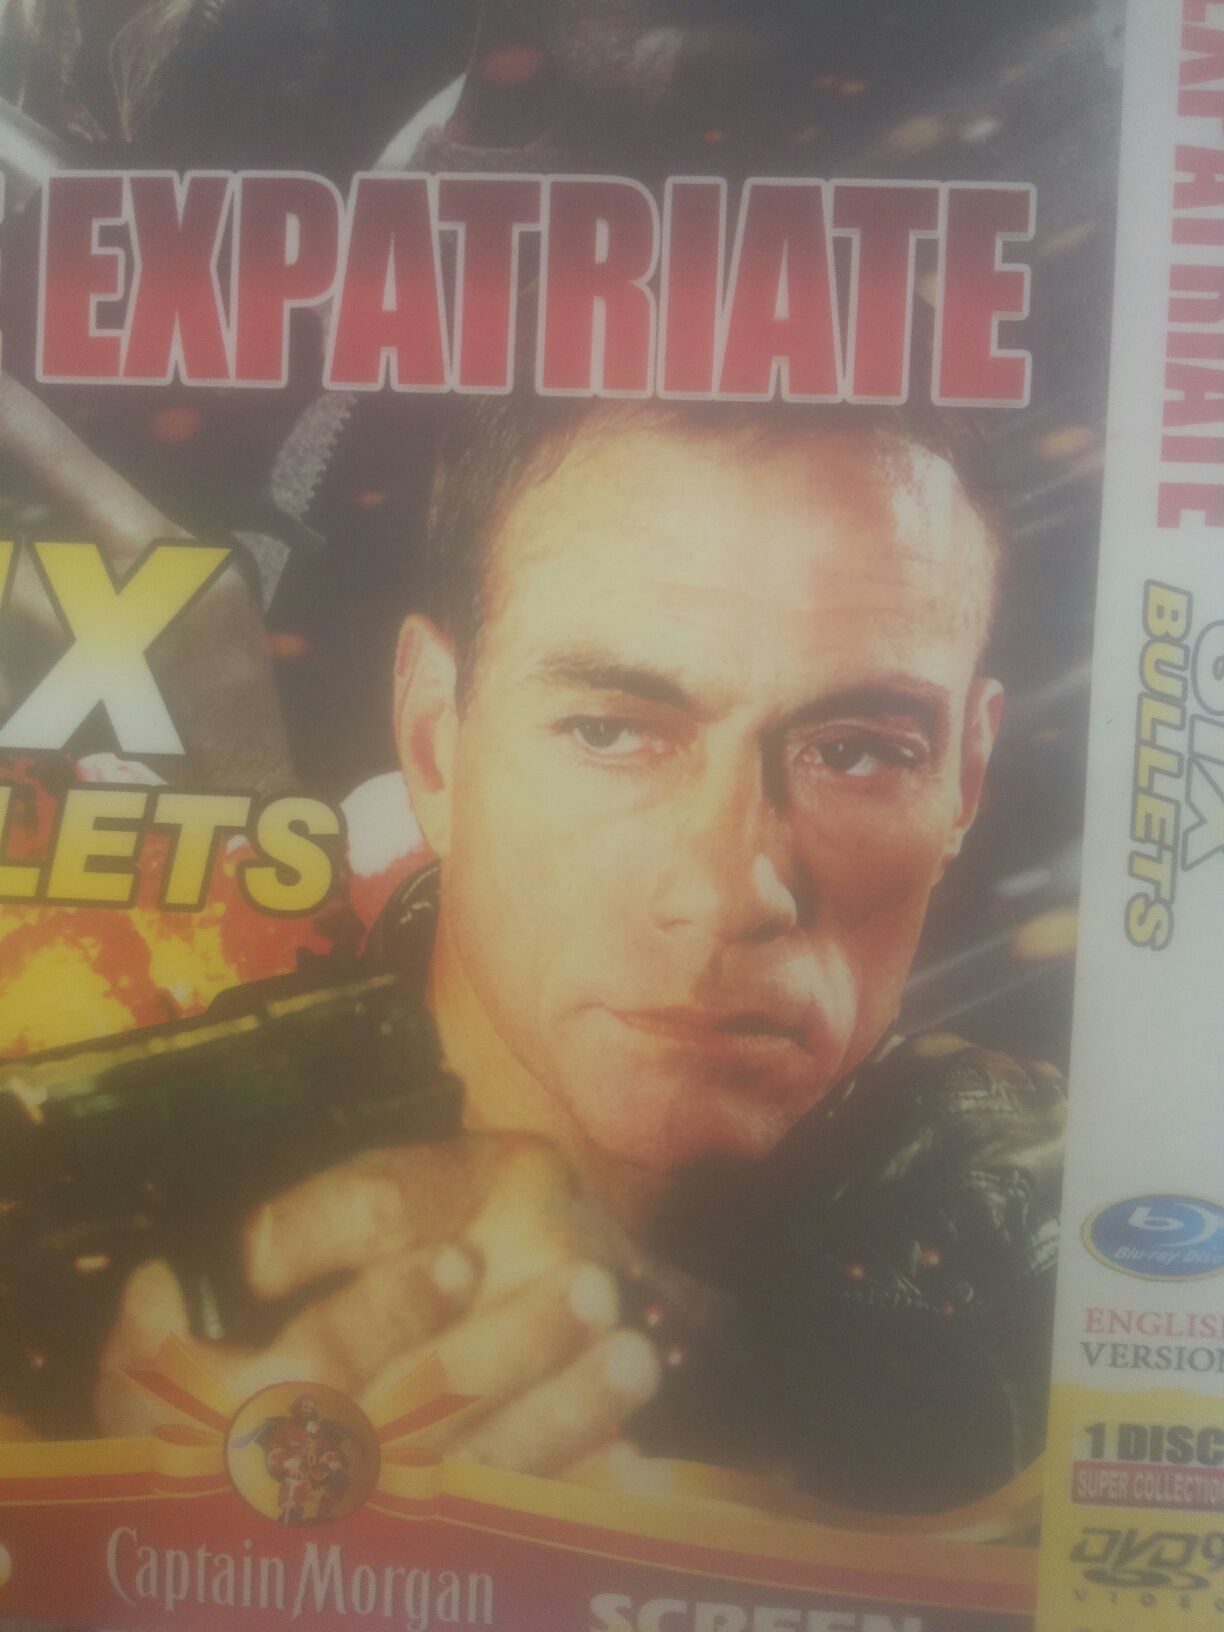
I've chosen to draw this picture of Van Damme from the case of a movie. I don't have the privilege of scaling in order to ascertain the right measurement for this picture because I'd get in trouble if I get as much as a pencil scratch on the movie case. I'm therefore left with the option of measuring it with my brain
Let's Get Started, Shall We?
The first thing I did was to study the picture properly. I then chose to start drawing from the left side because his head is a little tilted to the right and I could easily achieve a perfect replica by drawing a slightly slant line for the left side of the face.
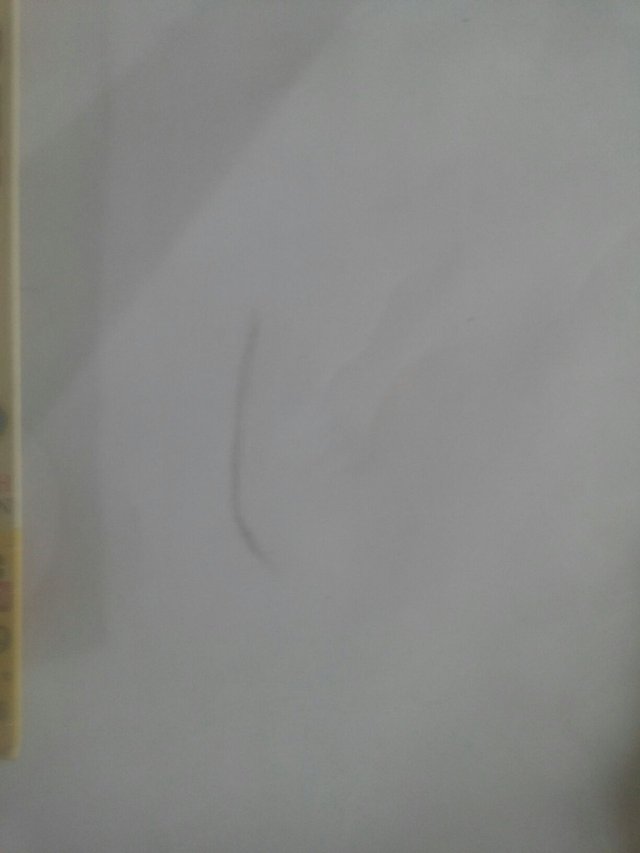
The placement of the drawing on the sheet is decided from the first stroke of the pencil and this is why I make this line closer to the right side of the sheet instead of drawing it in the middle. This would help me achieve a balanced image that would be right at the centre of my drawing sheet.
Next, I begin to draw the jaw but first I need to draw the line that comes down from his cheek down to his jaw. Its a very important facial feature so I really need to get it right.
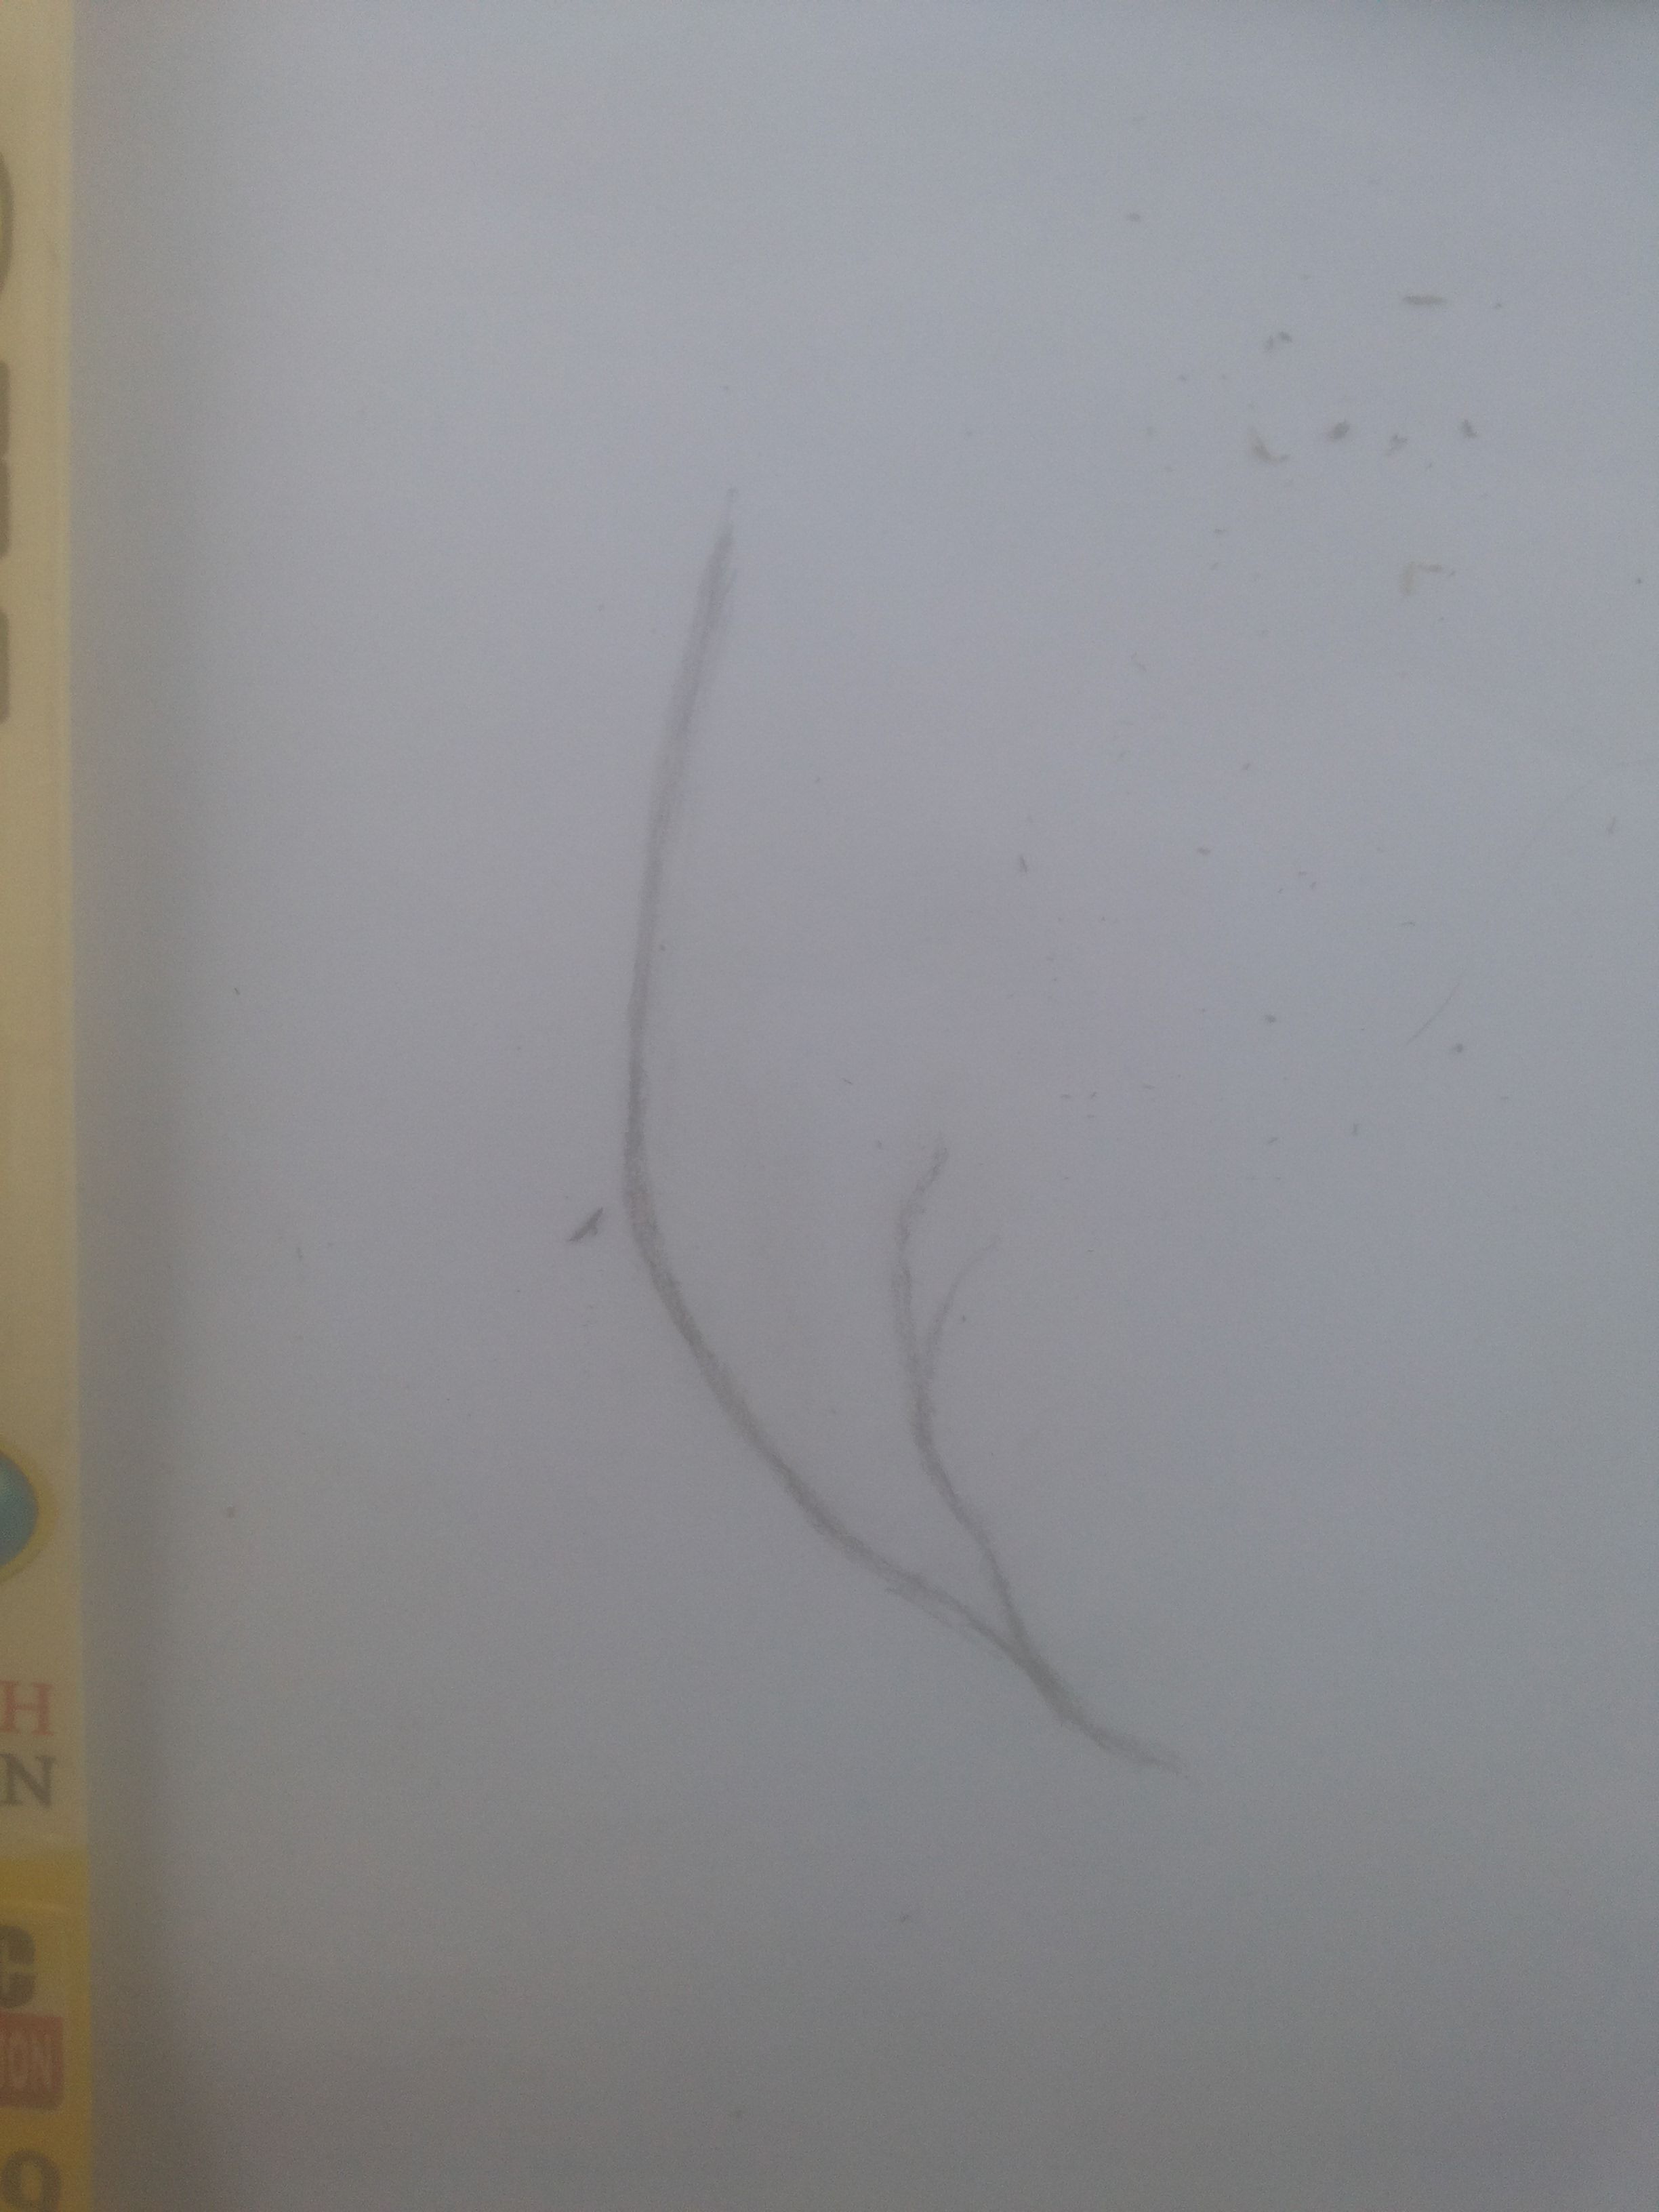
I then run my hand over the, smudging the line to make it look lighter. Notice that so far, I've not been drawing thick but light lines. This is because I might need to erase and thick lines always leave a mark so I have to be careful not to press the pencil against the paper.
Next, I have to draw the ear. However before I can do this, I draw the line of the neck first then I can finally draw the ear from bottom to top.
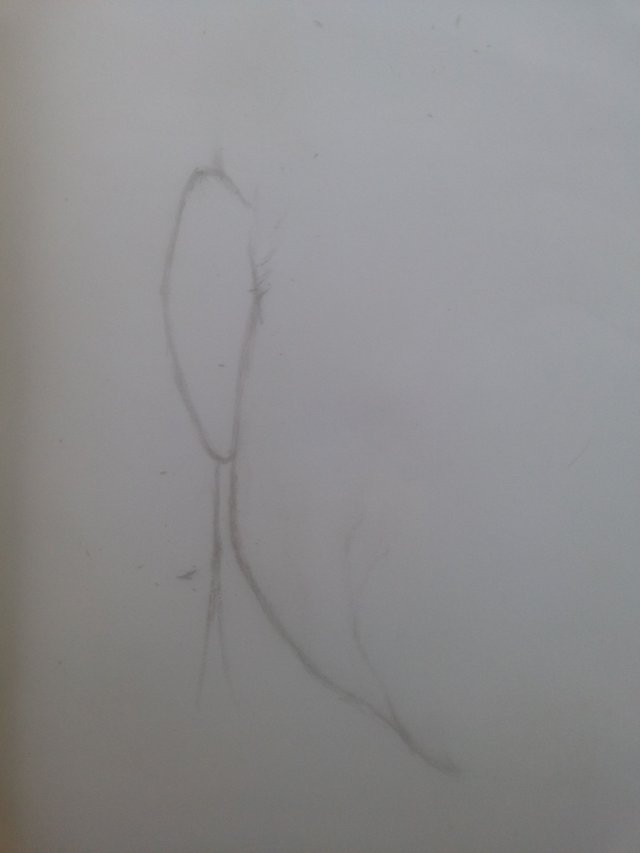
I have to keep measuring in my head because any mistake could affect the drawing.
I start to draw the hair at the side of the ear in light lines that slant upwards from left to right. But I'm careful not to overshade for now.
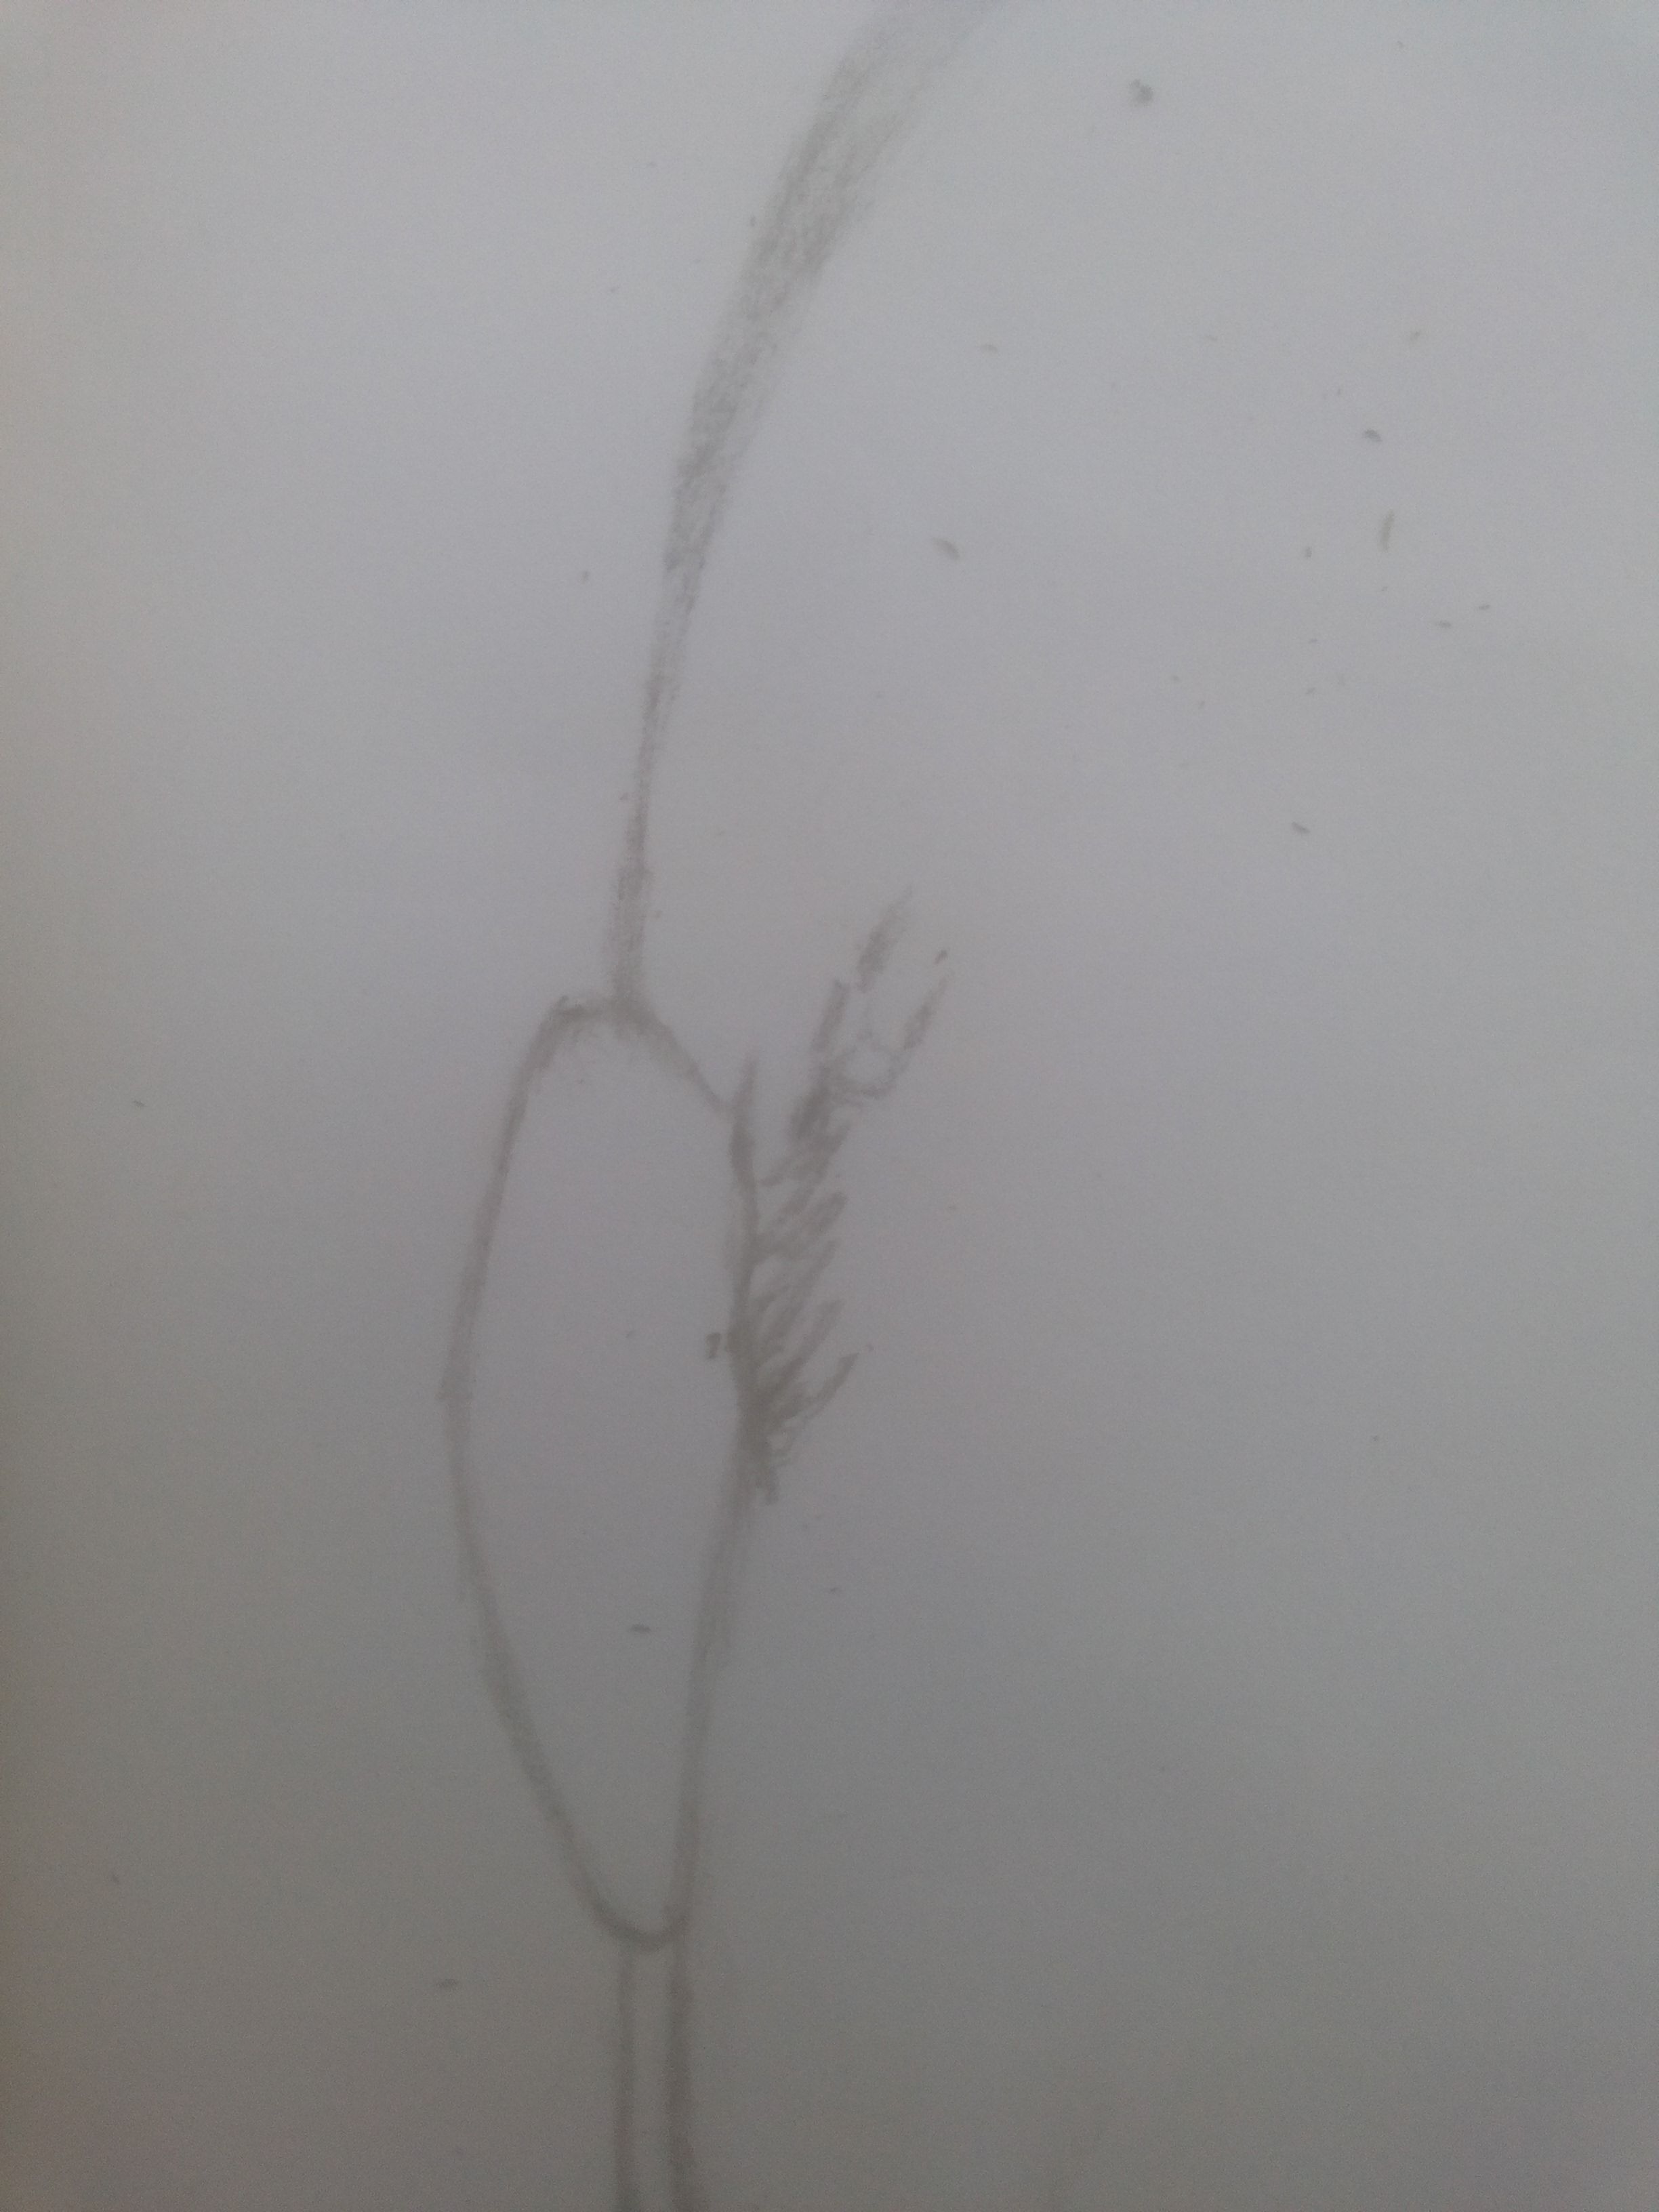
After getting the right side of the face right, I can now begin to move gradually to the other side of the face. I choose to start with the jaw because the jaw would help me get the measurements for the lips right.
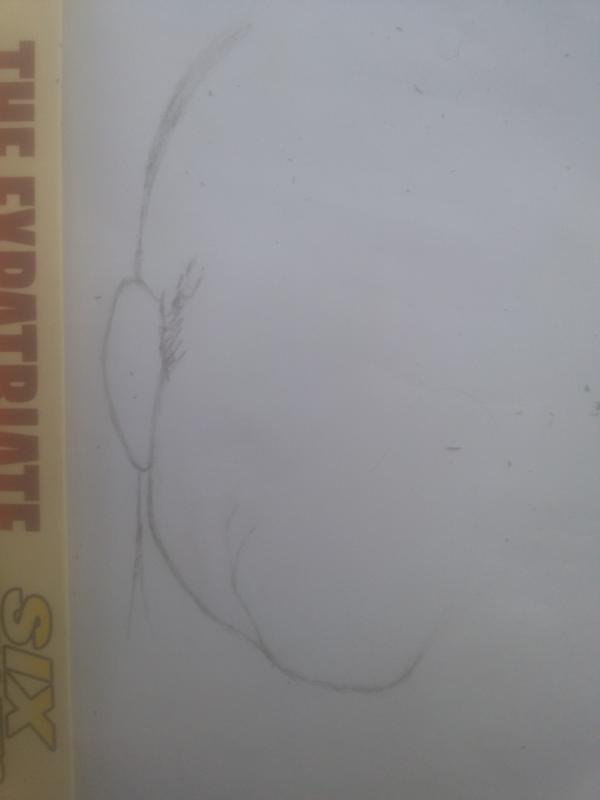
I however to do not complete drawing the jaw close it up at the other side before I begin to draw the lips.
drawing body parts in relation to each other helps the drawing look measured
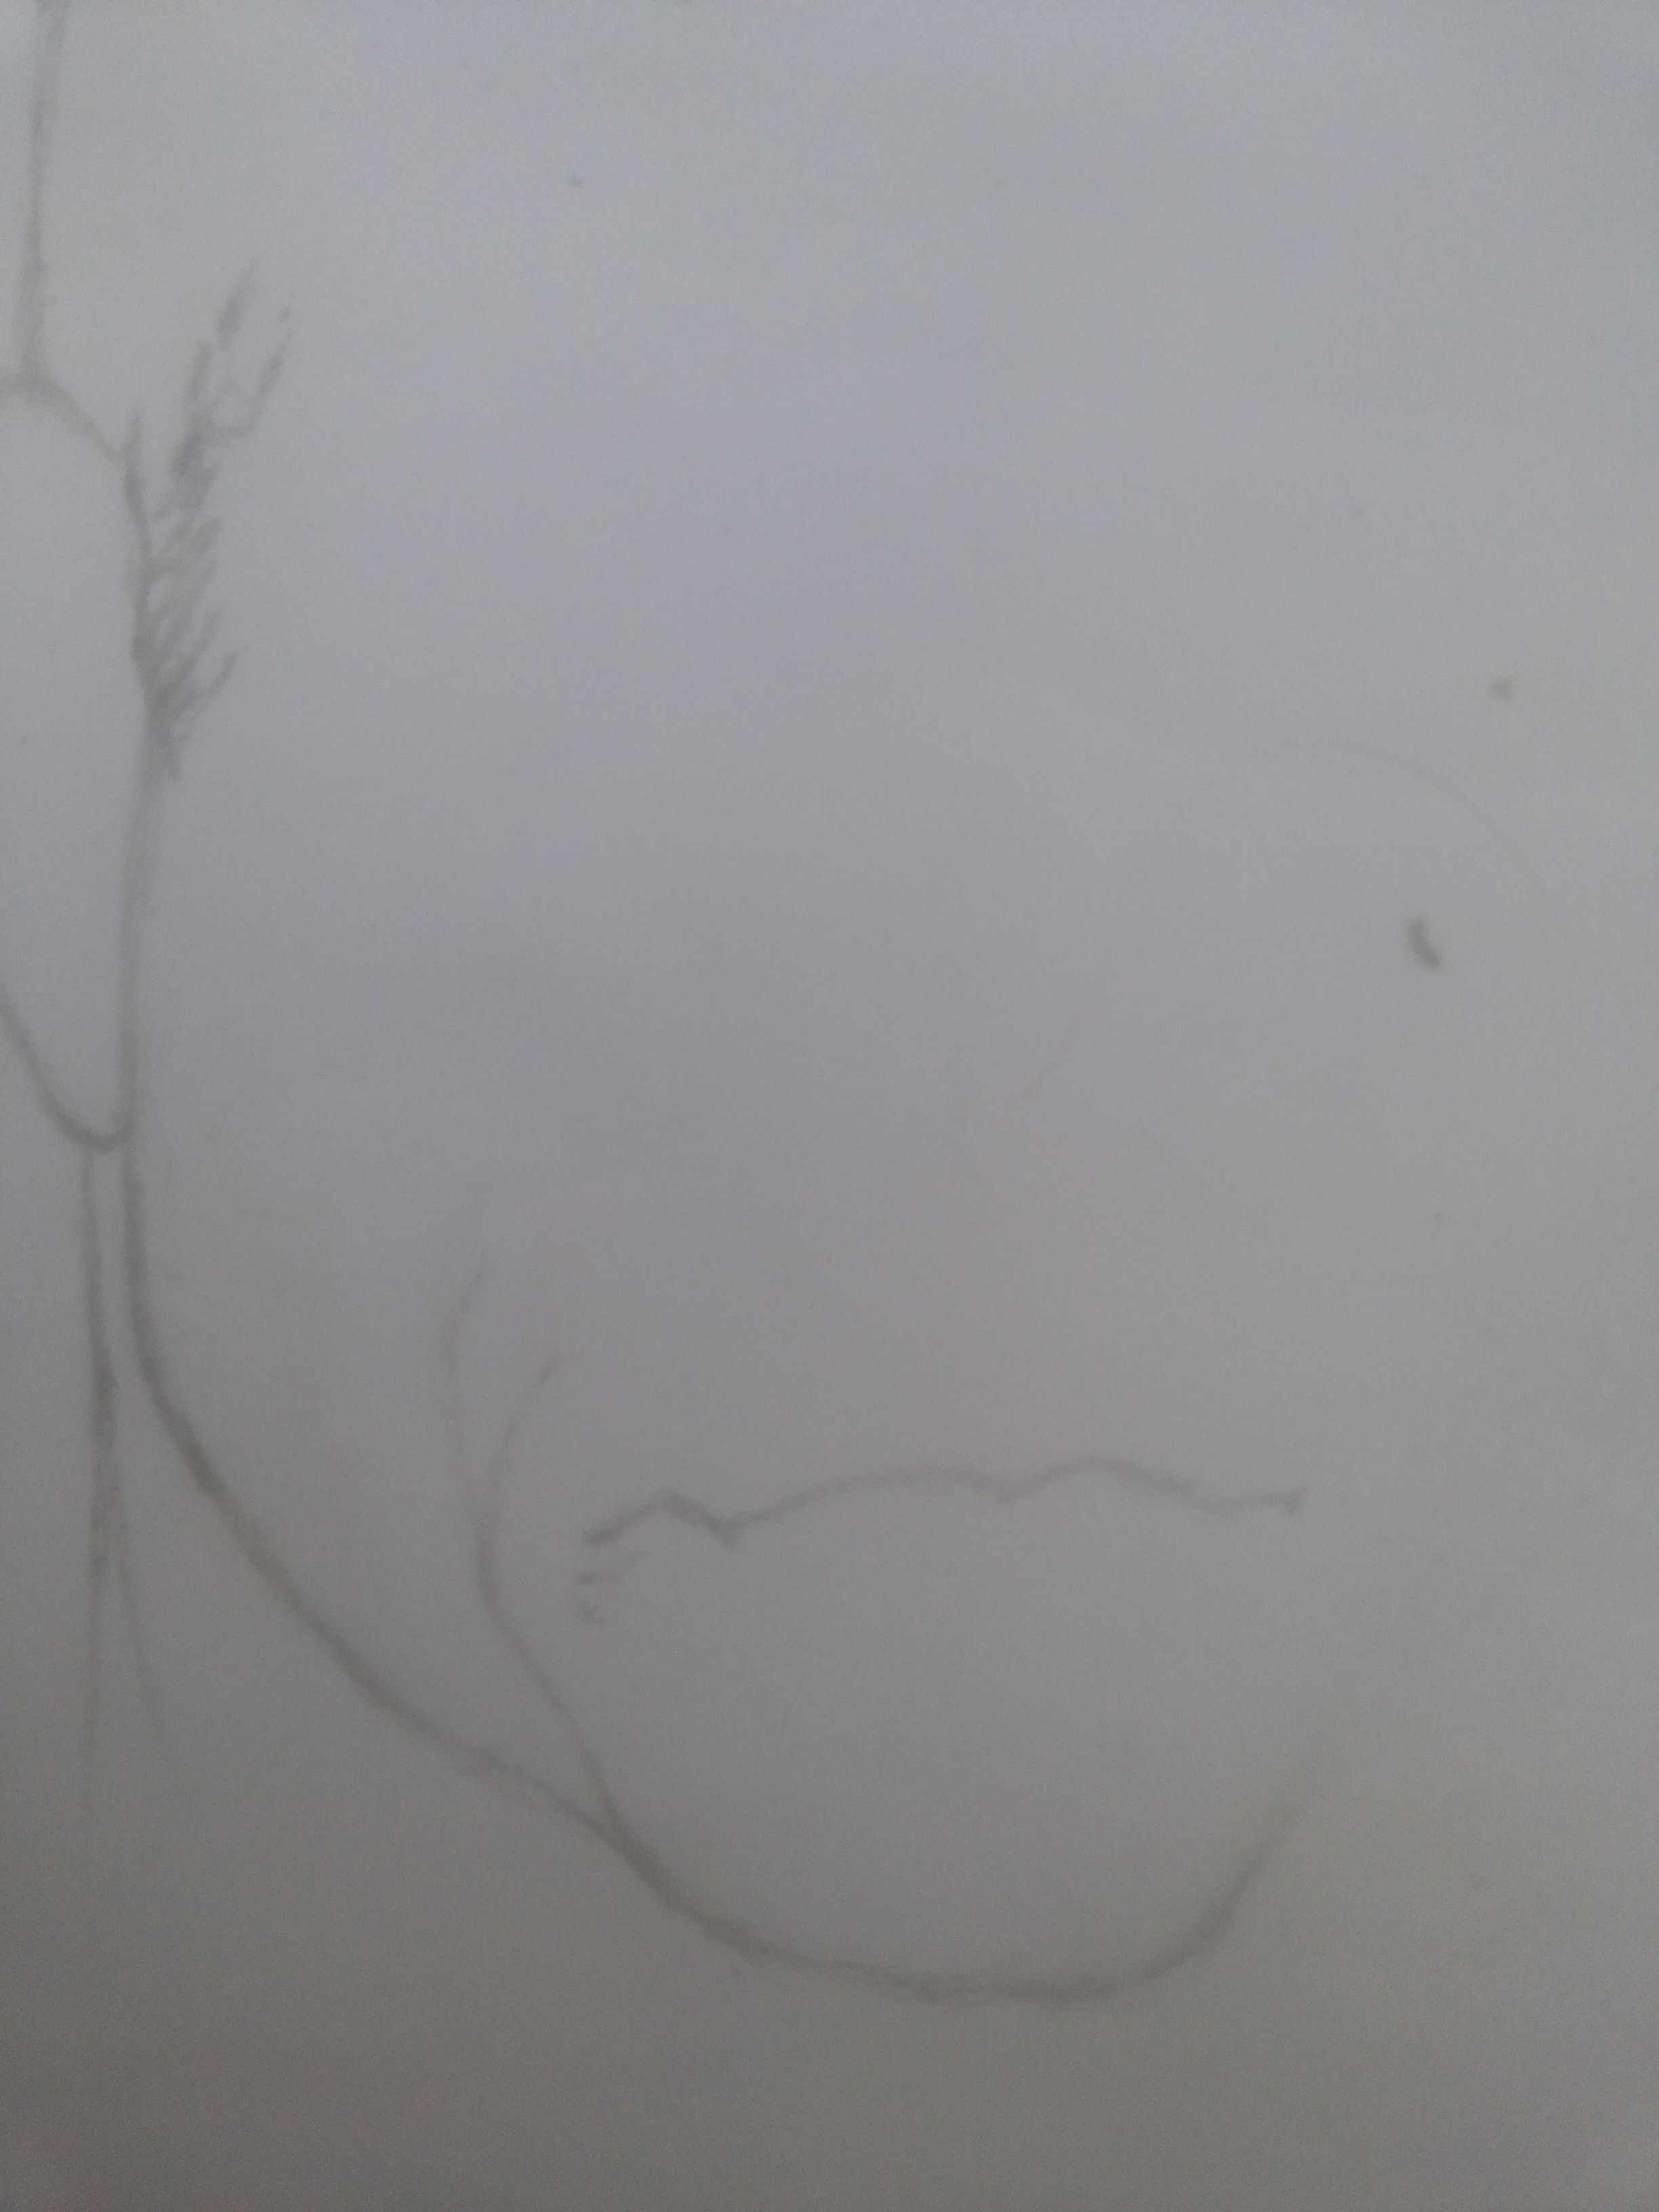
I start from the upper lip, drawing it in relation to the ear. This means I look at the position of the ear and try to copy how far it is from the lips in the real drawing.
Next, I draw the line that divides the lips before gradually moving to the lower lips.
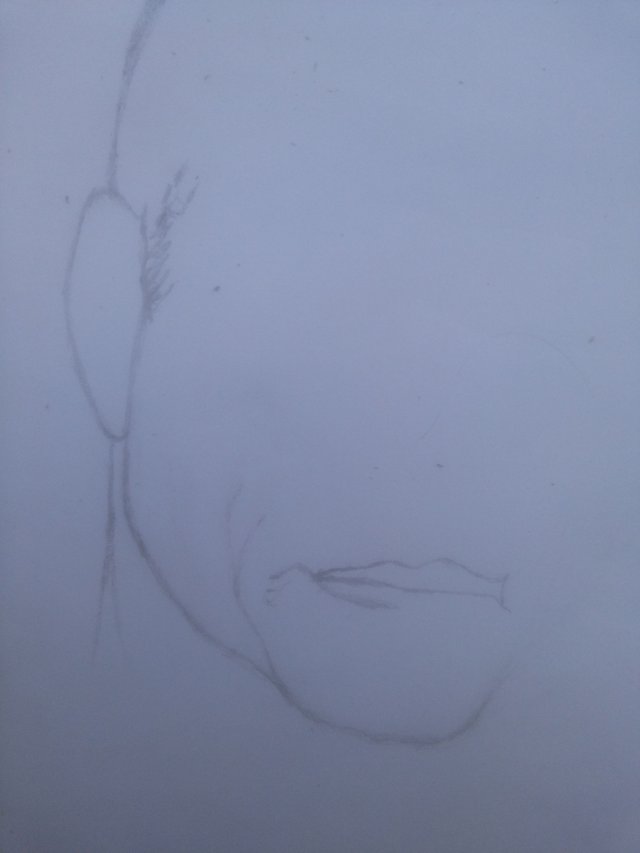
With this, I'm already drawing the other side of the face. The first thing I do is to draw the line that comes down from the cheek on the right side.
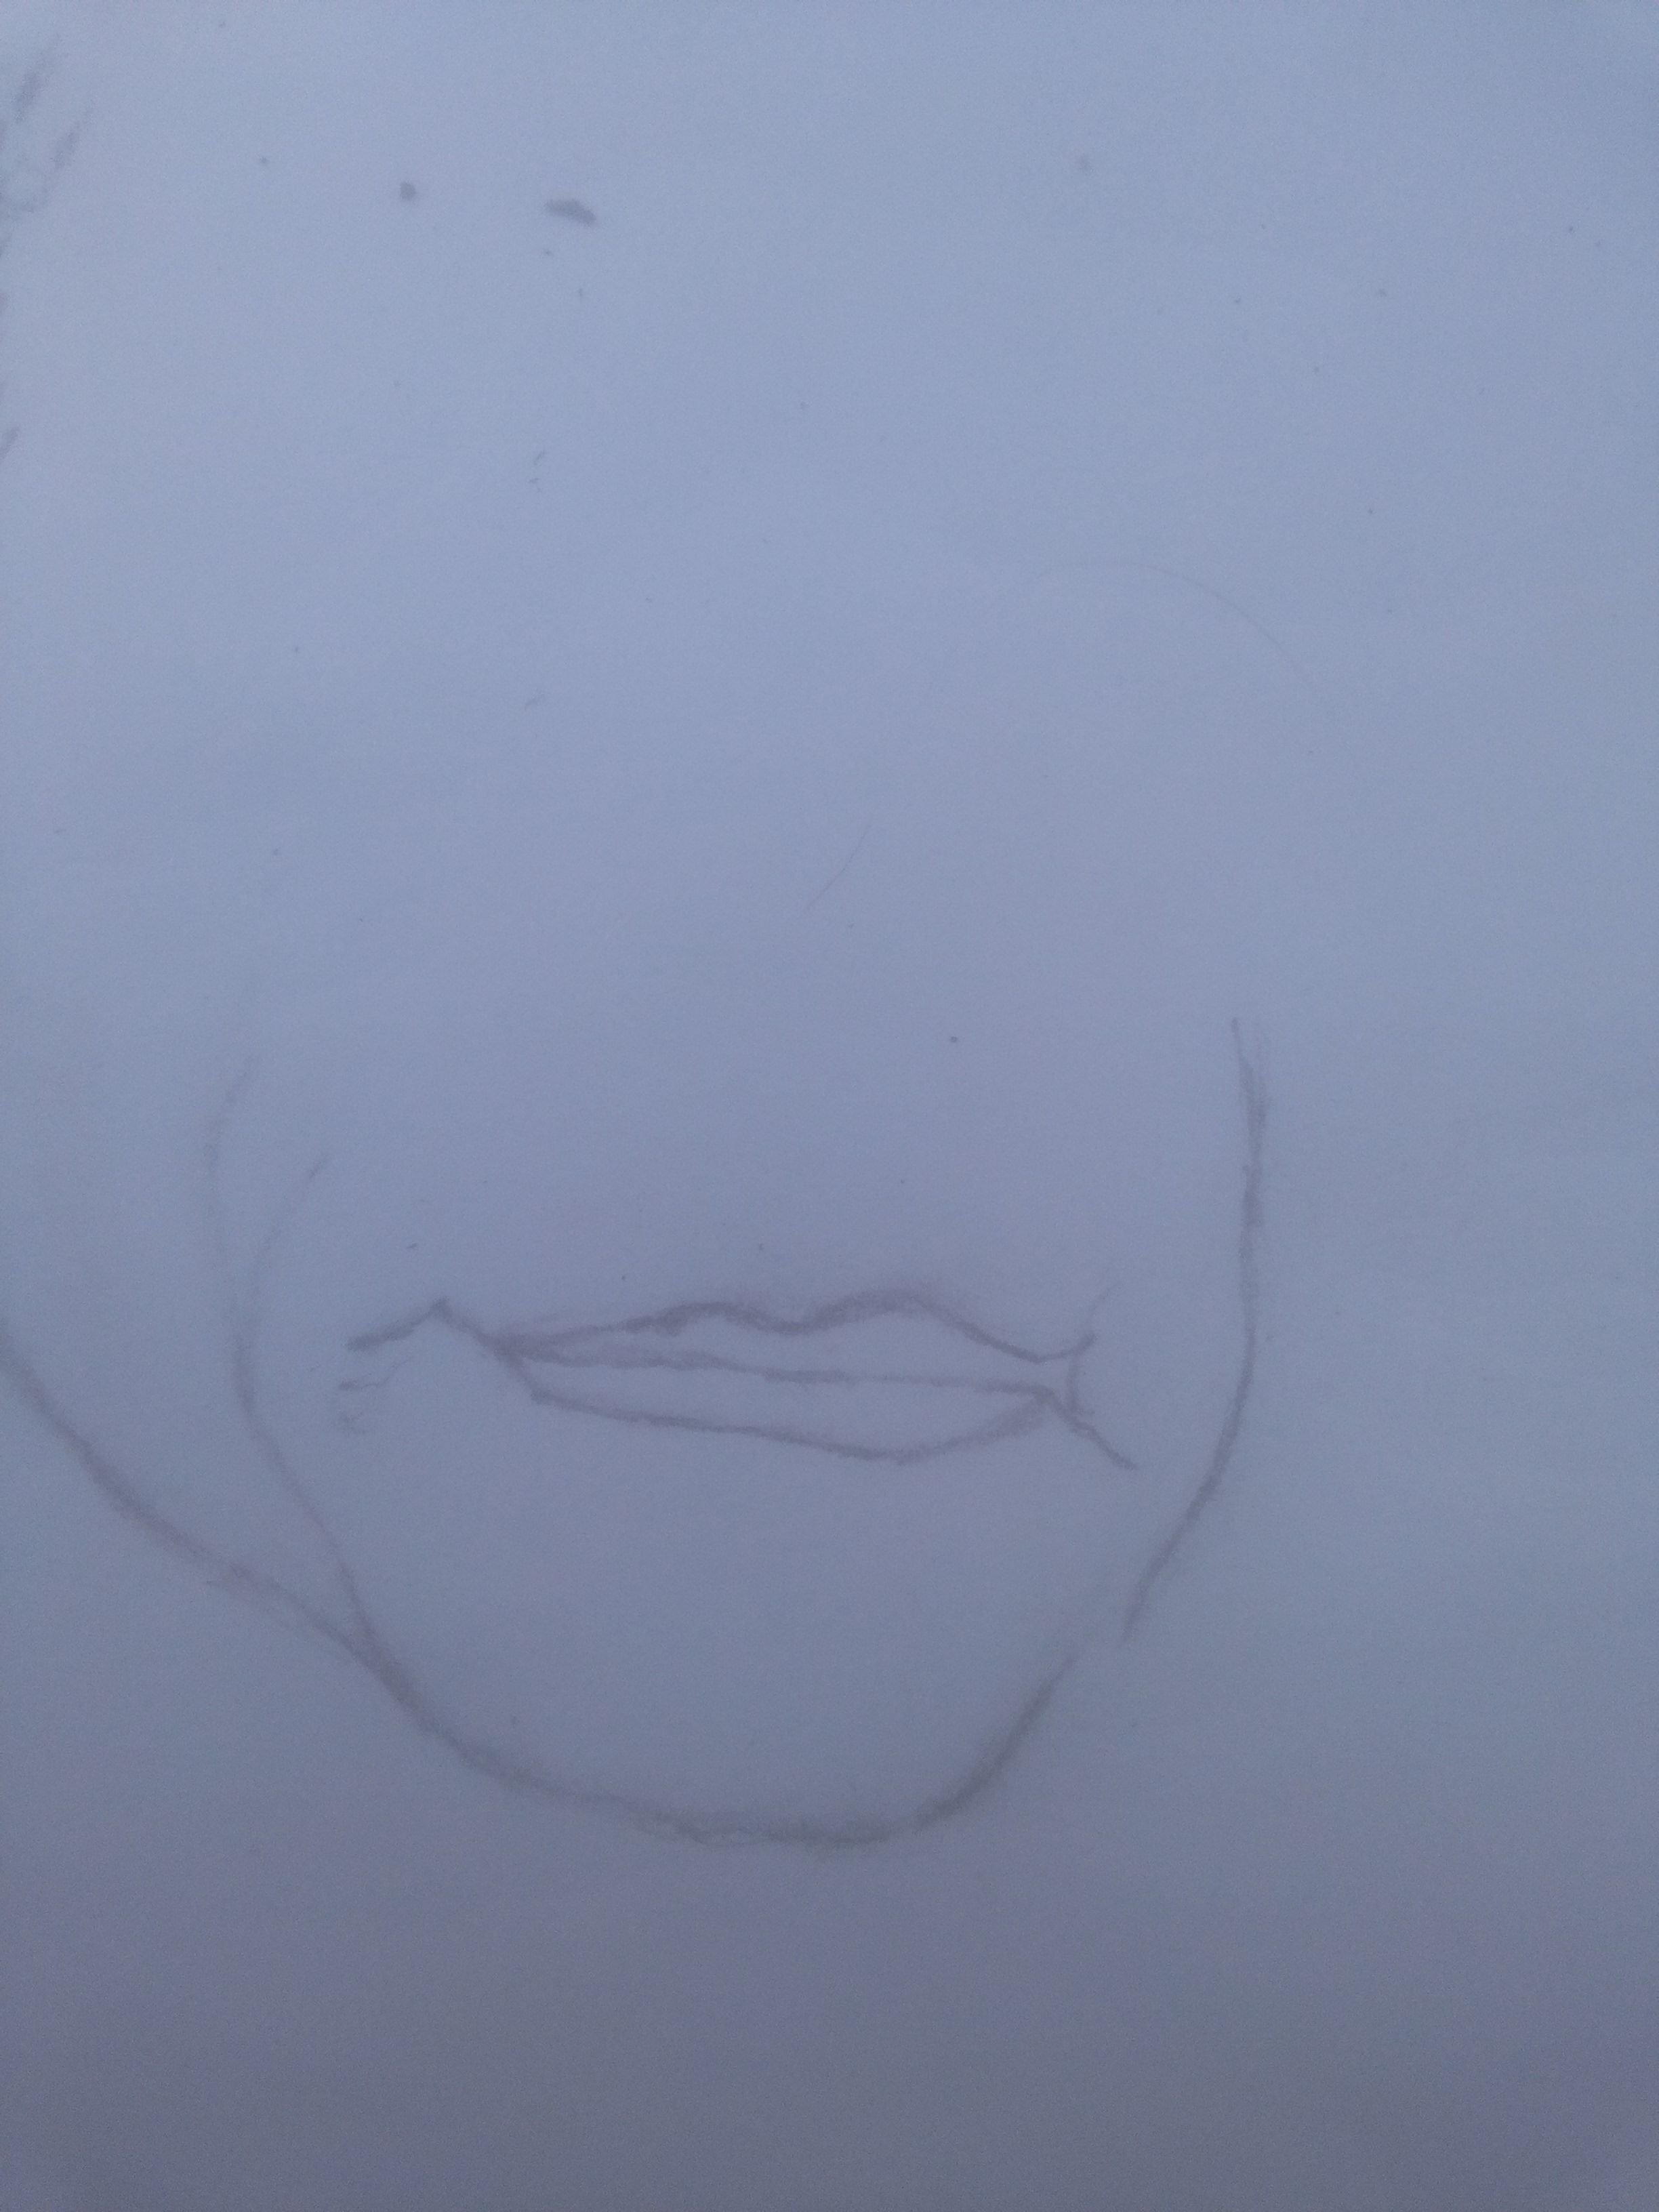
It is the I realise I drew the jaw to be too short. This is the reason why I didn't close the jaw before. Now I find it easy to just make the jaw longer. Then I draw the cheek from bottom to top.
After this, I shift my focus to the nose. I start from the tip of the nose
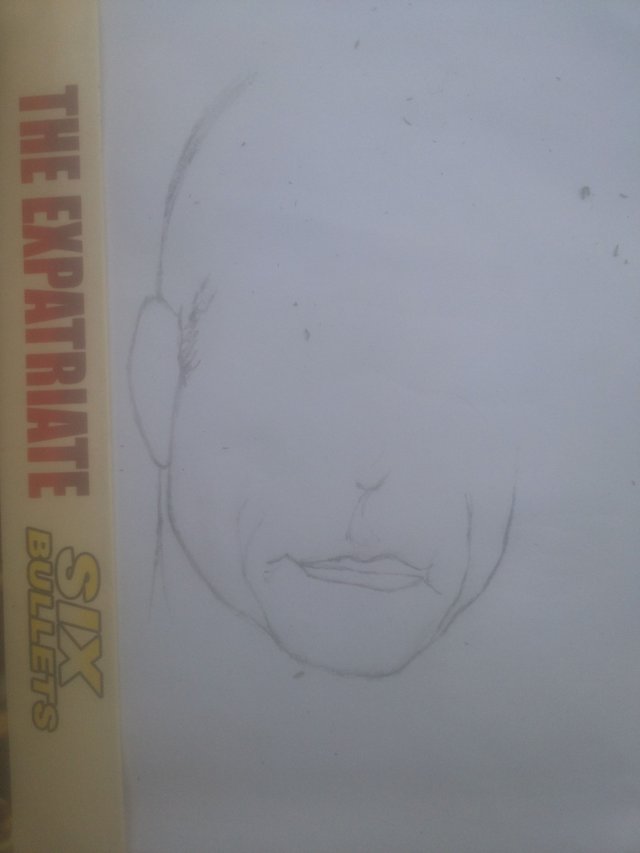
Then I draw both nostrils still drawing from bottom to top. At this stage, I discovered I had to start shading because the nose is mostly made up of shades and not lines.
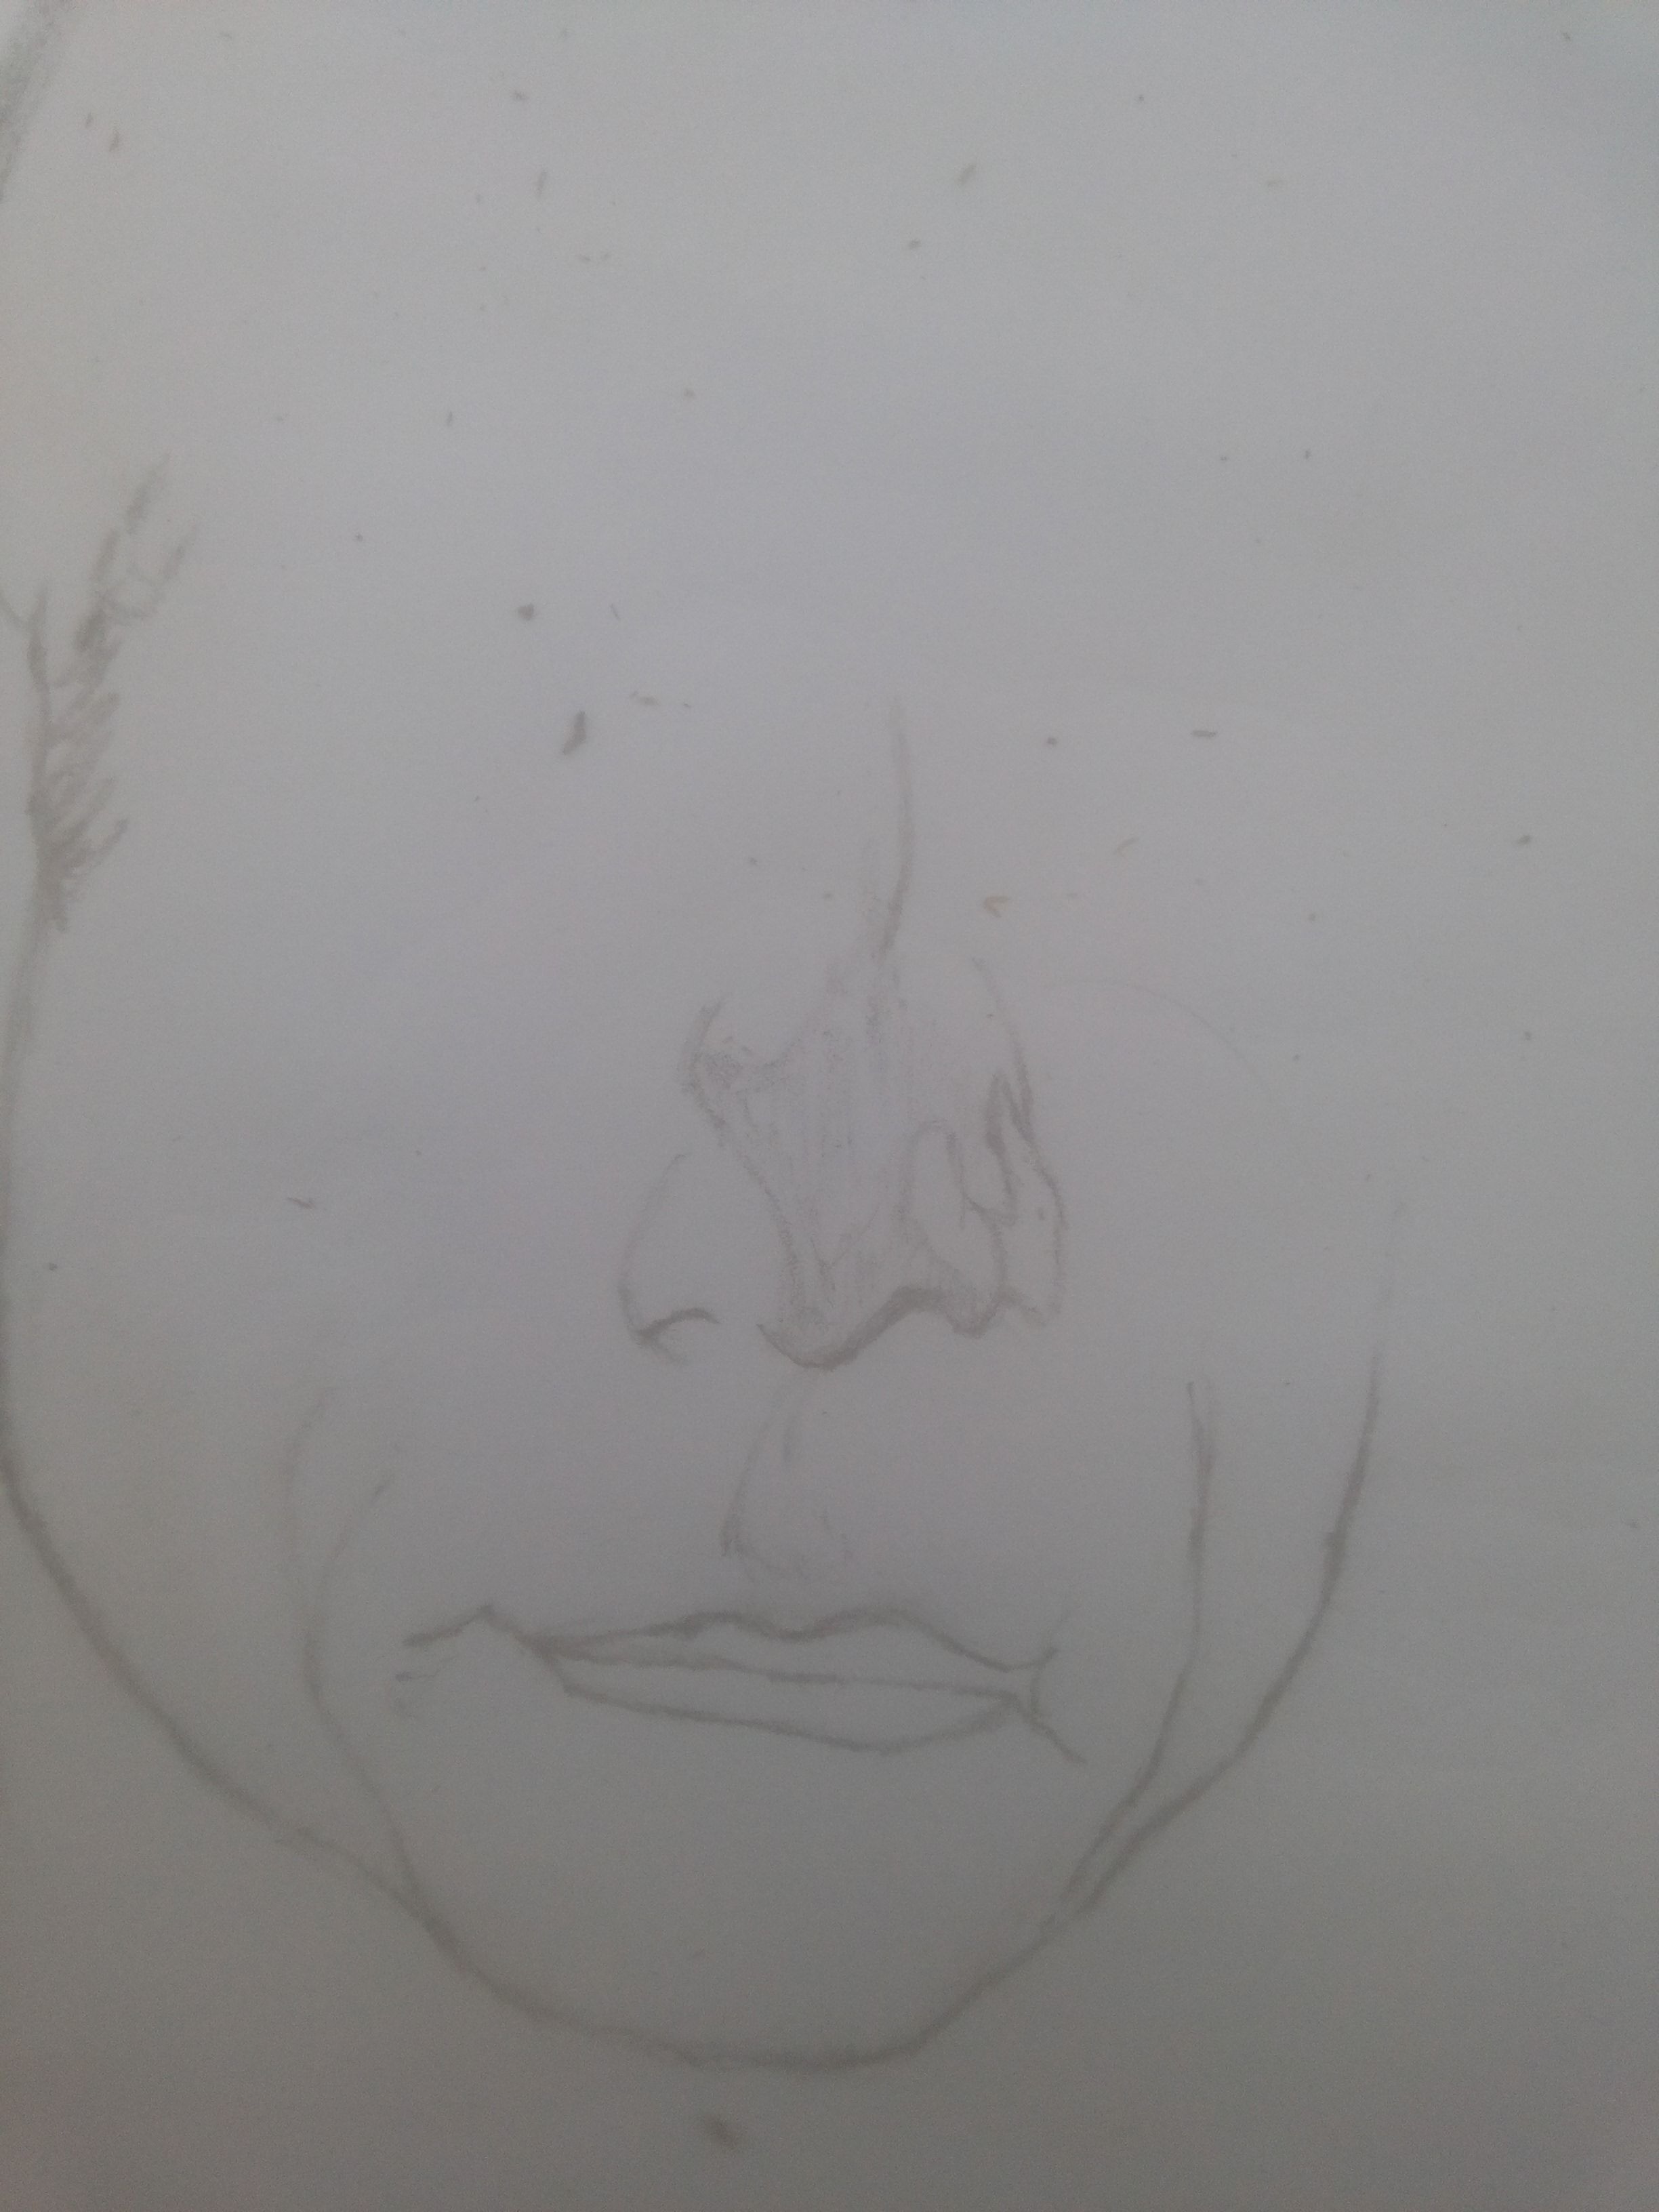
After drawing the outline of the nose, I move on to the eyebrow and then I draw the side of the face upward and then the ear.
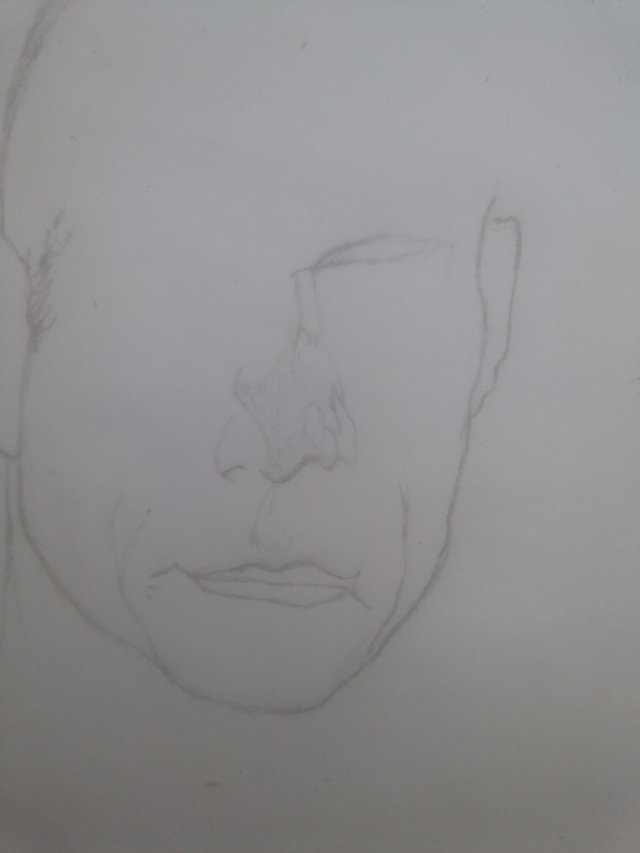
After this I begin to draw the outline of the eyes. This is a very important part of the drawing because the eyes are more or less our most distinctive features and to get a drawing that looks like the image I'm drawing from, I have to get the eyes right.
Carefully, I draw the eyes and then the lines of all the facial features below the eye
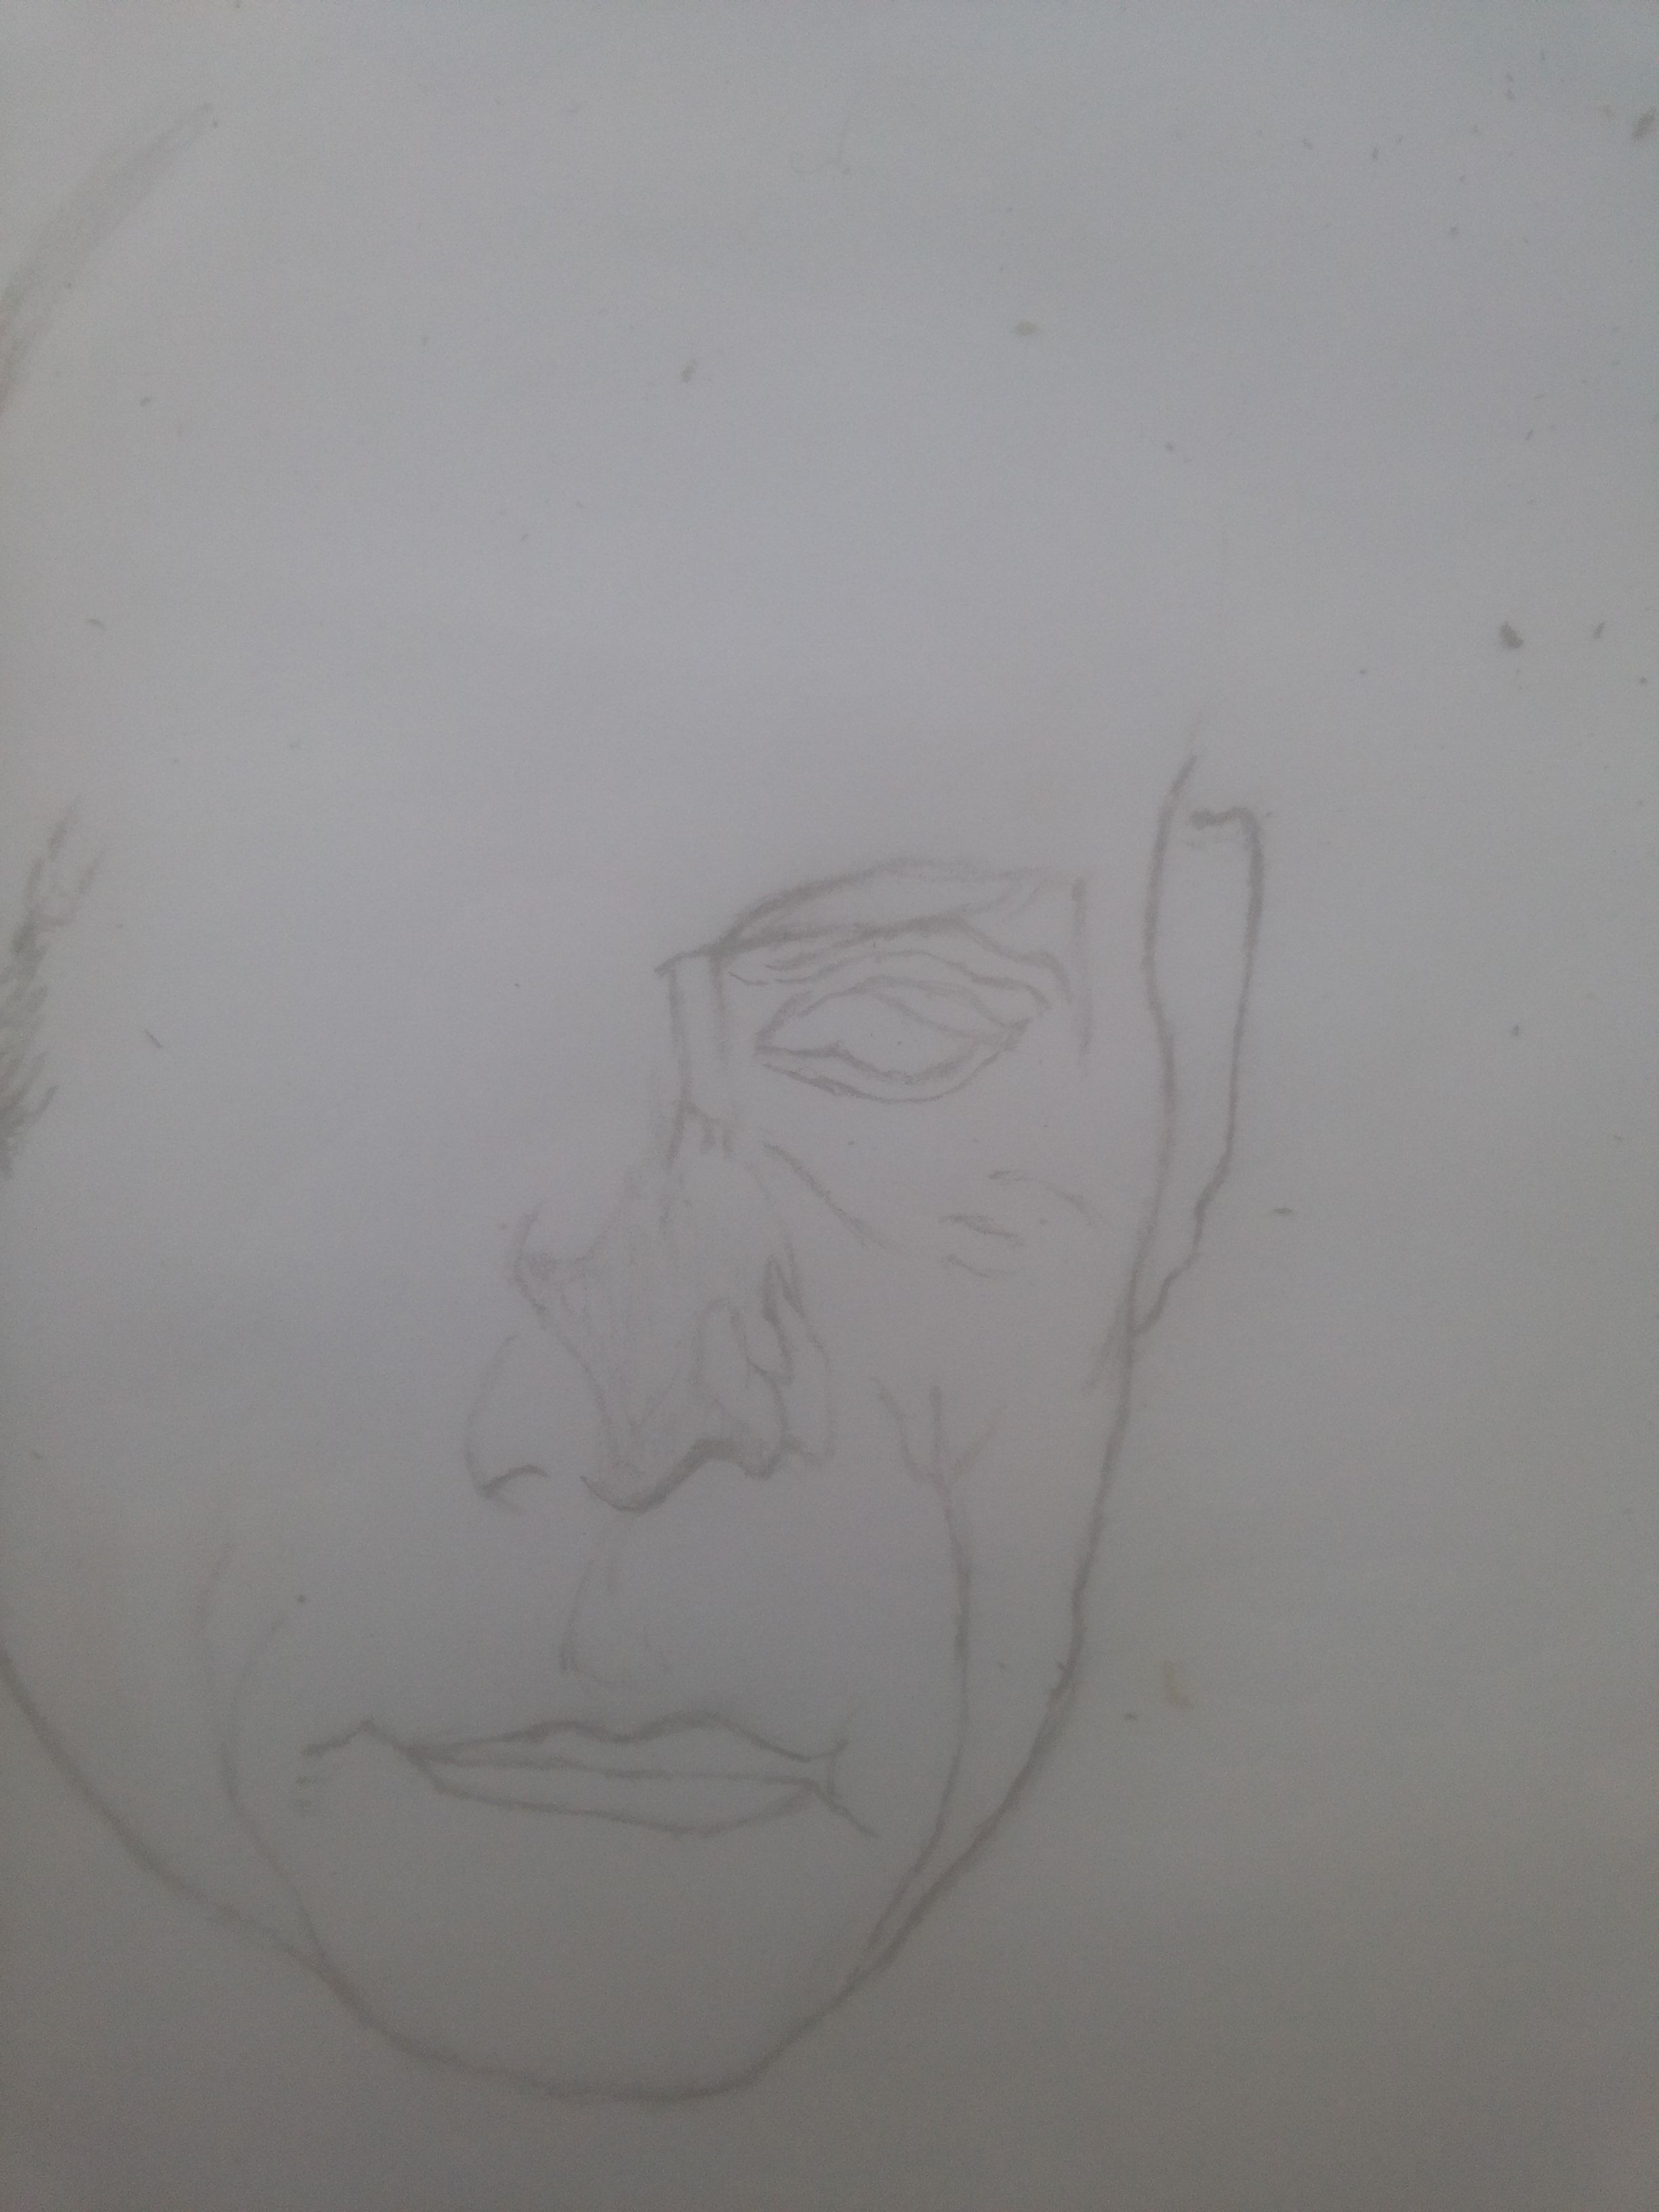
Once again, drawing body parts in relation to one another is important. I have to draw the other eyes in relation to one another and I do this by drawing the crease between both eyes.
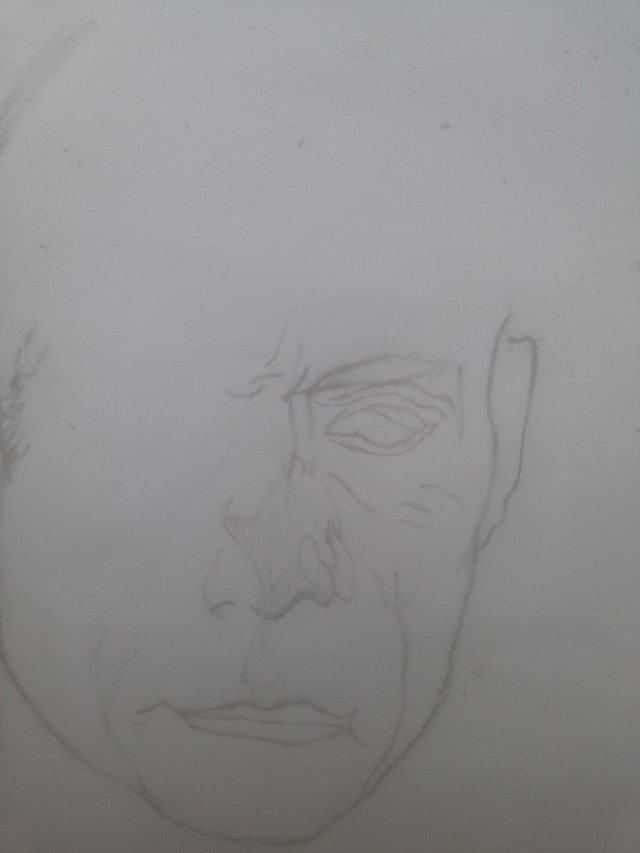
After drawing the crease, the rest becomes easy. All I have to do is draw the outline of the eyebrow.
After getting the eyebrow right, I start to draw the eye in relation to the ear. With this, I'm able to perfectly position the eye. After this I draw the lines that from features around the eye and then the eyelashes beneath the eye.
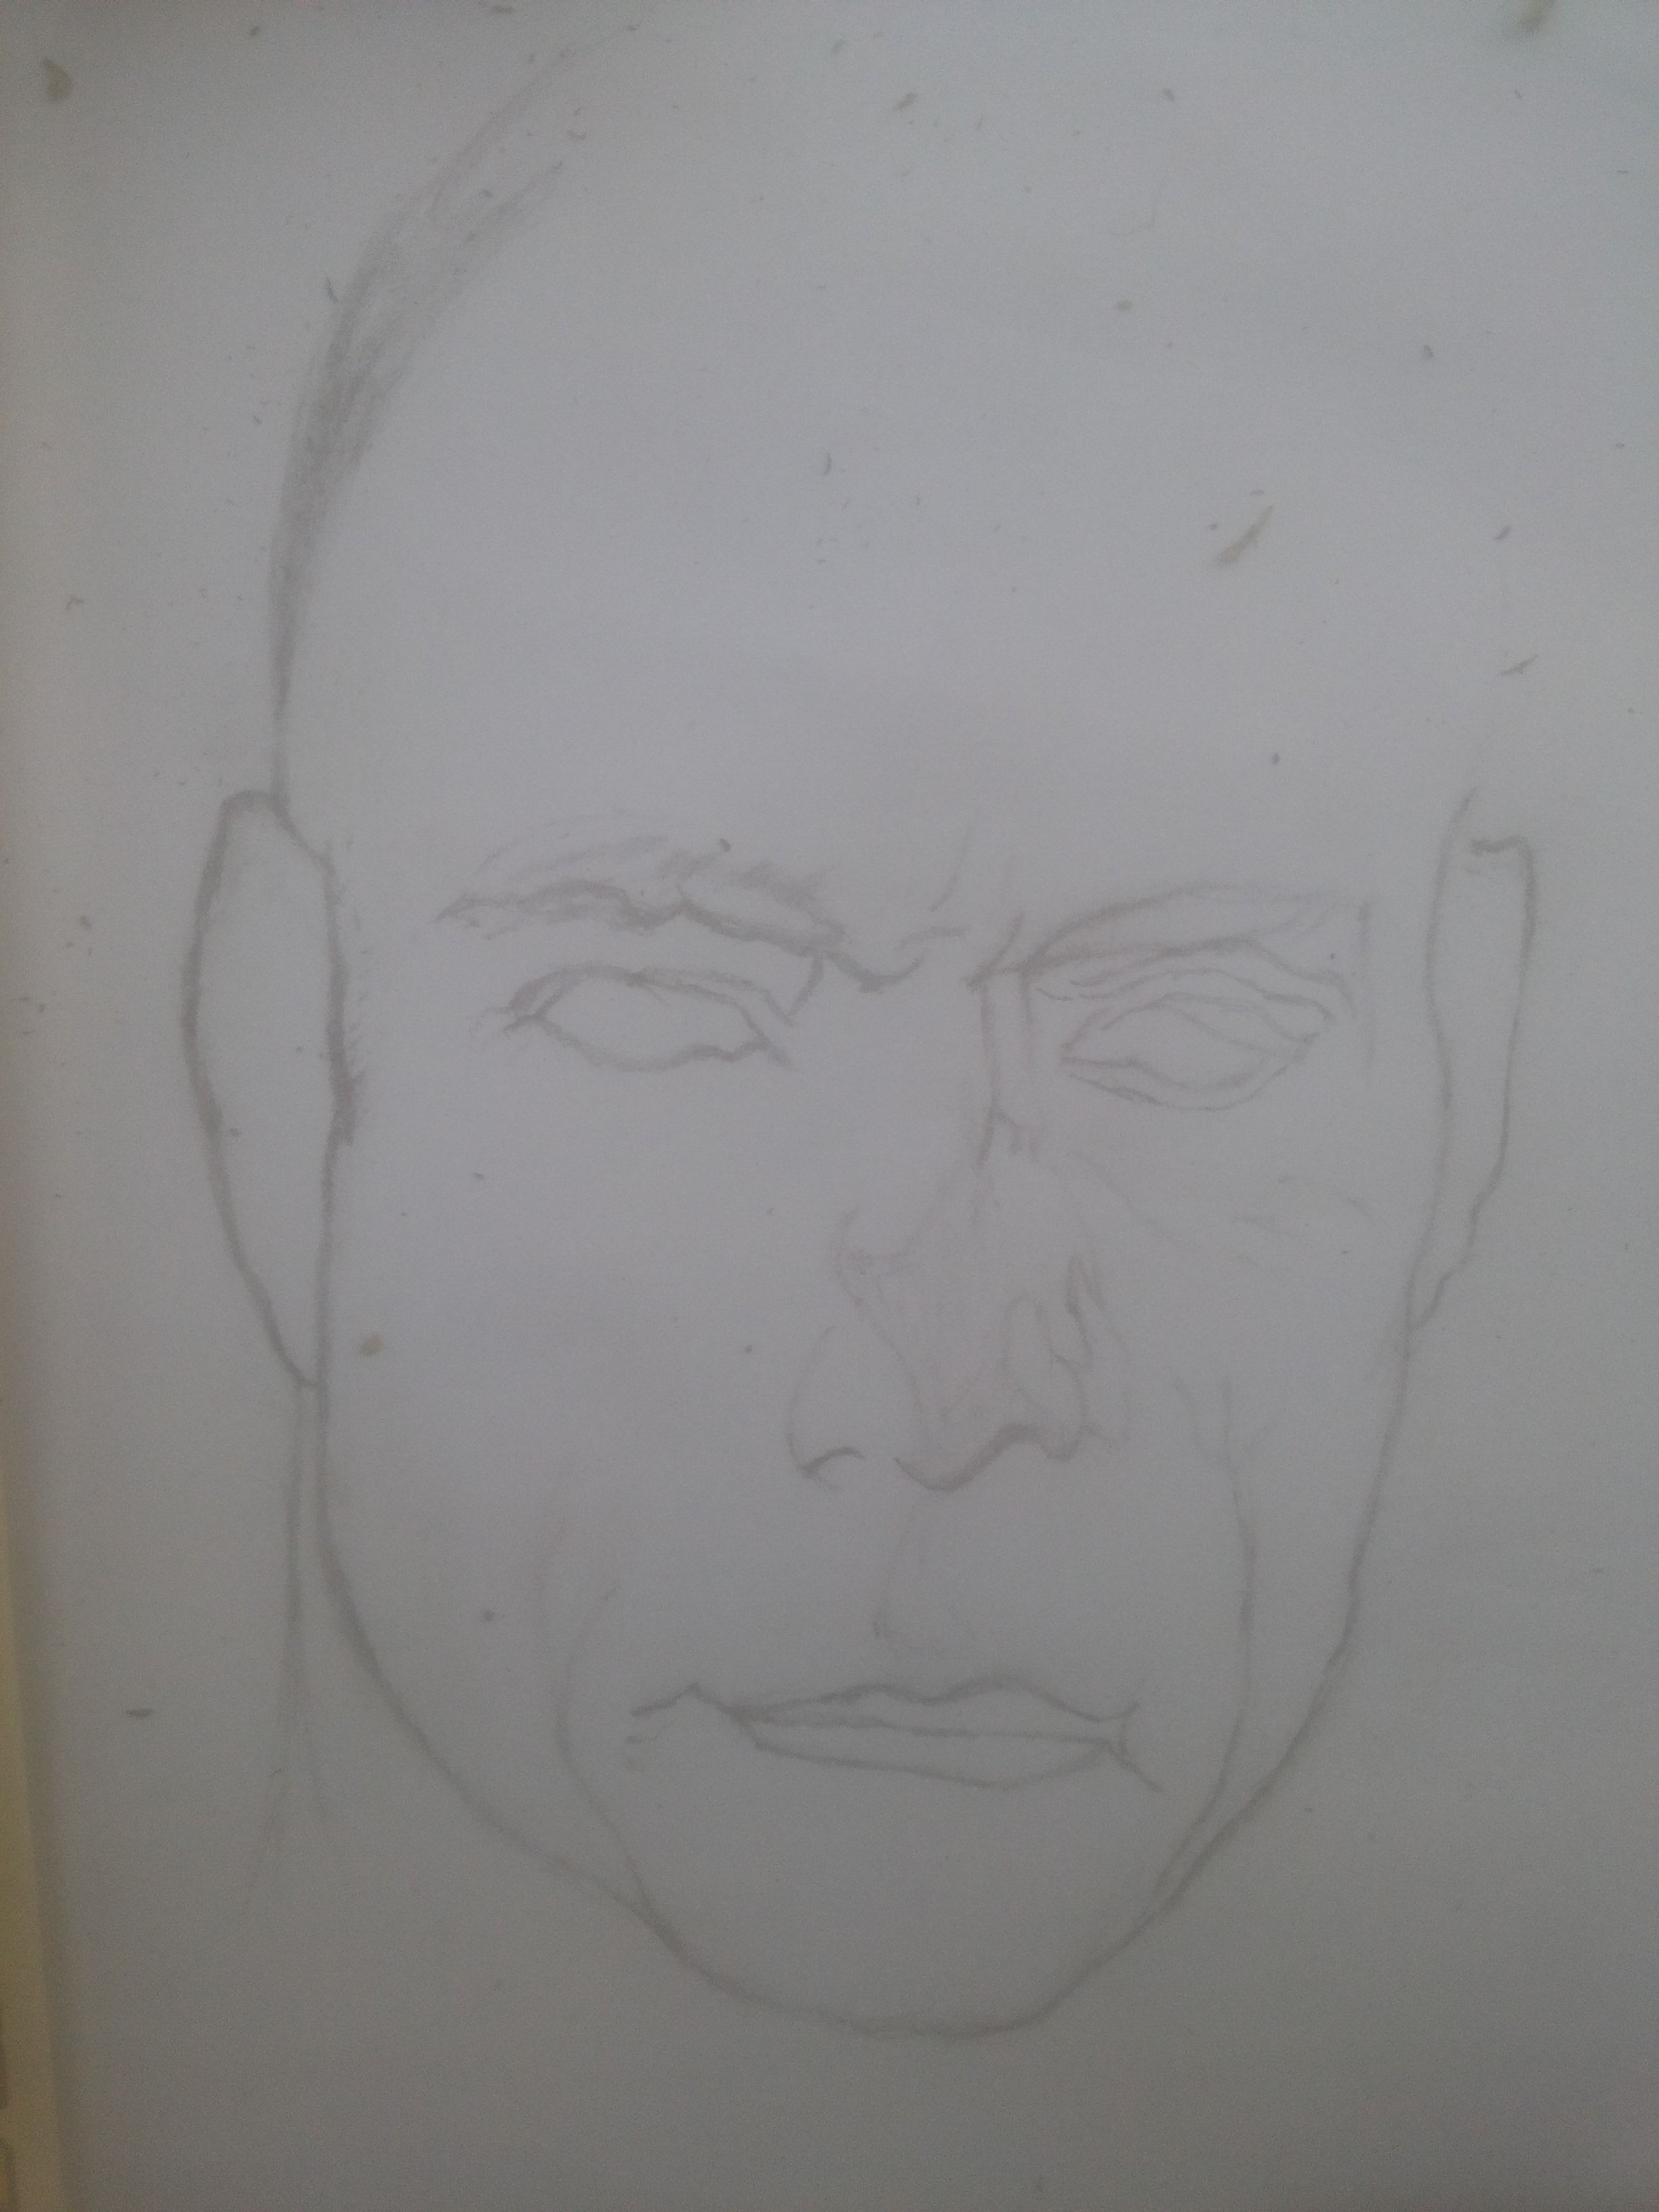
Now, I can move on to the hair. I start from getting the outline and the shape right. Still drawing from bottom to up. Right up till now, I'm still using light lines for everything.
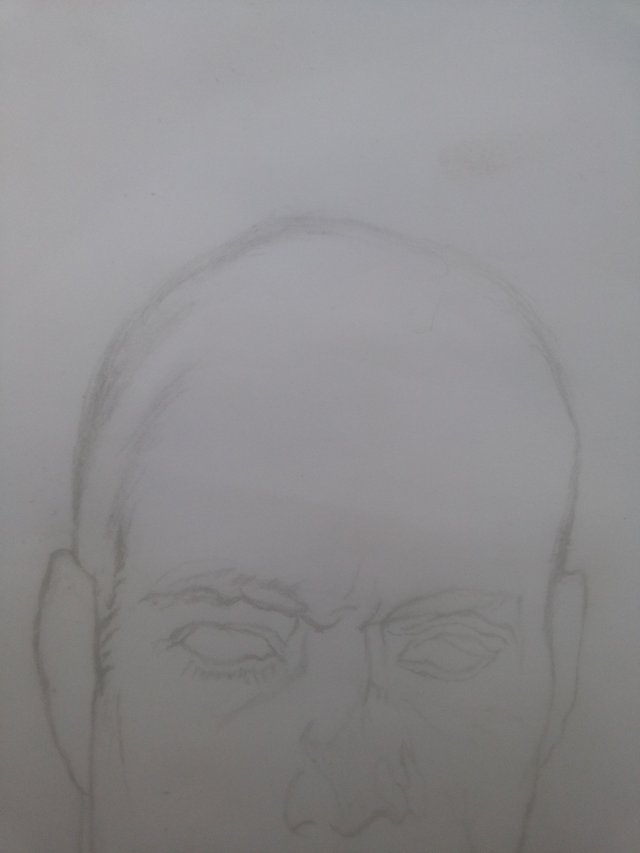
After completing the outline of the hair. I start to draw the creases on the forehead which are another important facial feature that might not necessarily determine whether the picture looks like Van Damme but rather makes me get the frown on his face. So I strive to draw the lines to look as similar as possible to the one on his forhead. Notice that I'm still using light lines
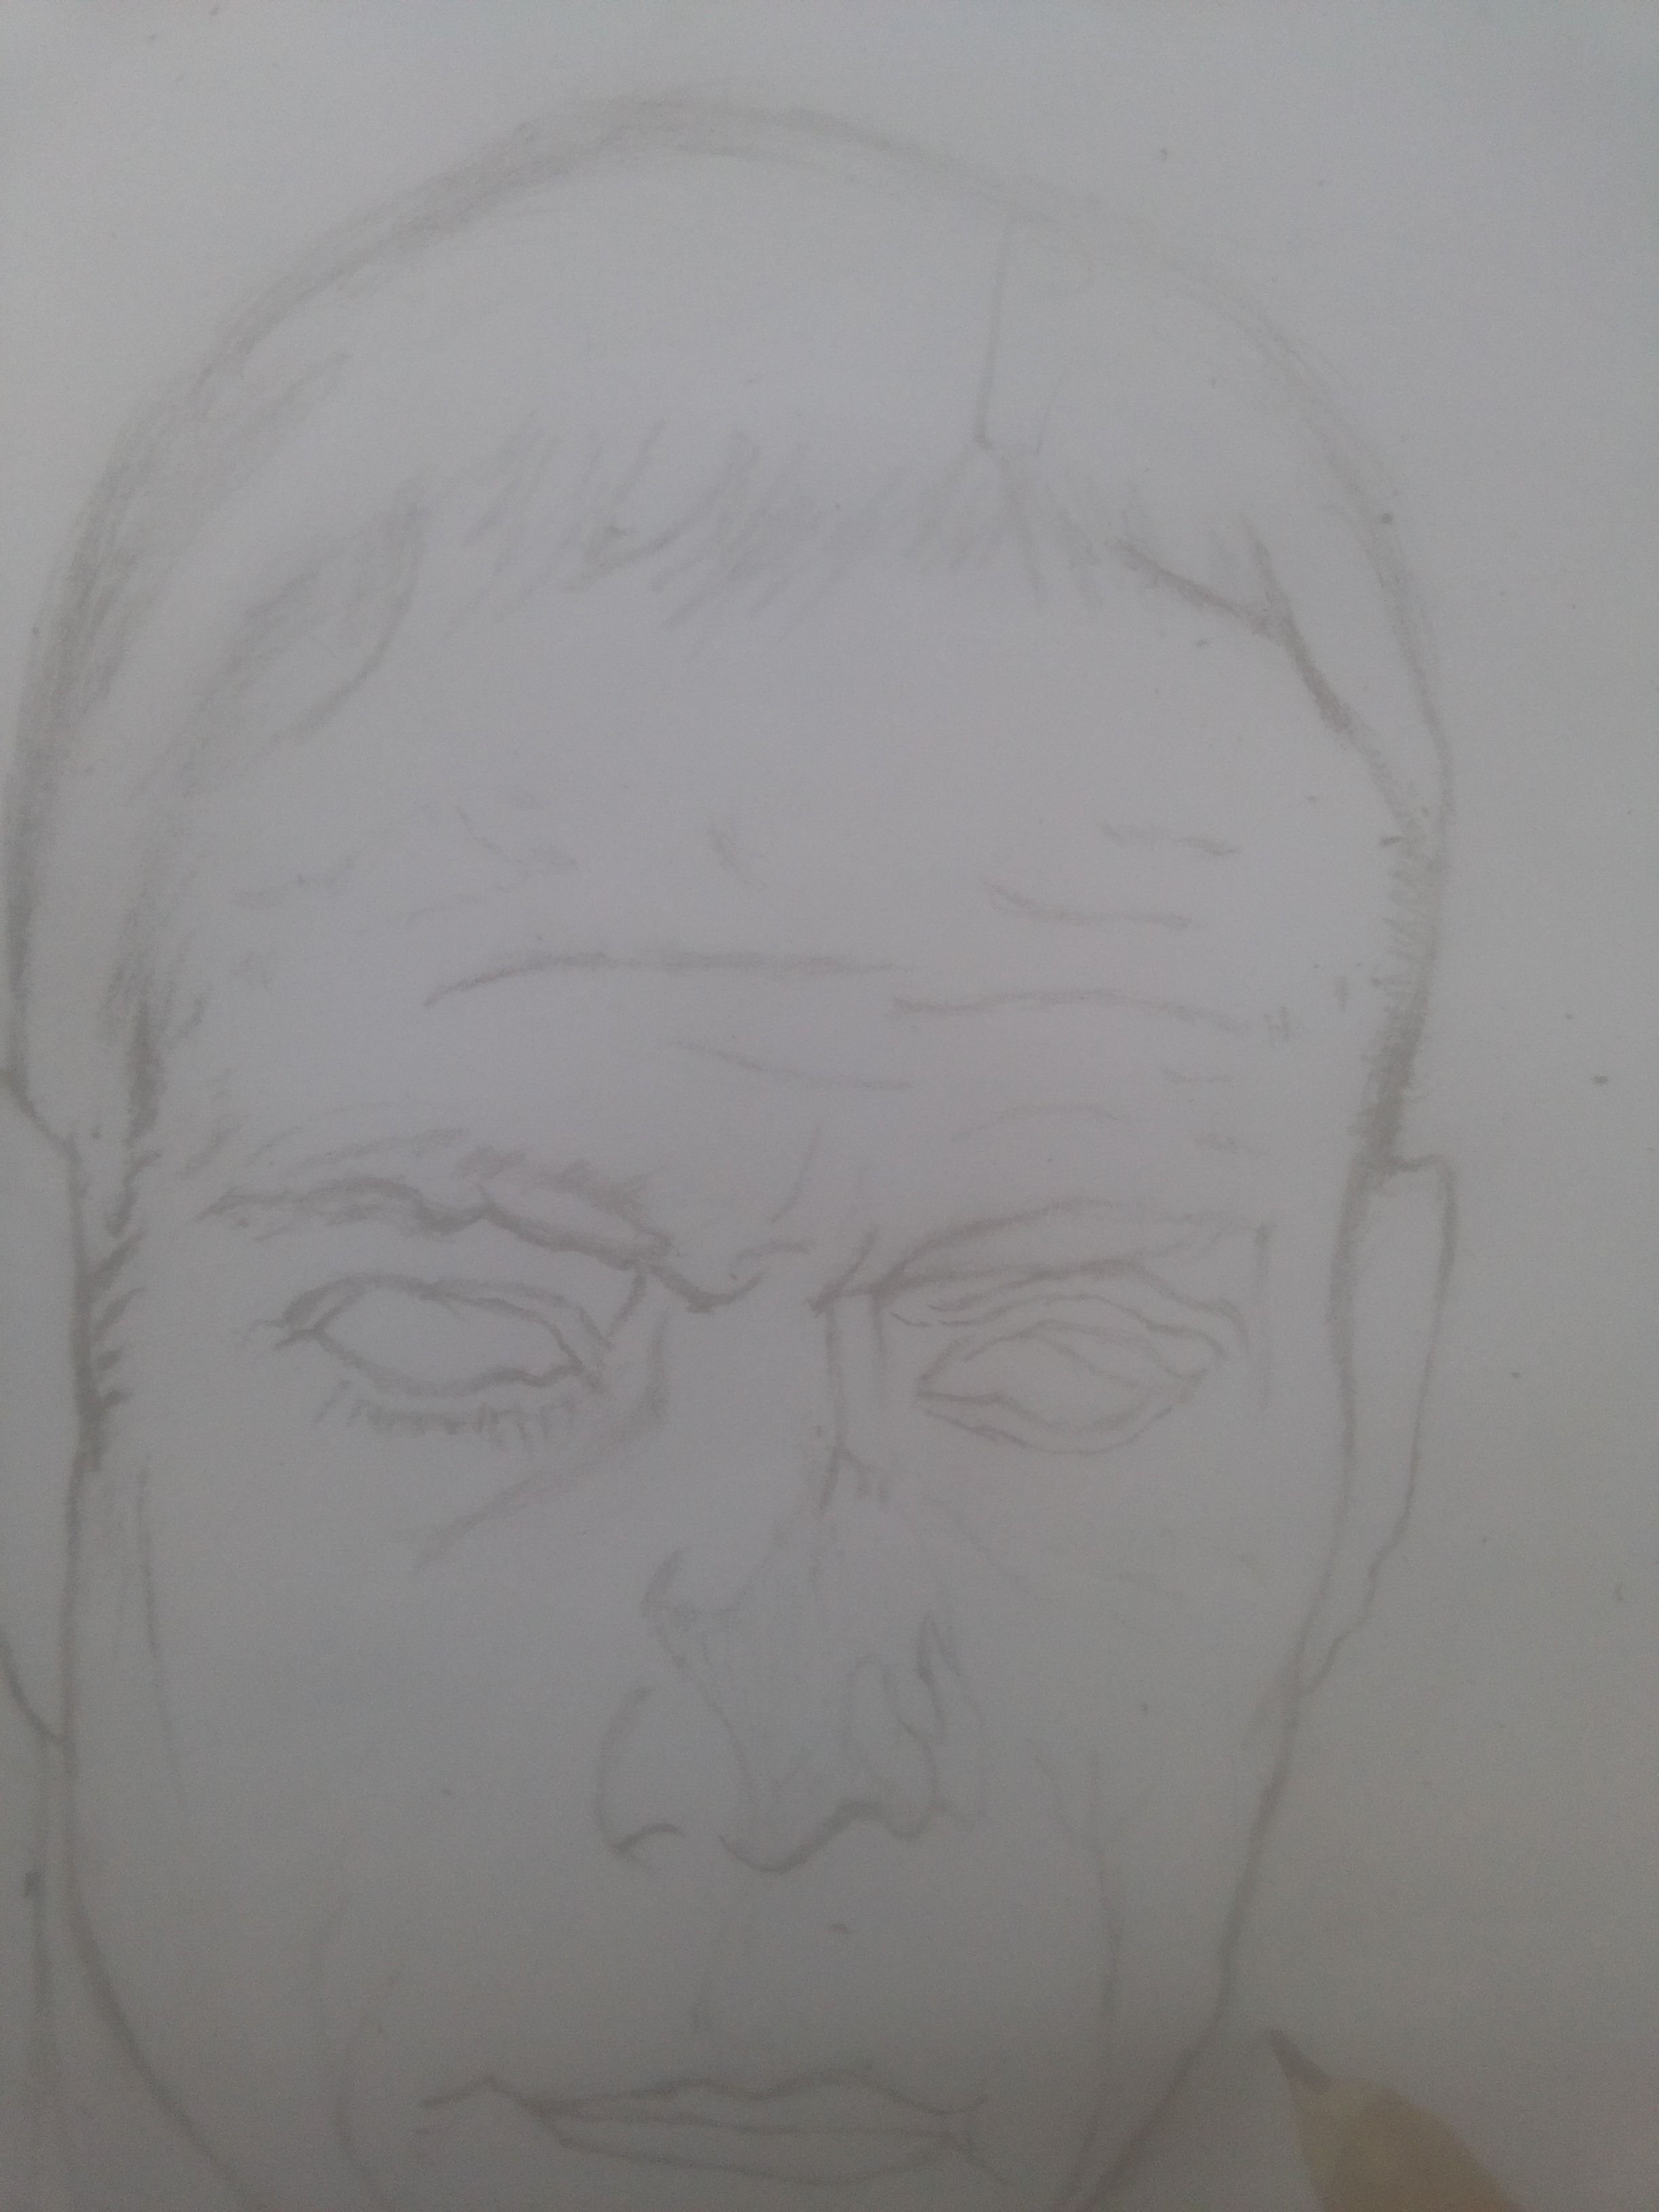
Light shadings
From this stage, I begin to do some light shading as it is important to get most of the other facial features which are in shades and not lines. I need a lot of focus to do this and as a result, I do not take pictures during this process, however, here is a picture I took after I was done.
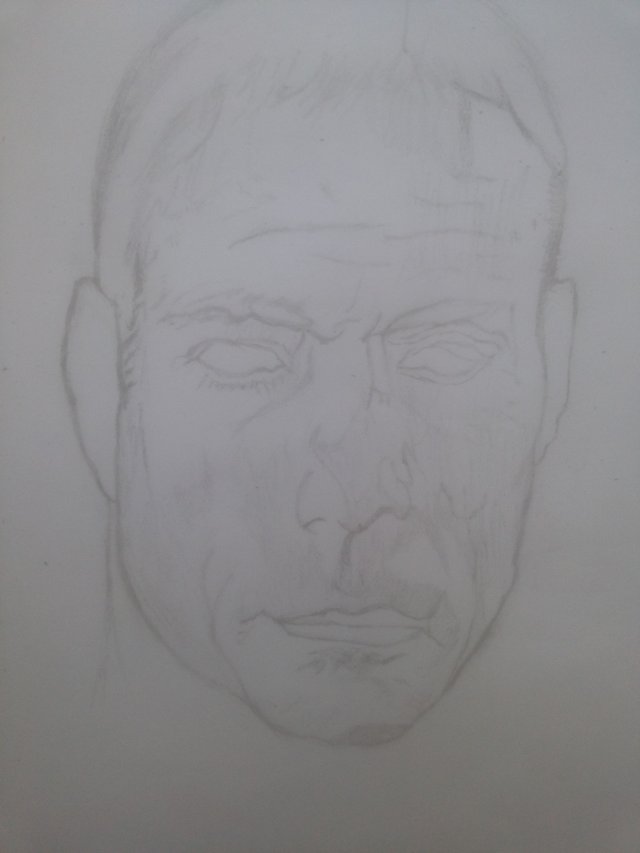
The Real Deal
After getting all the outlines right, this is where the real work begins. This is what actually determines whether I'll have a good image or not. Let's get to work, shall we?
So I start by completing the ears. I draw the earholes and all that.
Shading
After getting the ear right, I can now begin to shade. I start my shading work from the eyes. I've already shaded lightly before but now I start to make deep shades.
This is where charcoal comes in..
How to Use Charcoal
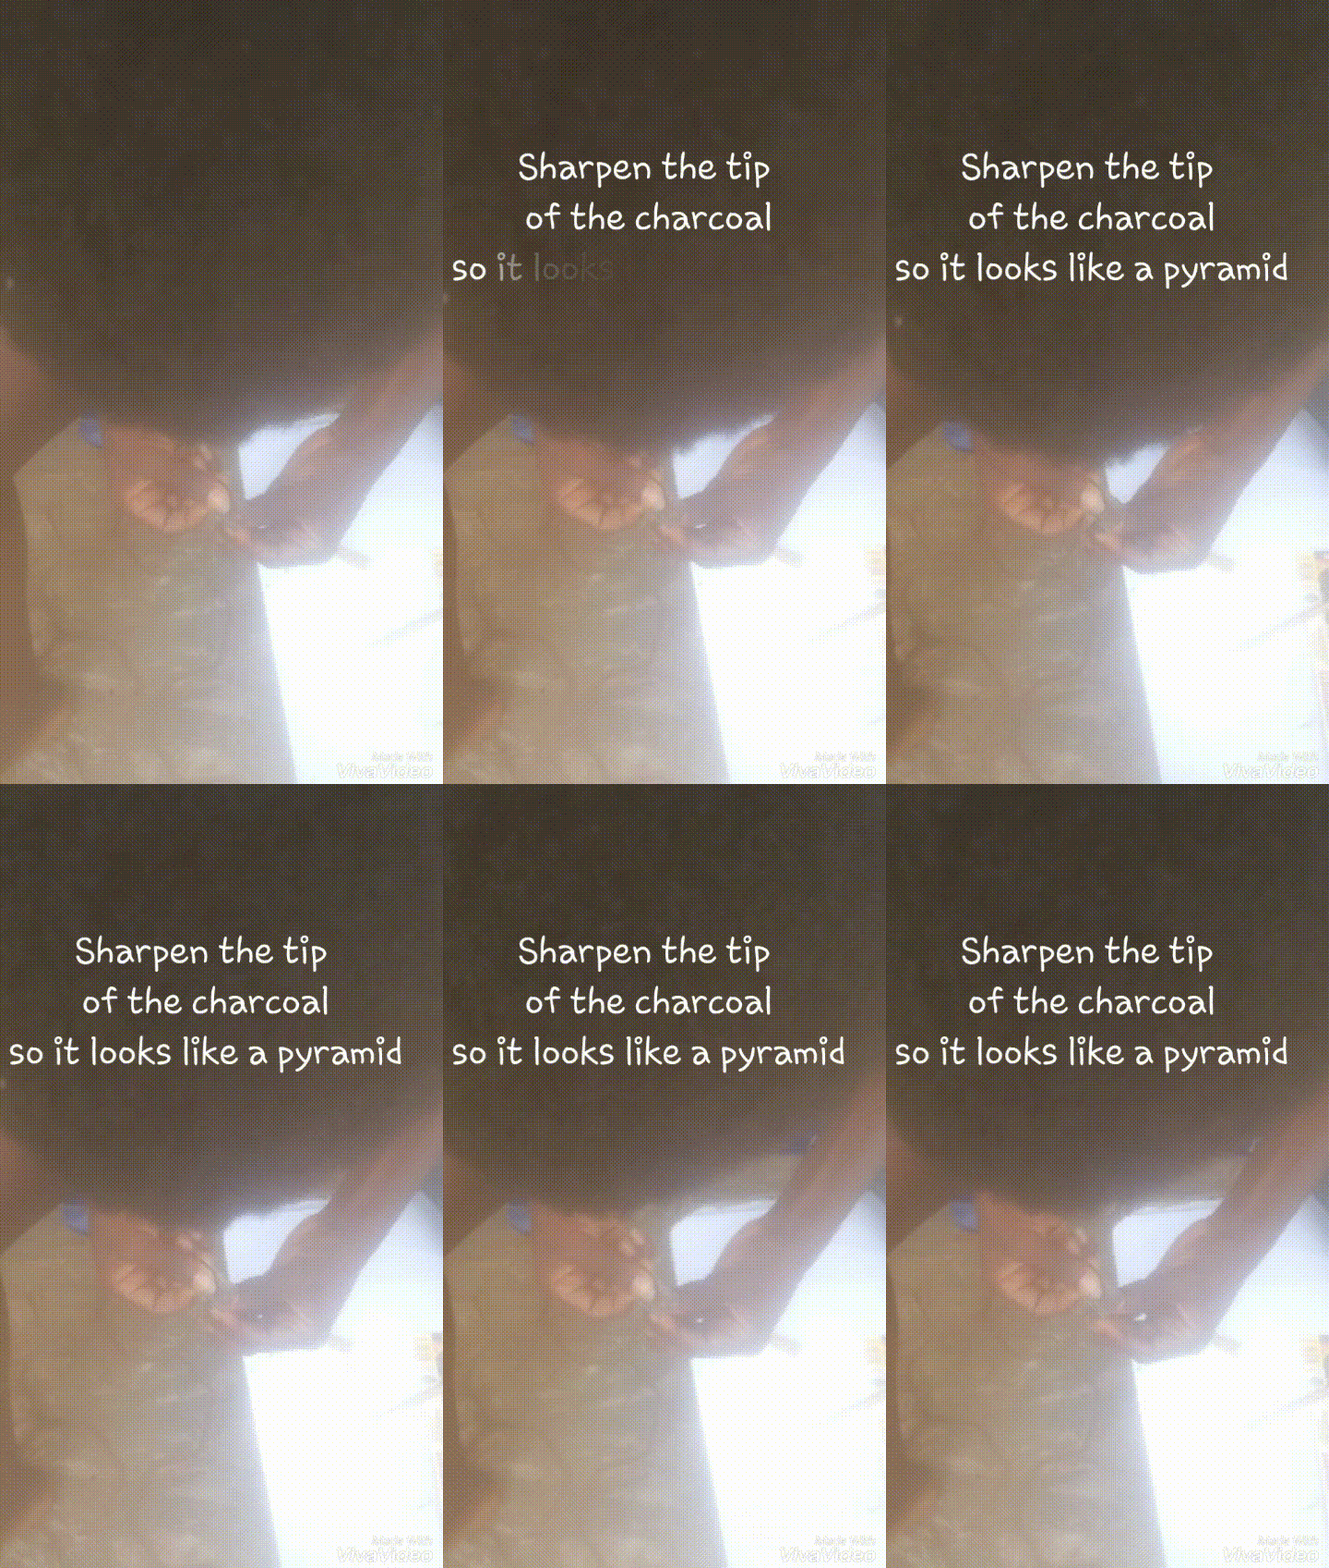
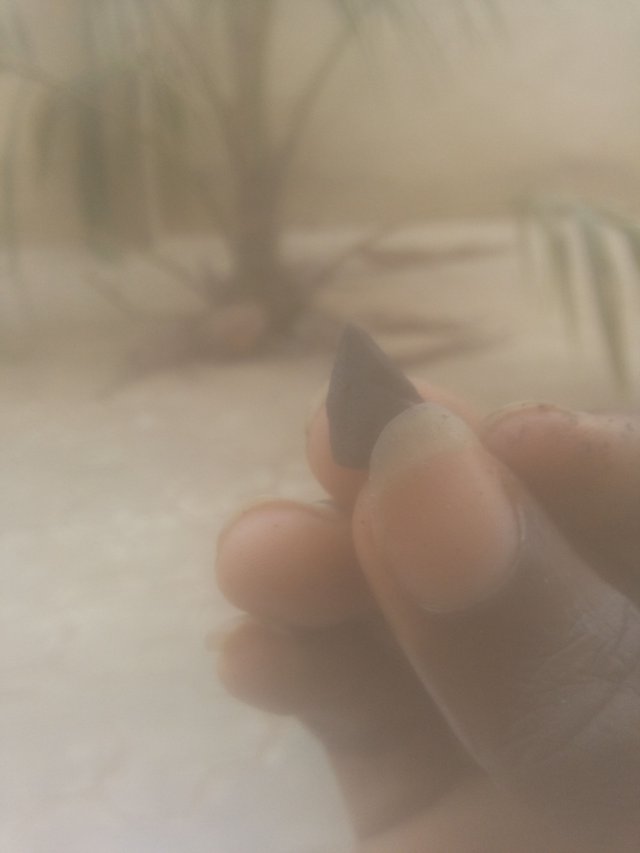
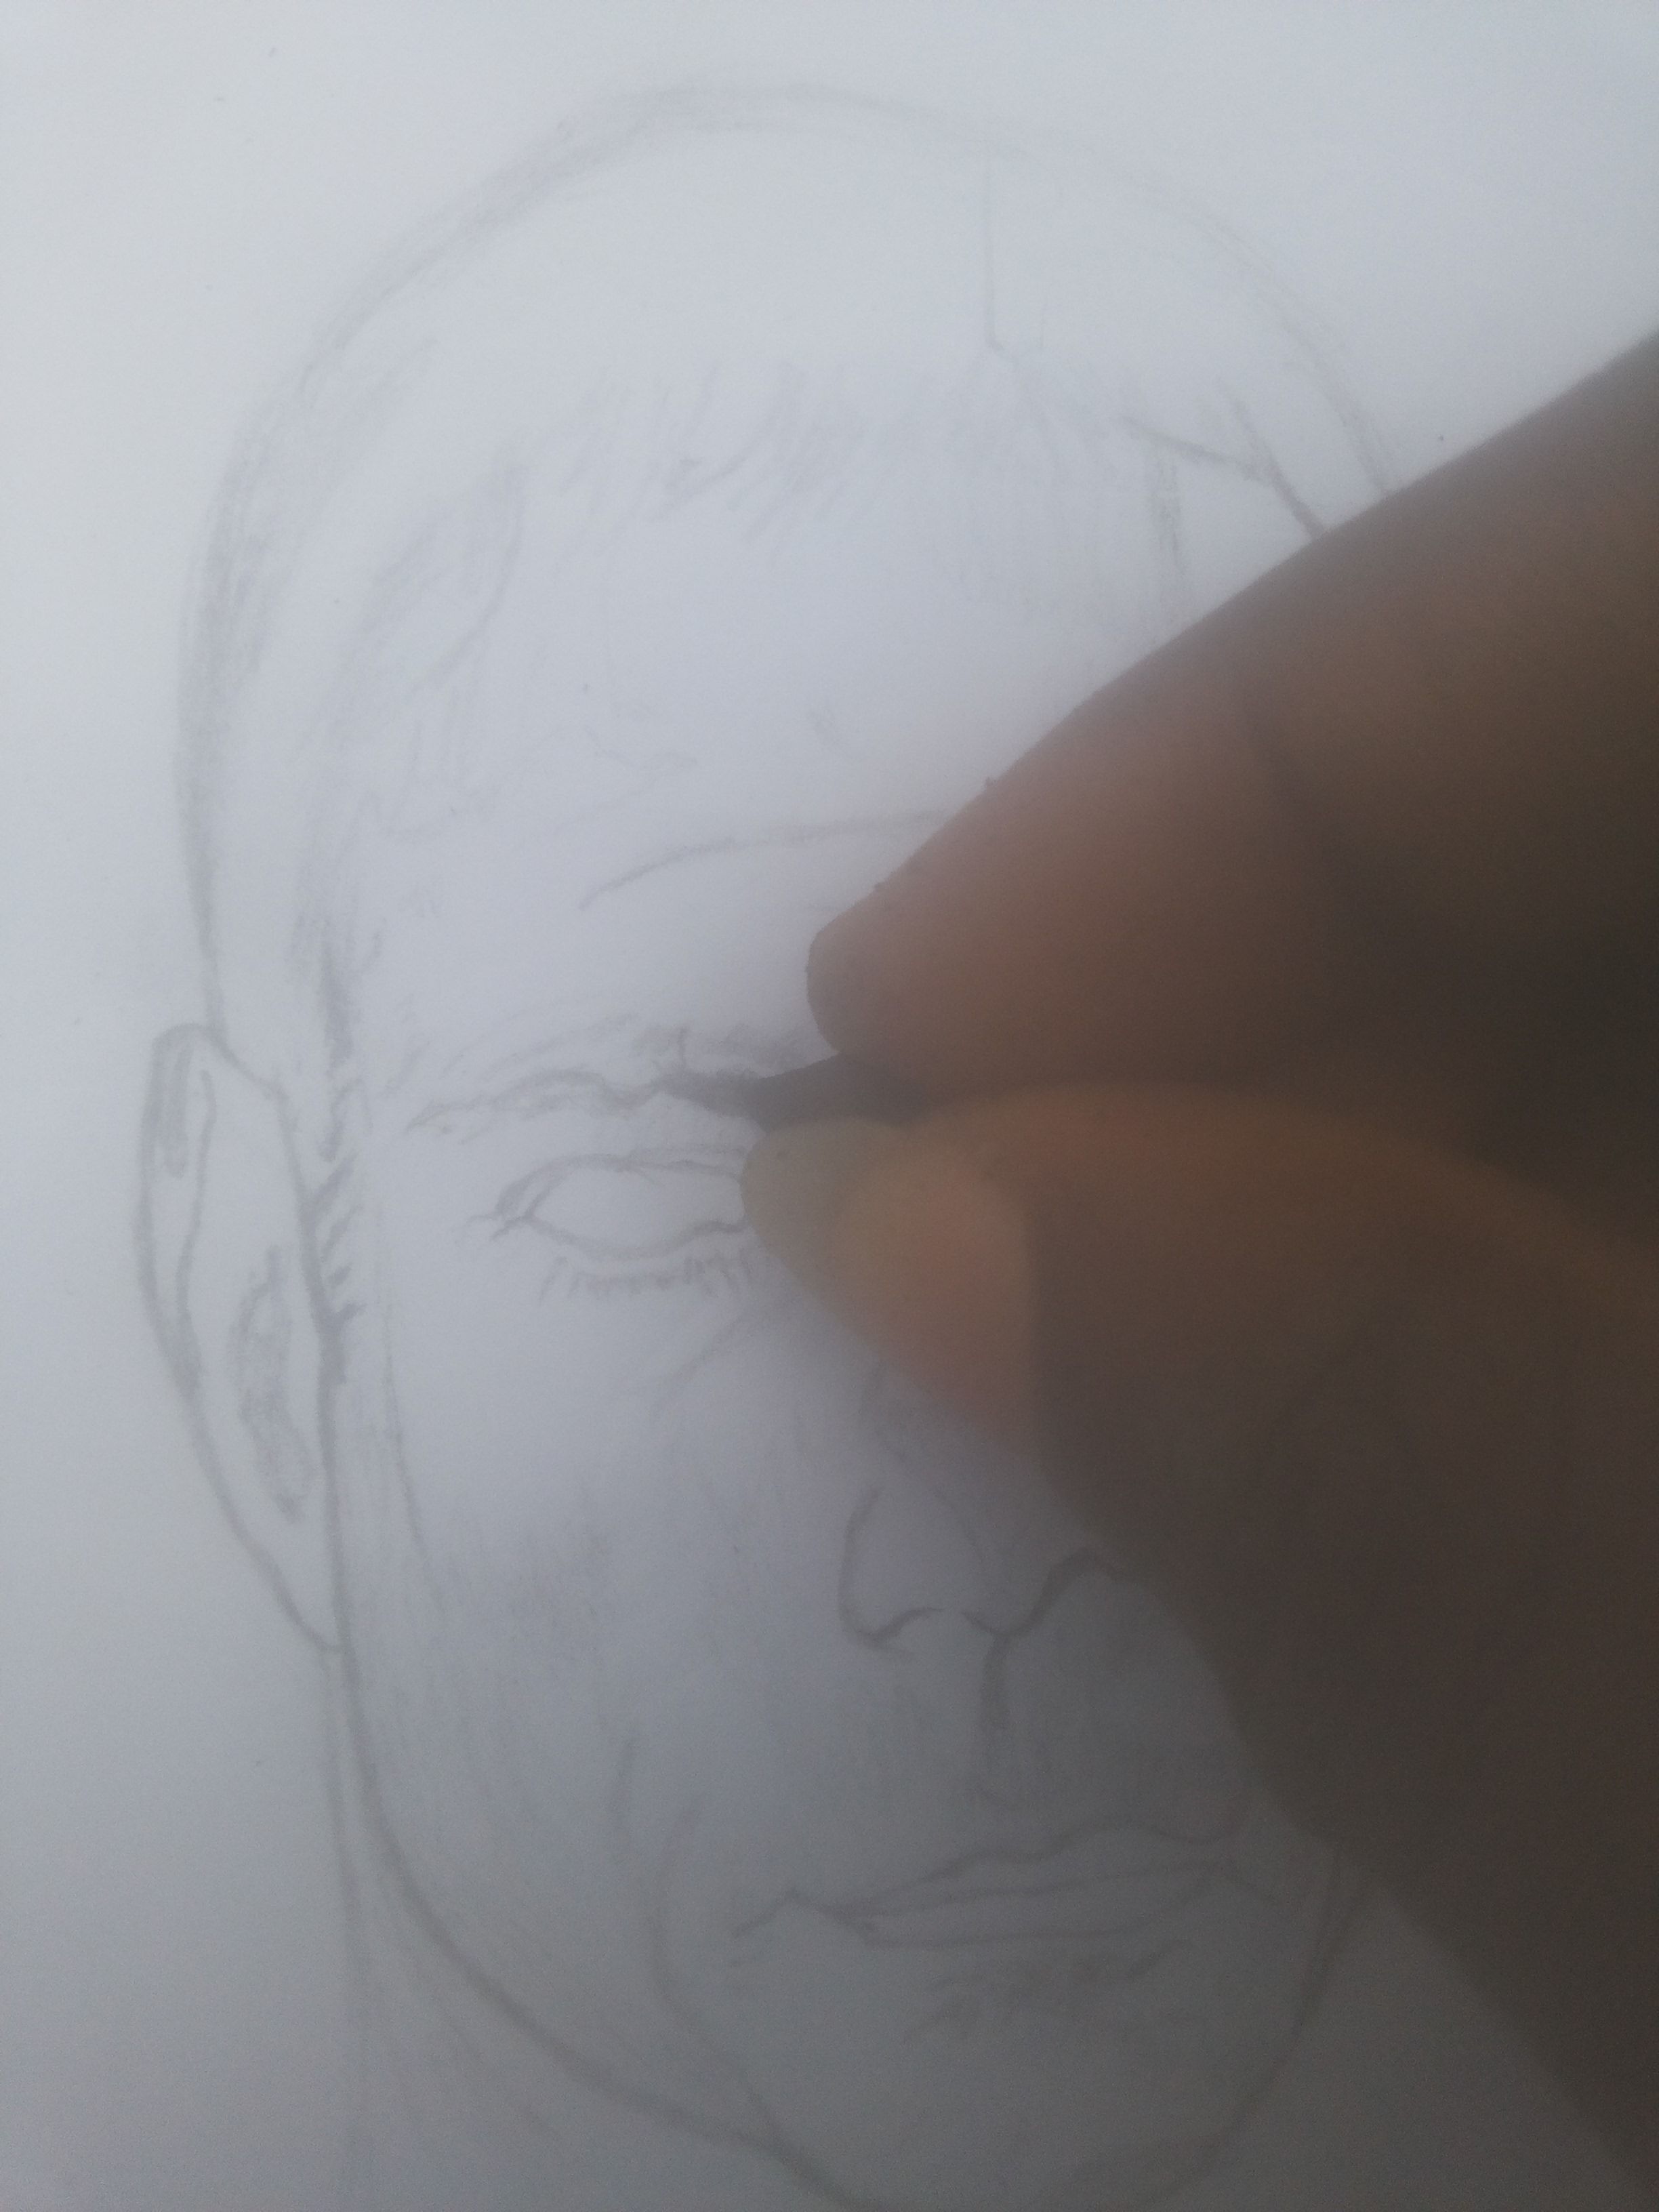
The first thing I do is to sharpen the charcoal to look like a pencil or a pyramid with a slightly pointed tip.
Next, I shade the eyebrows with the charcoal and after this I run over the shading with my Pencil. This gives it a deeper outlook
Back to Drawing
So far so good, the drawing seems to be coming out well. Now we're at a very critical stage. Remember what I said about the eyes being the most important feature? Well, what really makes the eyes important are the pupils and we've reached the time to draw the pupils. I need to position them right in order to get the direction in which he's looking at right
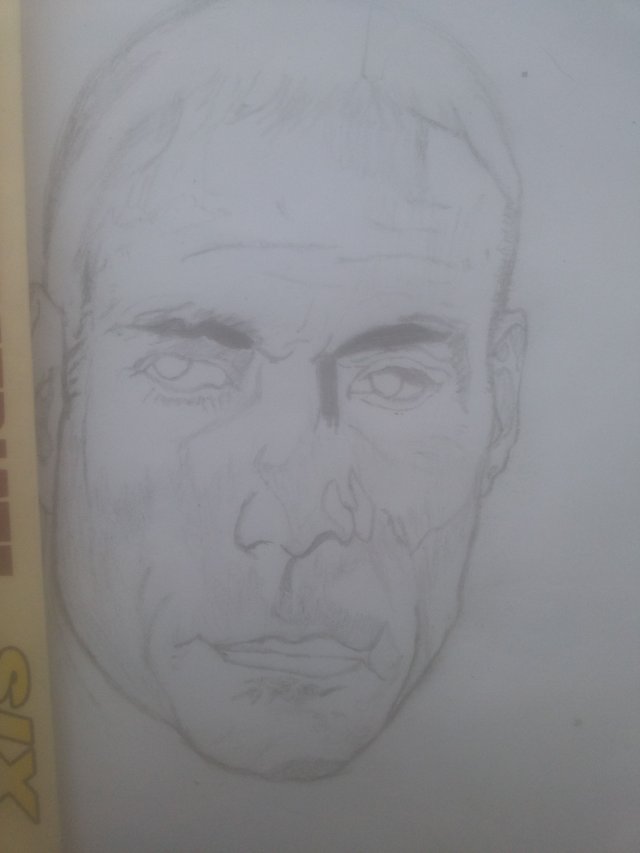
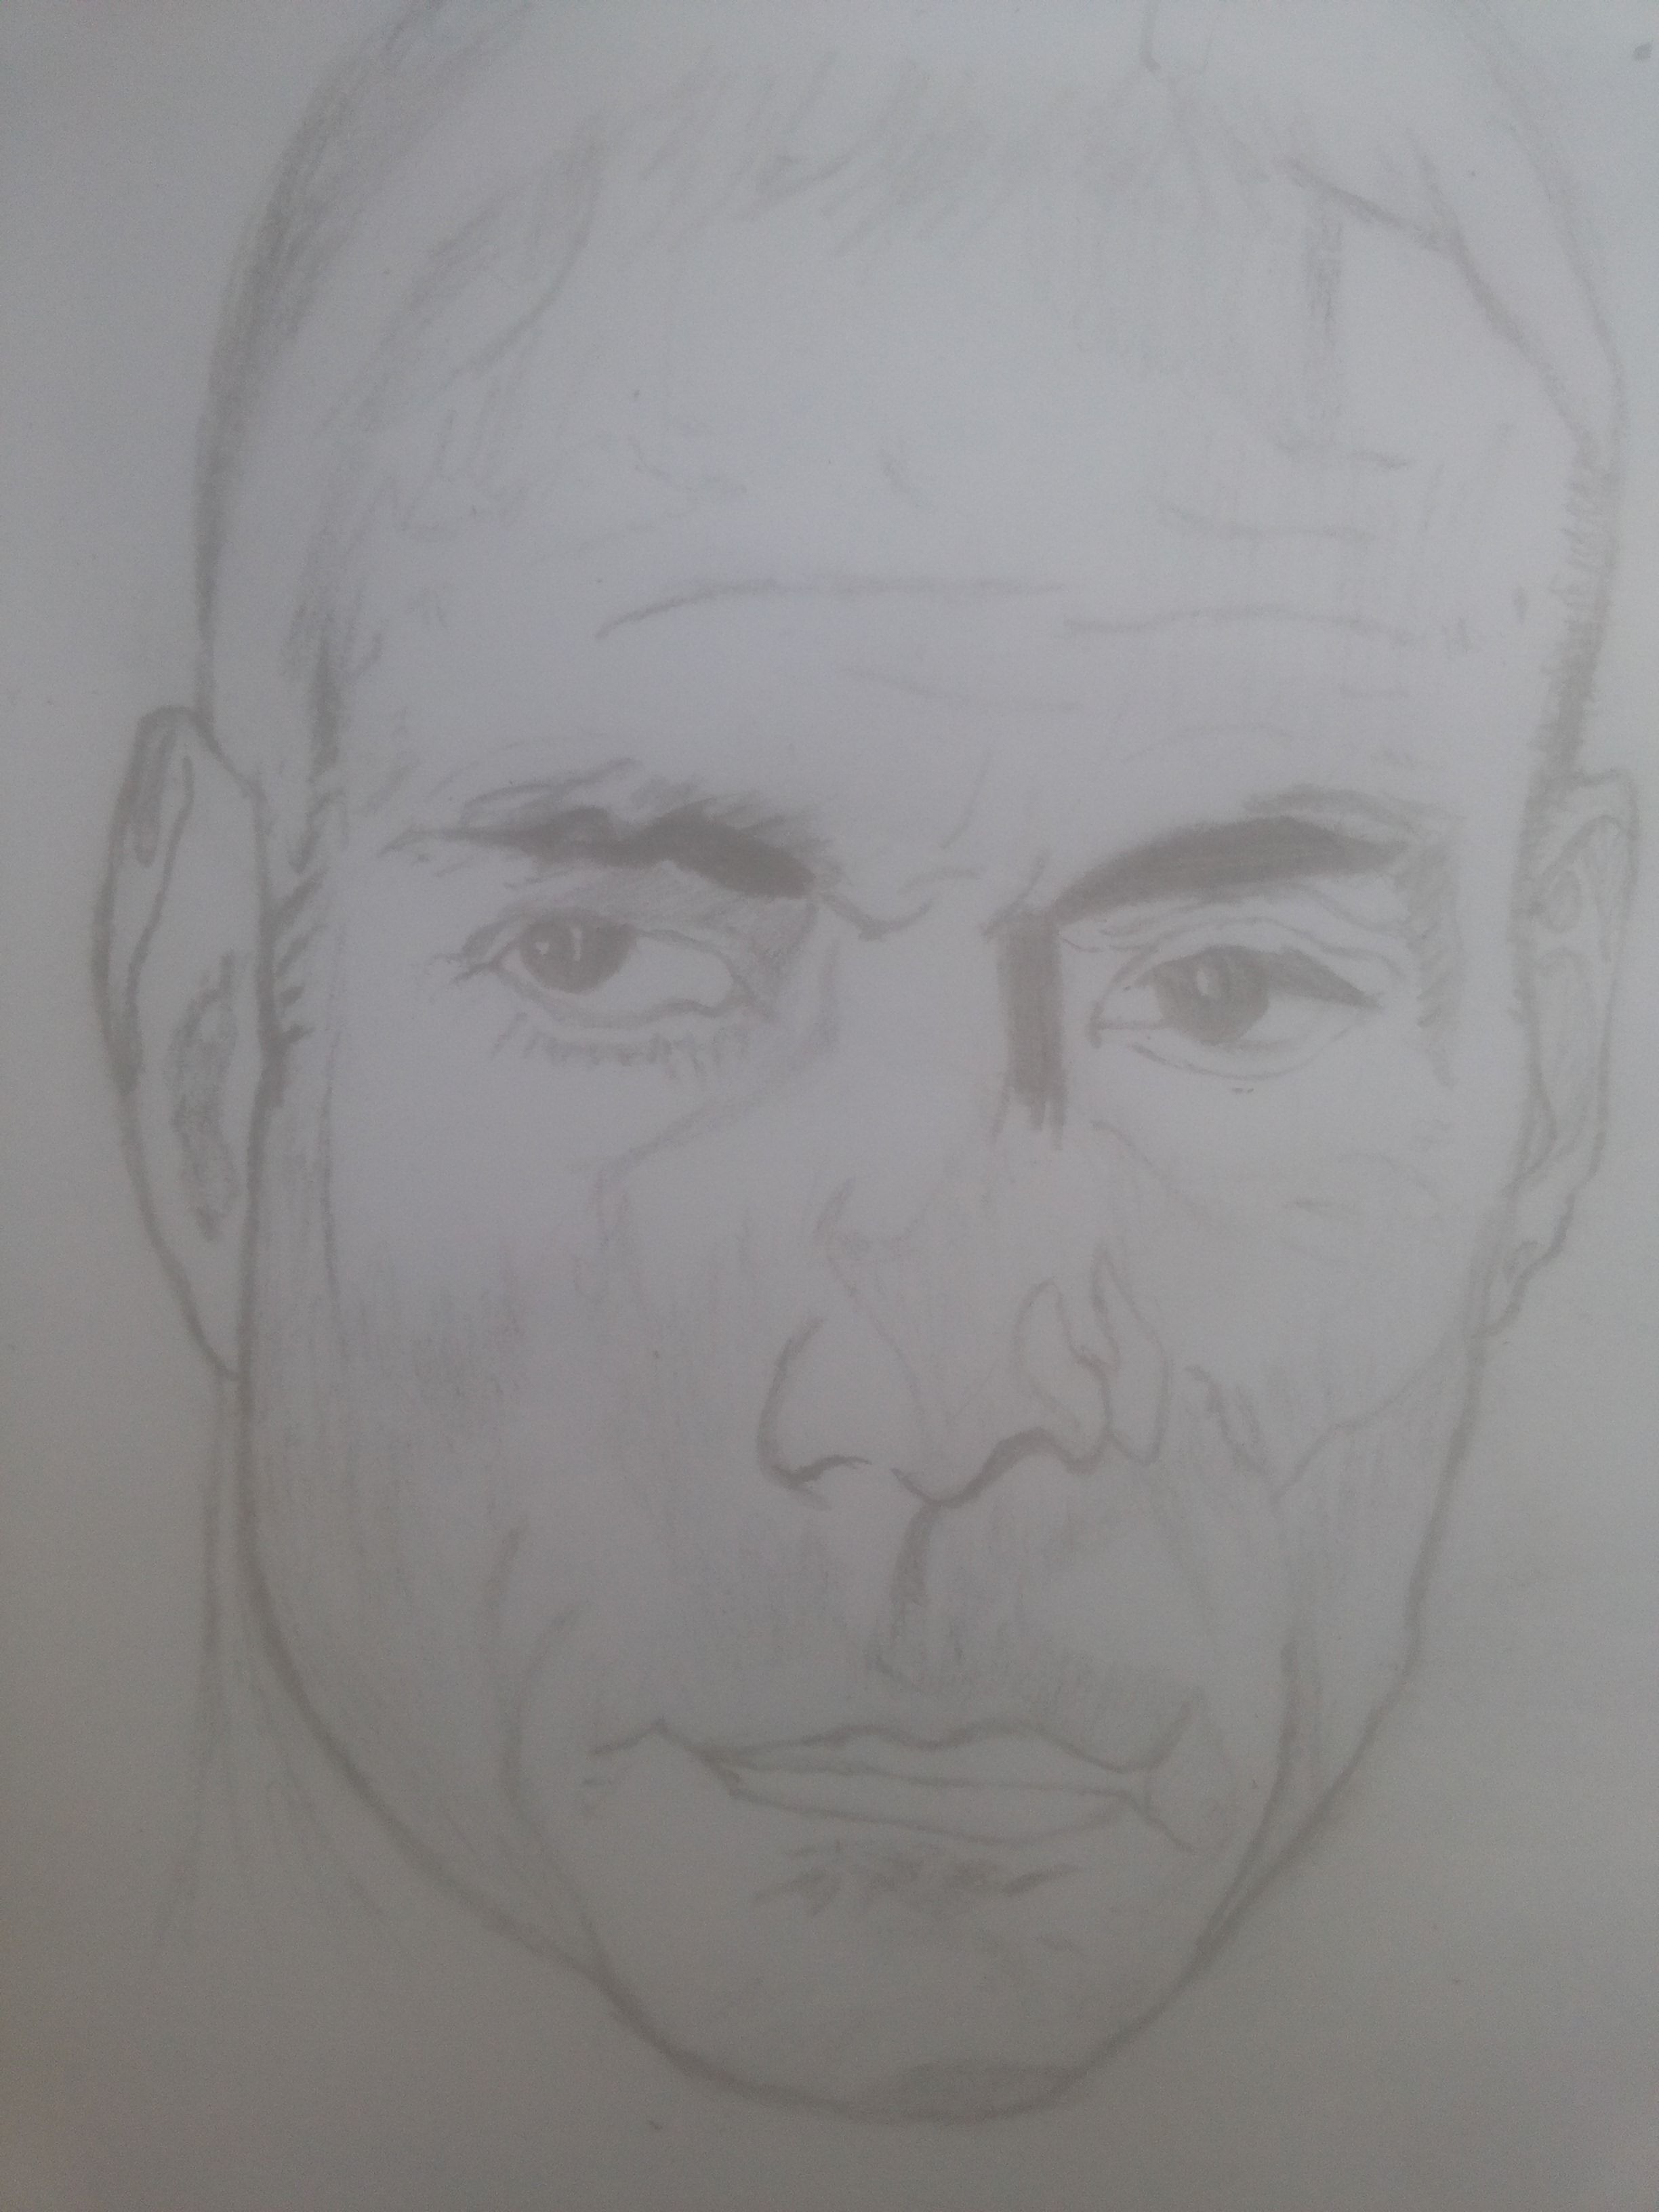
So, after drawing the outline of the pupils, the next thing I need to do is to shade. Now I need to be very careful in doing this because I'm not to shade every part of the pupil.
how do I mean
Light refects on our pupils and makes a sort of white dot where the reflection takes place. When I'm done, the end result looks like this;
Pointilism
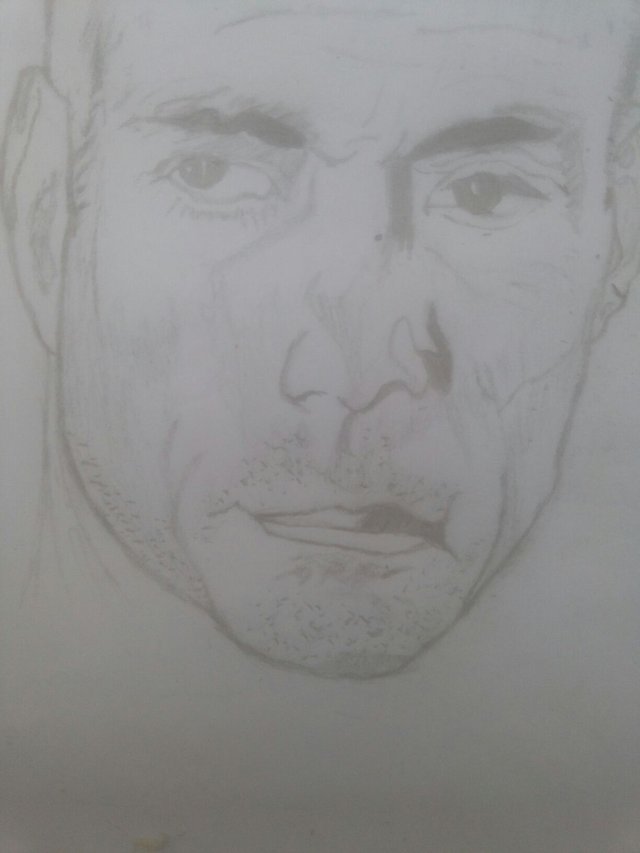
Pointilism is a shading technique which is done by making dots or better still "POINTS".
I use pointilism to get the traces of shaved moustache and beard around his mouth.
Finishing Touches
With this I'm nearly done with the image and all I need do is add finishing touches to it.
First, I shade around the side where I earlier used pointilism and then smudge it in order to make the dots less pronounced
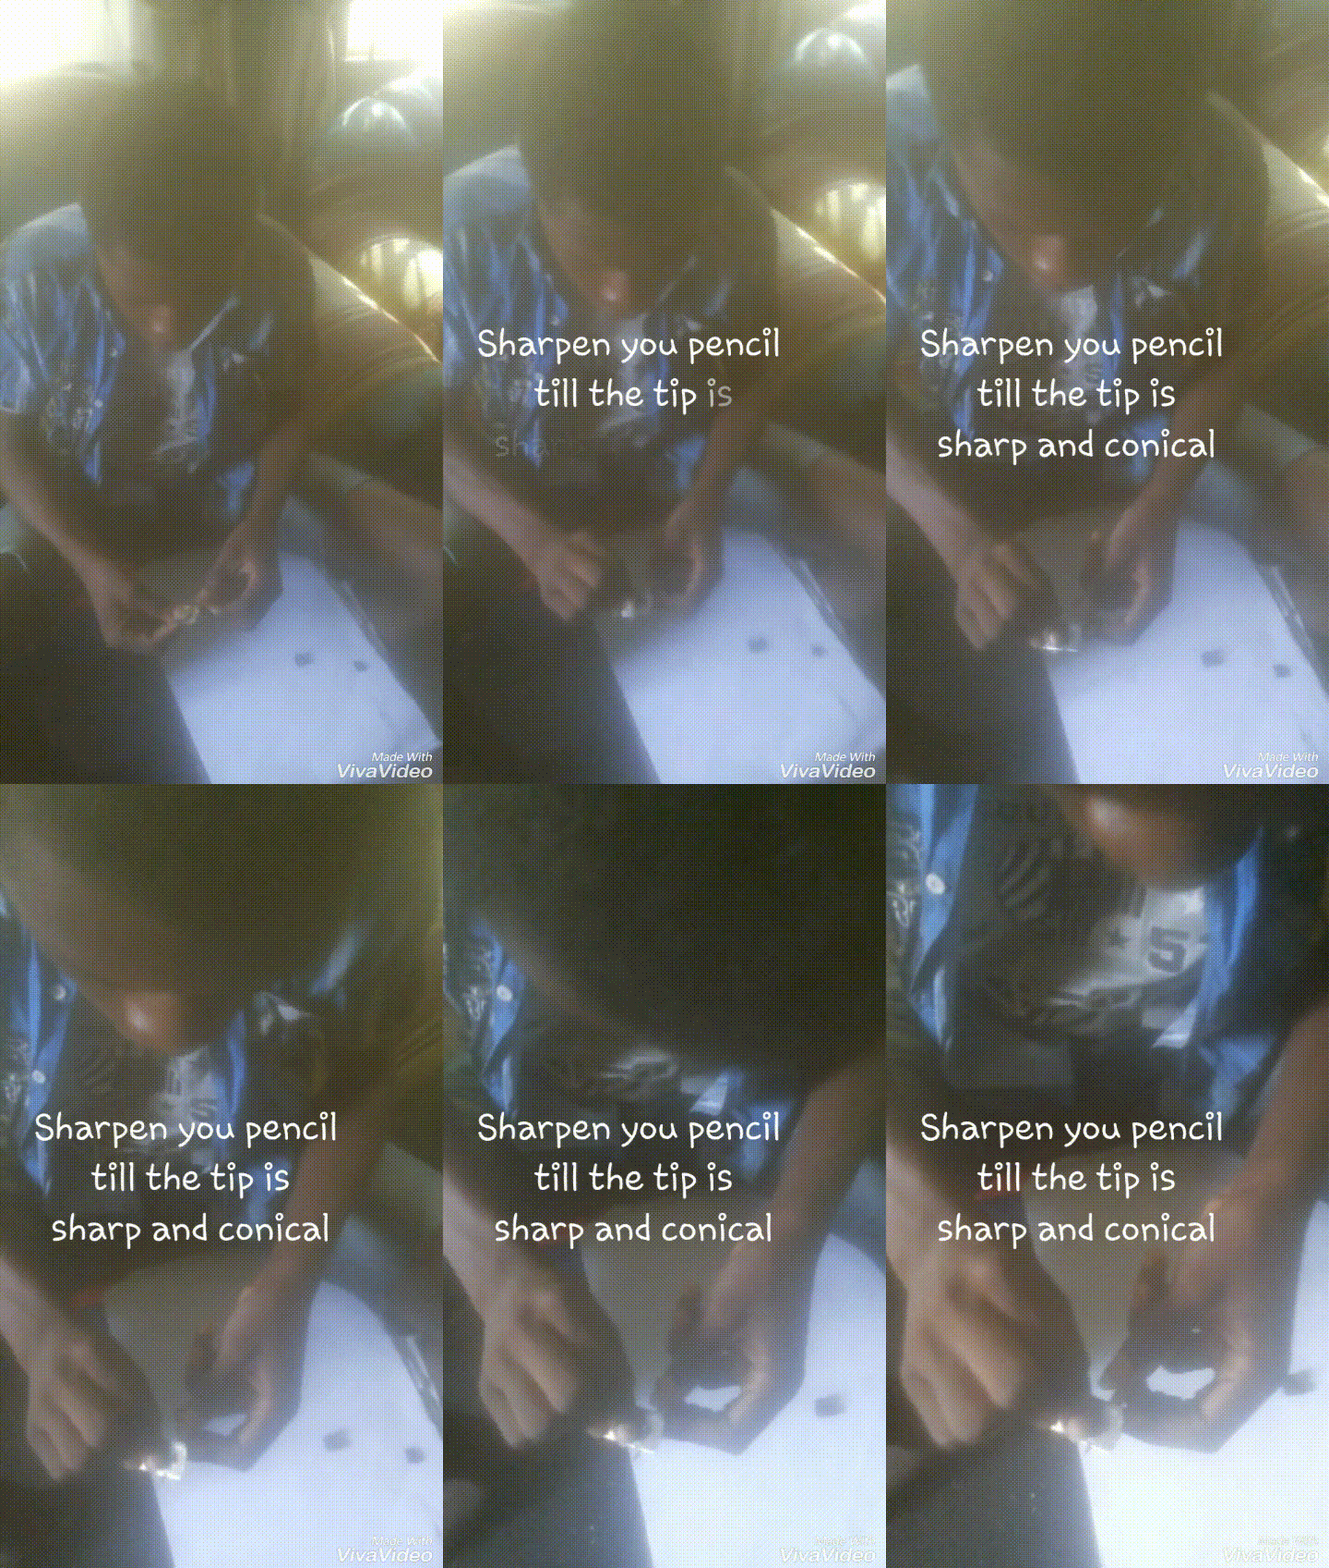
After this,I shift my focus to the hair. But first I have to sharpen my pencil to a conical shape because the lines of the hair have to be thin
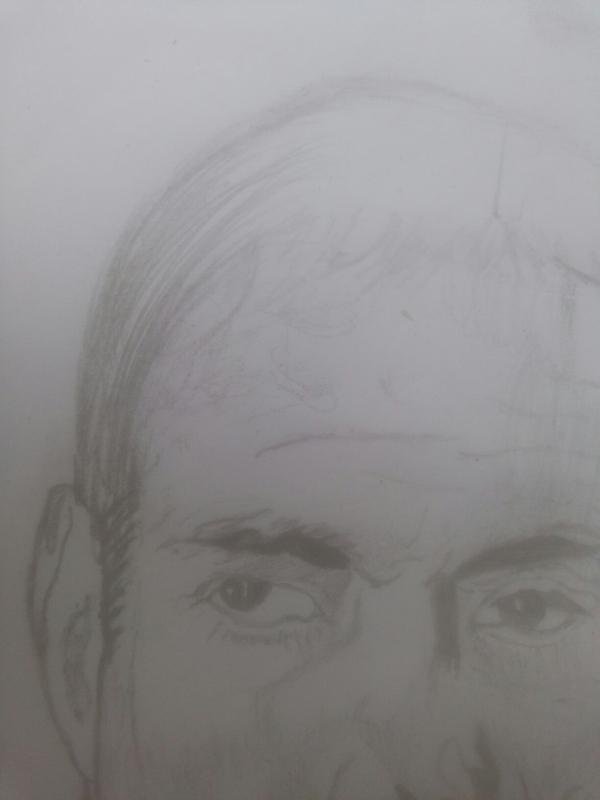
After my pencil is conical and sharp, I begin to draw the hair. Starting from the left side, I draw several lines that curve from left to right and stop where the centre begins. This makes it look as though the hair had been brushed downwards.
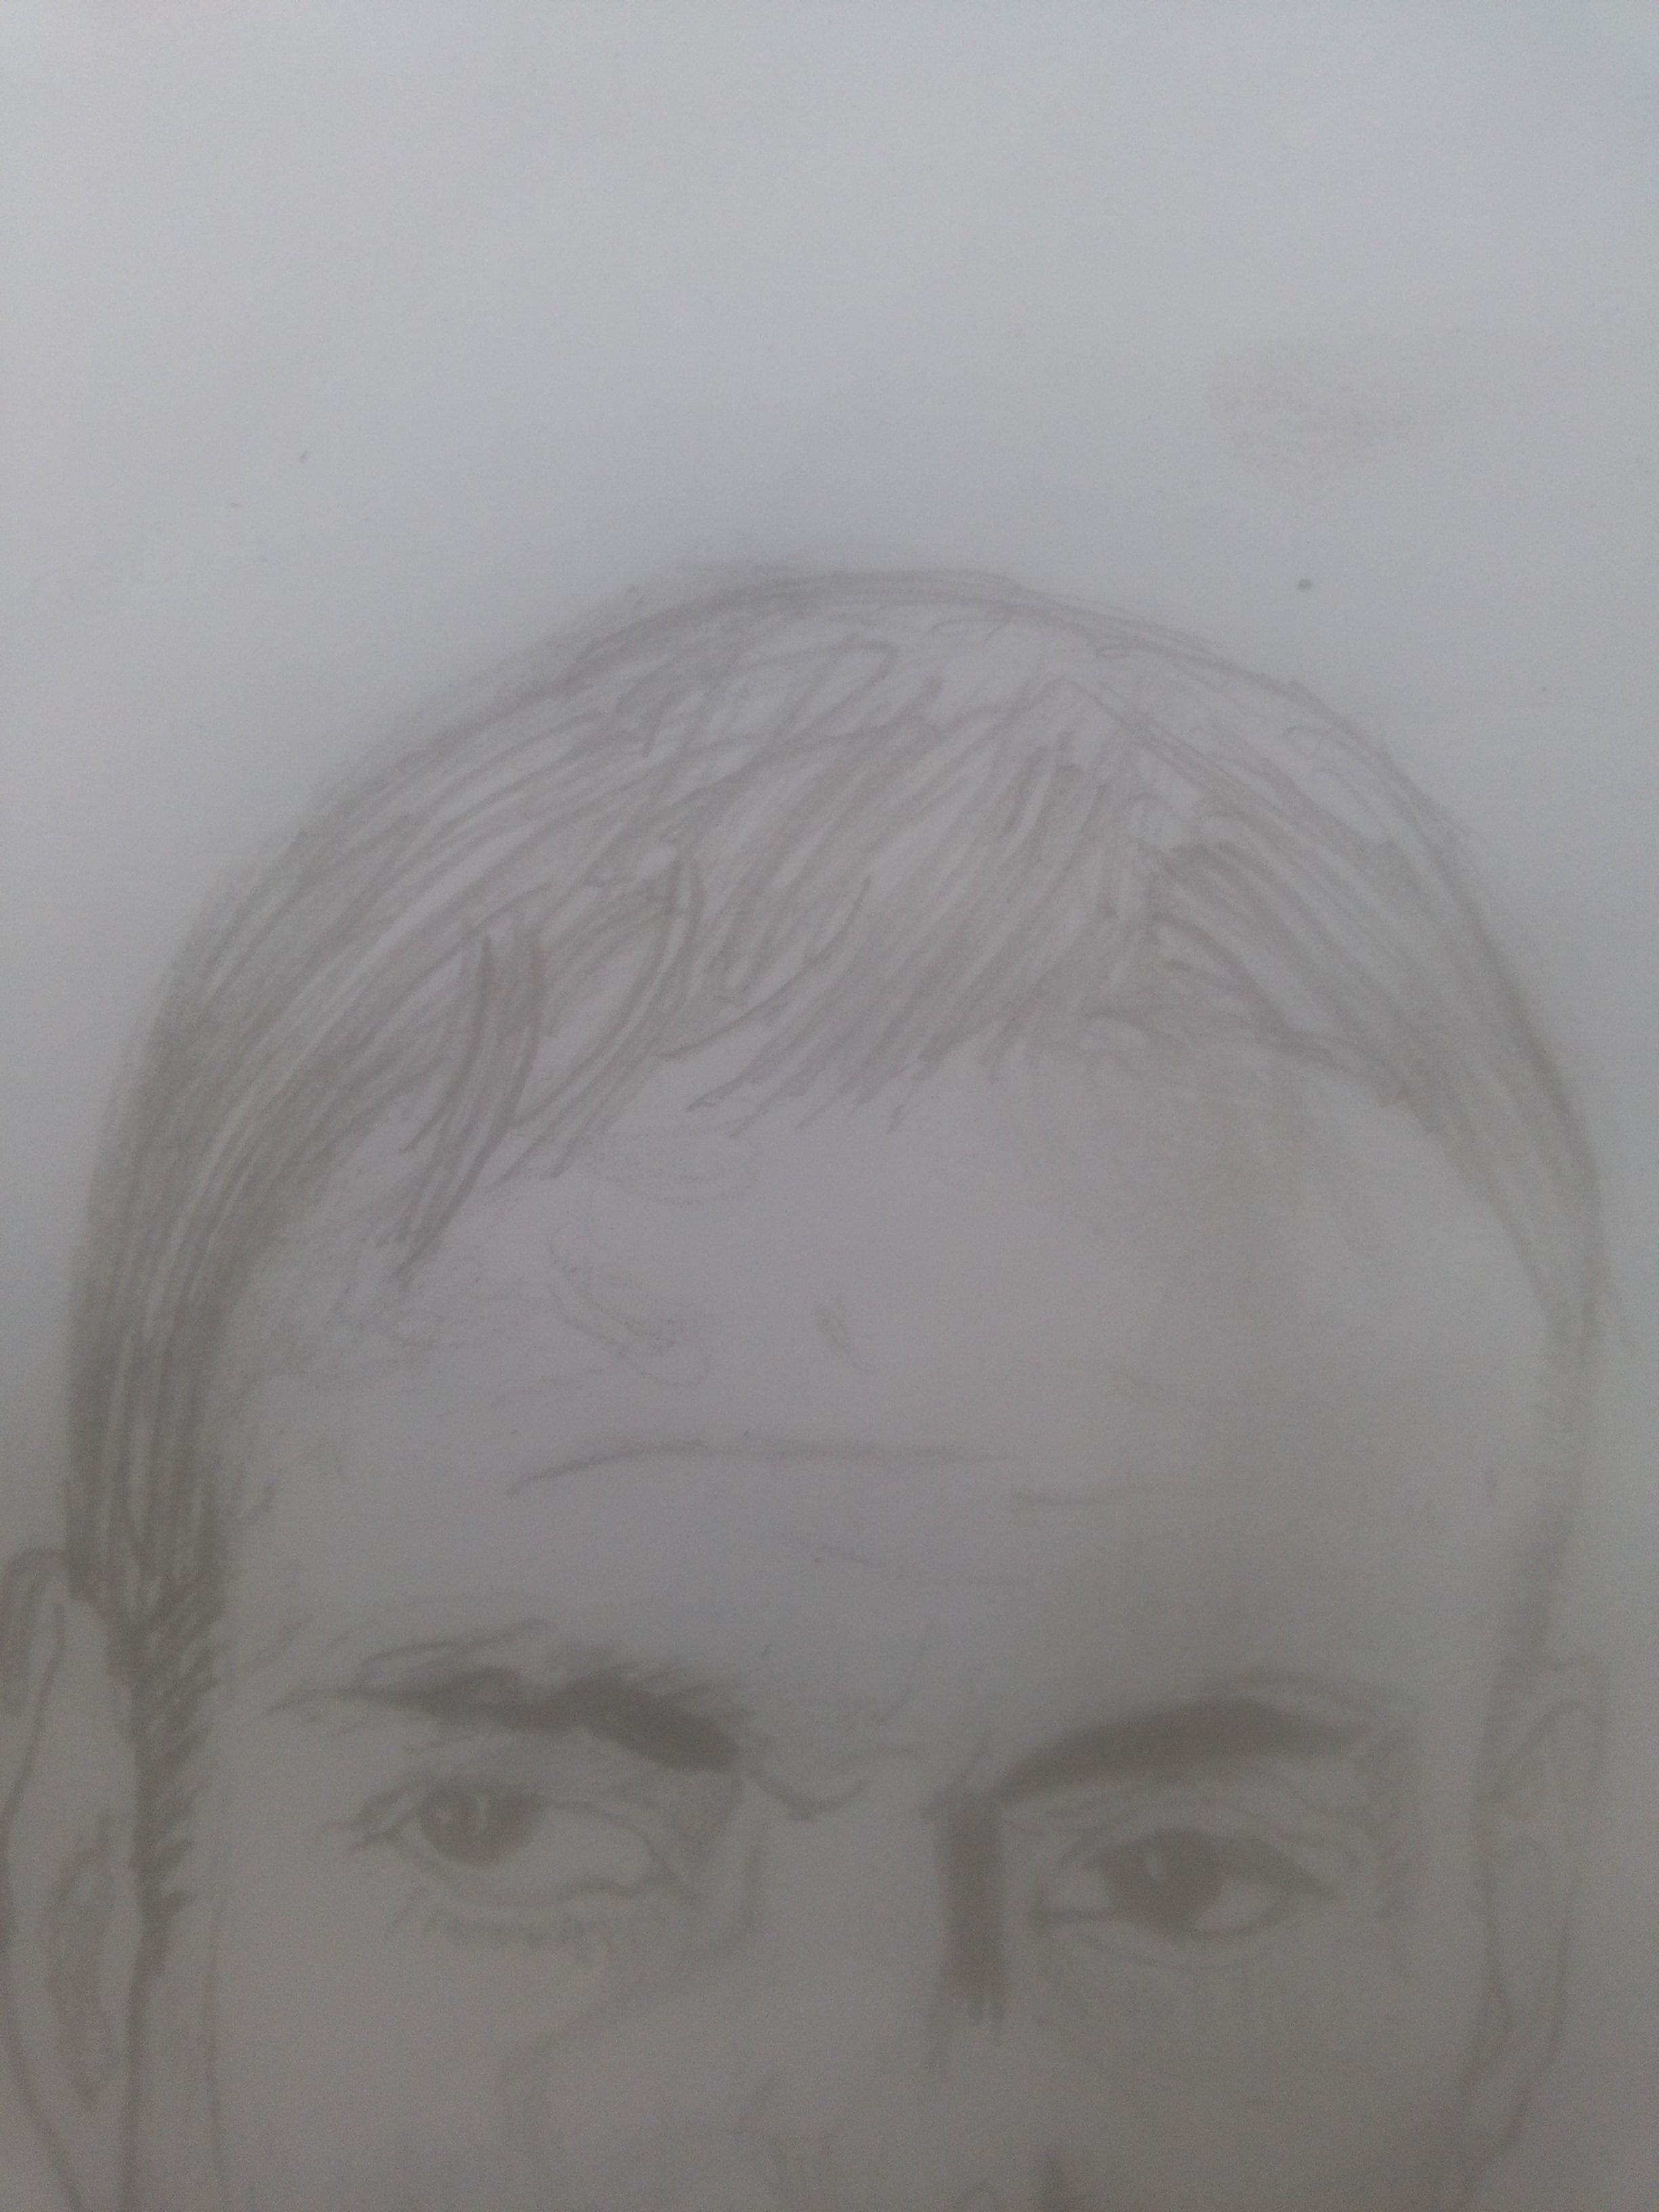
For the rest of the hair, I draw lines from top to bottom and right to left at the centre and then lines that move from top to bottom and right to left for the right side.
Next, I shade the whole hair with charcoal and then I smudge it to spread it evenly with my hands.
The background
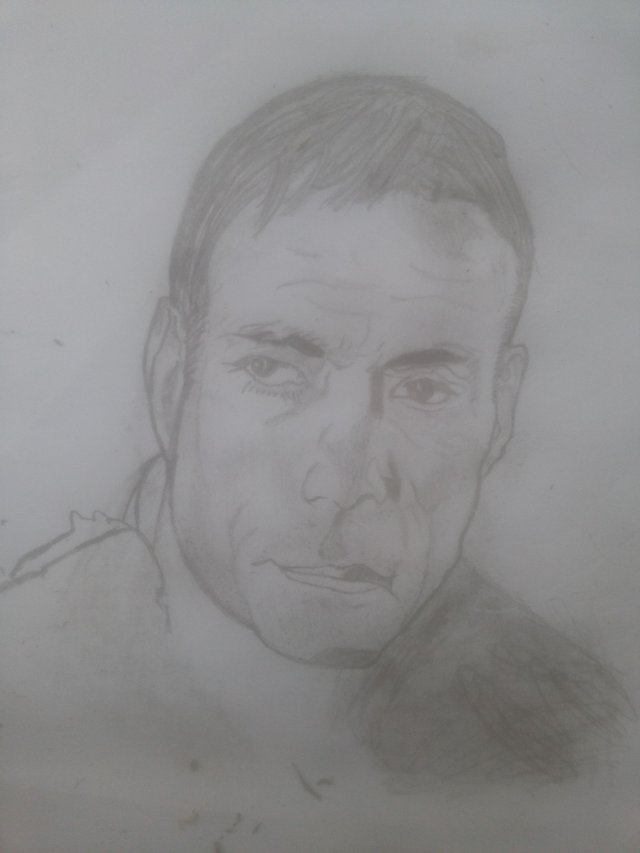
For the background, I draw the gun his holding and his body from his neck to his head. Since this part is out of focus in the image I'm copying. I blur it out making use of charcoal and smudging.
Appending my Signature
Every artist appends his signature on his work and I do exactly the same. It's more or less our way of showing that the work is ours. It's more or less the same way authors write their name on their books. Though most artists use their name as their signature. I just use my normal signature
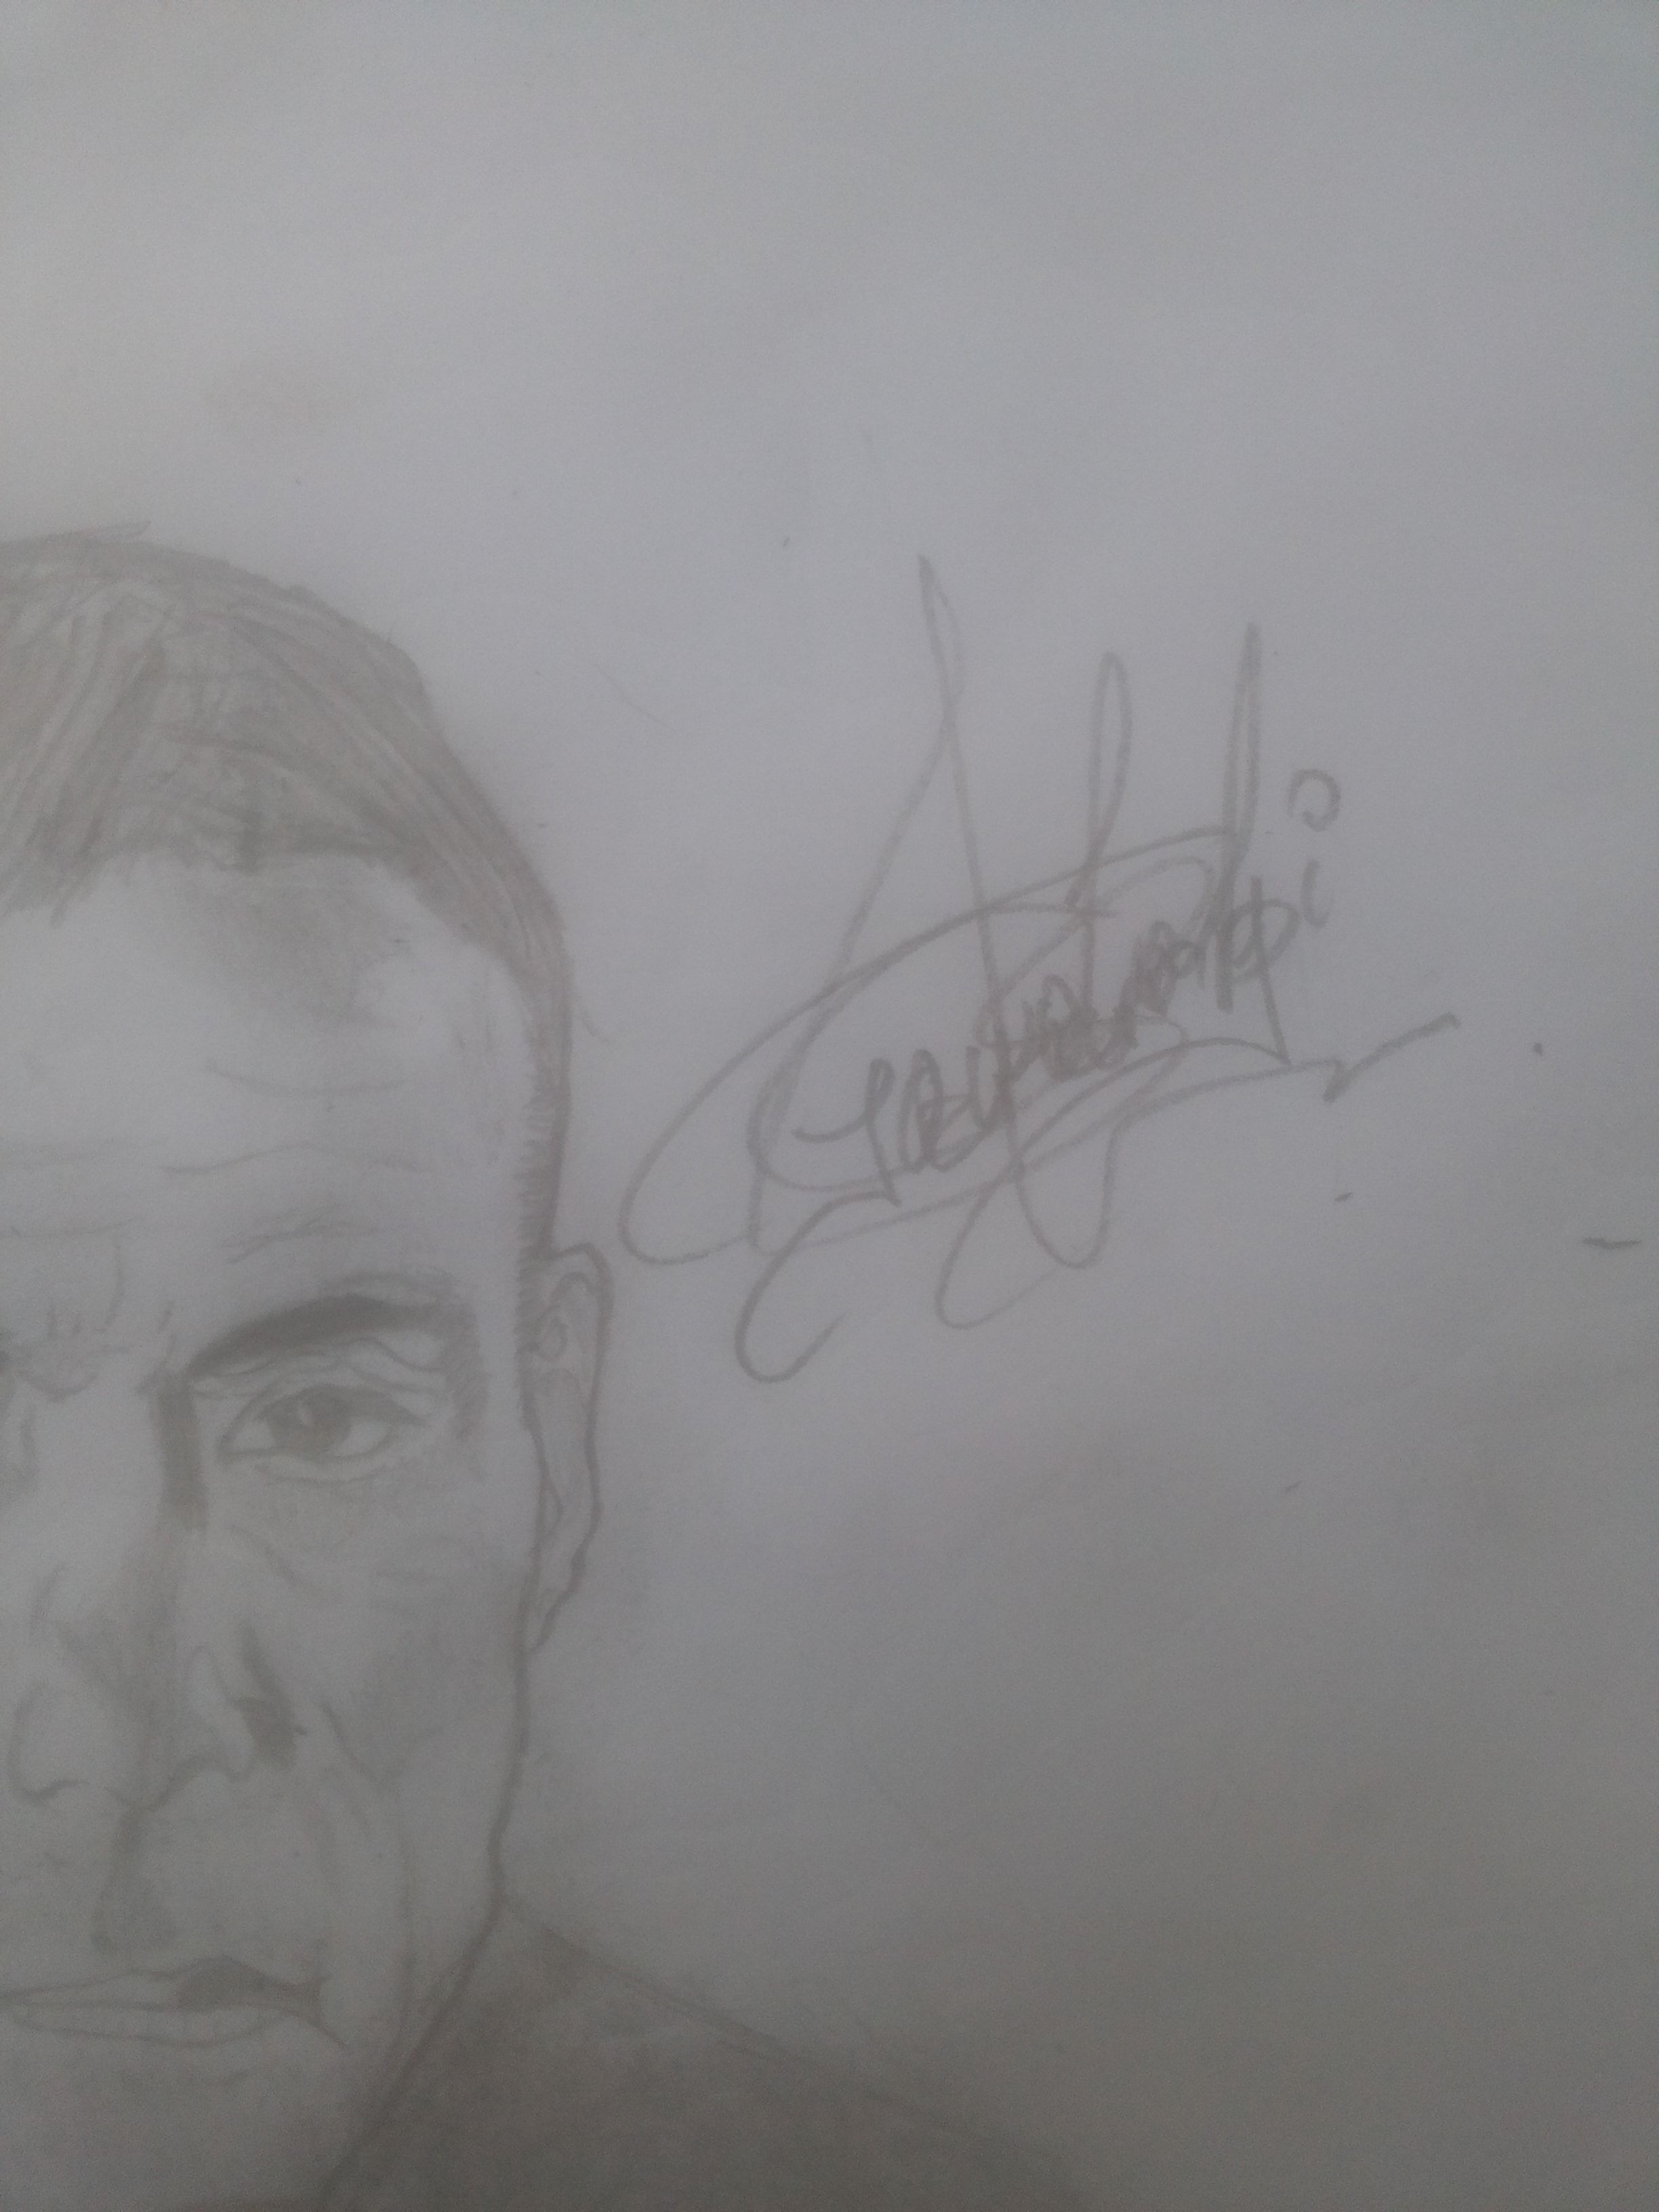
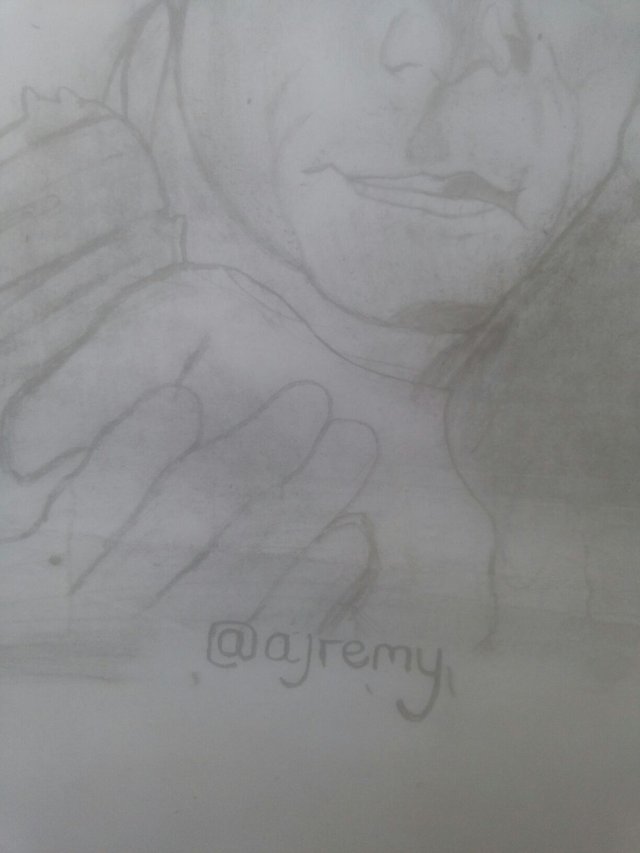
I sign at the top right side of the drawing. But because I'm making this post for steemit, I also write my steemit username at the bottom of the drawing
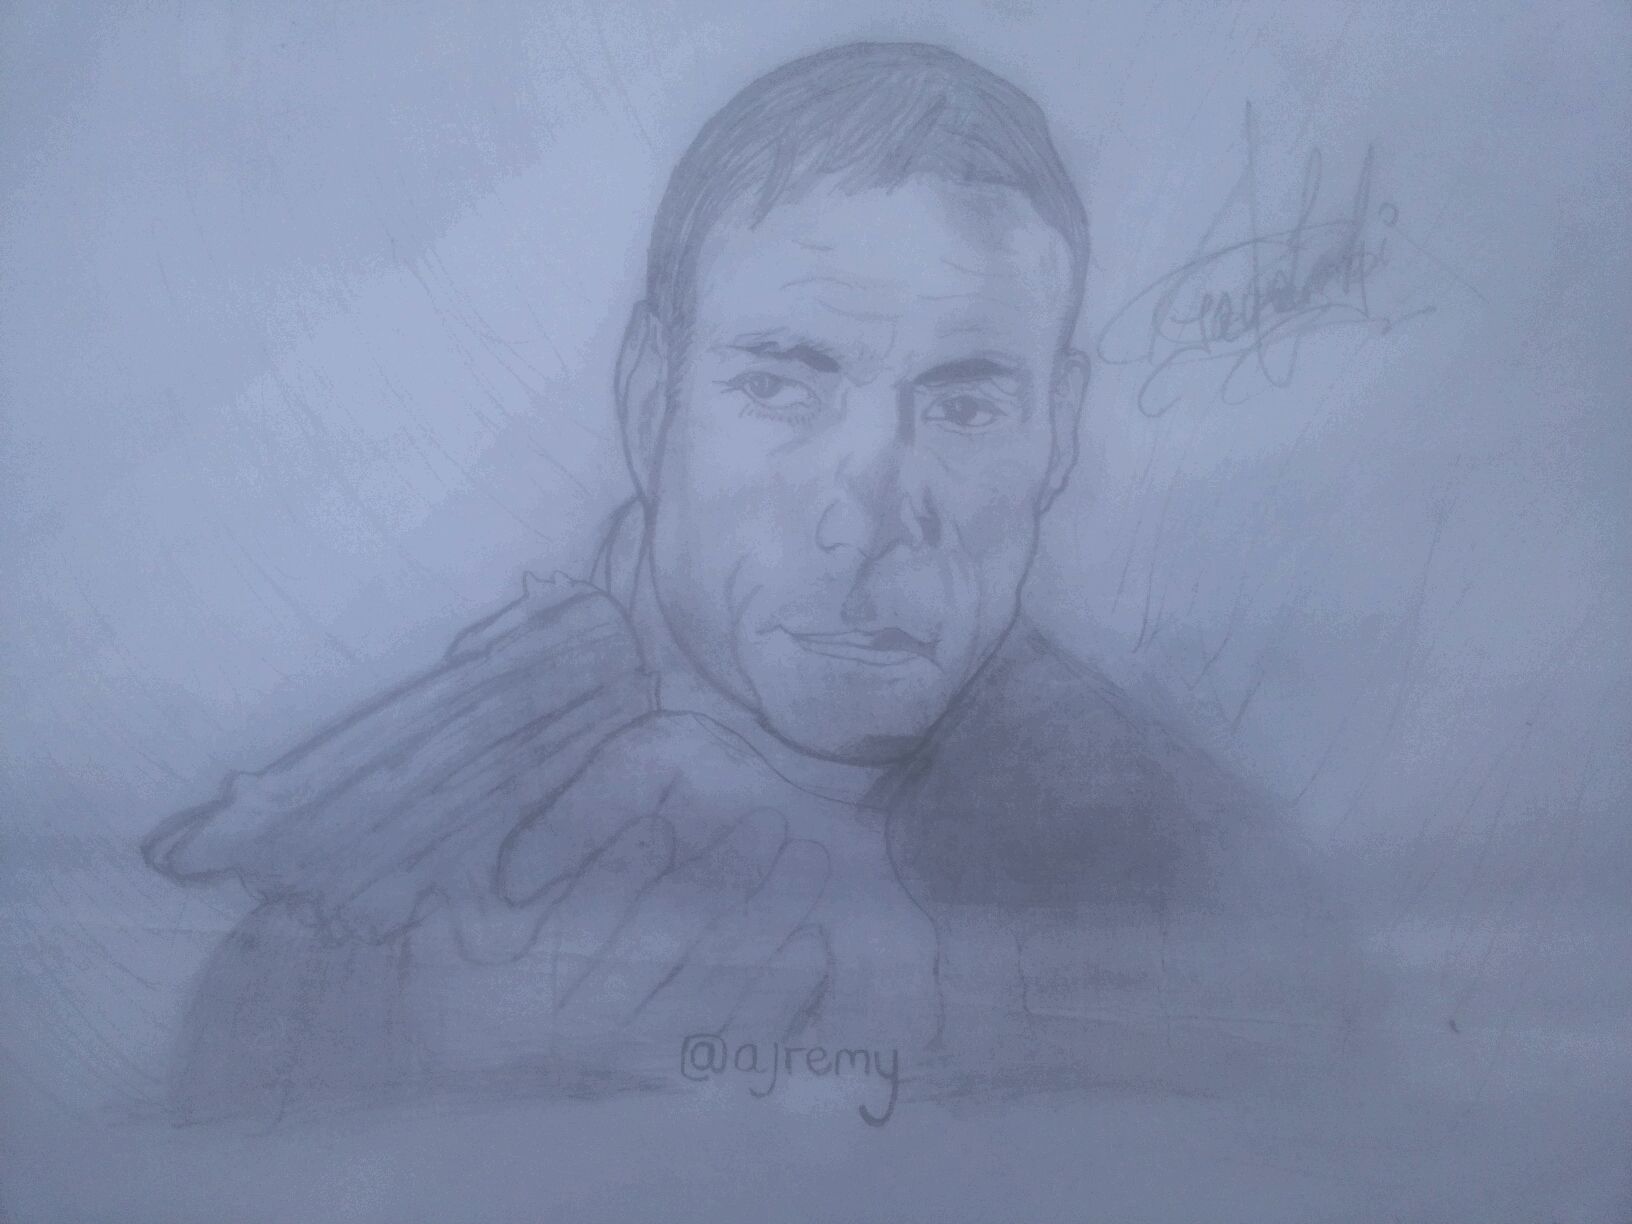
The end product
Finally, I was done and here's what it looked like..
......
......
......
......
......
......
......
......
......
......
......
......
......
......
......
......
......
......
......
......
......
......
......
......
......
......
......
......
......
......
......
......
......
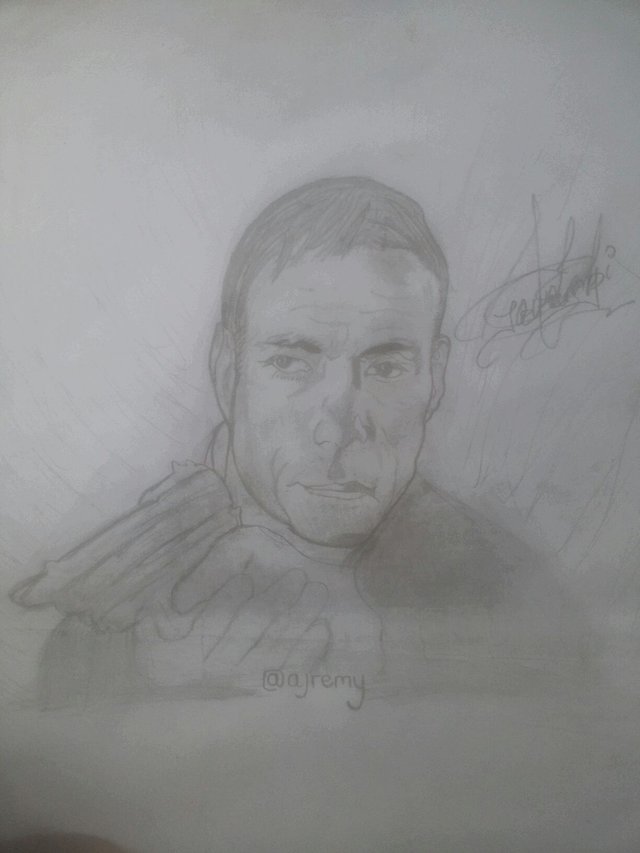
and in comparison to the original image, it looked like this
......
......
......
......
......
......
......
......
......
......
......
......
......
......
......
......
......
......
......
......
......
......
......
......
......
......
......
......
......
......
......
......
......
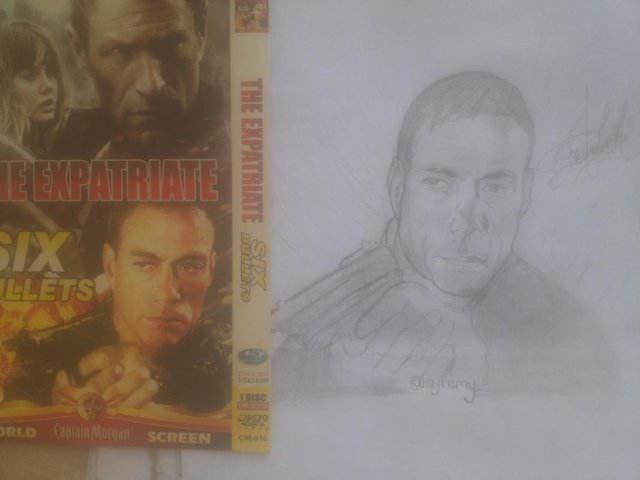
I know It's not so dope but I did my best
with love
@ajremy (the teen with steam for steem)
Thanks for visiting my blog. Did you love this post? Then what are you waiting for?

You made this poster buddy?
Downvoting a post can decrease pending rewards and make it less visible. Common reasons:
Submit
No... was drawing it... now I'm done... check it out!
Downvoting a post can decrease pending rewards and make it less visible. Common reasons:
Submit
Wow! definitely it is a lot of works. When I first show this post, it was just one picture. Now very long !! Interesting. Good job buddy.
Downvoting a post can decrease pending rewards and make it less visible. Common reasons:
Submit