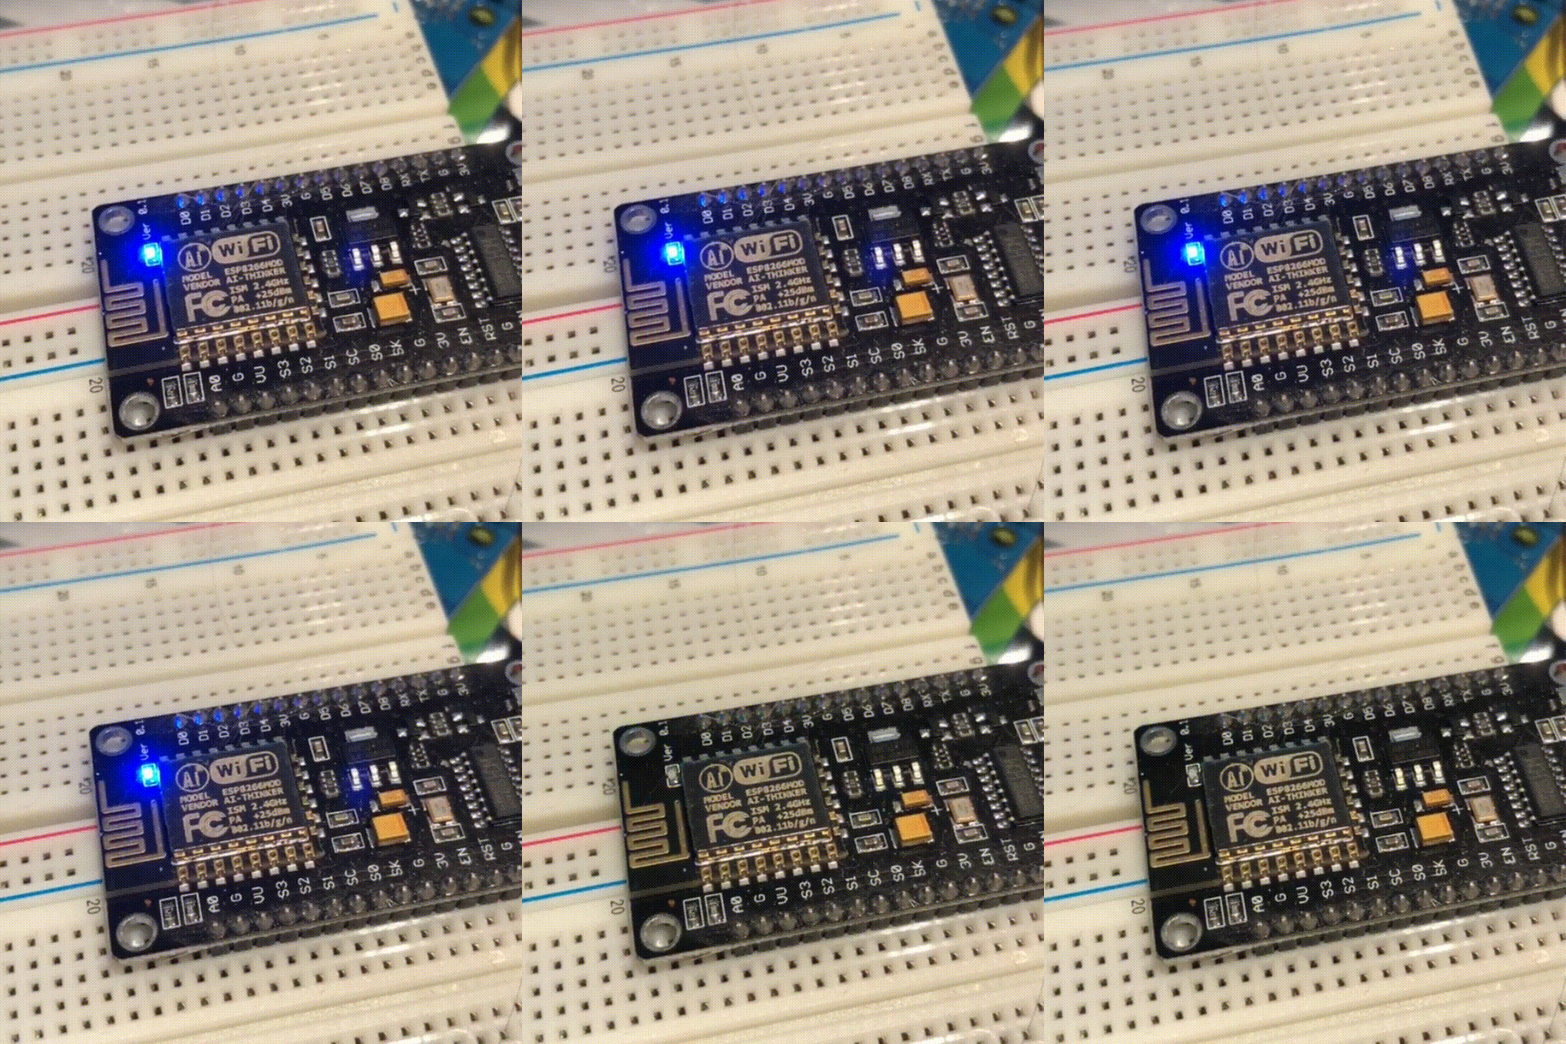
Before when I talked about Circuit and Micro Python we have been looking at Adafruit and similar devices. Most of us, though, use the cheapest boards we can find, such as the Aliexpress NodeMCU and Wemos boards.
I did actually start with Micro Python using the official board from the Kickstarter, interestingly enough, but I quickly found I almost always needed internet connectivity, so have used wifi enabled boards for a lot of my projects since.
Don't worry, the cheap ESP8266 boards can play too!
While there are still a lot more libraries available for the ESP8266 in Arduino IDE land, I love the interactive and rapid development of Python, so I am willing to miss out on a few drivers.
Again, if you want the full Python, you are going to need Raspberry Pi and Python 3.6 >, but few of us would be happy leaving a full Raspberry Pi in a project long term, and these boards have lower power consumption.
Download the Firmware and ESP tool
Get the ESP8266 firmware from MicroPython.org and using PIP, grab the ESP tool
sudo pip install esptool
Now plug in your board and use the ESP tool to overwrite the firmware (rename the .bin file to firmware.bin)
esptool.py --port /dev/ttyUSB0 --baud 460800 write_flash --flash_size=detect 0 firmware.bin
First test
To check this worked, reset the board and use a serial terminal, such as Screen, to check the connection:
screen /dev/ttyUSB0 115200
You should see a prompt like this (maybe after some enter key presses)
>>>
Enter the following and hit return:
print("Woot!")
You should see Woot! as the response :)
The following can check the integrity of the firmware:
import esp
esp.check_fw()
Developing in Micro Python
Unlike the fancy Circuit Python Express, these boards don't have a drag and drop interface, but they do have nice third-party tools!
If you are using ESP8266/NodeMCU like me, install mpfshell
sudo pip install mpfshell
Otherwise, Adafruit created Ampy:
sudo pip3 install adafruit-ampy
Once you have run mpfshell, enter the following command to connect to your board:
open ttyUSB0
Now you can list, upload, download, create folders ... like a full shell.
You also have an interactive REPL.
Get the full command list here
Blink!
Now let's do the simple "hello world" equivalent of the firmware world!
Grab the code
Different boards have different LEDs and pins, so this will either/and light blue or red, or you might need to set the pin to a different number:
from time import sleep
import machine
from machine import Pin

redled = machine.Pin(0, machine.Pin.OUT)
blueled = machine.Pin(2, machine.Pin.OUT)

redled.value(0)
blueled.value(1)


for i in range(0,10):
    print(i)
    redled.value(1)
    blueled.value(0)
    sleep(1)
    redled.value(0)
    blueled.value(1)
    sleep(1)
To get the file onto your board use:
put blink.py
Now to run it, enter
repl
and now execute the script!
exec(open("blink.py").read())

aha.. good job @makerhacks. Btw, where is
steemmakerstag ? heheprobably
steemmakersrather thanmakingDownvoting a post can decrease pending rewards and make it less visible. Common reasons:
Submit
Ah, I don't have my footer either!
Downvoting a post can decrease pending rewards and make it less visible. Common reasons:
Submit
you get it :D
https://ipfs.busy.org/ipfs/QmTu8NUNPepnde4hQC1wD3qddLxwQEWpv5iTCwjYfFDdsCDownvoting a post can decrease pending rewards and make it less visible. Common reasons:
Submit
Fixed :D
Downvoting a post can decrease pending rewards and make it less visible. Common reasons:
Submit
Severo
Downvoting a post can decrease pending rewards and make it less visible. Common reasons:
Submit
Good job
Downvoting a post can decrease pending rewards and make it less visible. Common reasons:
Submit
this is a good board, very easy for novices
Downvoting a post can decrease pending rewards and make it less visible. Common reasons:
Submit
Join our Discord Channel to connect with us and nominate your own or somebody else's posts in our review channel.
Help us to reward you for making it ! Join our voting trail or delegate steem power to the community account.
Your post is also presented on the community website www.steemmakers.com where you can find other selected content.
If you like our work, please consider upvoting this comment to support the growth of our community. Thank you.
Downvoting a post can decrease pending rewards and make it less visible. Common reasons:
Submit