Good day my friends on steemit, have a good day and welcome back with me @agmalirsadi.
In this occusion i will to share about three ways to point faces that anyone can do.
Painting a face using a pencil is actually easy-hard. The first thing you should do is create a help line, to make it easier for you to paint. For more details again, let us refer to the following tutorial. Before doing the painting process, I suggest to read the drawing tips using pencil (related articles) so that the picture you produce will be more perfect.
1. The first method, drawing a female face using an oval base image.
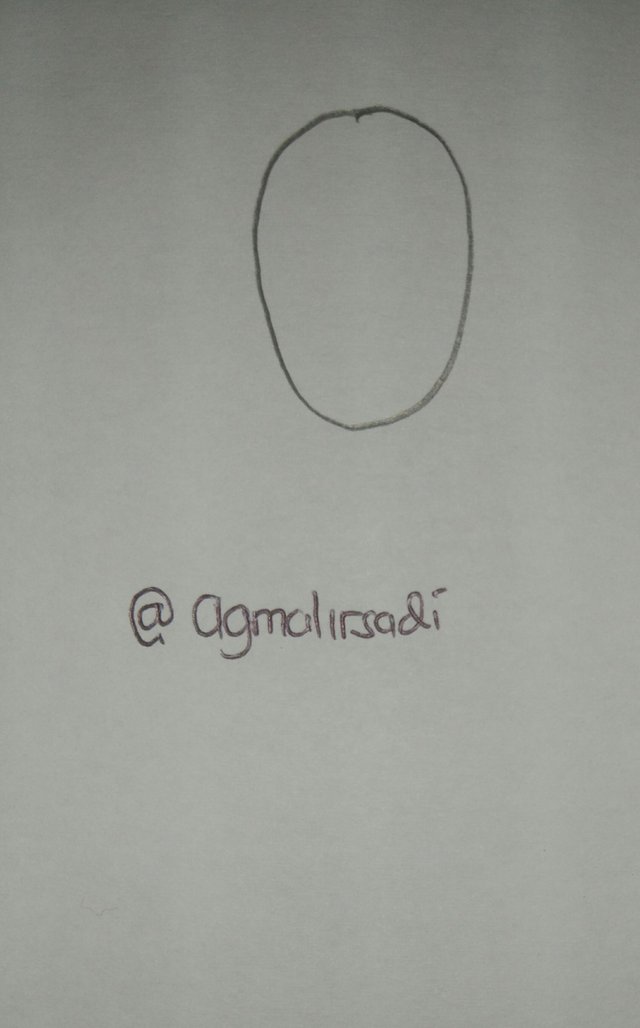 The shape of the face is not completely round. Therefore, make a sketch with an oval shape, but for the bottom you make more pointed than the top.
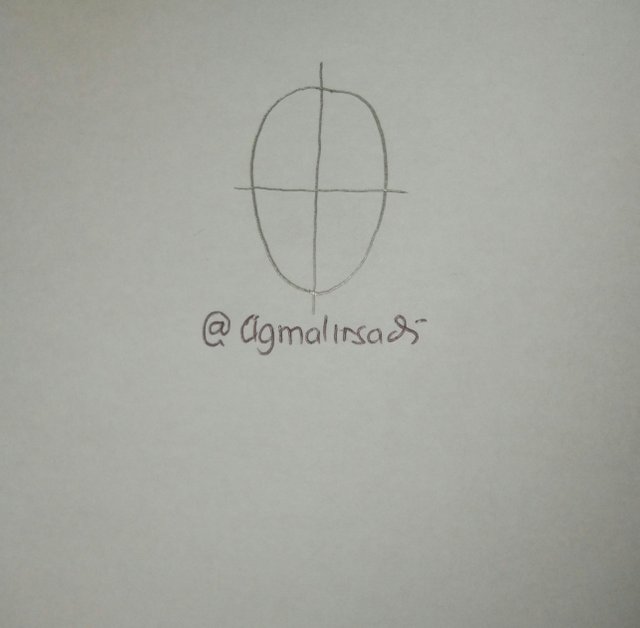 The easiest way you can do is by mapping the oval shape that we created earlier into four parts using the help line (see picture above).
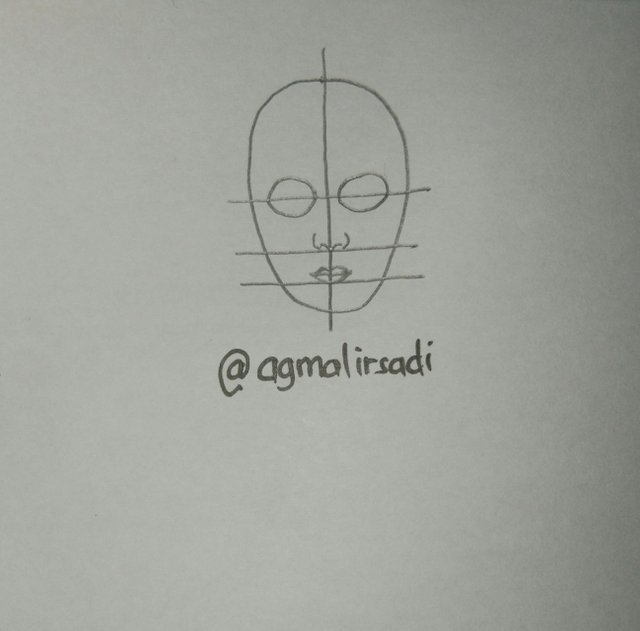 After creating the auxiliary line (no.2), then we make again the line underneath it as the auxiliary line to place the position of the nose and mouth. After finished drawing the nose and mouth. At the top of the horizontal section we make two circles as tr8 for us to draw the eye later
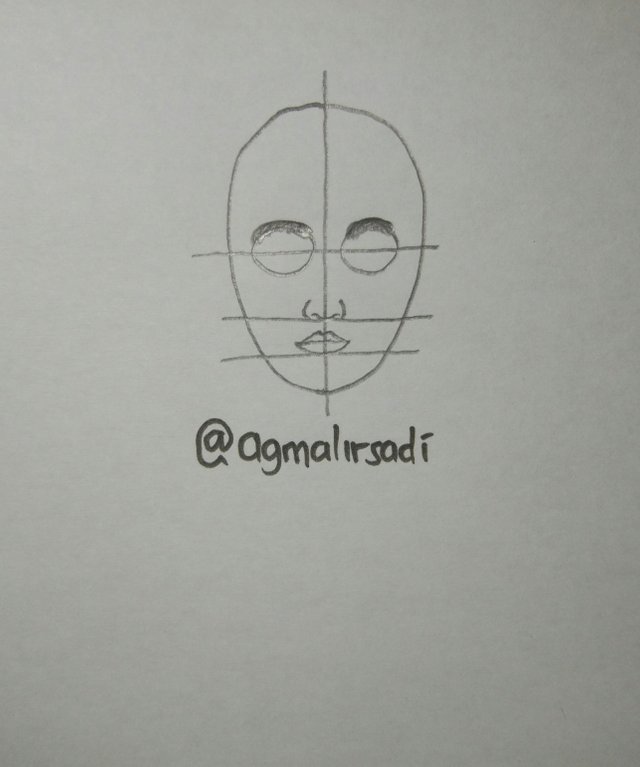 for the upper half circle we use as a place for us to draw eyebrows, while the bottom we use as a cheekbone.
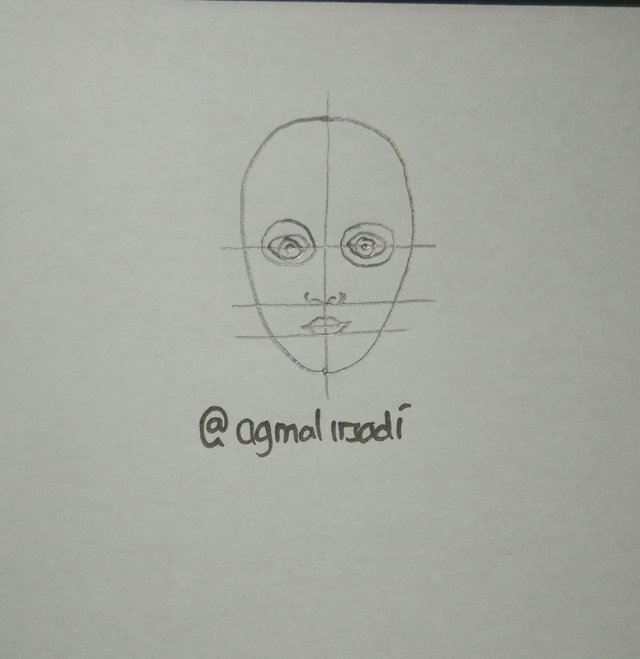 So that the size of the eyes that we make the same big, we can use the help line. If you feel the size of both eyes have the same magnitude. it's time to make the eyeball. (note the picture above).
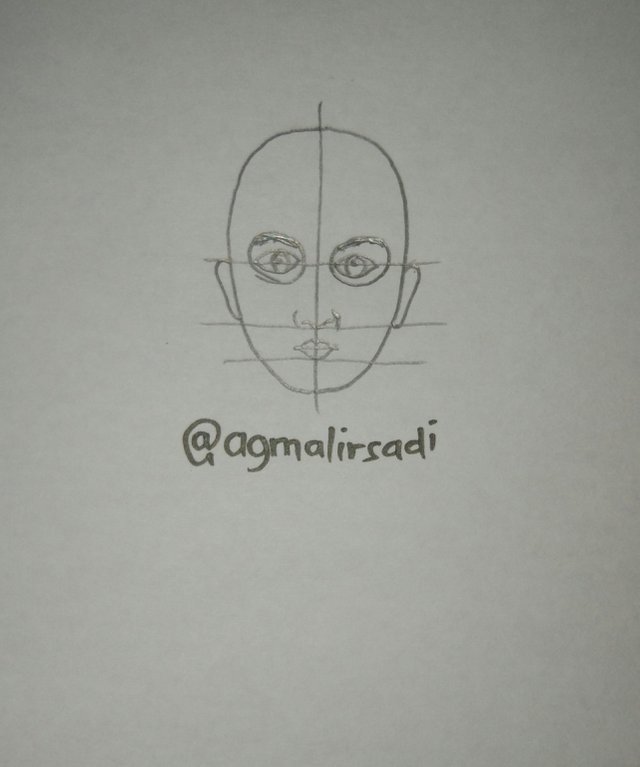 Then we will make ears. make sure that the bottom of the ear parallel to the nose, while for the top of the ear is certainly parallel to the eyebrows. In addition, make sure also the image of the ear that you make to stick with the base of the face.
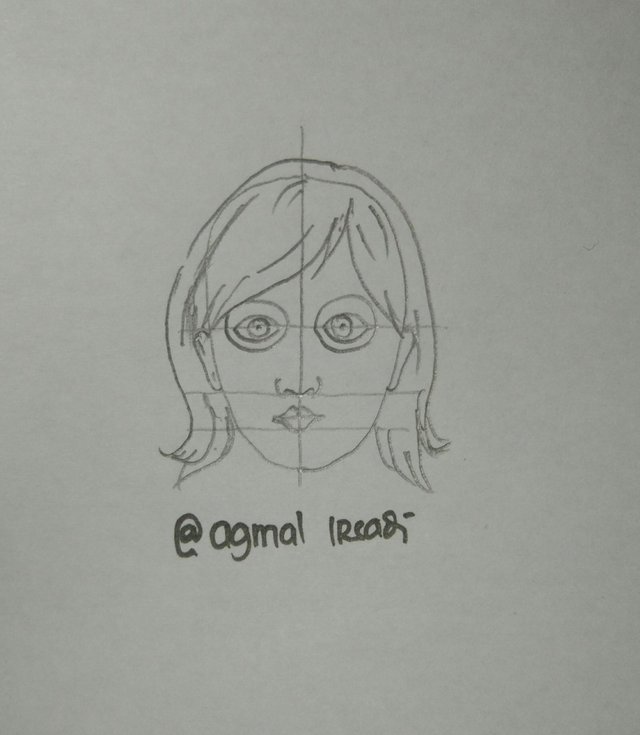 when we make a hair image, make sure to which position is parallel to your nose direction out (see picture). Do not think that the size of the neck is small, if you think like that. then your image will look bad. To make your neck create from the meeting point between the bottom horizontal line with the bottom of the face.
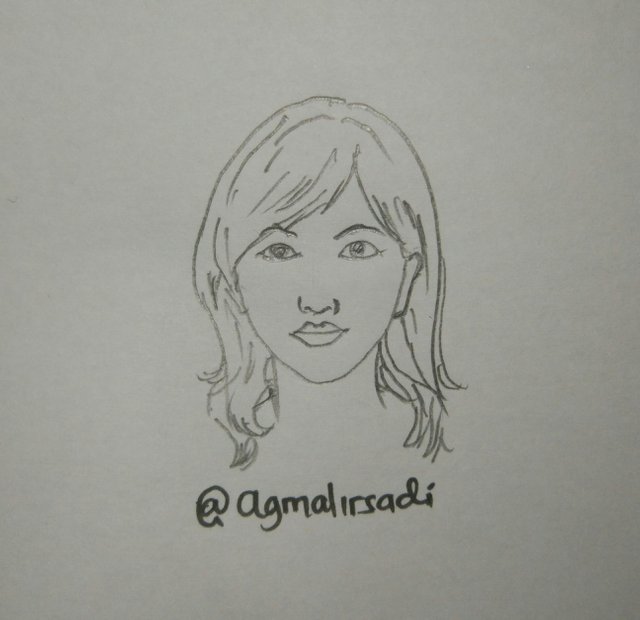 After the above stage we finish the stage. now is the time to reinforce the shape of the image, give a shadow around the lips, nose, and eyes. The more you reinforce the image, the image will look older. You can also add a dress to your liking. And if it's all done, we can remove the auxiliary line we created earlier to make the image look real and live.
2. The second method, drawing a male face using a rounded base.
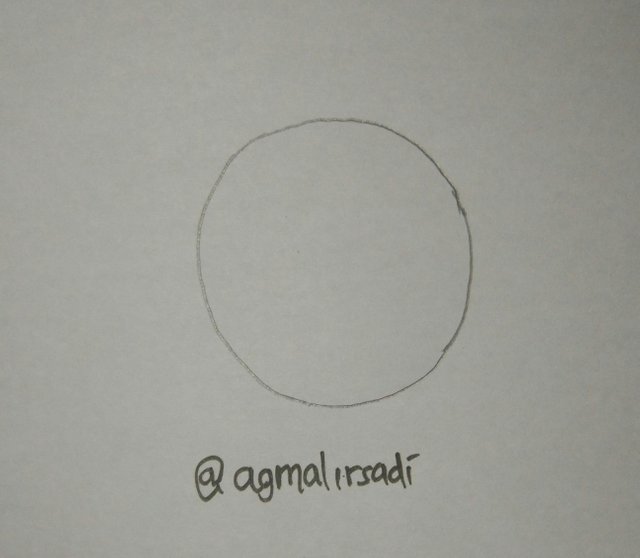 first we create a circle image (see picture above).
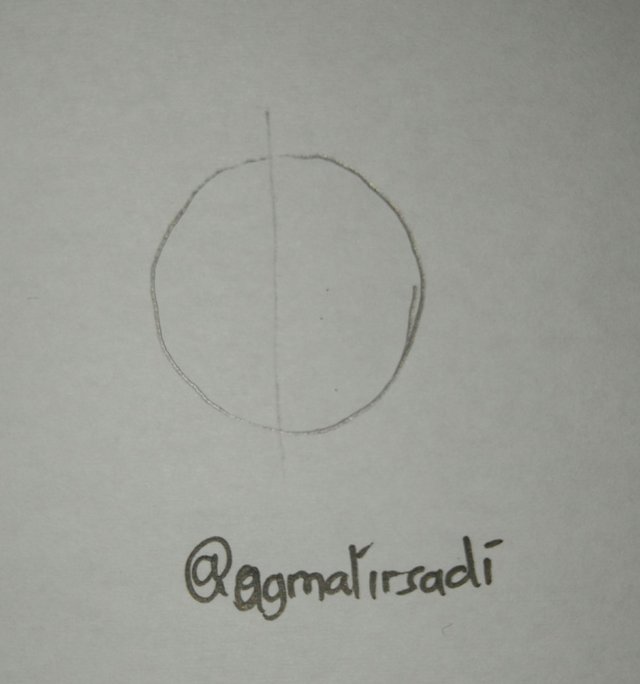
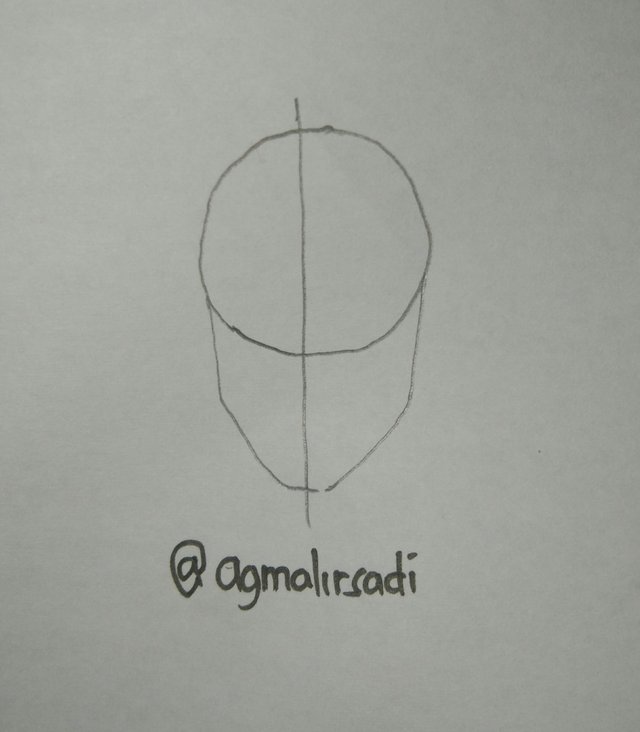 After that, draw a vertical line drawing from top to bottom (see figure 2). This line intends to assert that the image we are about to make is facing front. Then make a line to determine the cheek, chin and jaw.
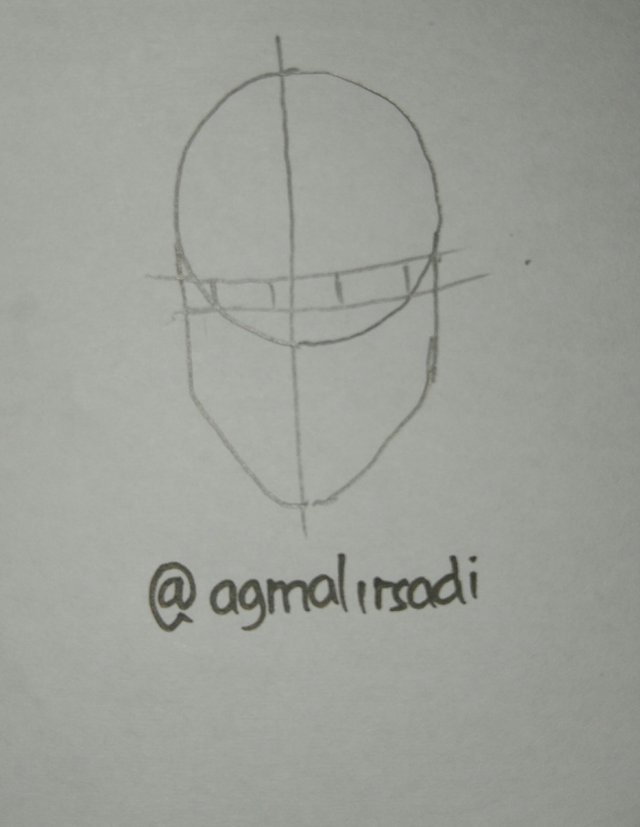 Next make a sketch to determine the length, width and determine where the eyes, nose, ears and mouth. (See picture above).
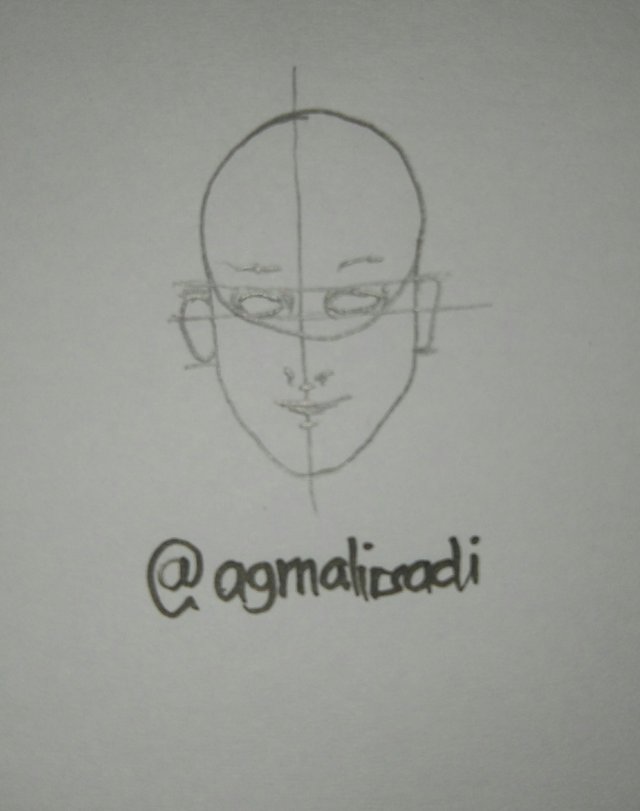 After that make a sketch of the eye view. Eyebrow, nose, ear and mouth. (See picture above)
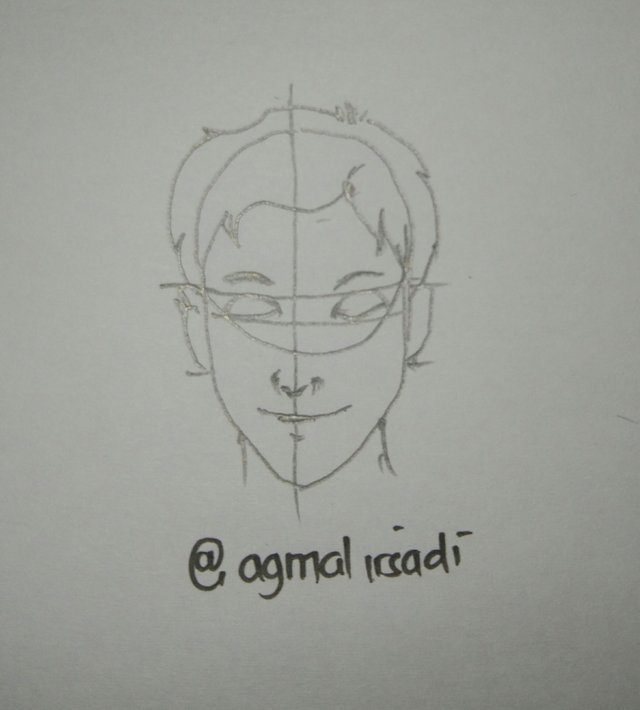
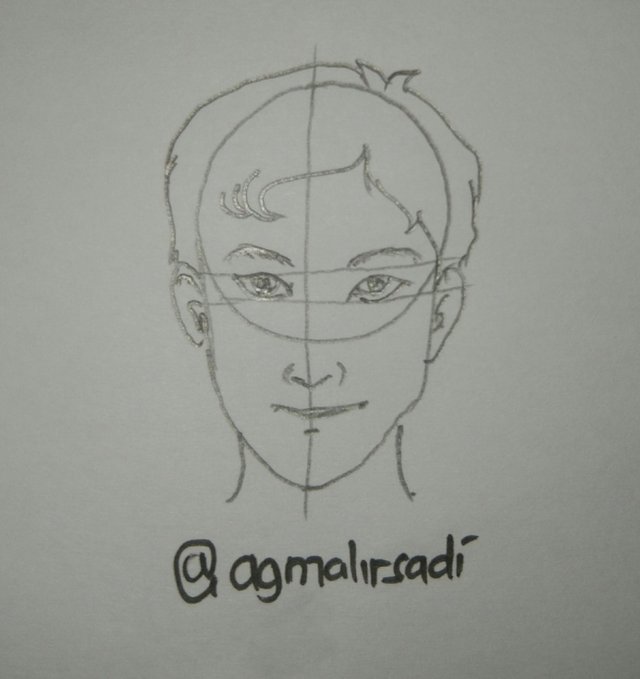 If it is, now is the time to make a sketch of hair detail and neckline (See picture above). And after finished sketching hair and neck. Now it's time to make a fine line around the face using a pointed pointed pencil. This stage aims to reinforce the image, determine the highlight images so that images look alive.
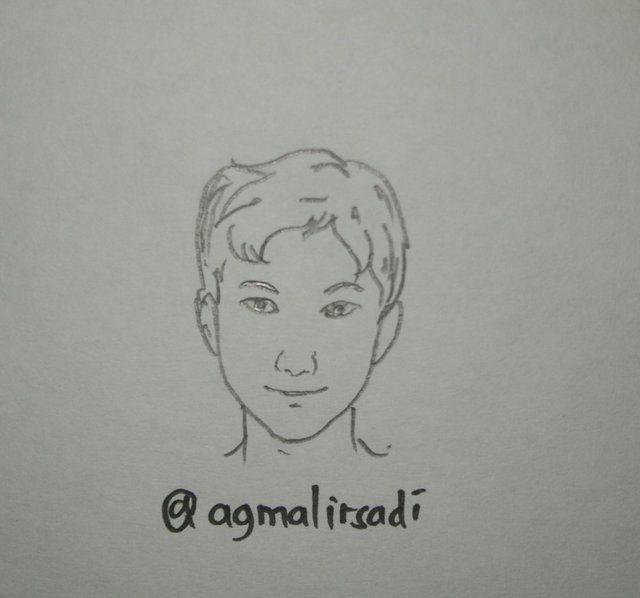 After that, we clarify again the important parts, such as eyes, eyebrows, nose, ears and mouth using a pencil with a slightly thick tip. You can use a 0.8 pencil at this stage. If all the faces and composition has been completed we make. It's time to remove the help line we created earlier using an eraser.
3. The third method, drawing the shape of the face as you wish.
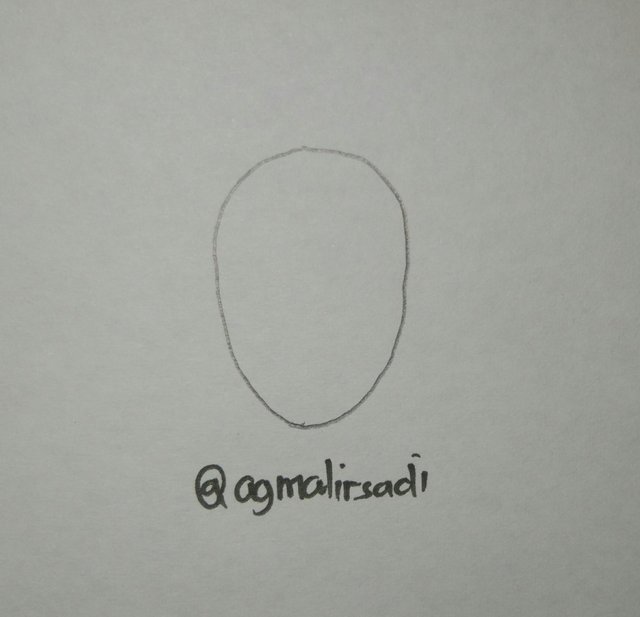
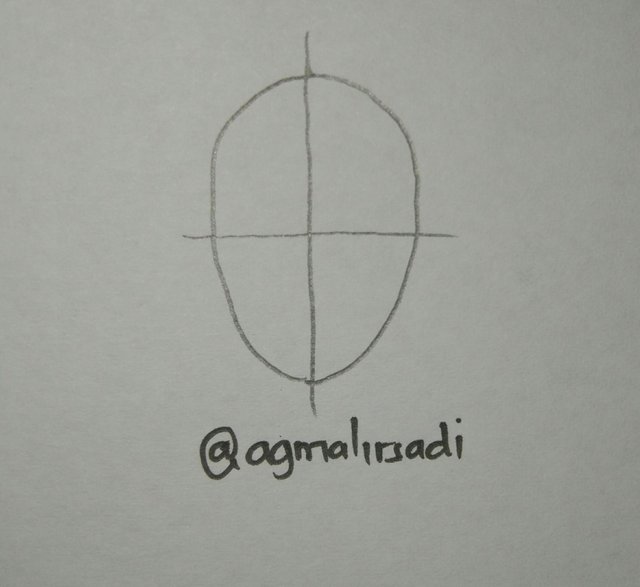 First, make a head image with the shape you want. You can draw it with an oval shape, round, square and so forth. And also in the second picture is the same as the previous step. Draw a line to determine the location of the nose, eyes, mouth and ears.
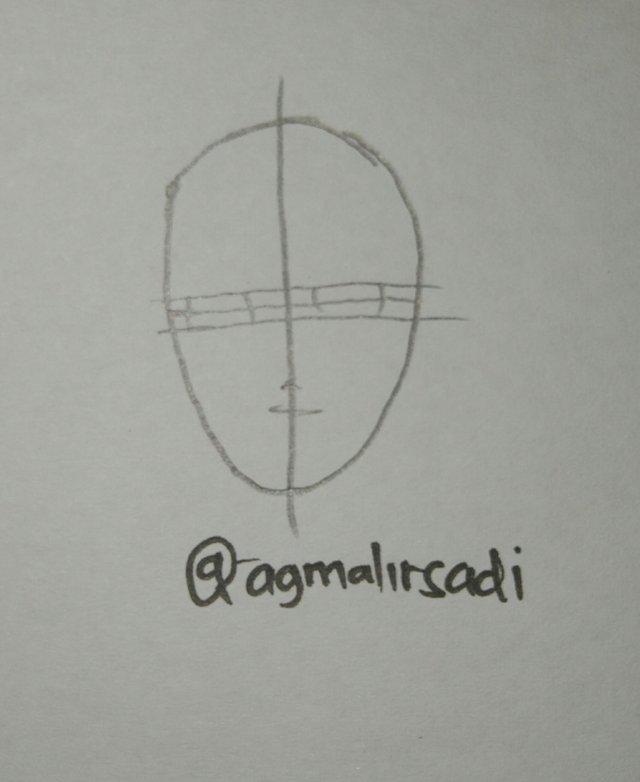 After that in this step we re-create auxiliary lines to determine the size of the eyes, nose, mouth and ears that we will make later.
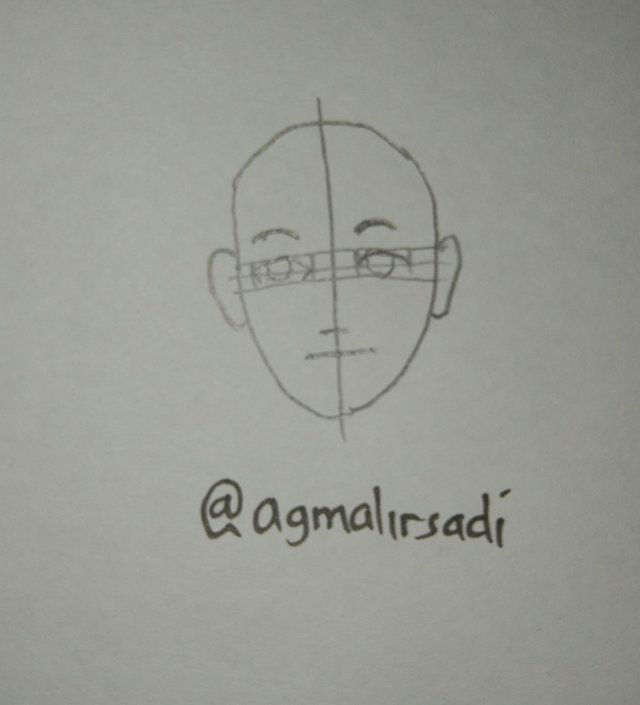 Next, sketch the shape of the eyes, nose, mouth and ears.
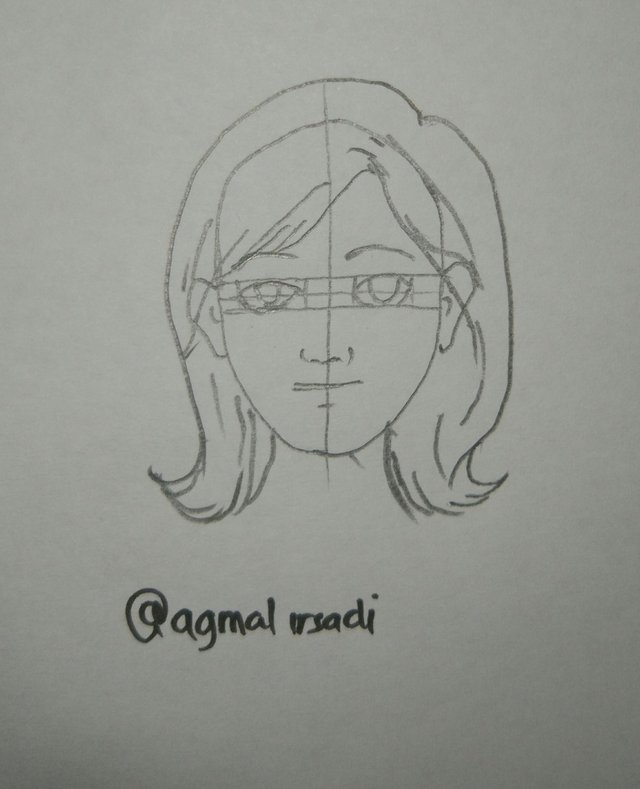
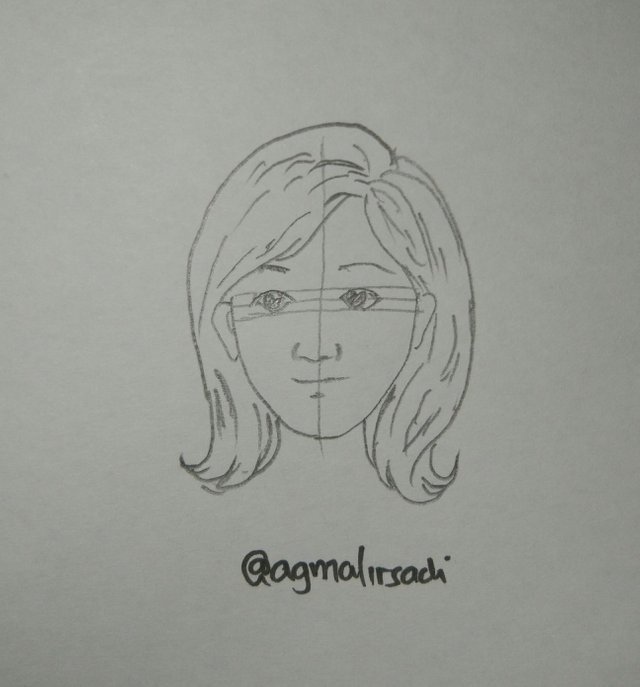 Afterwards add hair details. For hairstyle you can customize to your taste, do not have to be based on the picture above. And Use a pointed pointed pencil to add fine details around the eyes, mouth, nose and ears. In this stage you can use a pencil of size 0.5.
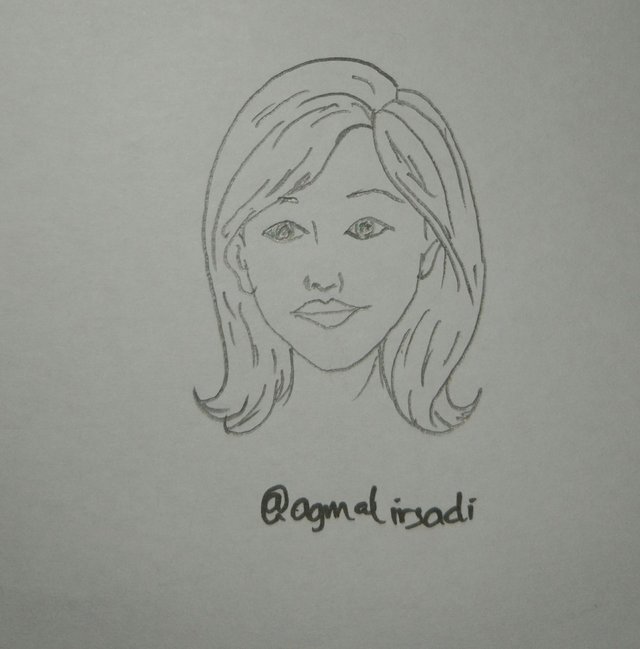 And lastly clear all the help lines or other lines used with the stamp.
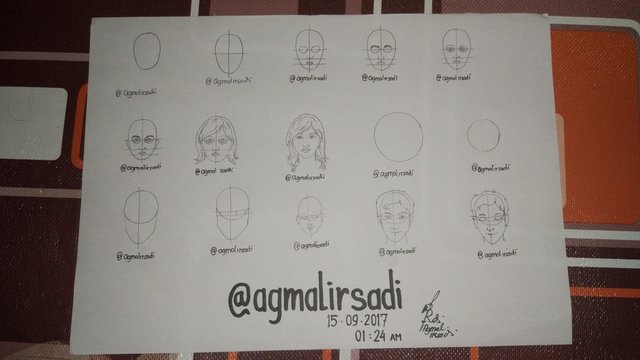
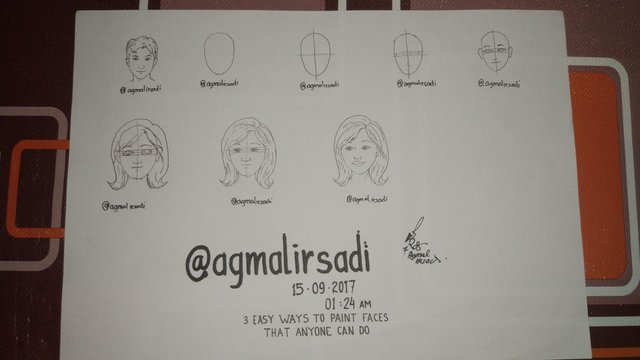 And this is a recap of all the pictures I've described to you one by one. Hopefully the contents of this blog can make us to guide in drawing an object.
And my thanks to all the steemians who have visited and implemented them in your daily activities.
 )
)
@originalwork
Downvoting a post can decrease pending rewards and make it less visible. Common reasons:
Submit
Thank you for the technique. I tried such drawings i think 15 years ago. The beauty is like you describe that everybody can follow with that systematic approach. There not many steps and with the line helpers the proportions look right. I'll try today such drawing inspired by your tutorial, thank you!
Downvoting a post can decrease pending rewards and make it less visible. Common reasons:
Submit
Your welcome @onetin84 , i am happy to hear that. Hope you'll enjoy with my post.
Downvoting a post can decrease pending rewards and make it less visible. Common reasons:
Submit
Bagus tekniknya, sangat mudah diikuti...
Downvoting a post can decrease pending rewards and make it less visible. Common reasons:
Submit
Terima kasih mbak @mariskalubis , semoga bisa menjadi acuan untuk teman teman yang ingin bersama² belajar menggambar.
Downvoting a post can decrease pending rewards and make it less visible. Common reasons:
Submit
@agmalirsadi got you a $7.89 @minnowbooster upgoat, nice! (Image: pixabay.com)
Want a boost? Click here to read more!
Downvoting a post can decrease pending rewards and make it less visible. Common reasons:
Submit
This post was resteemed by @resteembot!
Good Luck!
Curious? Check out:
The @resteembot users are a small but growing community.
Check out the other resteemed posts in resteembot's feed.
Some of them are truly great.
Downvoting a post can decrease pending rewards and make it less visible. Common reasons:
Submit
Nice,I like it,smart idea
Downvoting a post can decrease pending rewards and make it less visible. Common reasons:
Submit
Teruma kasih @mazidoank
Downvoting a post can decrease pending rewards and make it less visible. Common reasons:
Submit