Likely many people have heard and seen what a 3D pen is and how it can be drawn.
But I did not find any use for the pen, other than entertainment. Therefore I came up with it myself: I want to use it in ornaments. Here such aster appeared in our house:
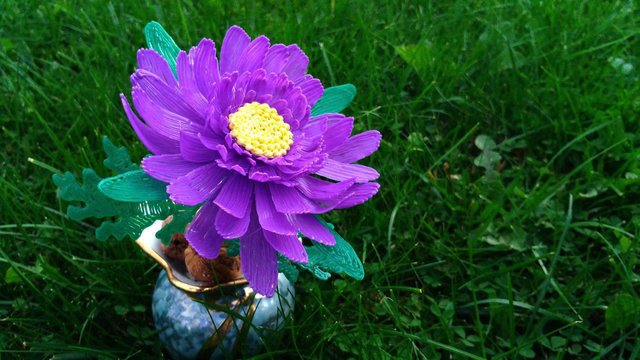
And the eye is nice, and real flowers are not wasted. And if you want a similar one, then I wrote for you an approximate plan:
On the usual sheet in the cell I plan the future petals and leaves of the asters:

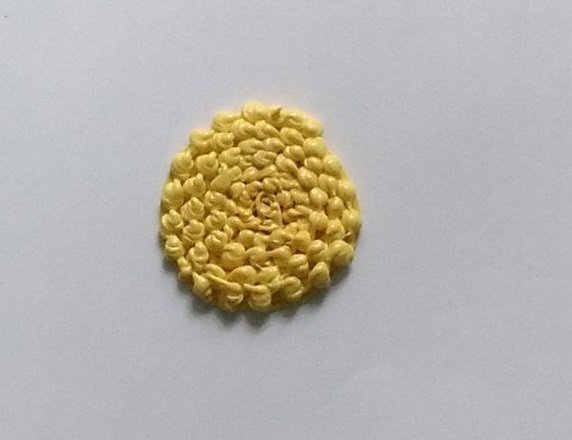
Now I pick up the 3D handle and draw with a yellow plastic middle. And I try to make small "droplets", so that there is not just an even circle:
I change plastic to violet (I like violet more than pink, and it looks more interesting than white) and draw petals. And while the plastic is still warm a little bend the petal:
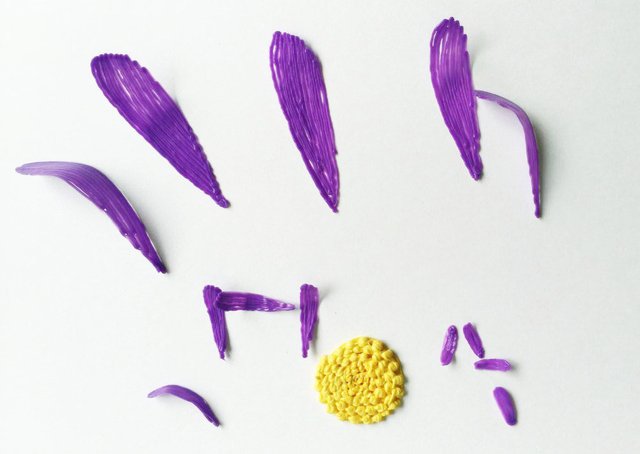
In total I have drawn: 25 smallest, 40 small, 20 medium and 10 large petals. The number of petals I have taken is completely arbitrary. And you can vary their number in one or the other direction.Again I change the color of the plastic, this time to green, and I do the leaves:
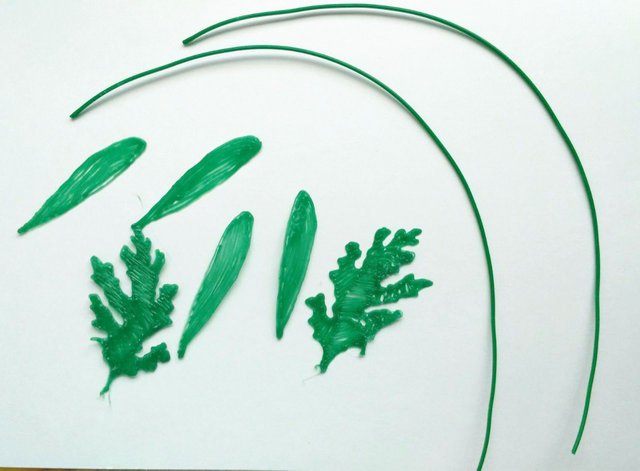
I take a translucent tube (I have it from Ikea with a light salad shade) and "pack" the plastic threads inside. This is the future stem. It was possible to draw it on a sheet, but it seemed to me that it would be much longer. Well, the smooth stem looks more aesthetic:
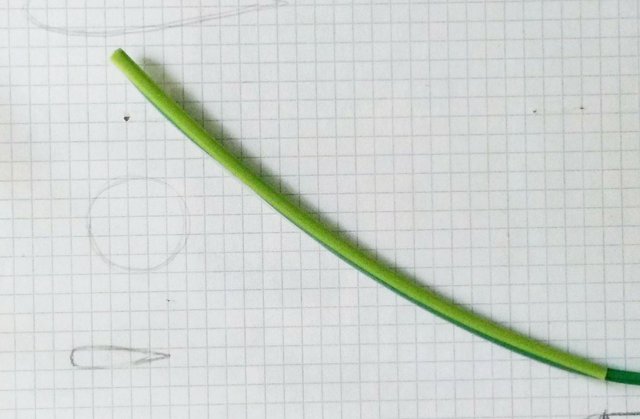
I cut off the protruding plastic, I do not need it.Well, now the most difficult. It is necessary to assemble a flower. I start with the smallest petals, I attach them through a small gap:
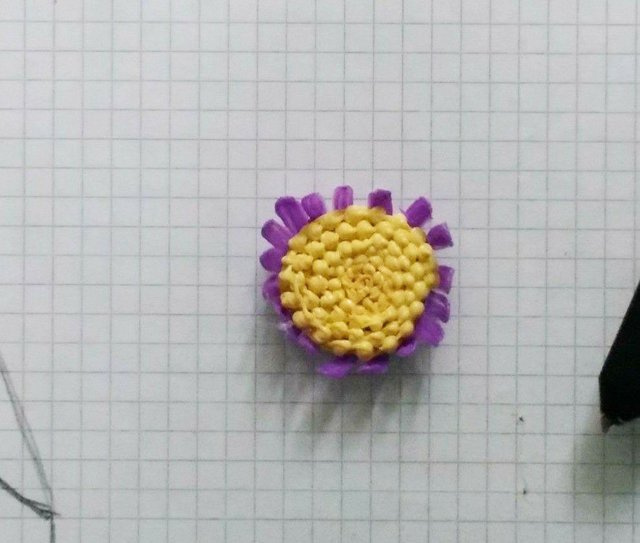
And the second layer I close all the "holes"I pass to the next value of the petals. They also are first glued in plastic after a short interval:
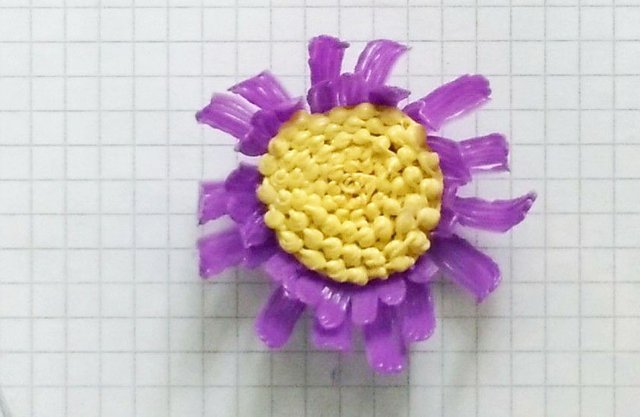
The second layer I attach the remaining petals, paying attention to the "symmetry" of the flower:
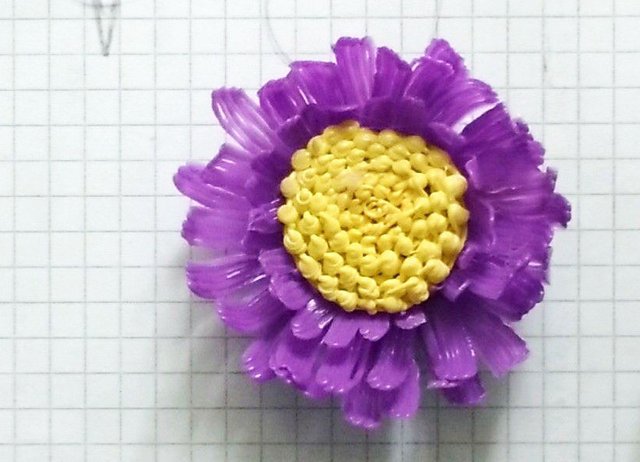
Again I change the petals to medium. I work on the same principle as the first two times
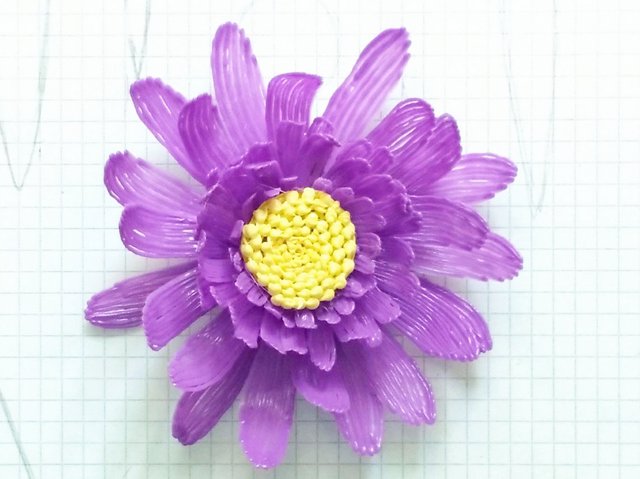
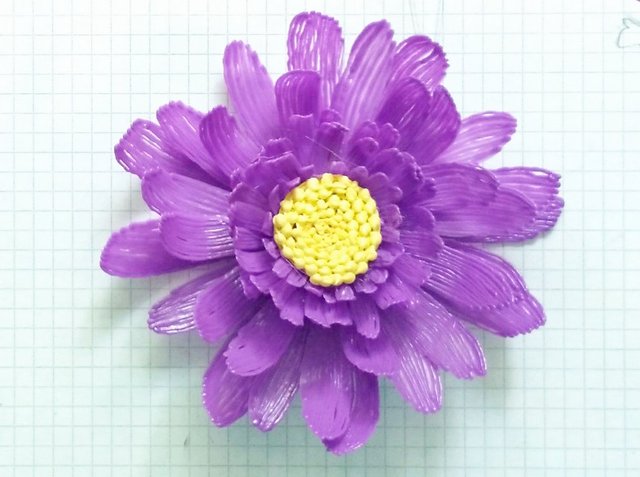
I attach green leaf petals to the base of the flower. I wanted to make a lot of them first, but it seemed to me that they would be superfluous)
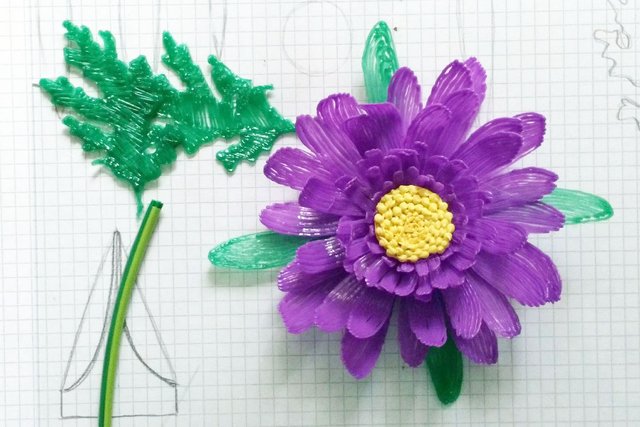
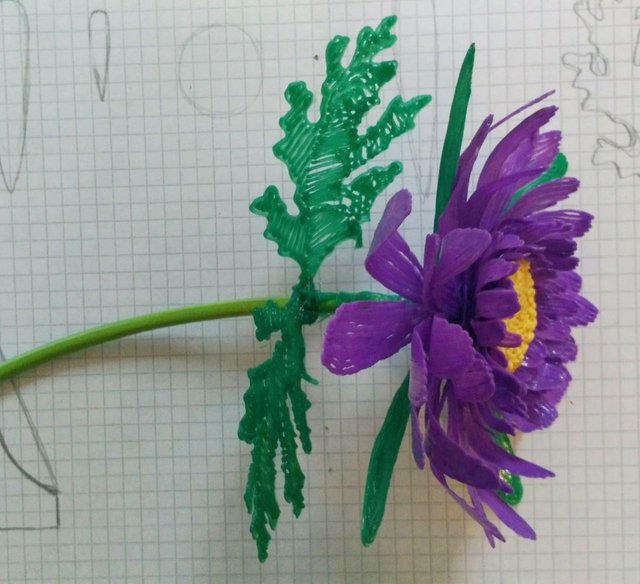
And there remained a little bit: to attach a stem and leaves. I attach the stem to the flower, wrapping plastic around it to the mark on which the petals will be. And I attach them:
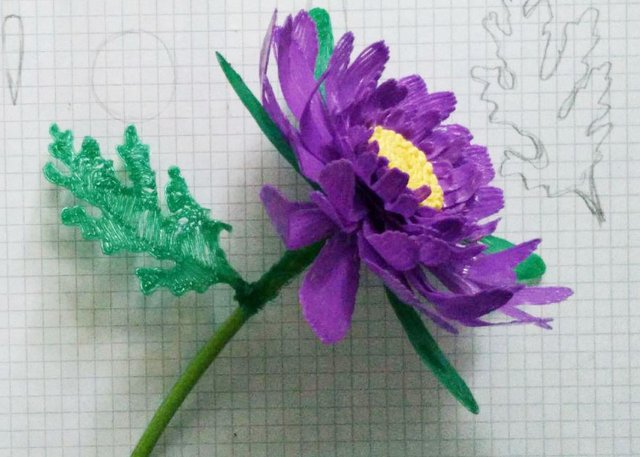
Similarly, with the second leaf:
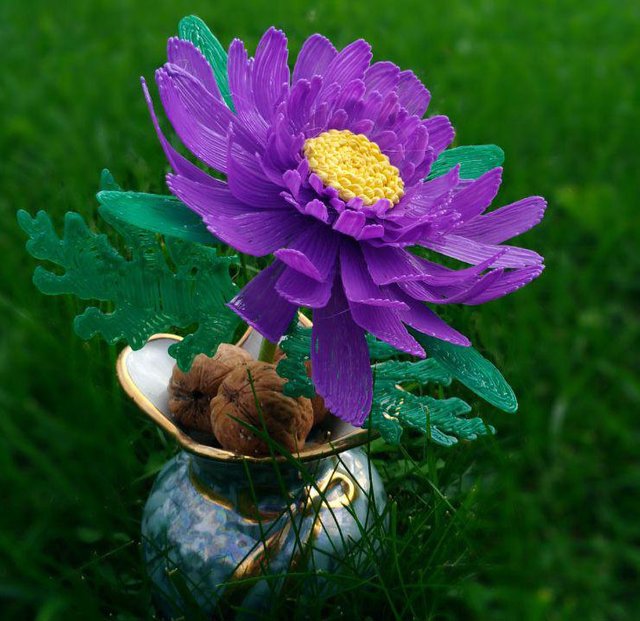
And now our astra is ready!
And here is the video process:
Stages of creating what colors (or maybe some other objects?) Would you be interested to see? Leave your suggestions in the comments!
P.S. It is hard to write in English, because my native language is Russian. But I'm learning. If you notice serious errors in the text that interfere with the correct perception, please let me know about them.
If you like my work, please follow me!
Аbout me, introduction
Аbout me, part 1
Аbout me, Part 2. Memories from childhood. Apples
Interesting stuff.
Great job
Downvoting a post can decrease pending rewards and make it less visible. Common reasons:
Submit
Thanks)
Downvoting a post can decrease pending rewards and make it less visible. Common reasons:
Submit
Visit my blog if you are interested in anything related to art or paintings
Downvoting a post can decrease pending rewards and make it less visible. Common reasons:
Submit
Congratulations @amalinavia! You have completed some achievement on Steemit and have been rewarded with new badge(s) :
Click on any badge to view your own Board of Honor on SteemitBoard.
For more information about SteemitBoard, click here
If you no longer want to receive notifications, reply to this comment with the word
STOPDownvoting a post can decrease pending rewards and make it less visible. Common reasons:
Submit
This is the first time I'm seeing 3d pen art, fabulous job and the final product is so cool!
This gem of a post was discovered by the OCD Team!
Reply to this comment if you accept, and are willing to let us promote your gem of a post! By accepting this, you have a chance to receive extra rewards and one of your photos in this article will be used on our compilation post!
You can follow @ocd – learn more about the project and see other Gems! We strive for transparency.
If you would like your posts to be resteemed by @ocd to reach a bigger audience, use the tag #ocd-resteem. You can read about it here.
Downvoting a post can decrease pending rewards and make it less visible. Common reasons:
Submit
I accept!
Downvoting a post can decrease pending rewards and make it less visible. Common reasons:
Submit
Awesome! Now I need one of those pens.
Downvoting a post can decrease pending rewards and make it less visible. Common reasons:
Submit
Thanks) It remains to buy))
Downvoting a post can decrease pending rewards and make it less visible. Common reasons:
Submit