Hello fellow steemians! Here is part two! I have been a busy little bee. In part one I showed you the plastering and texturing process. In this part I will start painting the base to hopefully make it look a little more realistic. I decided earlier on that I wanted the base to have a dusty dirty kind of feel too it. As such I start unifying the base by adding a layer of Dark Yellow. This is the same color I used on the tank earlier but here it is basically just a very thin base coat.
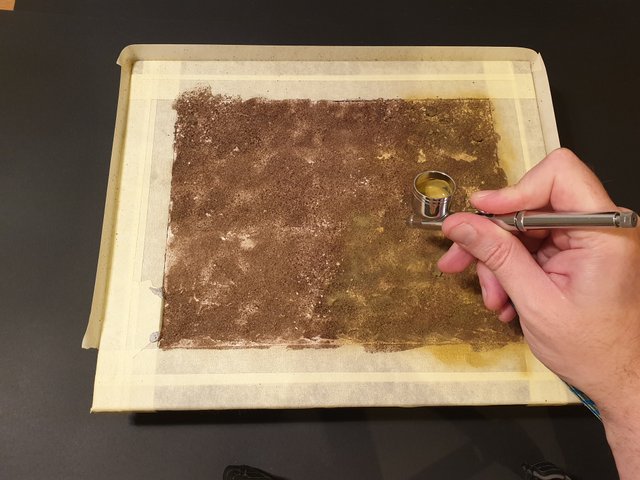
You may have noticed I have built up the sides of the mask around the base a little. this is to stop any debris that my airbrush moves from making a mess all over my work bench lol. Once that coat is complete I start on a top coat of Tamiya Buff. You may remember I used this for some of the dust effects on my tank. This will hopefully help the tank look more at place in this terrain.
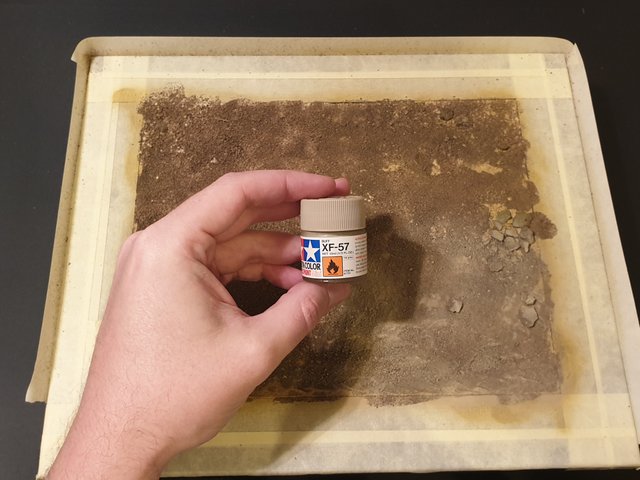
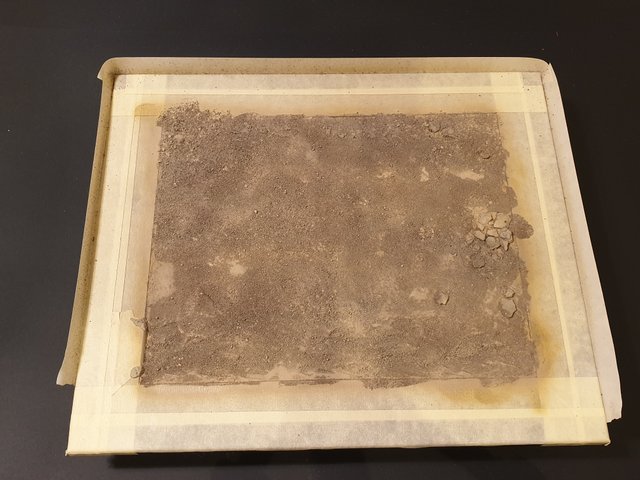
Remember how I removed some plaster at the beginning? Well I want to make this are look like a depression in the ground. The plan is to have this stand out a little in the foreground of the diorama and draw the eye to little details I will place later on. For this I use a thin layer of Model Air Armour Brown.
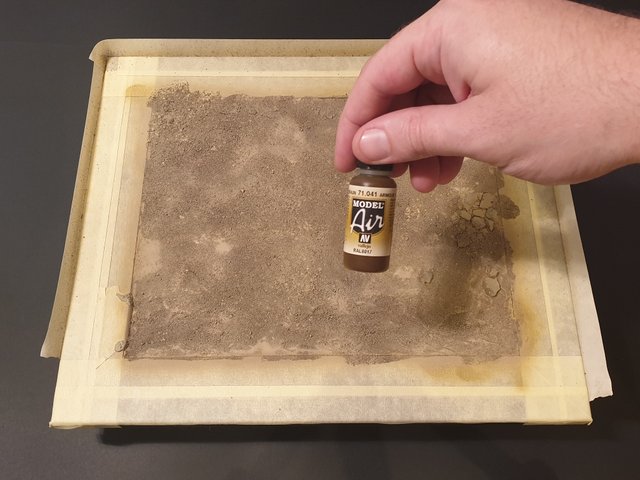
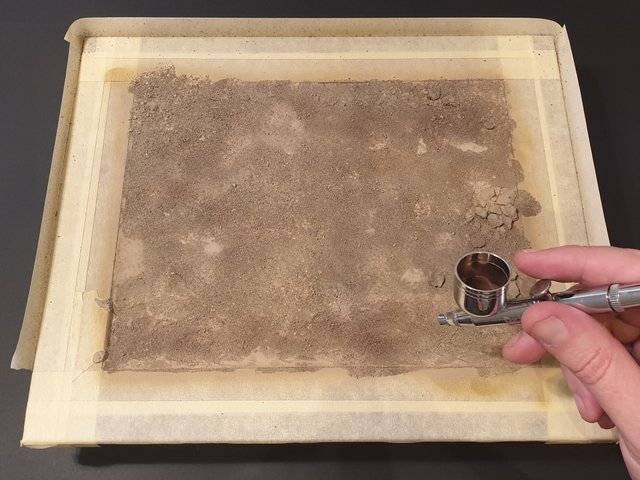
I use the left over brown to help darken the dust paint I did earlier. I will spray this in select areas just to break up the surface a bit.
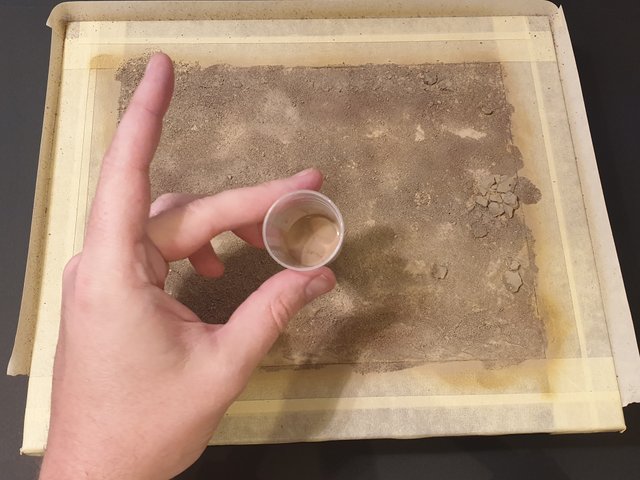
Now I use some grey paint to pick out some of the larger rocks I placed earlier. Once I have painted these I will drybrush them with some of the dust paint again so they don't stand out too much. Just another little point of interest to the scene, and one I will add too further on :-)
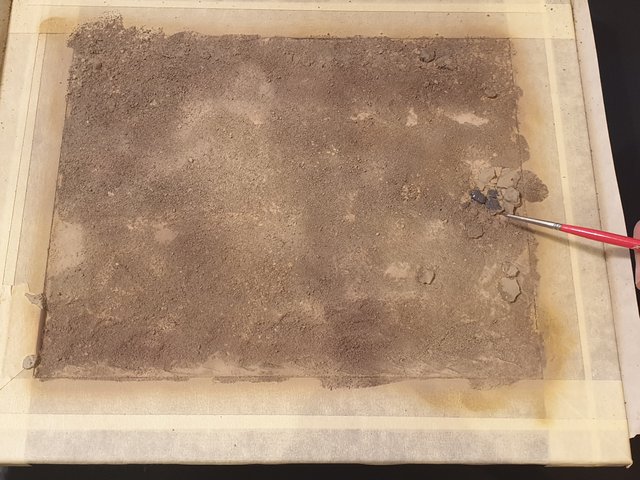
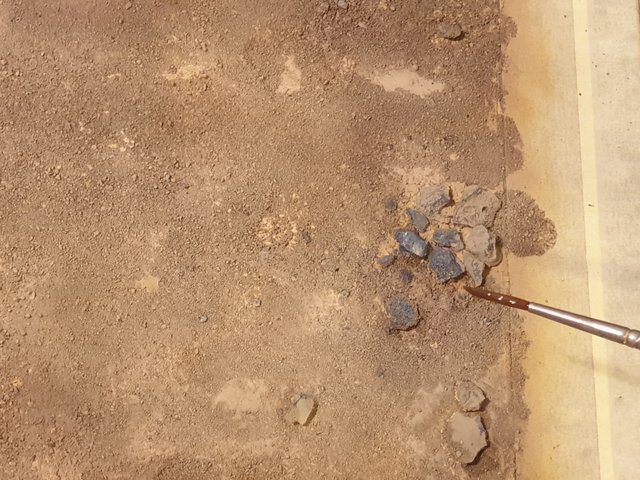
Now for my final step today before letting the base dry for a while. I add some very thin washes to the surface. This is just more highly thinned brown paint from before. I used this around the objects to help create a little depth. I also use it in the fore ground to make the dirt seem to have a little more moisture than the raised areas of the diorama.

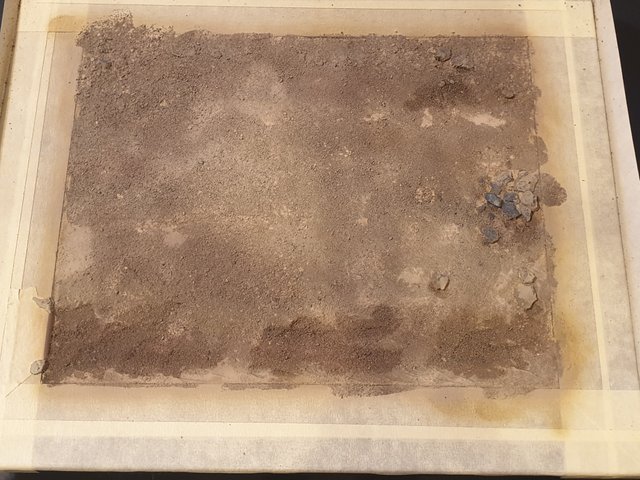
Sorry all but that is it for today! :-) Doesn't look like a days work does it lol. More for you tomorrow!
Huge thank you to everyone who is voting, commenting, reposting and following my progress. I really appreciate all the help and feed back. Until next time! :-)
This post was shared in the Curation Collective Discord community for curators, and upvoted and resteemed by the @c-squared community account.
If you are a community leader and/or contest organizer, please join the Discord and let us know you if you would like to promote the posting of your community or contest.
@c-squared runs a community witness. Please consider using one of your witness votes on us here
Downvoting a post can decrease pending rewards and make it less visible. Common reasons:
Submit