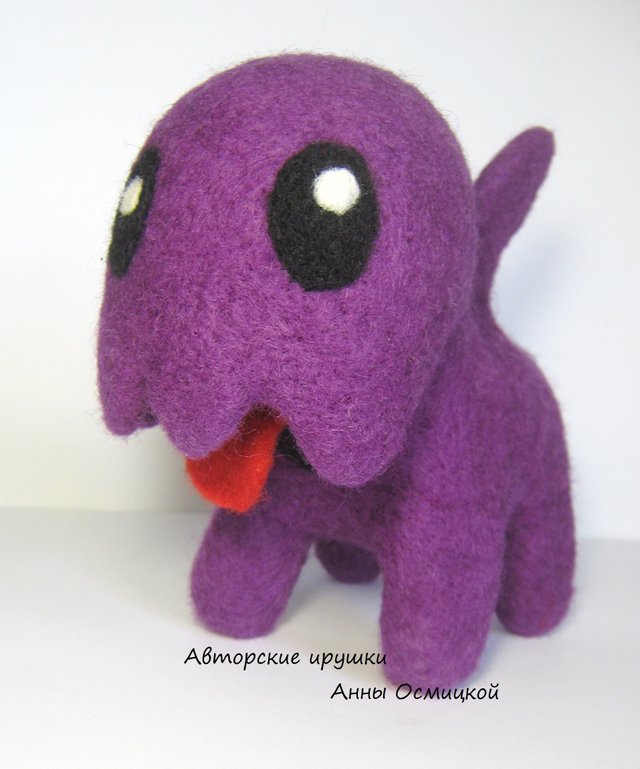
A toy made from wool - Zerg from StarCraft based on funny starcrafts, zergling.
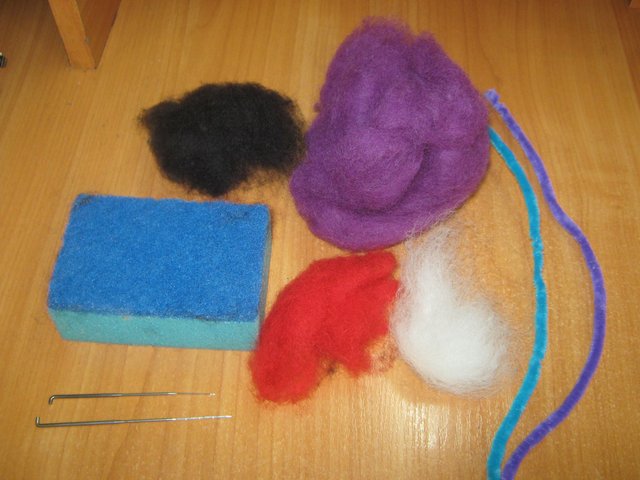
Tools and materials:
- Foam rubber sponge;
- A special ribbon wool for felting or wool-carded (I take cards);
- Chenille wands;
- Needles are thick (№ 36 triangular, long);
- Needles are thin (№ 38 triangular).
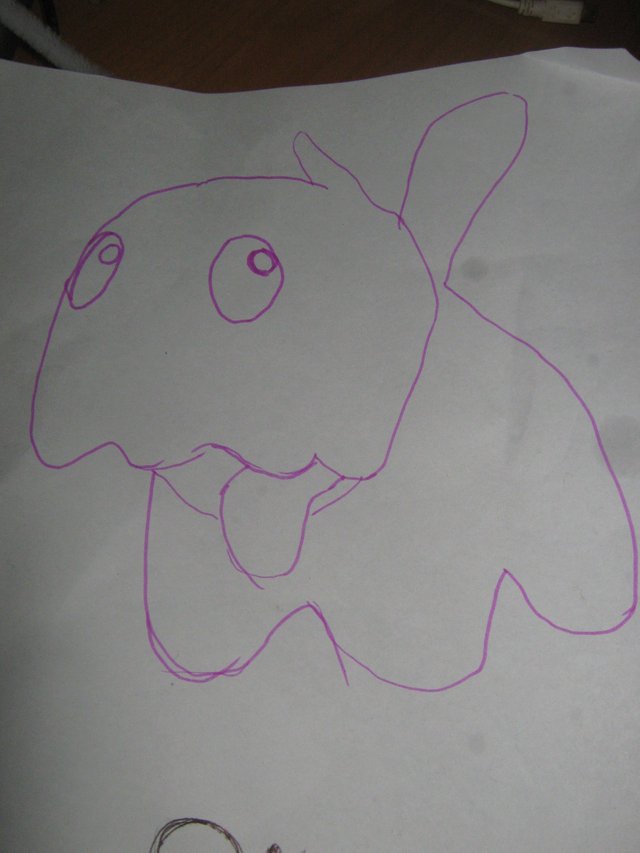
In order to start playing the toy, you need to make a sketch, draw for yourself on paper.
Initially, larger details roll, moving after them to smaller ones. Similarly with needles - at the beginning of work they use thicker ones, and after the main seal they take instruments thinner to create thinner, delicate details.
Before starting work it is important to prepare wool clumps for all parts of the product.
It is important to remember that, the volume of the finished product is 3-4 times smaller than the wool with which we begin to work!
To do this, pluck a small piece from the general skein and fluff, divide the long fibers into short ones. To do this, carefully pull them in different directions. It is necessary to create a homogeneous mass for each individual part.
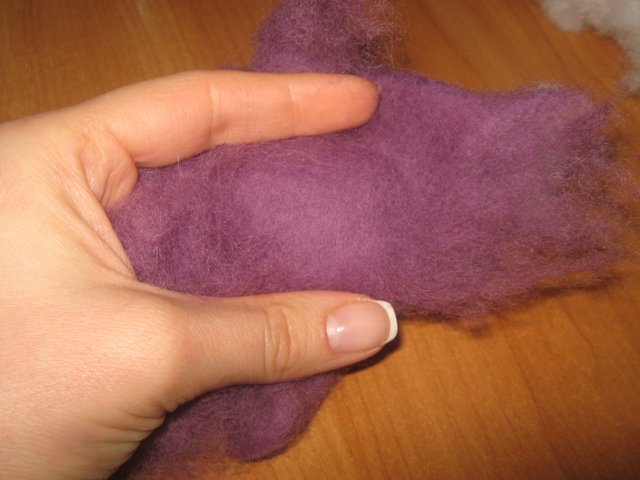
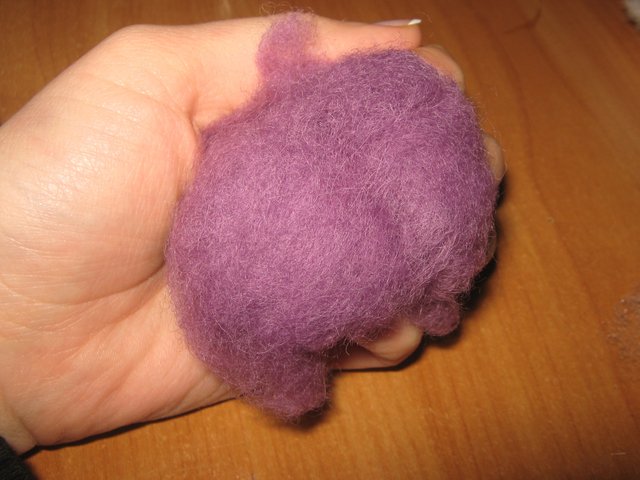
So we form the ball for the future head.
We stick the needle into the wool at a right angle, and pull out the needle. We repeat, trying to observe this angle further. Stick in with quick movements and gradually you will notice how the ball starts to compact. Help the process and, if necessary, shape the part.
Initially, it is necessary to stick the needle as deeply as possible, taking out the middle so that the upper surface remains soft and the core is compacted. We leave loose strands in the junction to allow them to be welded to the main part.
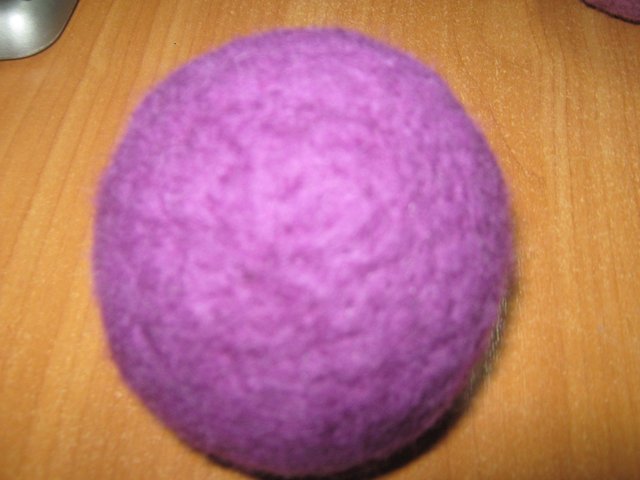
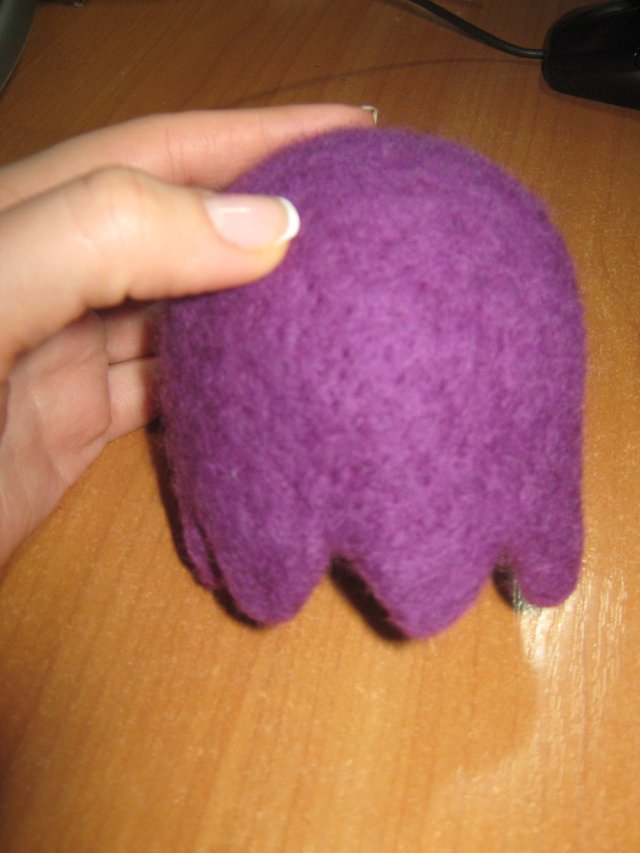
Then the trunk and small parts.
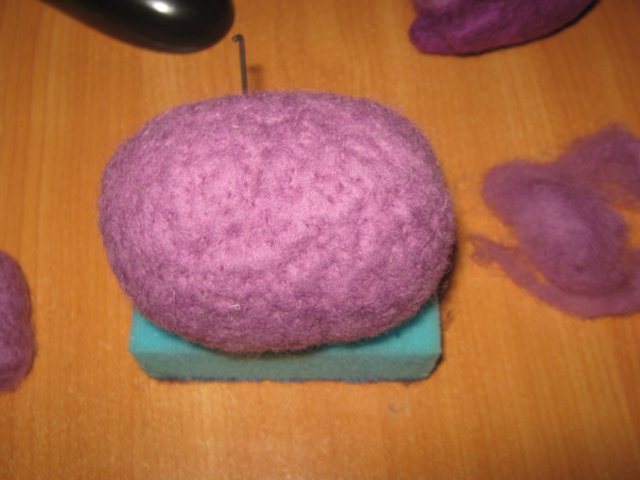
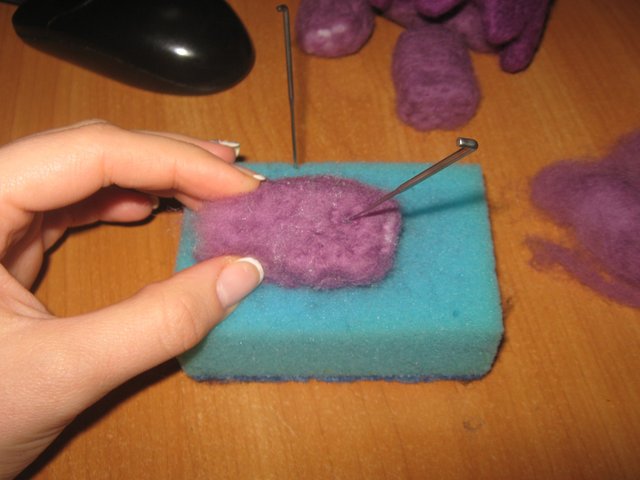
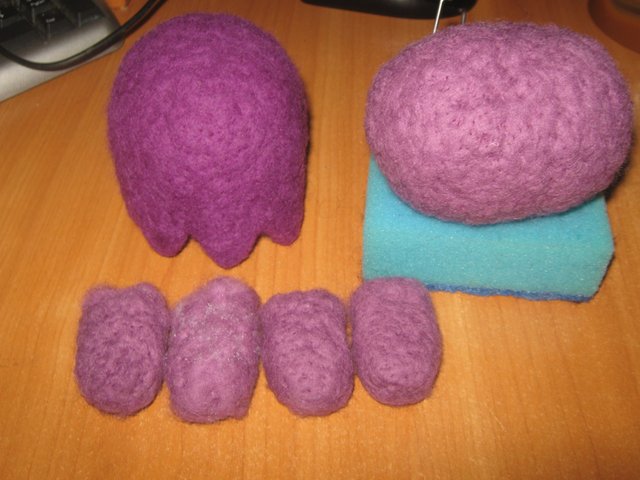
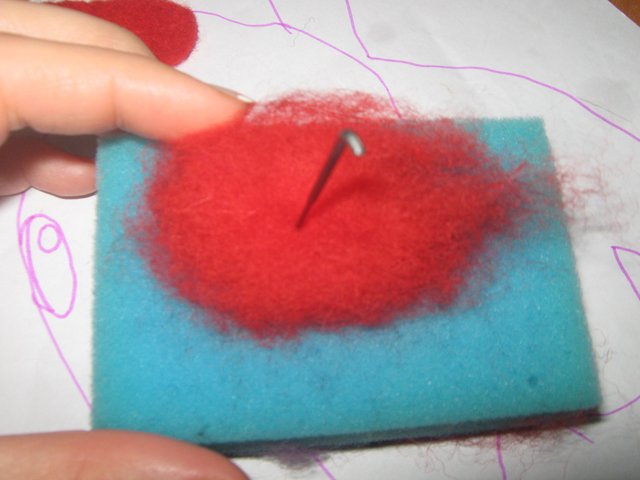
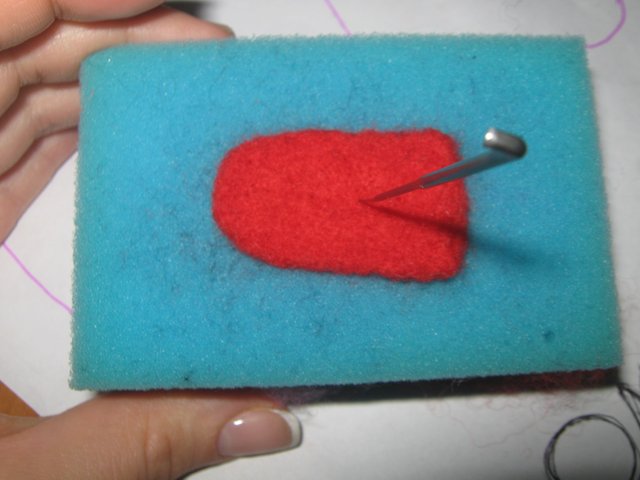
Then we take a lump of red wool and on the same principle we roll the tongue.
From black and white wool form the eyes.
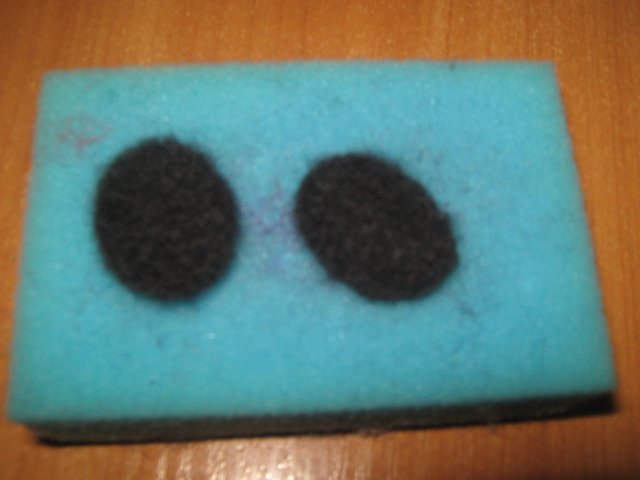
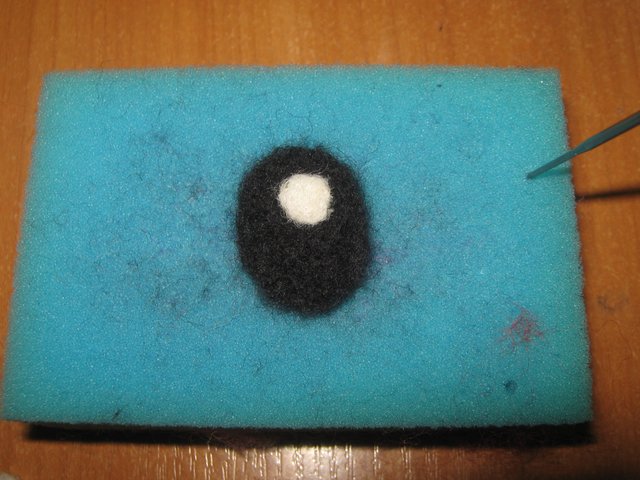
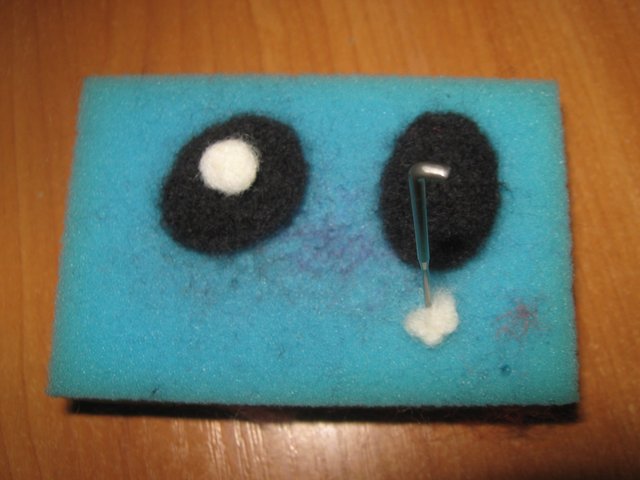
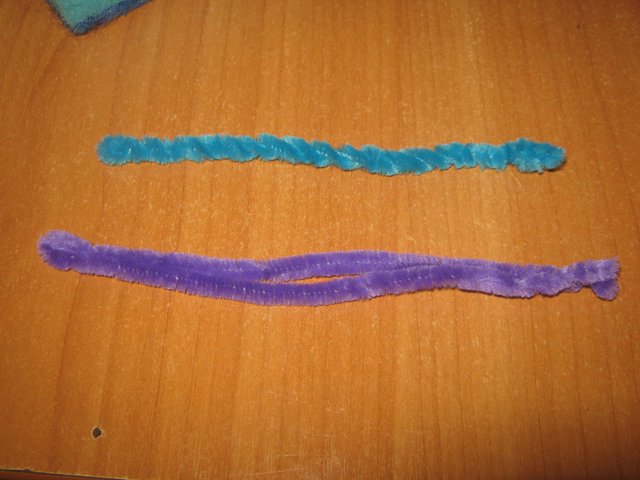
We take chenille sticks, fold them in half, twisting for greater rigidity. We form the wing. Then we take the wool and wrap the formed wing in the wool and "poke" it until it is compacted.
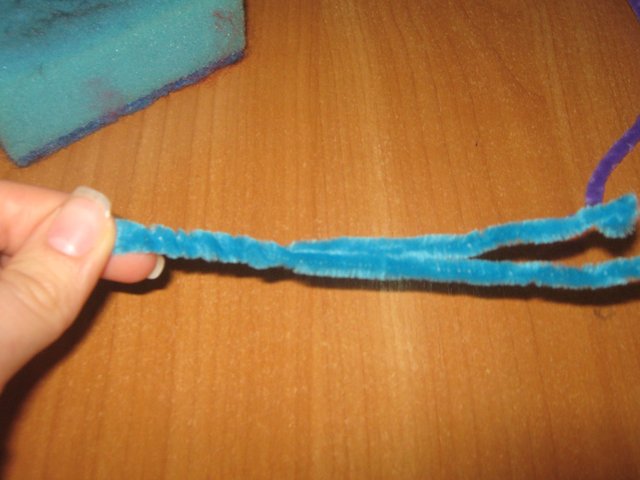
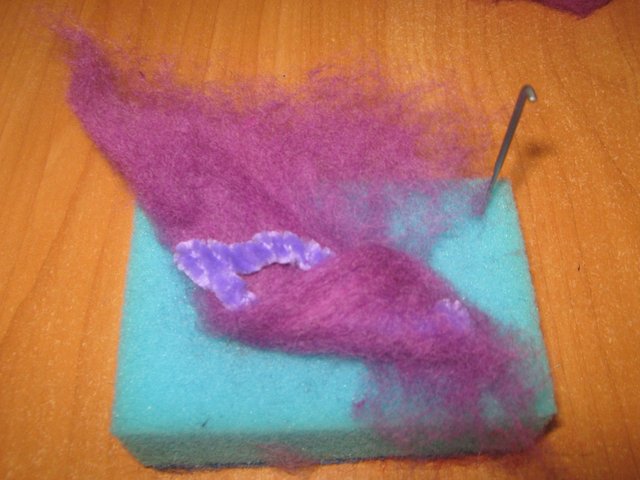
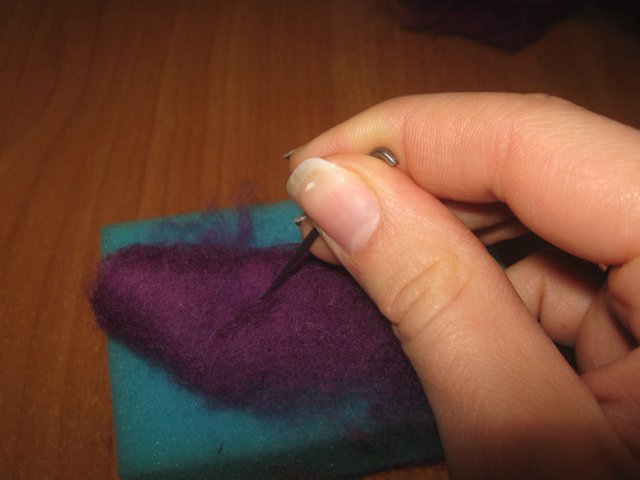
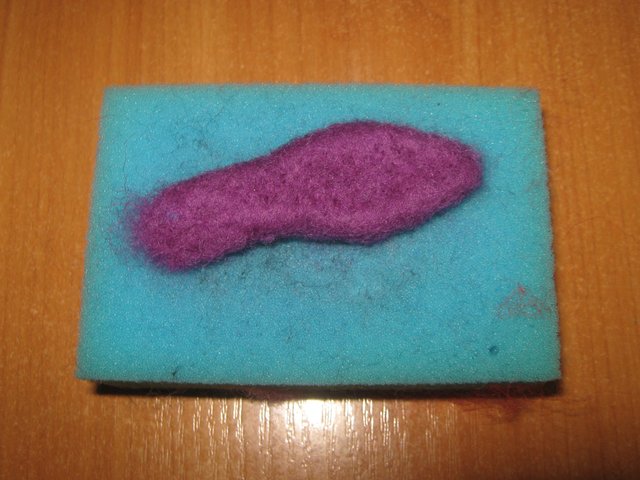
Then we connect all the details with the help of needle № 36. This is exactly the same as the whole process as a whole - we put the strands of the attached part to the base and fast movements put the wool inside repeatedly. It very well penetrates the needle in depth, so do not worry that the details will not hold tight. You just need to leave enough of that sticking "tail" for this. (For more confidence, you can first sew a part, and then seal)
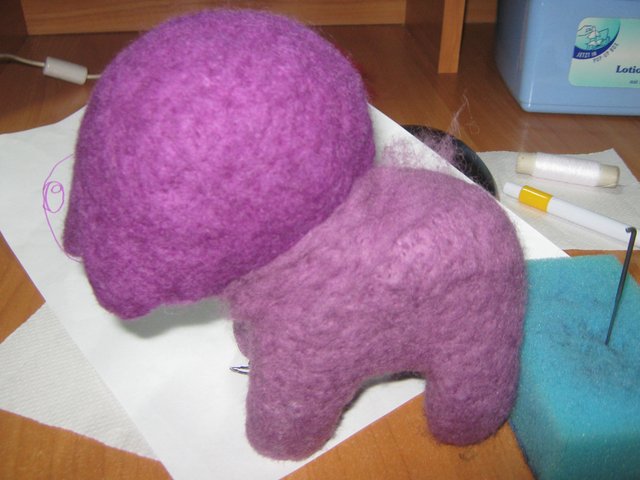
We stick the remaining parts. (Tongue, eyes, wings and lower jaw)
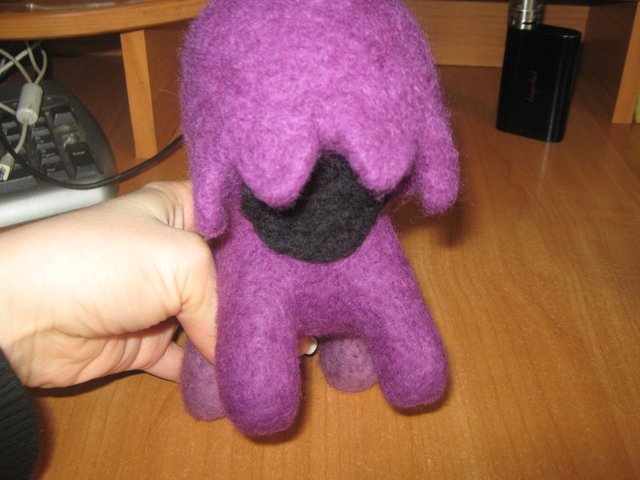
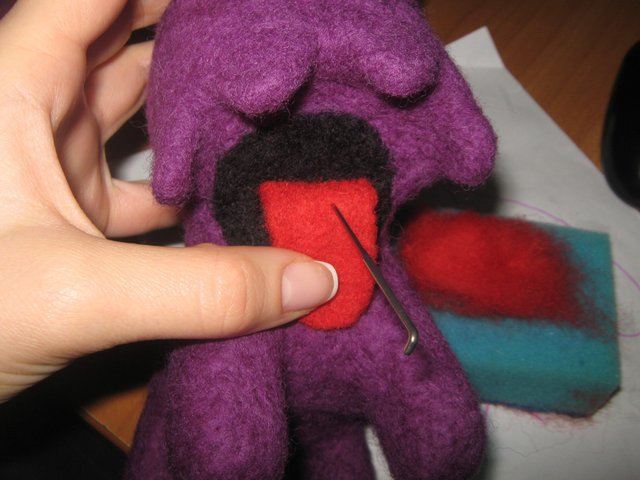
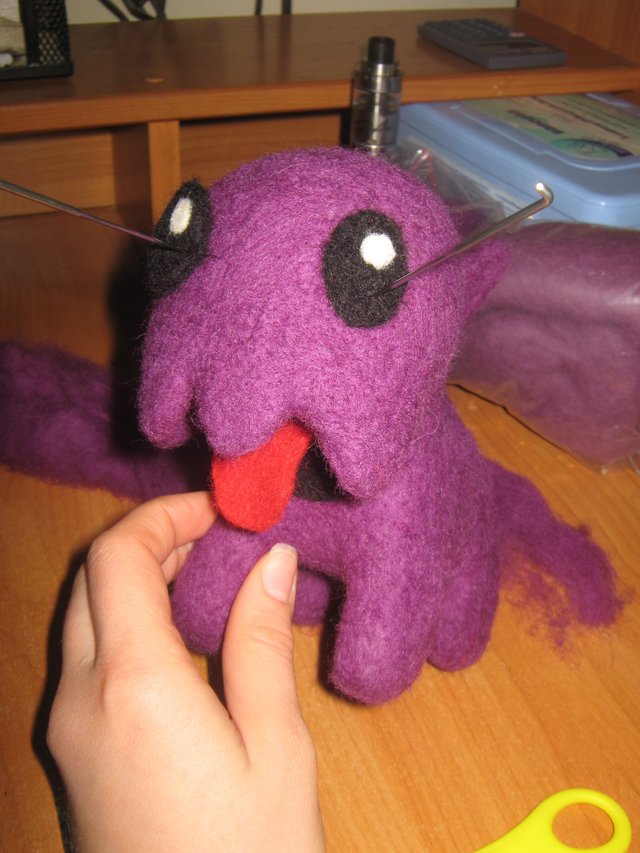
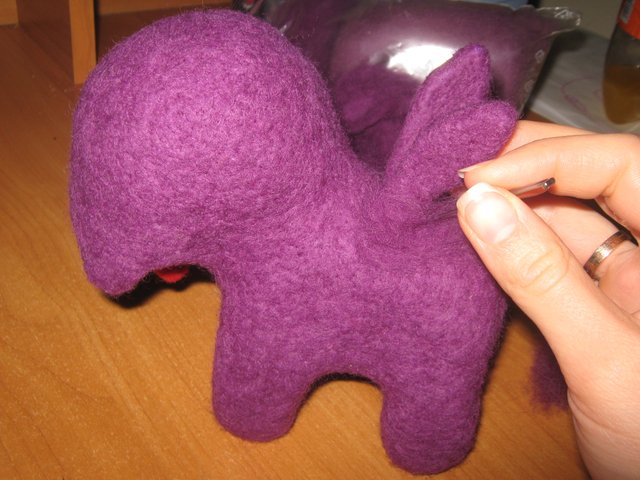
When the figure got a finished look, it means that it was left to "polish" it. Gently tear off small pieces of wool, select a thin needle (needle number 38 or 40) and overlay the resulting "cloud" on the figure, we attach it to the surface.
So our toy is ready. That's what happened.

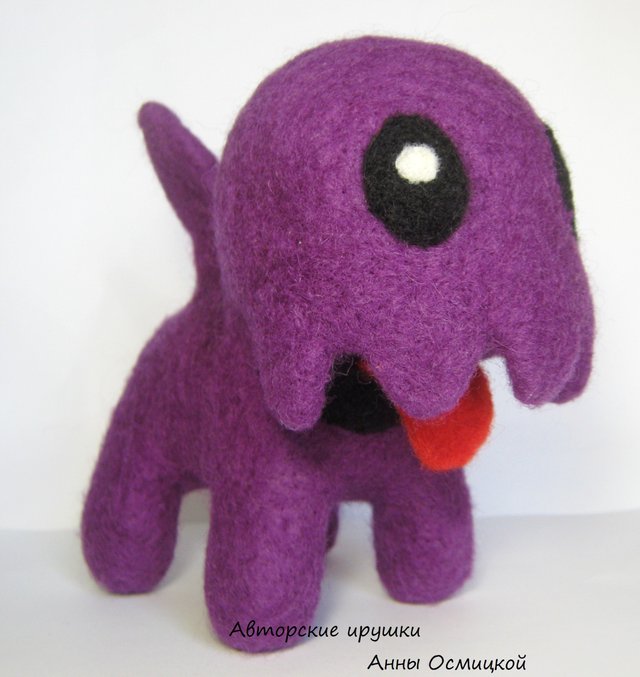
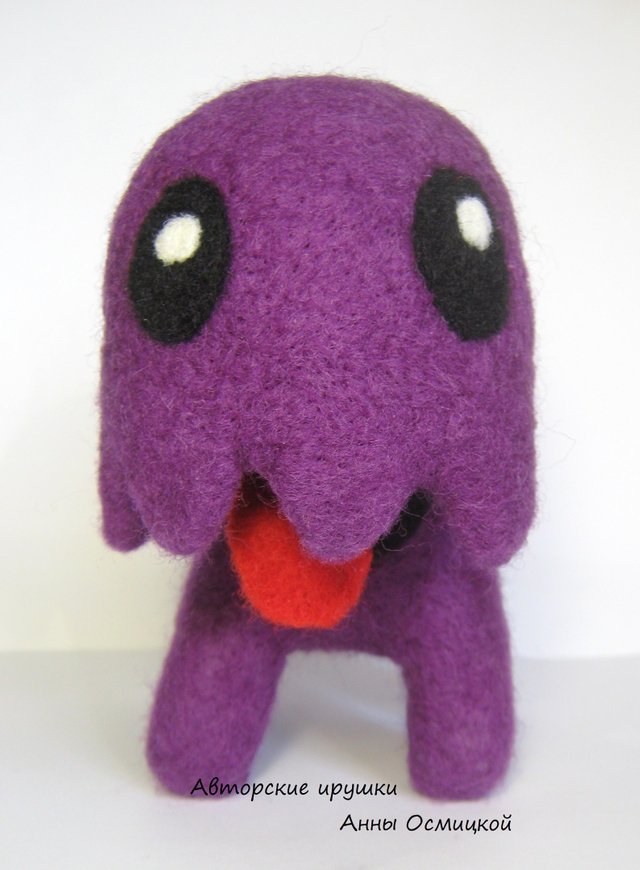
This looks amazing!
And it is created with such affordable materials. But I guess it is all in the hands of a talanted person.
Great step by step guide, I am impressed.
You got yourself a new follower. Would love to see more of your work! :)
Downvoting a post can decrease pending rewards and make it less visible. Common reasons:
Submit
Many thanks for such kind words, I'm very pleased!))
Downvoting a post can decrease pending rewards and make it less visible. Common reasons:
Submit
This is amazing, I love Starcrafts! :D You should tag Carbot too so people find this easier :)
Downvoting a post can decrease pending rewards and make it less visible. Common reasons:
Submit
Thanks ))
Downvoting a post can decrease pending rewards and make it less visible. Common reasons:
Submit