1) Quick sketch

2) Line and silhouette

When the quick sketch is finished you can make its layer more transparent (30% opacity or so) and create a new layer. If you work in traditional media just try to make a sketch very light and use an eraser. Draw a thin contour line with more details on a new layer over the sketch.
3) Local tone

When the line layer is finished we don't a sketch layer anymore. You can delete or hide it. Create a new layer under the line one. Decide which parts of your drawing are lighter and which are darker. Cover these parts in different shades of gray.
4) General form rendering

Create a new layer on top of the others. Now you can start to render the main shadows on the model and the chair, and also some light on a floor. I used a custom brush with 20-40% of opacity. The reference had very smooth lighting, so I needed to make all shadows very gentle. Think more with the construction of a body and less copy the reference tonal details.
5) Points of interest

In the long-term drawing (more than 1 hour) you need to emphasize with details and rendering all complex parts of a body: a head, hands, and feet. The head is a main point of interest because of it's emotional and psychological values. So, try to make a head the most detailed part of a drawing.
6) Tonal contrasts

At this stage try to render all the main parts a figure to give it a three-dimensional illusion. Also, you can work a little bit with a background on the edges of body parts. It depends on lighting, but most often the right or the left edge of drawing object has more tonal contrast and another one is blurred and smooth in relation to the background.
7) Chair and big relations

The same rendering actions but with a chair at this step. I used some light strokes in highlights and dark strokes in shadows. Also, I made some large pourings to differentiate big relations between a head and some other parts of a body.
8) Final details and the background

Last step to finish a background and to add some details and accents. I decided to erase the wall side fracture and to make a room space a little bit wider. Some texture of floor planks was added. The figure was finished with highlights on a hair, closer leg, and a wrist. Some little details also were added to blur the edges in shadow parts and to give some better rendering in anatomy reasons.

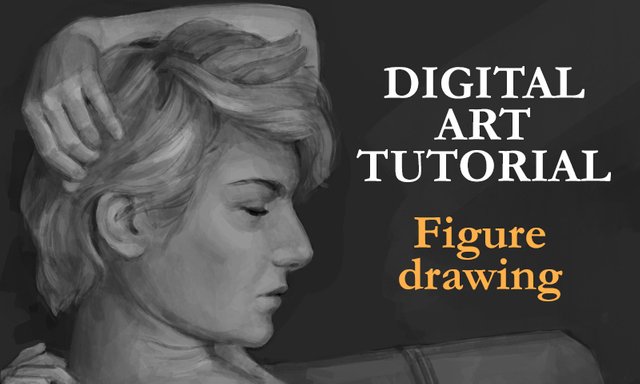
It's a pretty good step by step tutorial on how to draw the nude figure, and the chair itself with the background. I took figure drawing at a state University and they did not teach us these steps at all, they just put us in front of a nude model and said "draw them". It's amazing that you can learn more on steemit than you can learn from a state University figure drawing course. I think this post deserves a lot of credit ( and I went to art school too!)
Downvoting a post can decrease pending rewards and make it less visible. Common reasons:
Submit
Thank you for kind words and an interesting comment. I made even bigger tutorial exclusively for steemit with a video comments and whole process (oil painting of white orchid from life) and it has close to zero views, lol. Kinda the same problems in Ukrainian art schools. I'm very happy that during the study in University I was visiting also the art studio with a very professional artist and art teacher. Also, I'm planning to write an article for beginners how to organize and start art study process in general, so if you have some ideas/stories/etc I'll be very glad to hear them (maybe in a form of steemit story) :)
Downvoting a post can decrease pending rewards and make it less visible. Common reasons:
Submit
nice beautiful
Downvoting a post can decrease pending rewards and make it less visible. Common reasons:
Submit
very well said...
Downvoting a post can decrease pending rewards and make it less visible. Common reasons:
Submit
nice work @art-study-pro
Downvoting a post can decrease pending rewards and make it less visible. Common reasons:
Submit
Amazing, good job!!!
Downvoting a post can decrease pending rewards and make it less visible. Common reasons:
Submit
Thank you! I hope it will help someone.
Downvoting a post can decrease pending rewards and make it less visible. Common reasons:
Submit
Great work man :)
Downvoting a post can decrease pending rewards and make it less visible. Common reasons:
Submit
Thanks!
Downvoting a post can decrease pending rewards and make it less visible. Common reasons:
Submit
This is very educating
Downvoting a post can decrease pending rewards and make it less visible. Common reasons:
Submit
Indeed :)
Downvoting a post can decrease pending rewards and make it less visible. Common reasons:
Submit
great work! Tutorials are great use case for steemit platform! Adds a lot of value
Downvoting a post can decrease pending rewards and make it less visible. Common reasons:
Submit
Thanks! I'm putting a lot of effort to make these tutorials.
Downvoting a post can decrease pending rewards and make it less visible. Common reasons:
Submit
the result is very nice
Downvoting a post can decrease pending rewards and make it less visible. Common reasons:
Submit
Very useful information you are sharing. I feel very thankful regarding this lesson, I am an artist too and new into digipaint. This will surely come handy.
Downvoting a post can decrease pending rewards and make it less visible. Common reasons:
Submit
Thanx! Followed your blog. I'm going to make an article about how to transfer from traditional to digital art. Stay tuned.
Downvoting a post can decrease pending rewards and make it less visible. Common reasons:
Submit
I will sure be waiting for your article. I just made my first digital drawing series made on Krita, they are on my intro post in case you would like to check them out. Thanks again, see you around.
Downvoting a post can decrease pending rewards and make it less visible. Common reasons:
Submit
Good work! I'm trying to read her facial expression. What is she thinking and feeling? Hmmm does she have a migraine.
Downvoting a post can decrease pending rewards and make it less visible. Common reasons:
Submit
Very nice instruction!
Downvoting a post can decrease pending rewards and make it less visible. Common reasons:
Submit
great work !
Downvoting a post can decrease pending rewards and make it less visible. Common reasons:
Submit
great step by step, very informative for someone thinking of getting into digital drawing
Downvoting a post can decrease pending rewards and make it less visible. Common reasons:
Submit
Thanx!
Downvoting a post can decrease pending rewards and make it less visible. Common reasons:
Submit