Heya I'm back again!
So, to continue what I started, (Though I already finished this last week, sorry!)
Okay, the next step will be having your layers into groups. Click on the "New Layer Set" folder icon. Inside this, you can separate your layers so that it won't look messy or they can be easily found. You can also put names on your Layer Set by tapping double click on it.

I used this "Pressure" tool to increase and decrease the pressure points of my line work/ line art. This can also make your line art pretty cool (Specially when you don't have your own pen tablet cause I'm only using my mouse.) You can see the images below for the sample pressure.


Here's the finished line art for 2B. It also goes the same for the other two.

To add color. Firstly, adding the base color to your drawing (flat colors or simply, I used the "Pen" tool and the density is to 100% )

After filling them all out, second would be adding some shadows and highlights, I used the "Brush" tool for this one.
NOTE: Always make a separate Layer when you're adding something. The shadow/Highlight/Base Colors/Line art are all in a separate layer

This is for the Shadow.

This is for the Highlight.

For the Highlights, I used the "Lumi & Shade" Mode for them to look more shiny.

Here's the final touch. Of course, we are not yet finish here!

Okay! Here's the last part!! DETAILS!!! Details always comes last! You can work on this on your own! Be Creative!


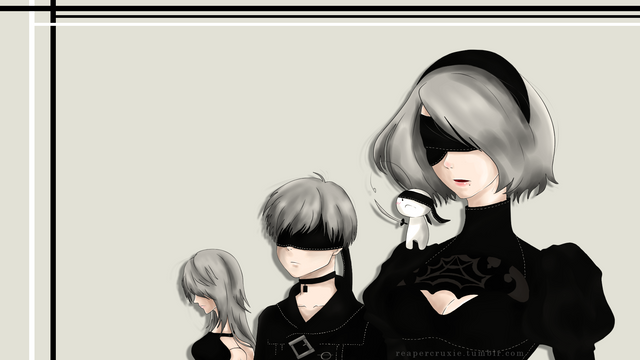
So here is the finished art! (I made the background on Adobe Photoshop and also adjusted the colors.)
Hope you didn't get bored while reading this and also didn't get confused! hahaha (I got confused on my self explanation)

Coming here on the last part means that you have read the entire blog / simple scrolled down / checking only the pictures or whatnot!
Anyways, Have a great day as always!
- Cruxie