There are several ways to insert a picture into a different image in Photoshop. In this article, I will describe them in great detail.
Preliminary training
To begin with, you need to open the main image in the photoshop, in which you want to insert another. It's very easy, even if there's a difficulty here, then read here how it should be done.

Then open second image by the same way.

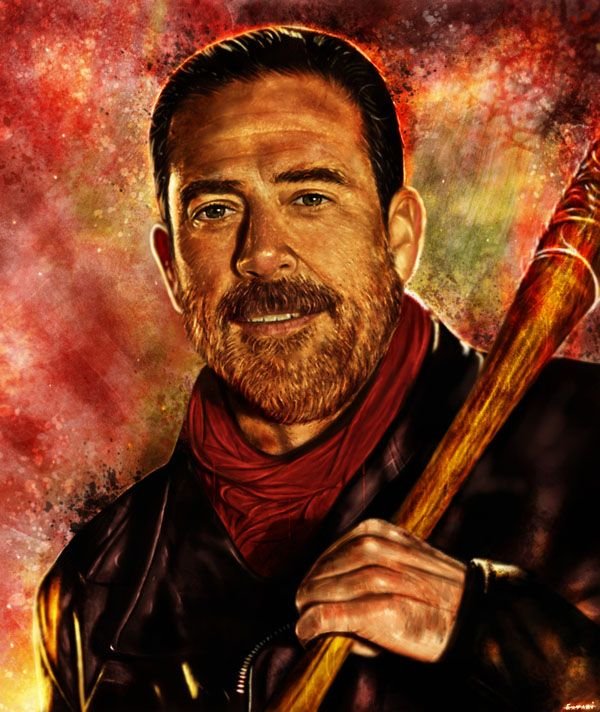
Open two images in the program. They must be in different tabs. The task is to move one of them to another. That is, in my example, I want to put the serial logo to the character's portrait so that it turns out:

Method # 1: drag and drop a picture from the tab
Most often I use this way. It consists in an ordinary dragging of a picture from one tab to another.
We need to make sure that all images are visible. To do this, pull the tab with the logo down:
Hover over the logo tab;
press the left mouse button and, without releasing it, move the mouse down;
You will see that the tab will take the form of the window as a window on Windows - meaning you can release the mouse button.

You can move this window to any place within the program. To do this, place the mouse cursor over the top of the window containing the name of the image and move the window in any direction with the mouse button pressed.
You can also safely change the size of this window, if it is too big or small. To do this, hover your mouse over the lower right corner. When he takes the form of a two-way arrow, pull this corner to the side. The window will change after the movement of your hand.
Now you need to connect two images!
Select "Move" on the toolbar (hotkey-V)
Pull the picture in the window to the main image. To do this, click on the left mouse button and, without releasing the mouse button, drag the image toward the other image. The mouse pointer will take the form of an arrow with a small plus icon. Leave the mouse button.
That's All! You just inserted one picture into another.
Method number 2: copy - paste
Until the pain, a familiar combination of actions also works in Photoshop. The essence is the same: copy one image to the clipboard, and then insert it in the right place.
Now, more detail on how to do it
Open the image you want to copy and press Ctrl + A (highlight all). A "marching ants" should appear around the image - this means that we have created a dedicated area. And this, in turn, is important for a photoshop, because it should always indicate what we want to copy. So, everything that is inside the selected area and will be copied.
Copy the selected area - press the Ctrl + C shortcut keys. Now the drawing in the clipboard!
Return to the main image and press the Ctrl + V combination. If everything is done correctly, photoshop will put the contents of the buffer in the center of the open document.
Source: http://psand.ru/kak-vstavit-kartinku-v-drugoe-izobrazhenie-v-fotoshope/
Not indicating that the content you copy/paste is not your original art could be seen as plagiarism.
Repeated plagiarized art posts are considered spam. Spam is discouraged by the community, and may result in action from the cheetah bot.
#art (https://steemit.com/trending/art)
Please refrain from using “art” tag for posting other people's creations without proper attribution or explicitly stating it's not yours.
If you are actually the original author, please do reply to let us know!
Thank You!
More Info: Abuse Guide - 2017.
Downvoting a post can decrease pending rewards and make it less visible. Common reasons:
Submit
art is never easy but i follow you and upvote
Downvoting a post can decrease pending rewards and make it less visible. Common reasons:
Submit
thx you photography is never easy too but not for you
Downvoting a post can decrease pending rewards and make it less visible. Common reasons:
Submit
Many shoots to have some good results!
Downvoting a post can decrease pending rewards and make it less visible. Common reasons:
Submit
This post has received gratitude of 1.00 % from @jout
Downvoting a post can decrease pending rewards and make it less visible. Common reasons:
Submit
Nice and simple tutorial. Keep them up.
Downvoting a post can decrease pending rewards and make it less visible. Common reasons:
Submit
ok tnx bro
Downvoting a post can decrease pending rewards and make it less visible. Common reasons:
Submit