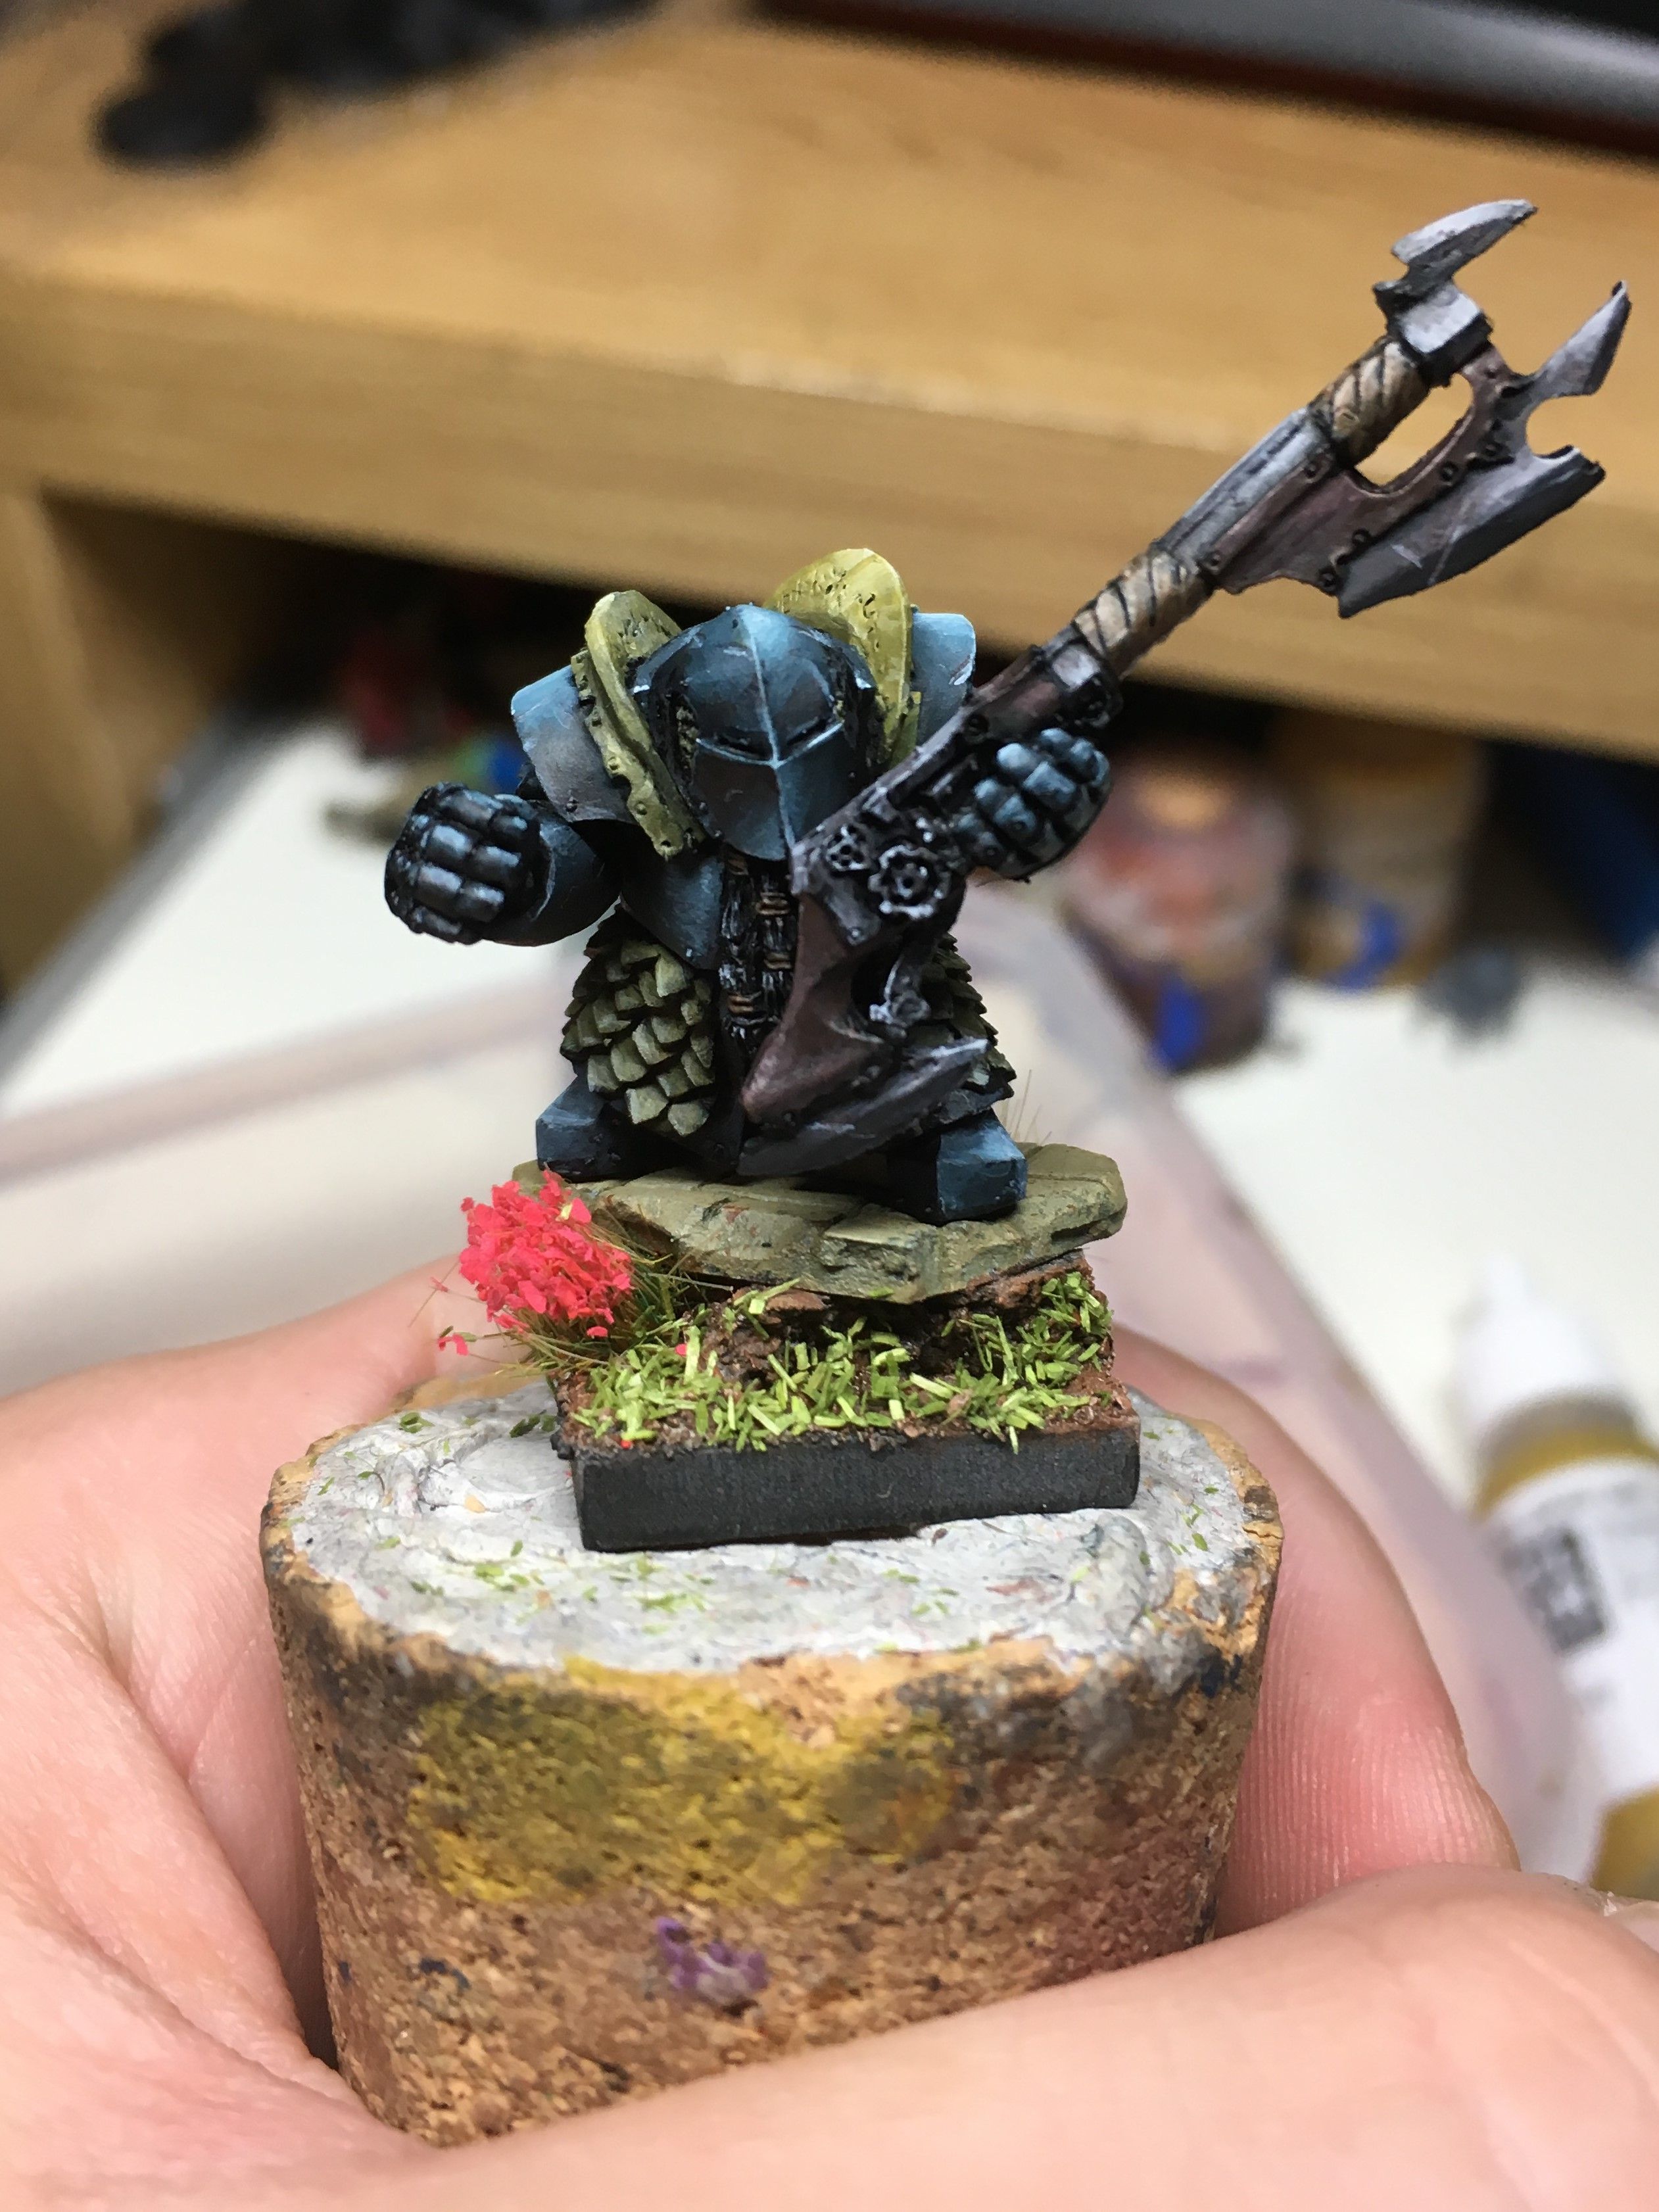
After a 17 hours long shift at work I was quite excited to do some painting today. In my last post I showed you part of the new models I ordered for my new project and how to assemble and prepare a resin model for painting. Today we will go trough the actual painting! I will be using some techniques that I have explained in this post over here and if you are interested in how they work you can check it out.

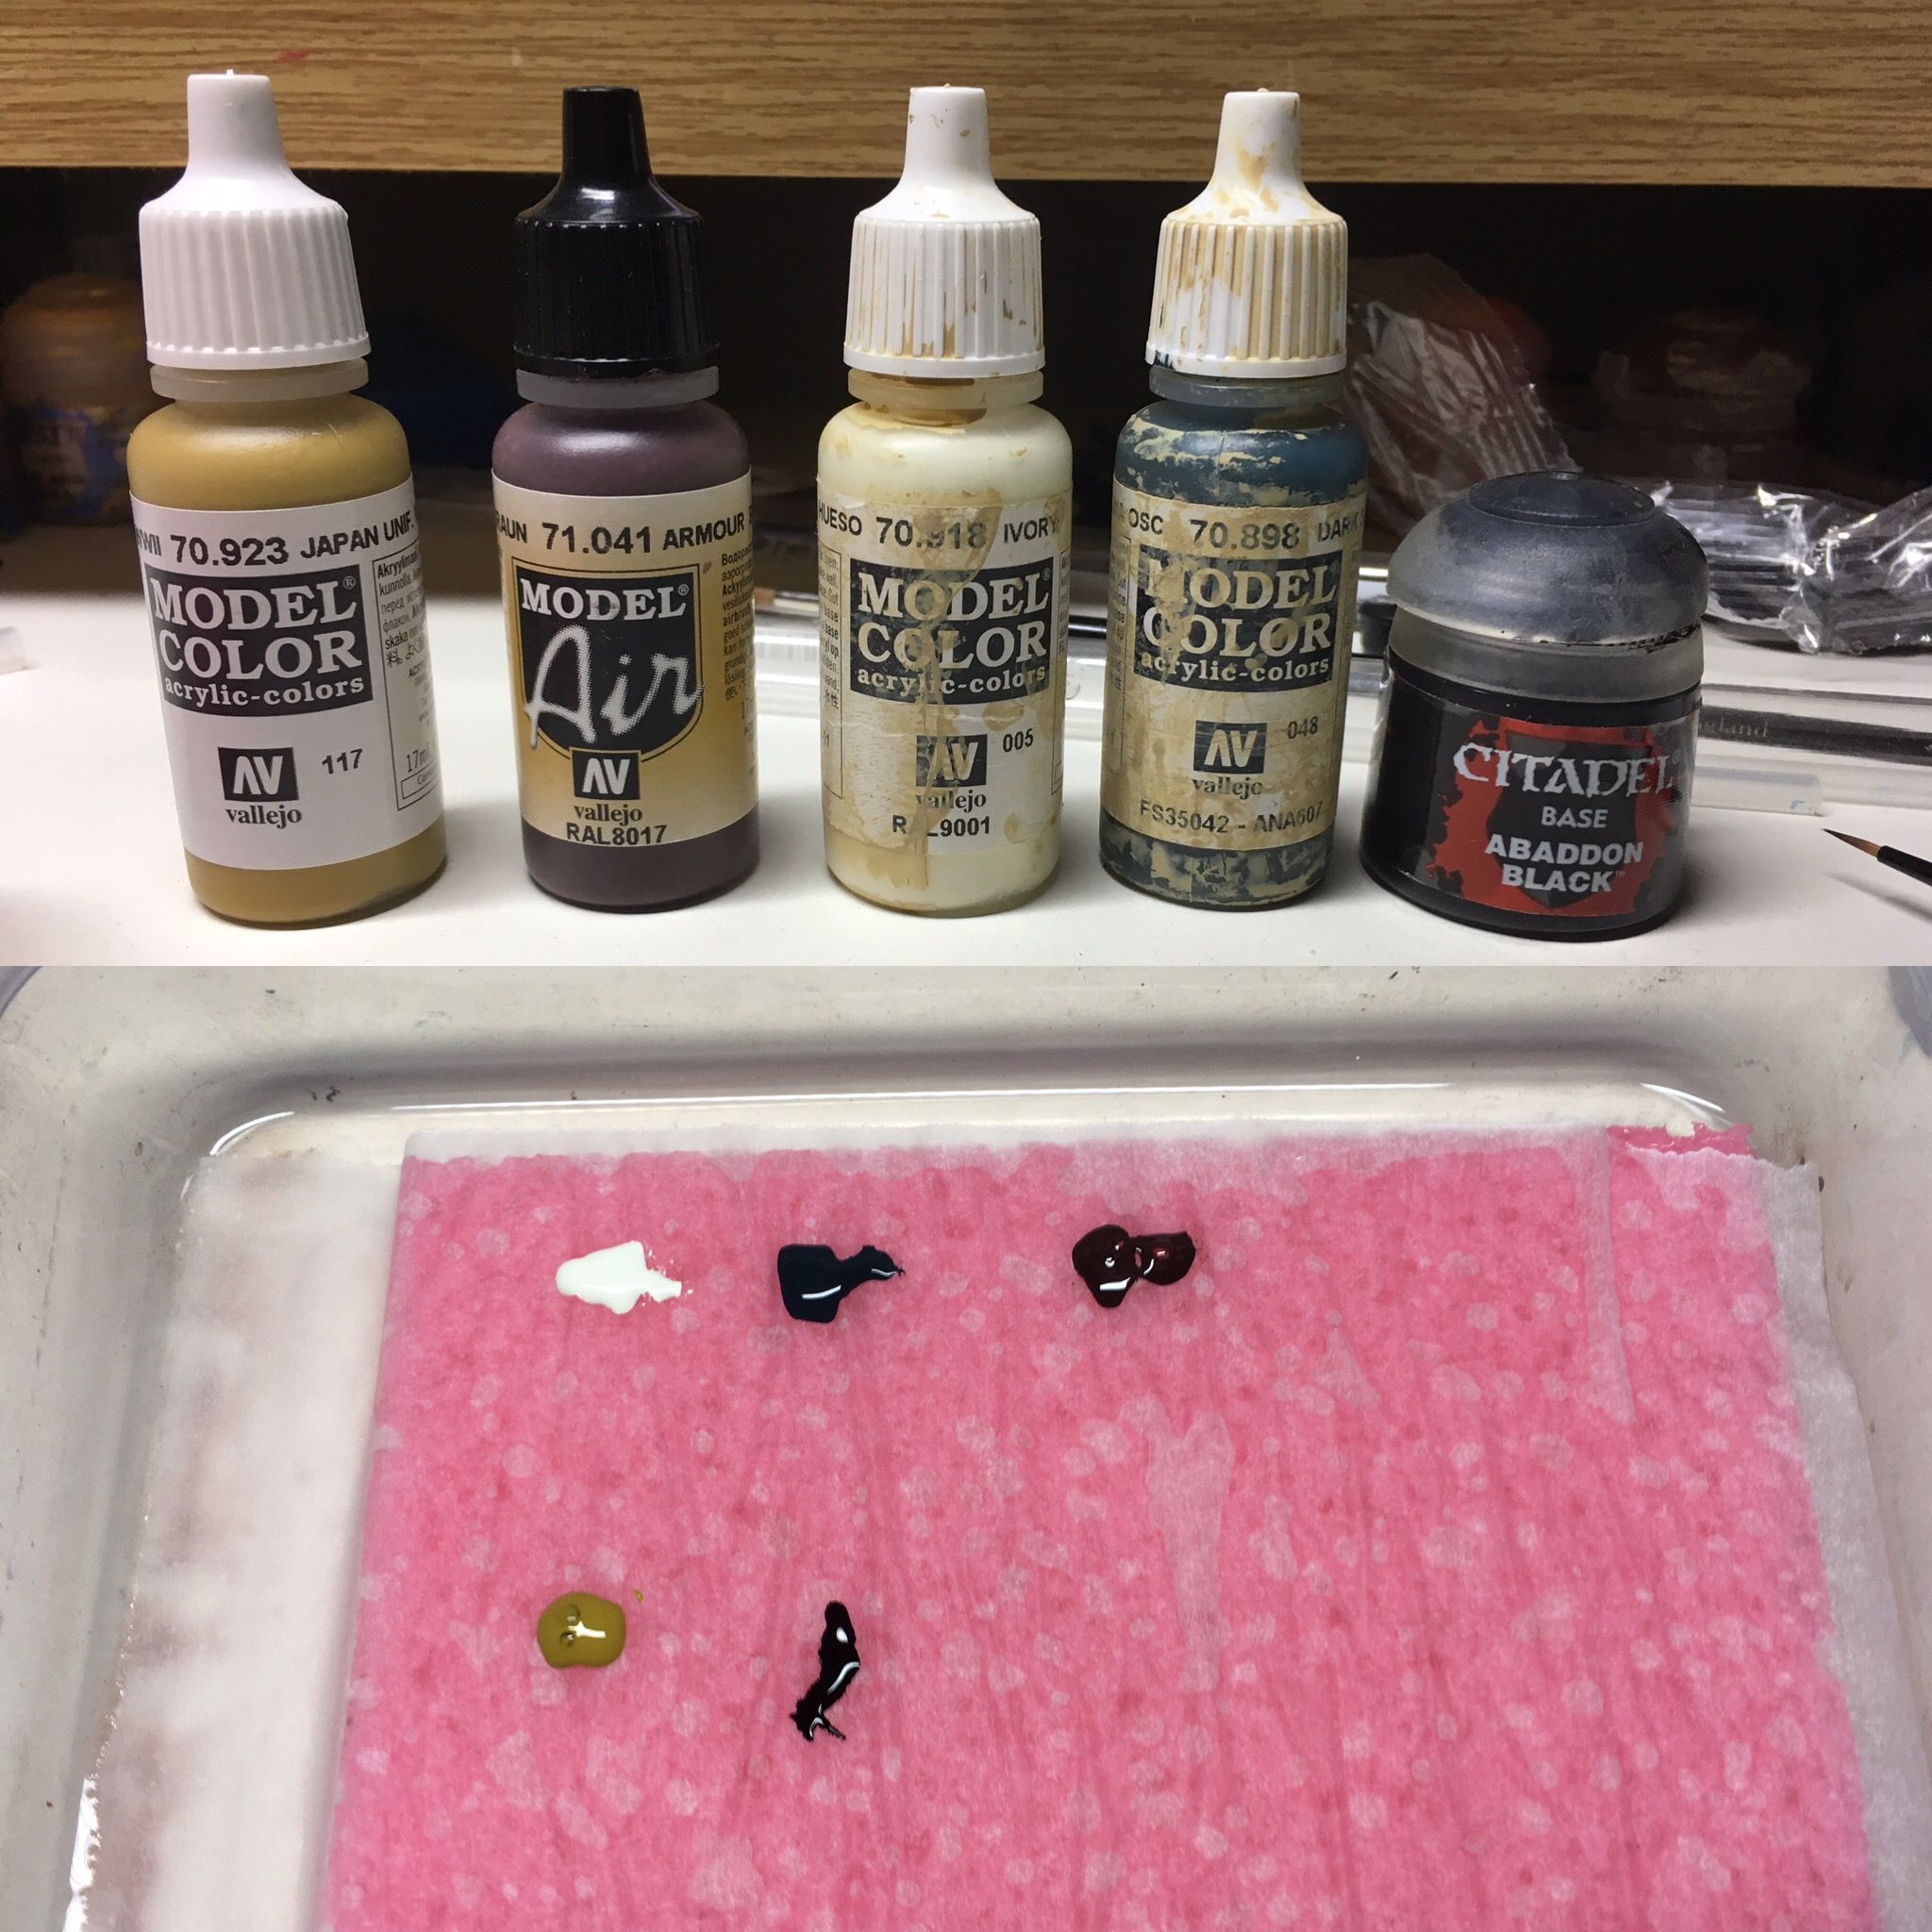
The Colours!

- Ivory - Vallejo Model Color
- Dark Sea Blue - Vallejo model Color
- Japanese Uniform - Vallejo model Color
- Tank Brown - Vallejo Model Air
- Abaddon Black - Citadel Paints
I picked a very small range of paints for this miniature since it is covered in metal. I am going for a non metallic metal effect on these so I love using black and white in the mixes for that. I know a lot of painters will say "Don't use black and white to your mixes for shadows and highlights! Neutral colours make it look dull!" As I will agree with that statement it isn't entirely true. I do like using complimentary colours for shadowing and searching for interesting contrasts but you can do things with a lot less and it is easier when you have to paint quite a lot of the same to have a simple colour scheme in mind (hence ... I don't think I will forget what colours I mixed if I paint the rest of the models in a few months for example).
For the metals I wanted them to be cold so I used black and Vallejo's Japanese Uniform colour for the gold and Vallejo's Dark Sea Blue plus white for the metal parts, glazed with Tank Brown at the end for the shadowing.

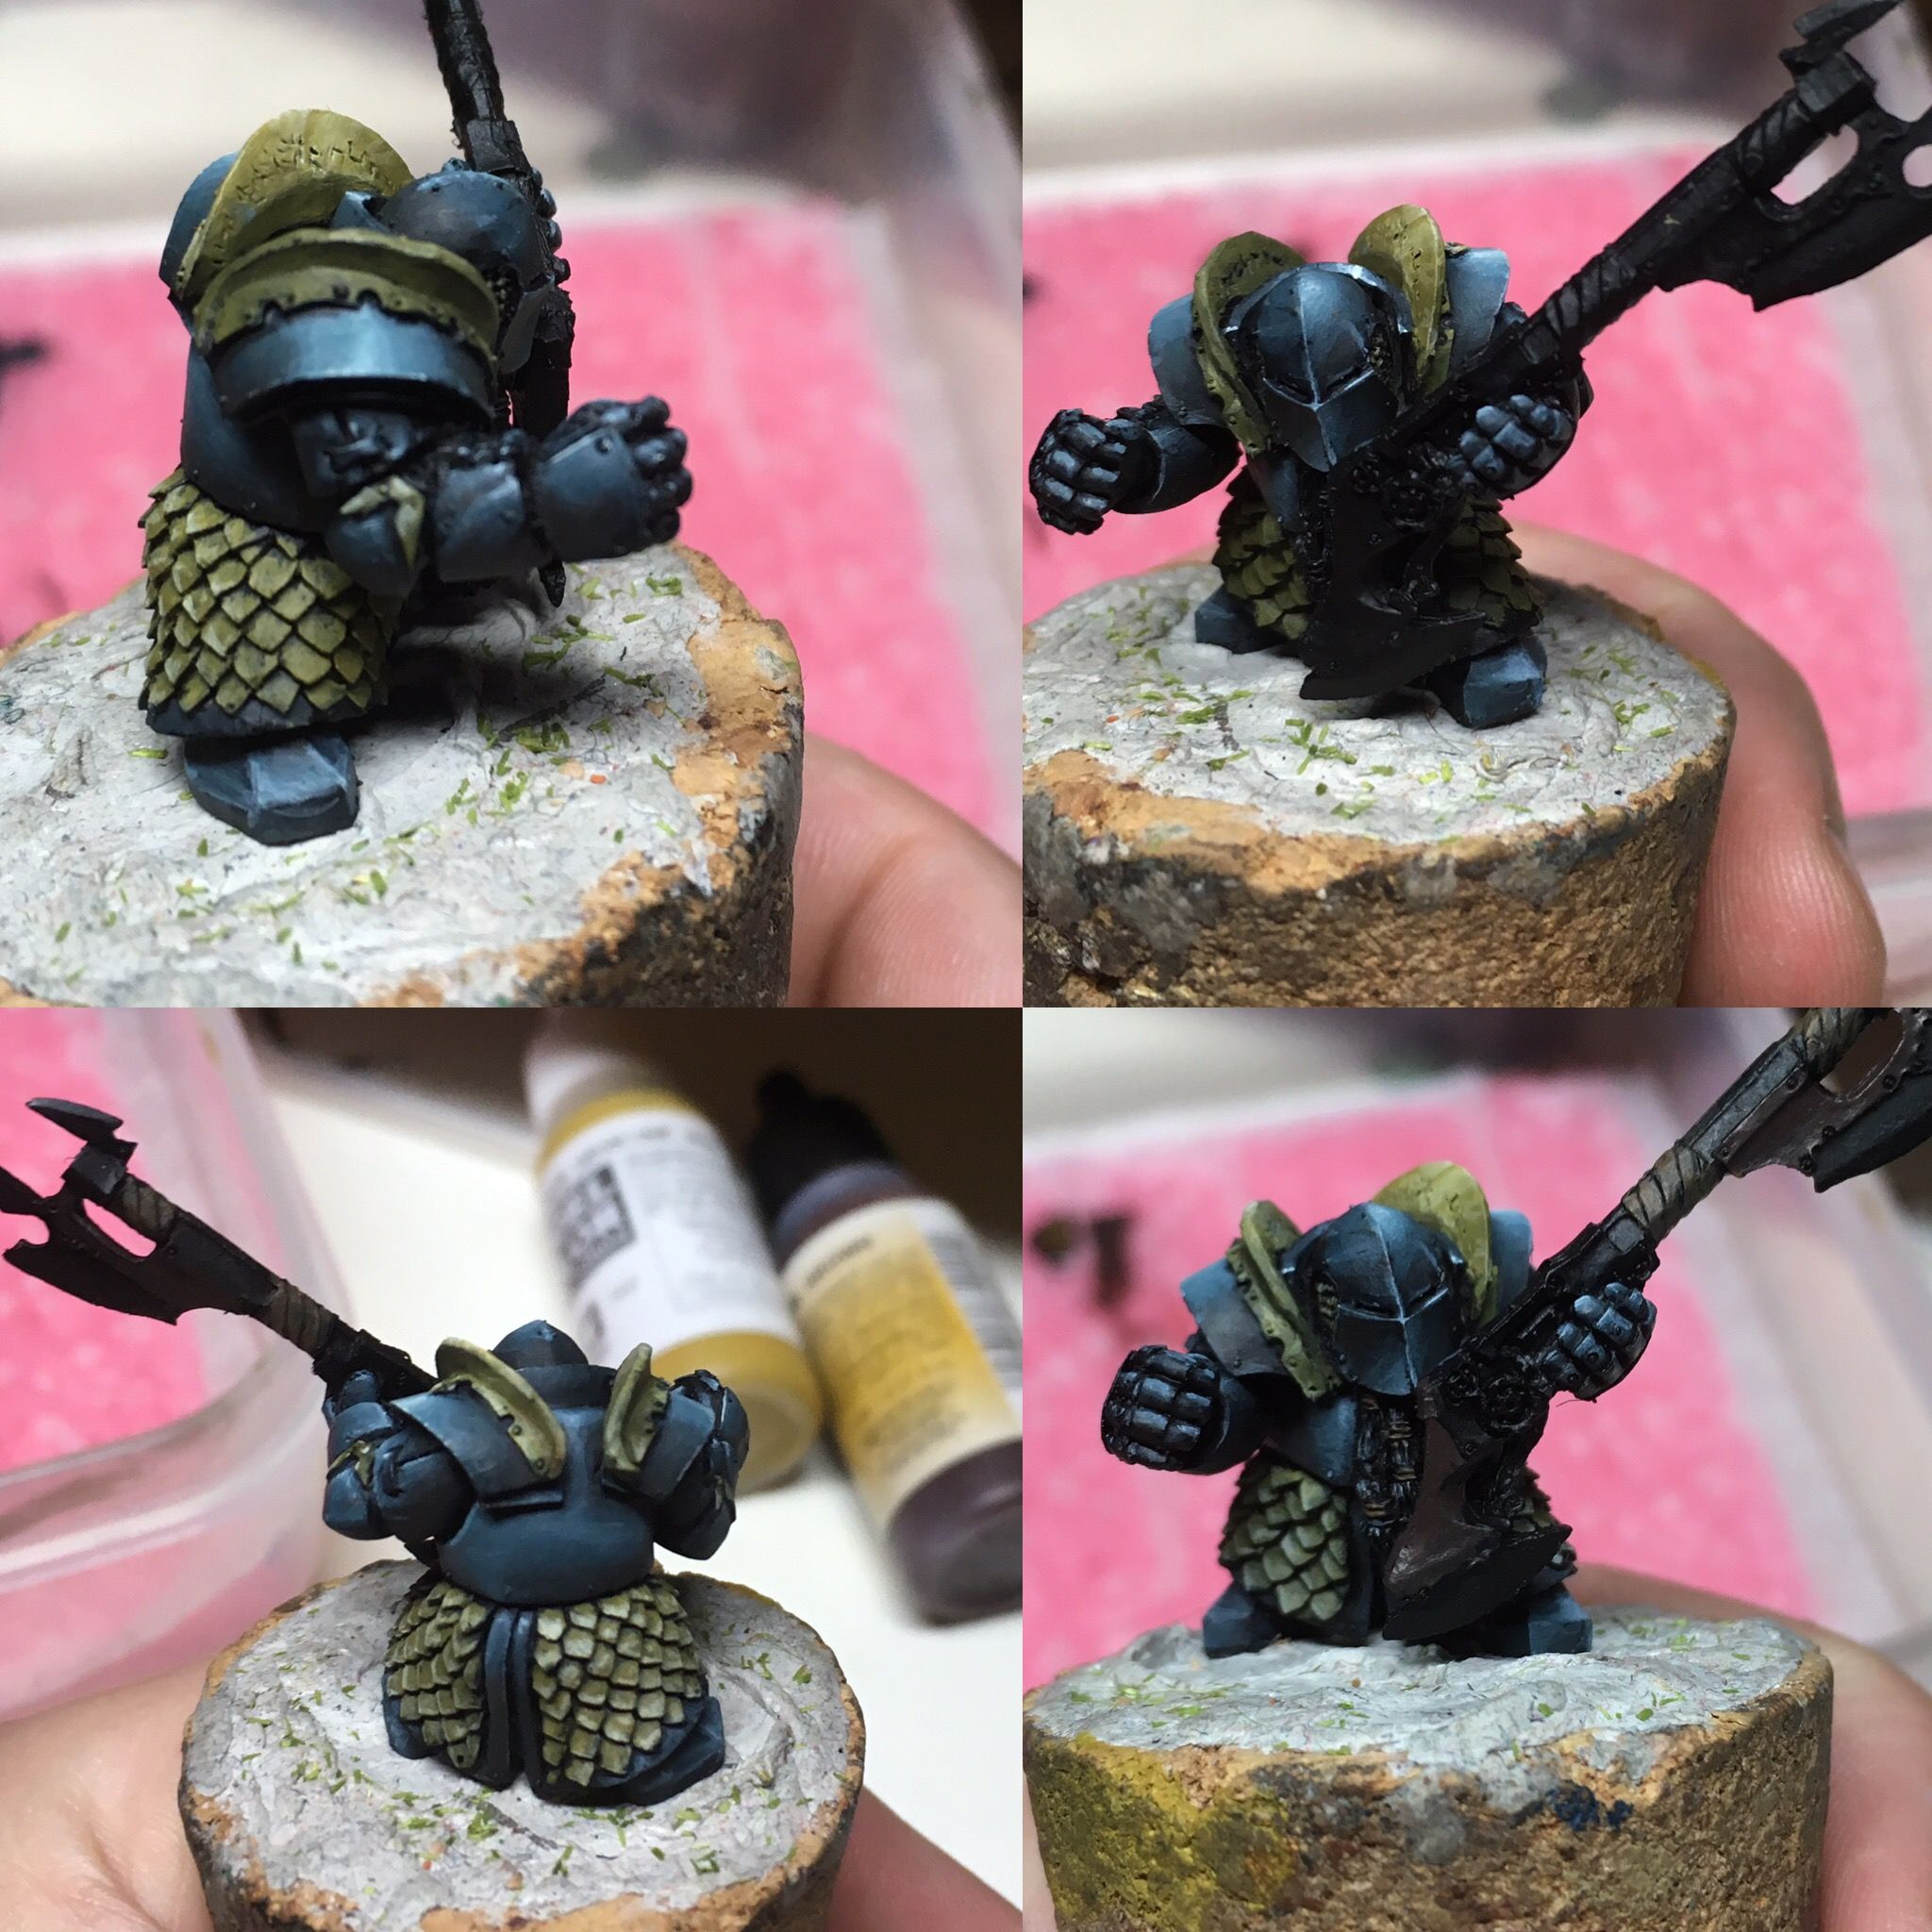
First few steps

Now I started to paint one side and wanted to paint the whole shoulder first to see how I like it and if I want to change something. To be fair I painted the gold a bit warmer at first but was looking for another effect so I redid it a bit. I do my non metallic metal with wet blending and quite a bit of glazing. At the end I add some strong pure white highlights to get this contrast that a metallic surfaces have. It is very important to have this contrast while painting metals so it looks like it and not just as a dull material. In real life metal reflects light in very interesting ways and I try to capture this as well as I can. To finish it up I add a glaze of Tank Brown pulling the paint towards the shadows. It gives it this satin finish when it dries.

Finishing the model

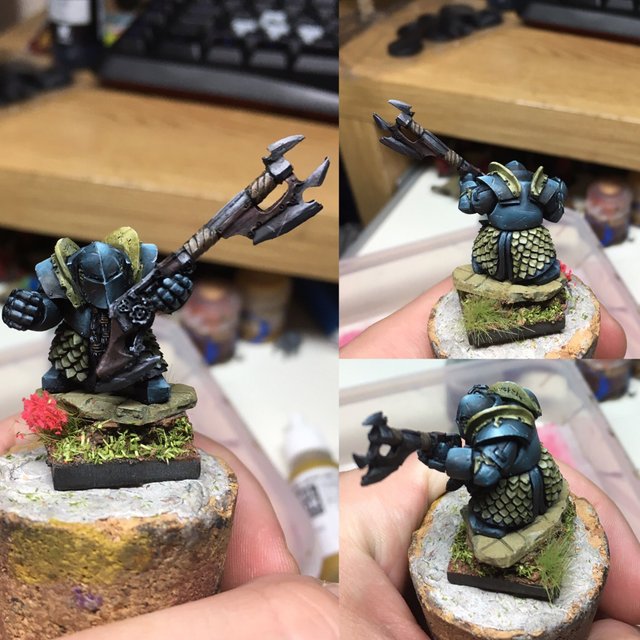
As I progress I started covering larger areas so I can save time instead of doing small bits. While waiting for the paint to dry on a shoulder for example I will go paint the arm and just jump back and forth blending and glazing the colours until I get to a point I am satisfied with. Once I finished with all the metal parts I did these small scratches by simply painting a thin line of tank brown and adding an even thinner line of pure white underneath it to give it that three dimensional look. It adds some more character to the miniature as well as cover some of the rougher blendings and mistakes you might've made (I do them, we all do..). Lastly I painted the weapon and I wanted to use a different colour for the metal parts on it so made it a lot more greyish rather than using any blues in the mix.

Finally I glued the miniature to one of the ruin bases I sculpted earlier. If you want to see how to sculpt and paint one you can follow this post.

I hope you enjoyed the little step by step tutorial. It is not so much in depth but just generally explaining what and why I did it. I can spend quite a bit more time with the miniature and make it look a lot better but I have about 50 of these to paint (not kidding it is a whole army) so It won't be that efficient to take a whole day just to paint one. I will keep posting with updates on this project. I am still waiting for some amazing models from Scibor to arrive and watching out for others to add on to the collection later on.
This post received a 1.5% upvote from @randowhale thanks to @george-topalov! For more information, click here!
Downvoting a post can decrease pending rewards and make it less visible. Common reasons:
Submit
good job!
Downvoting a post can decrease pending rewards and make it less visible. Common reasons:
Submit
Thank you! :)
Downvoting a post can decrease pending rewards and make it less visible. Common reasons:
Submit
This post recieved a vote from @minnowpond. For more information click https://steemit.com/steemit/@minnowpond/boost-your-rewards-with-minnowpond
Downvoting a post can decrease pending rewards and make it less visible. Common reasons:
Submit
This post has received a 2.38 % upvote from @booster thanks to: @george-topalov.
Downvoting a post can decrease pending rewards and make it less visible. Common reasons:
Submit