Hello. It's me again. With the stickers
Last time we have stopped on analysis of tools of the photoshop which will be useful to us for painting of a contour. To hell preludes! We will begin rather!
We start the Photoshop. We open the file with our ready contour (The file - Open-open a way to the file). Now we carry out the following manipulations:
- We create a new layer under a layer with a contour;
- We remember our palette which we made earlier;
- We choose the filling tool, having included all ticks on the top panel;
- By means of the pipette tool (or just using ALT) we choose the necessary color;
- We fill in areas in the necessary color;
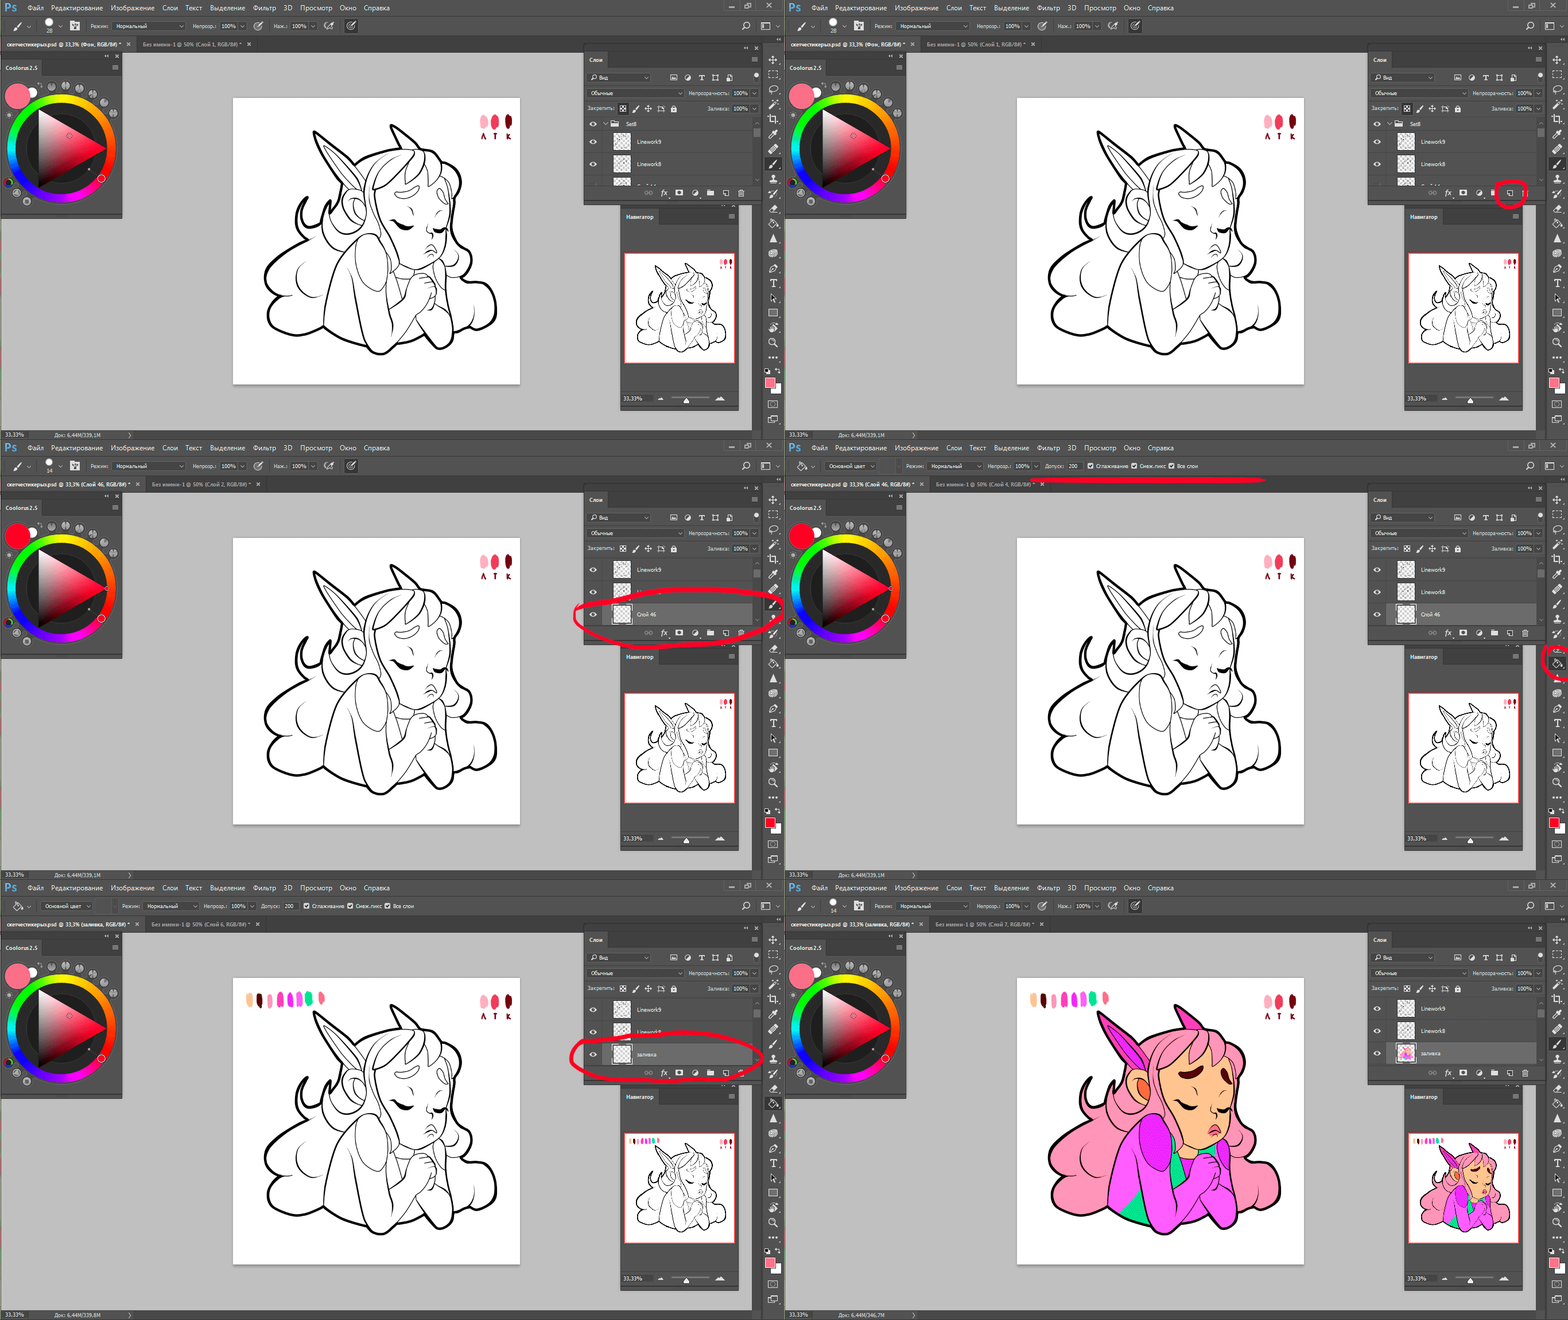
Super, now our sticker is more similar to a sticker 
Further, shadows. In my opinion, it is one of dramatic elements which gives to our sticker and mood and a certain character of a situation into which the character had got. But it is, besides, a personal taste. Someone in general doesn't perceive a shadow, having left just filling, but nevertheless doing very expressive emotions.
But if you have decided to do shadows, then I will tell how:
- Over a layer with filling we create a new layer, we right click it and we choose "To create an clipping mask";
- In the mode of imposing we choose "Multiply", we put opacity of a layer of 50-60%
- We choose the Brush tool, we choose standard round from 100% as rigidity and we disconnect all ticks which are on the panel"
- We draw shadows;
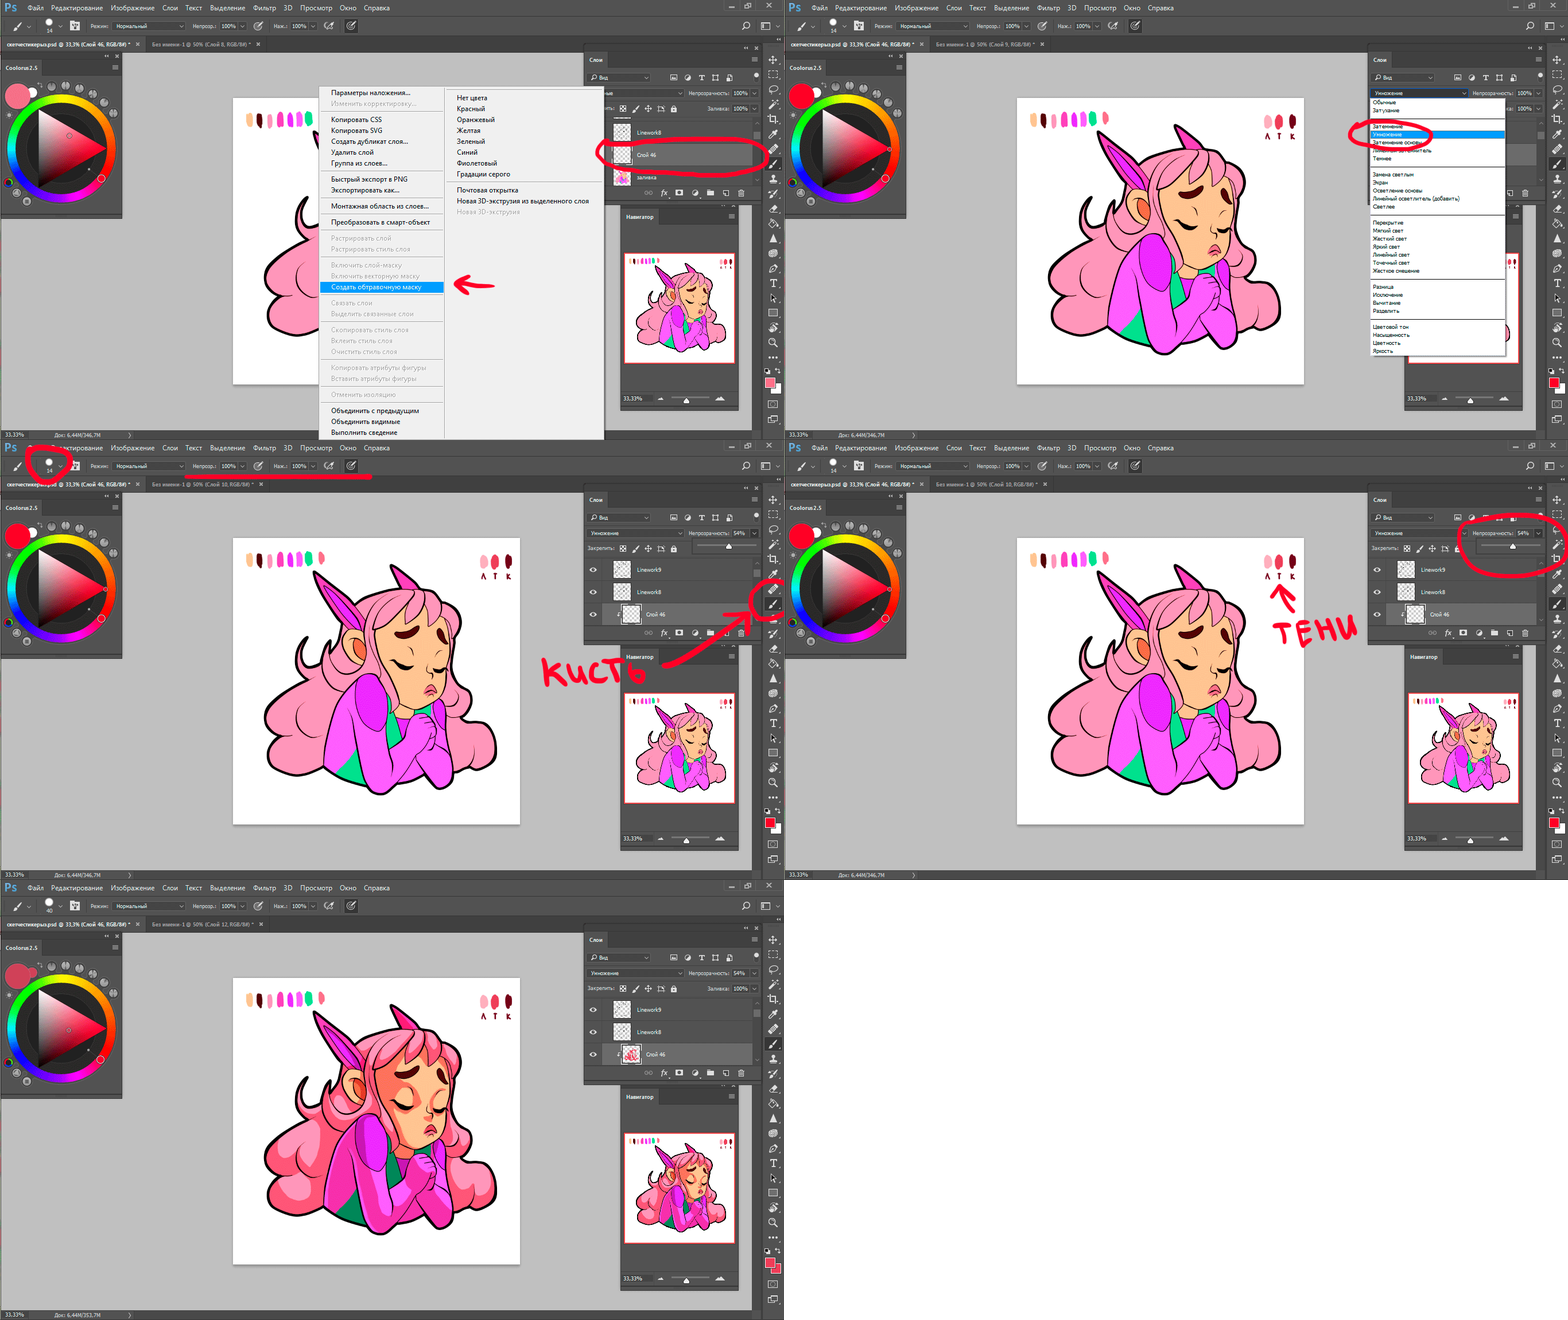
You are magnificent!
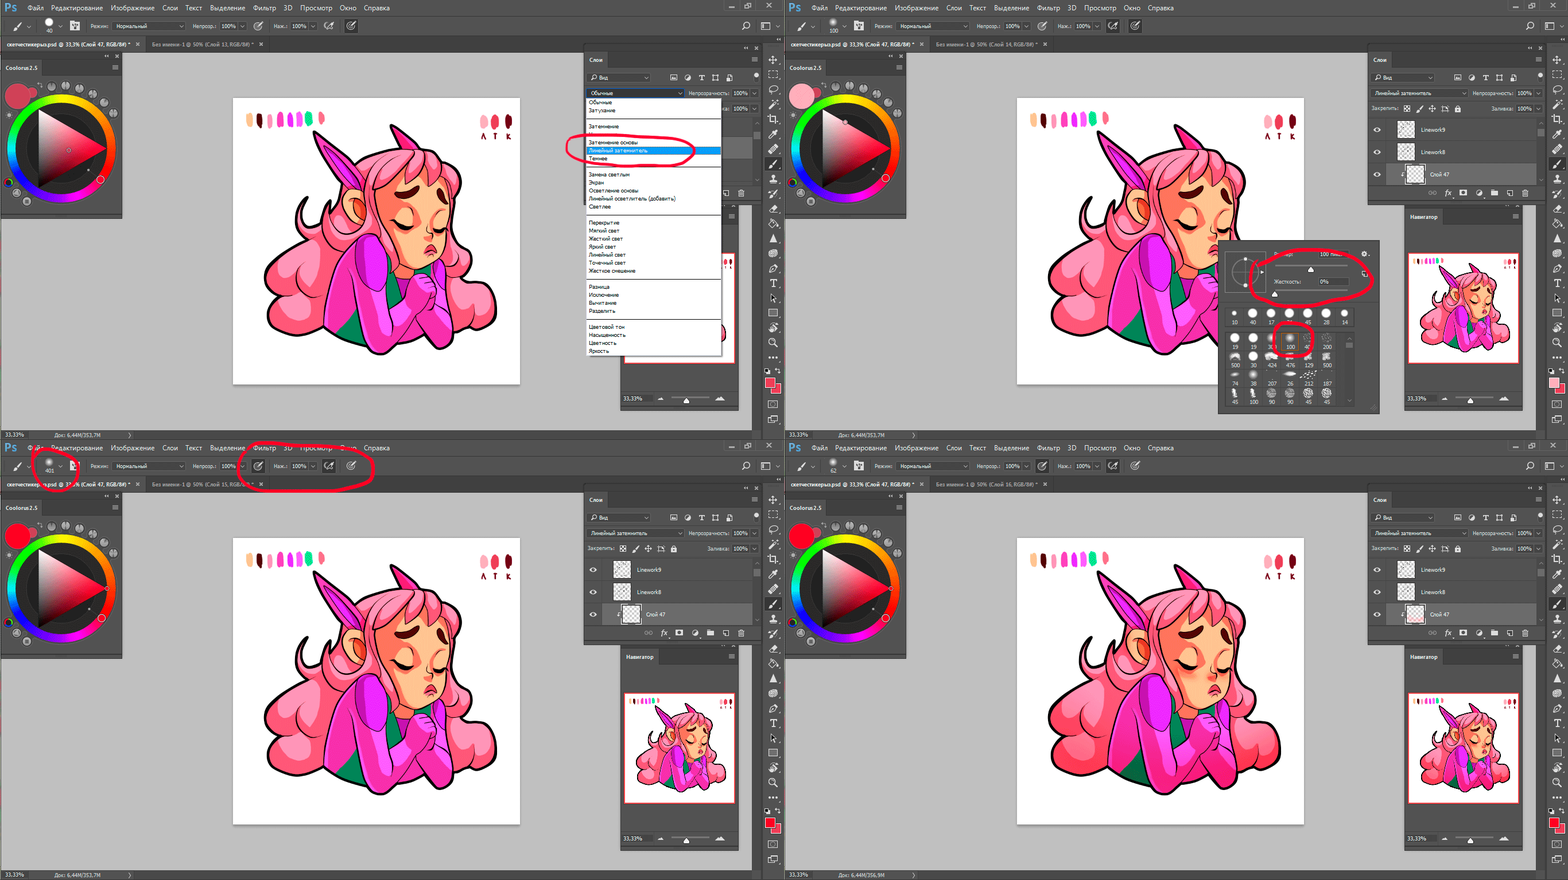
Remained very little. The following step too the personal taste, but, in principle, isn't present sense it to show. But I will show nevertheless. At this stage I play with layers and the modes of imposing of a layer to achieve a certain effect. In this case - easy blackouts on edge and small features in appearance of the character (a flush, a red nose):
- Again I create a new layer over shadows, right click - "to create an clipping mask";
- I put the mode of imposing of a layer "Linear blackout";
- Take a brush, but I change it on soft, with a diffuse edge. I put big diameter (about 400-450 pcs) for blackout on a contour and smaller diameter (20-30 pcs) for a flush;
And penultimate step. We come back to a contour. And here now it is possible to be defined what color most of all will be suitable for a contour of our sticker:
- We pass to a layer with a contour;
- We stick on "maintaining transparency of pixels". The layer has a lock;
- We take a rigid brush again, we choose the necessary color and we are passed by it on all contour. Be not afraid, color will lay down only on a contour and he will not get out anywhere any more.
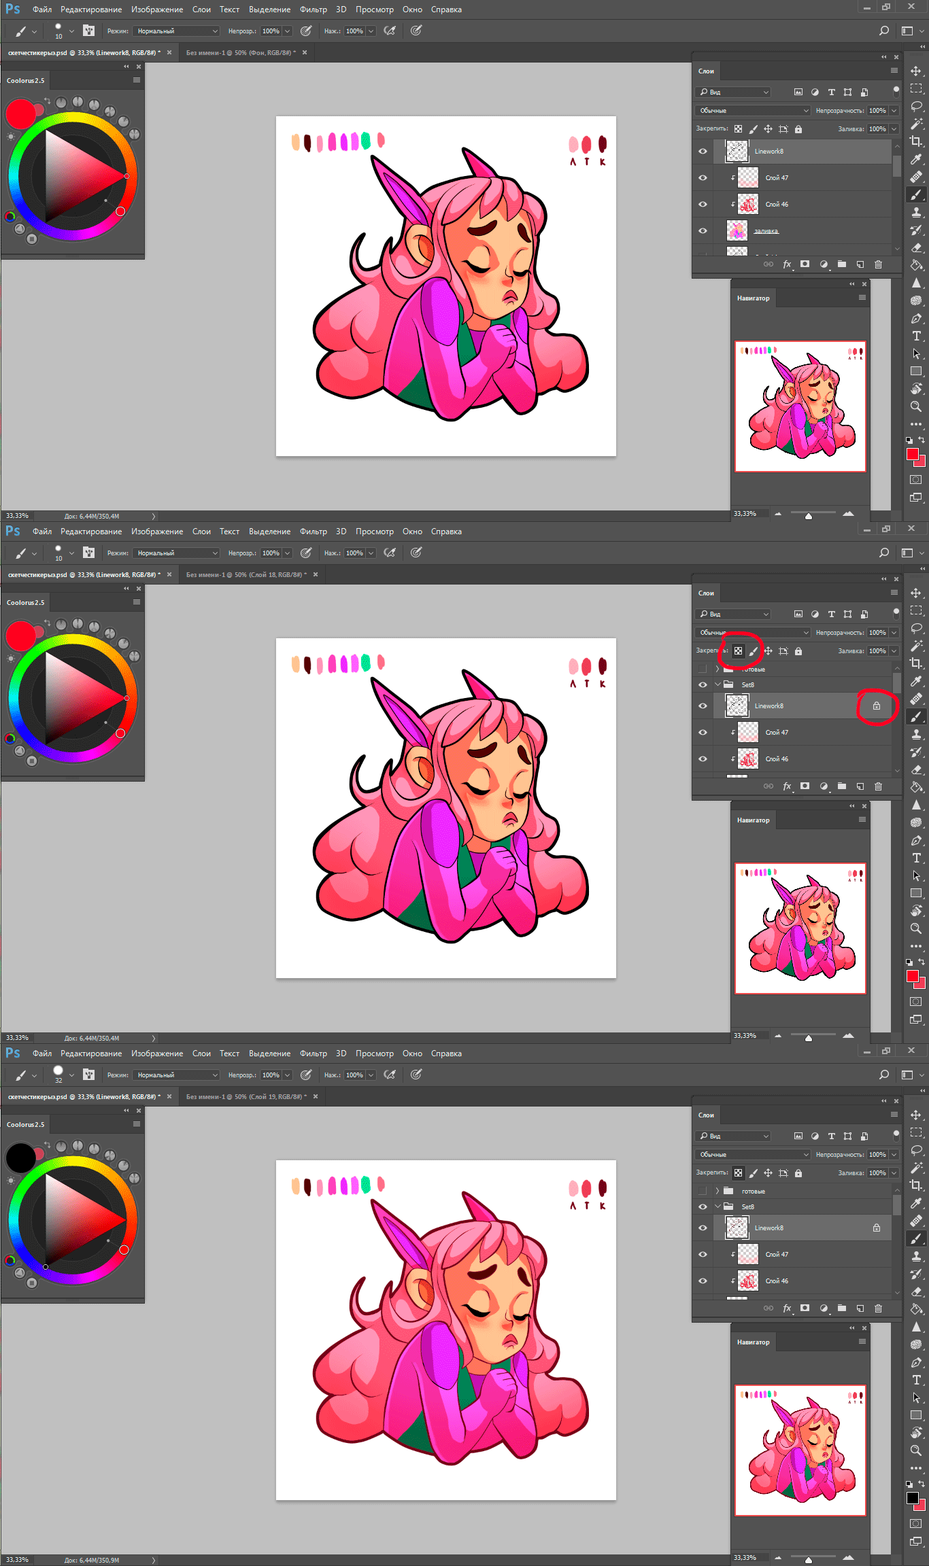
Now precisely last step, honestly :D
- We allocate all our 4 layers, holding ctrl, we press ctrl+ E combination and we unite them in one.
- We allocate our sticker, we copy ctrl+C
- We create the new file with the following parameters of 1000х1000 pixels, 300 dpi
- We insert our copied ctrl+V sticker there
- We click on a layer with left click sticker twice, we tick off near "to inking" also "shadow". Parameters at "Inking" a ramer 13 pcs, outside, color white. Parameters of "Shadow" - the imposing mode "Multiply", color black, opacity of 90%, a corner of 90 degrees, shift - 5, scope - 22, the size - 18 pcs
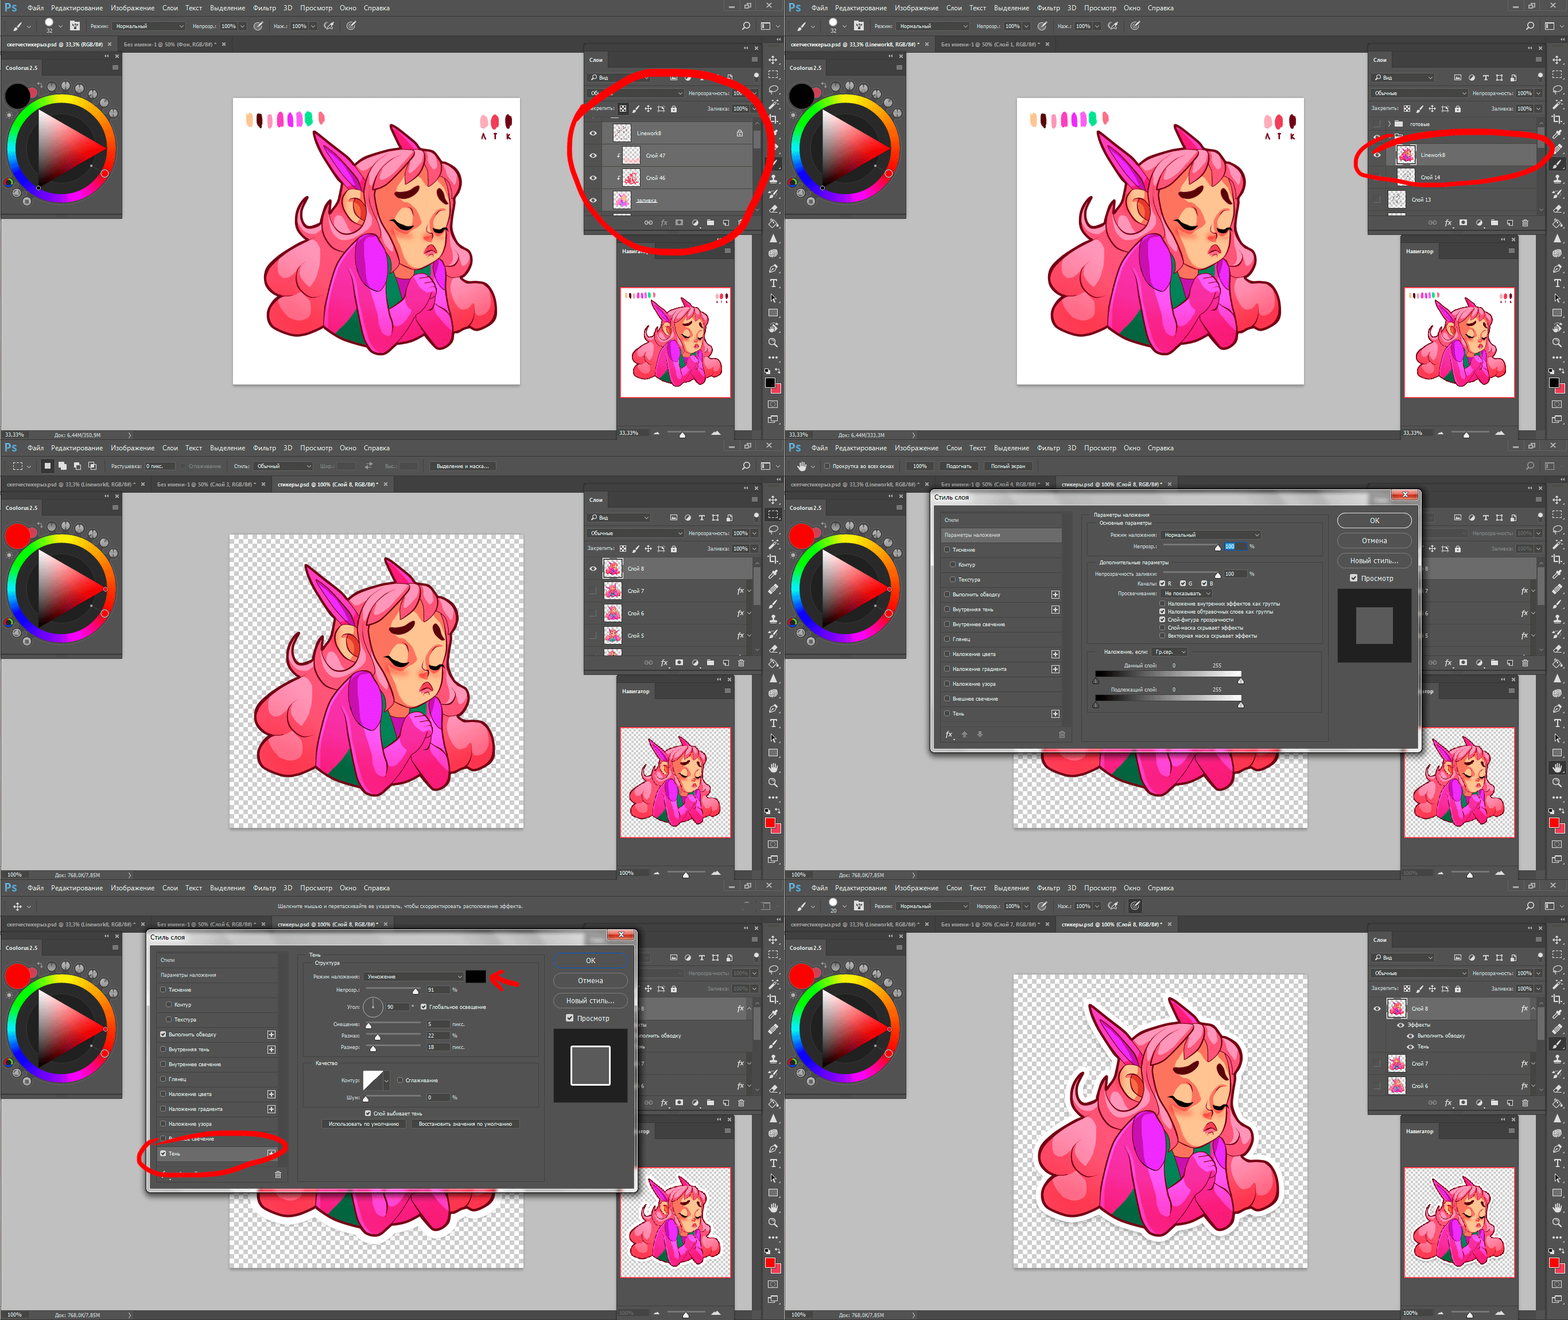
Make sure that the background at us is disconnected in layers. Further for preservation we press at the same time shift+ctrl+alt+S. We choose the png format and in sizes of a canvas we expose the necessary size. I will have 256х256. As a result such stickers have turned out for today:
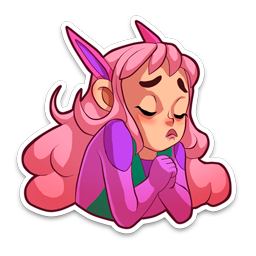
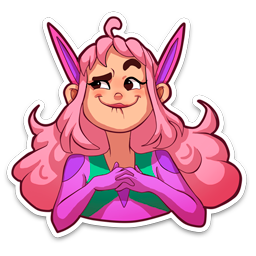
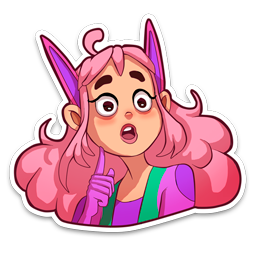
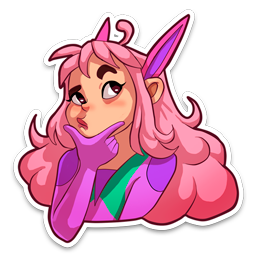
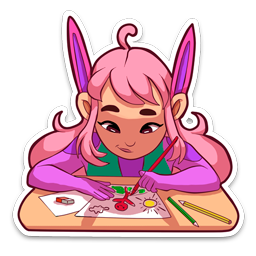
And they will be tied to the emodji following in the same order:
 2.
2.  3.
3.  4.
4.  5.
5.  +
+ 
And now i have 12 stickers from 40 have already collected 
Thanks for attention, friends. Next time we will sort key feature of stker - emotions and a mimicry. As usual I embrace all of you 


That's how. Looks difficult a bit.
Downvoting a post can decrease pending rewards and make it less visible. Common reasons:
Submit
may be at first time it would be difficult
Downvoting a post can decrease pending rewards and make it less visible. Common reasons:
Submit
Wow, definitely happy to find content that teaches how to use photoshop! I always wanted to use that software. Thanks for the post!
Downvoting a post can decrease pending rewards and make it less visible. Common reasons:
Submit
You are welcome my friend
Downvoting a post can decrease pending rewards and make it less visible. Common reasons:
Submit