The present project was a commission at the request of my Sister, she needed a small desk lamp with character of urgency, looking for internet she saw a dog shape which charm and asked me if I could recreate it, and I would gladly I said: yes, I accept the challenge.
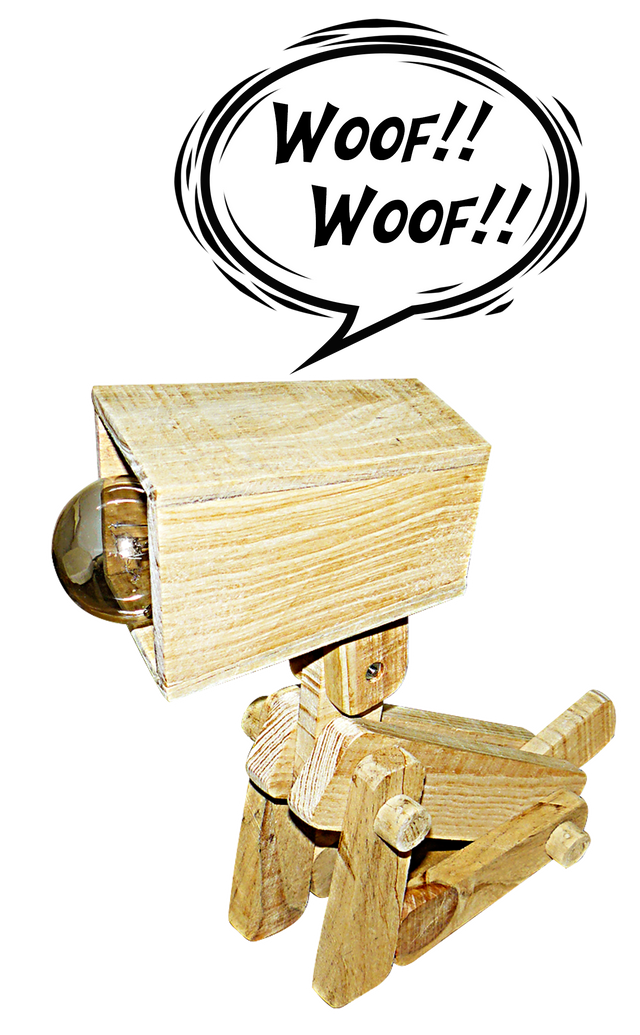
Unlike my previous work, this particular is a special order, which is why I decided to do it directly on the wood without making a template, for the reason that I did not think about making more replicas of this lamp (decision of the which I regretted later, since once she handed it to me she asked me for a replica for her husband XD).
The first thing to emphasize about this lamp apart from hinting at a canine form is that it is fully articulated, as if it were a toy. Reason why I decided to be very careful about the joints of the neck or otherwise an accident could occur, then I will present all the steps you use to prepare it.

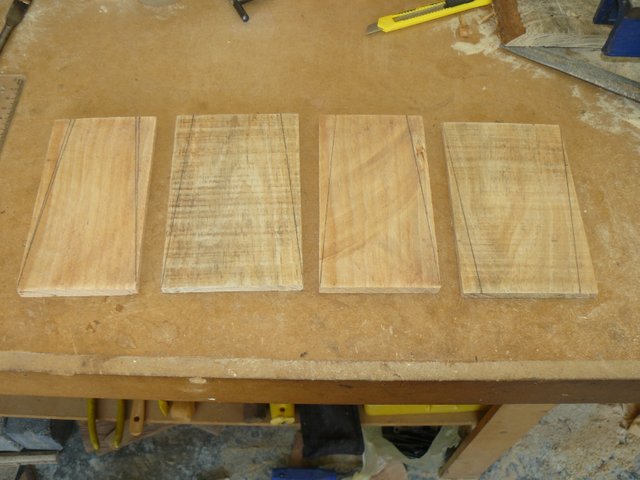
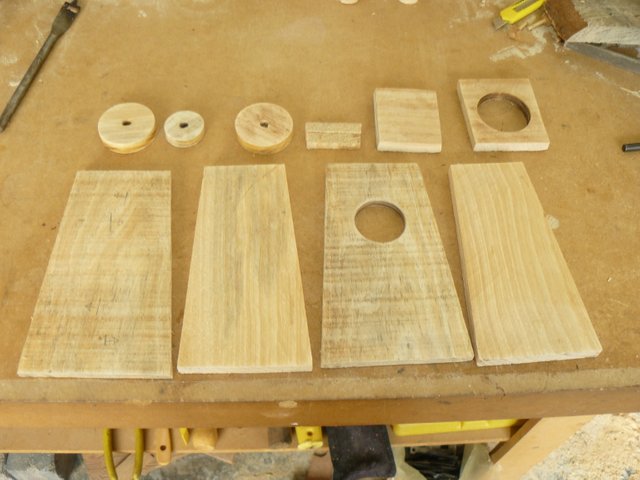
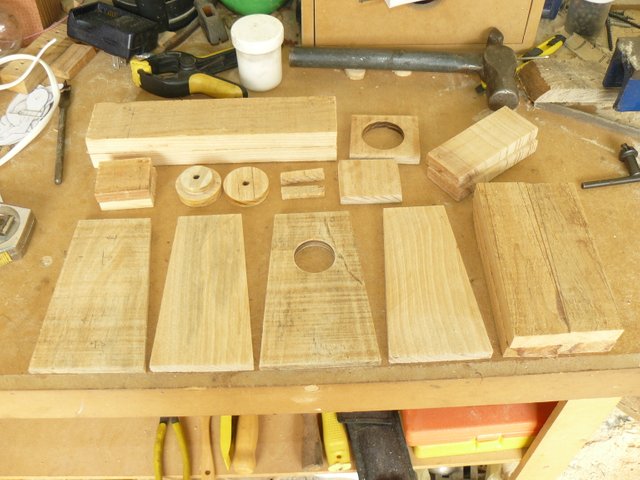
The first action to start was to cut the pieces of the head and neck which would be a total of 13 parts. for the head which would be the source of light, 4 rectangular pieces were cut large enough to cover the base and the bulb, in each of these parts two cutting lines are marked, which start from a corner until reaching the another end but 1 cm high, which will give them a trapezoidal shape isoceles.
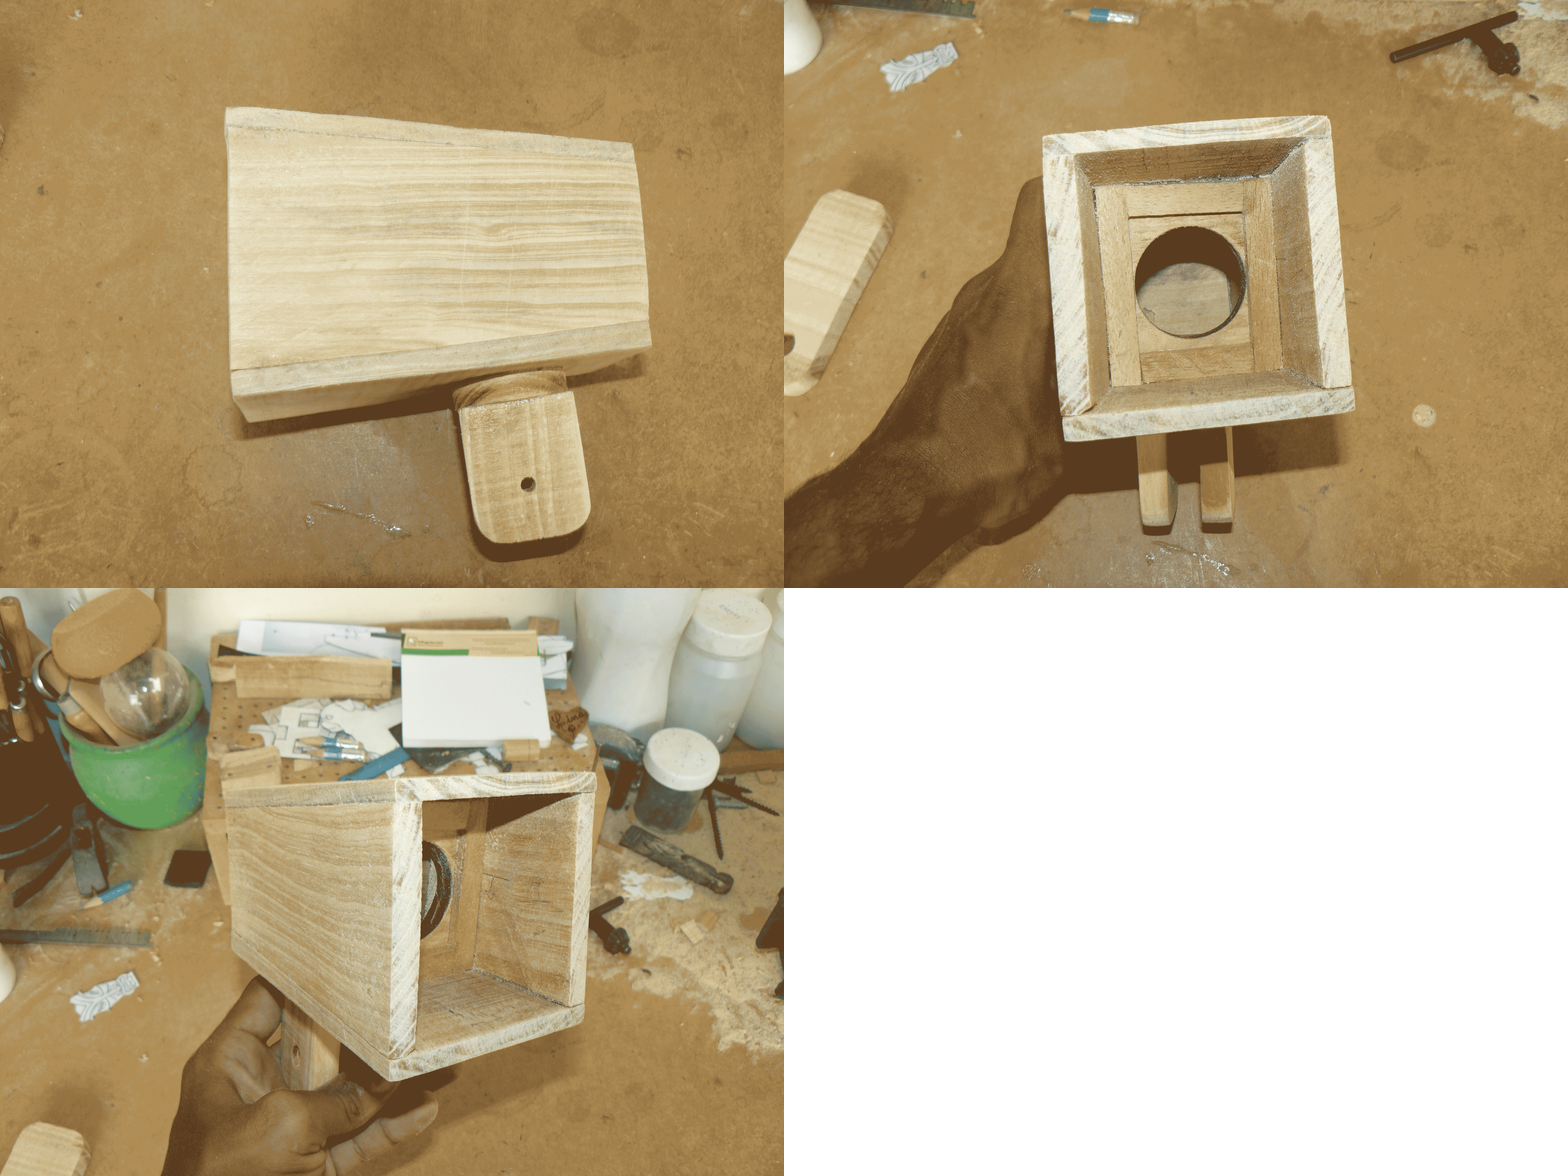
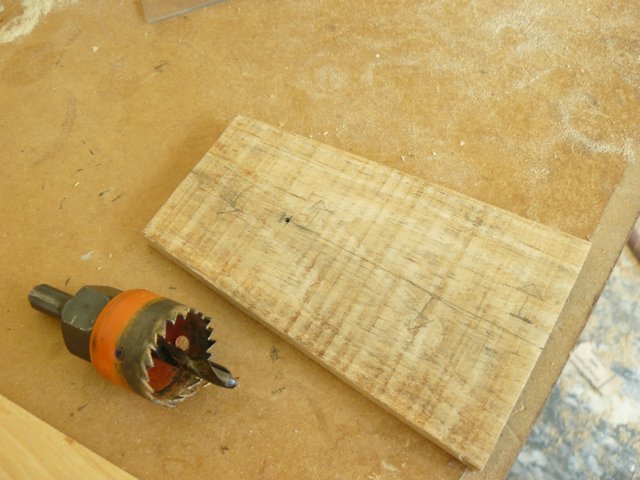
Once cut, one of these pieces is chosen, which will be drilled with a 38.1 mm (1 1/2 ") crown saw in the area where the base will be located.
taking advantage of the cup saw is also drilled one of the two square pieces right in the center, the piece that will have the hole is the large one that will support the socket of the lamp, the small piece will be the bottom of the drawer of the light source.

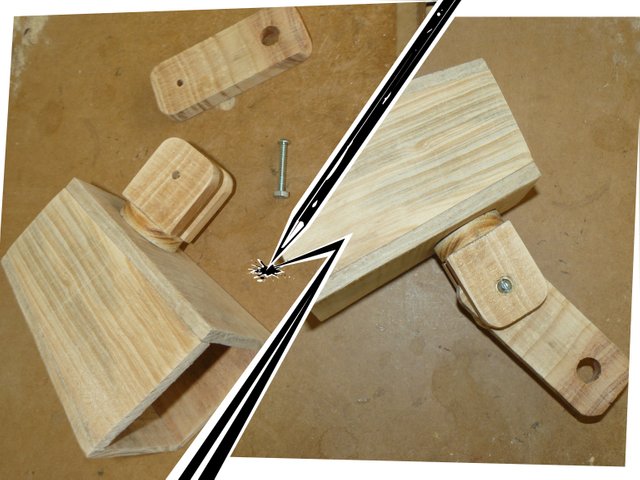
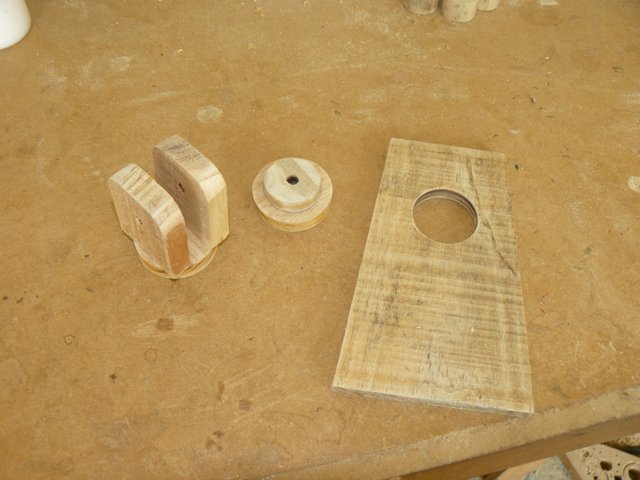
Now it is necessary to elaborate what will be the articulation that will connect the head (light source) with the neck, which consists of five pieces: two large circles, a small circle and 2 rectangles which will round 2 of their corners and will be perforated with a wick of 5 mm in the center, the small circle will stick to one of the large, the other circle will adhere to the two rectangular pieces by the part that has intact corners, keeping the space where the neck will be located.
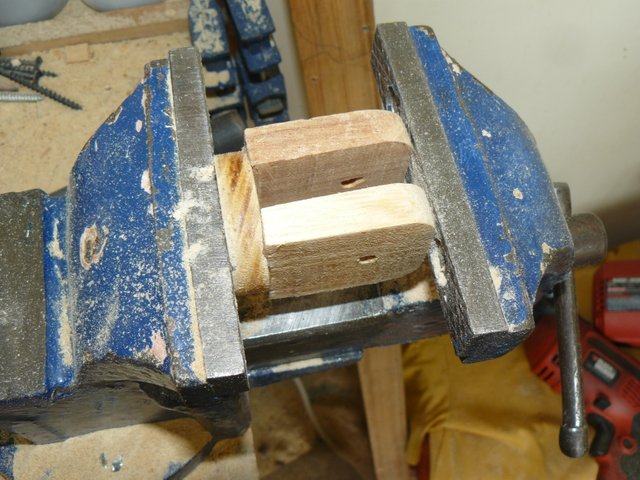
When the glue has set, this piece will be assembled with the part of the light box, which was previously perforated, it will be fixed with the help of a press so that it is well adhered.
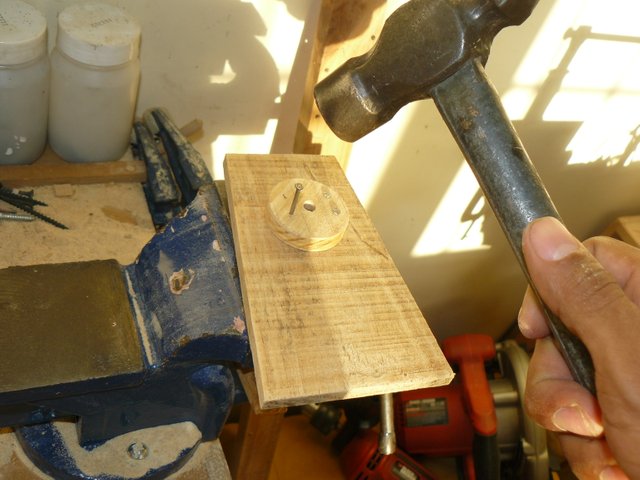
Once the hardened glue is proceeded to insert 4 nails to give greater support.

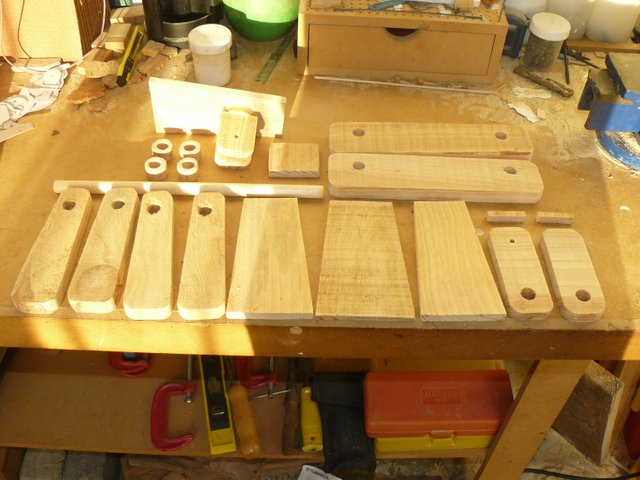
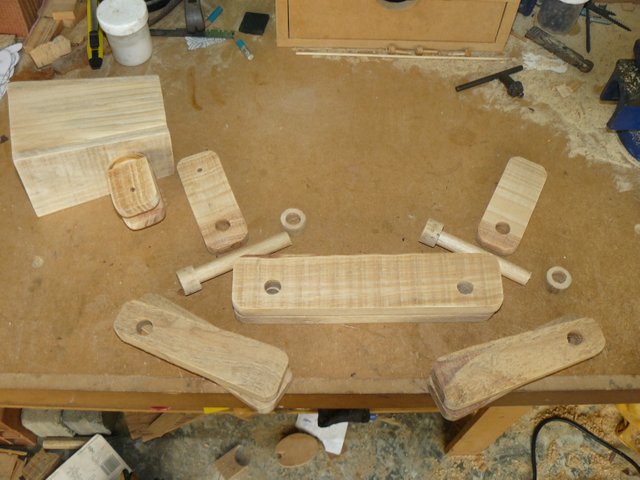
Touch the time to make the other parts of the lamp, which would be a total of 8 rectangular pieces: two pieces of 5 x 27 cm for the body, two pieces of 3.5 x 8 cm for neck and tail and four pieces 4 x 12 cm for the legs, in relation to the legs will be applied a cut similar to the one made with the parts of the light source to give them the appearance of a trapeze.
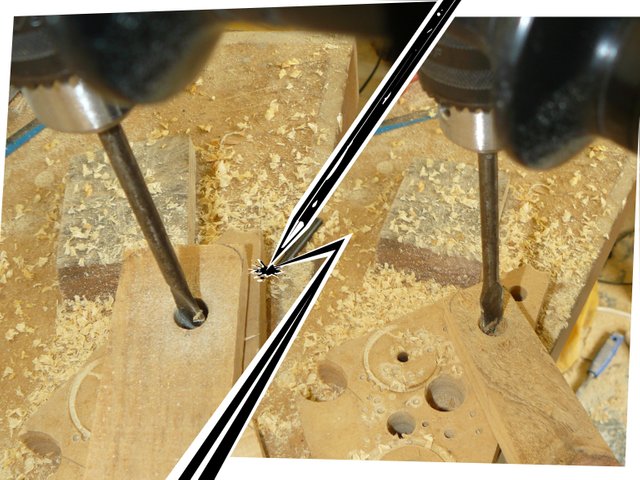
Once all these pieces have been cut, all the corners are rounded, and in turn with a 15 mm blade type drill, all of these will be drilled, which are the legs, the neck and the tail. will be located at a centered upper end while maintaining a margin of separation at the edge. The piece of the neck will have a hole made with a wick of 5 mm at the other end, in the body parts each 2 holes made with the drill of 15 mm where the legs will be located.

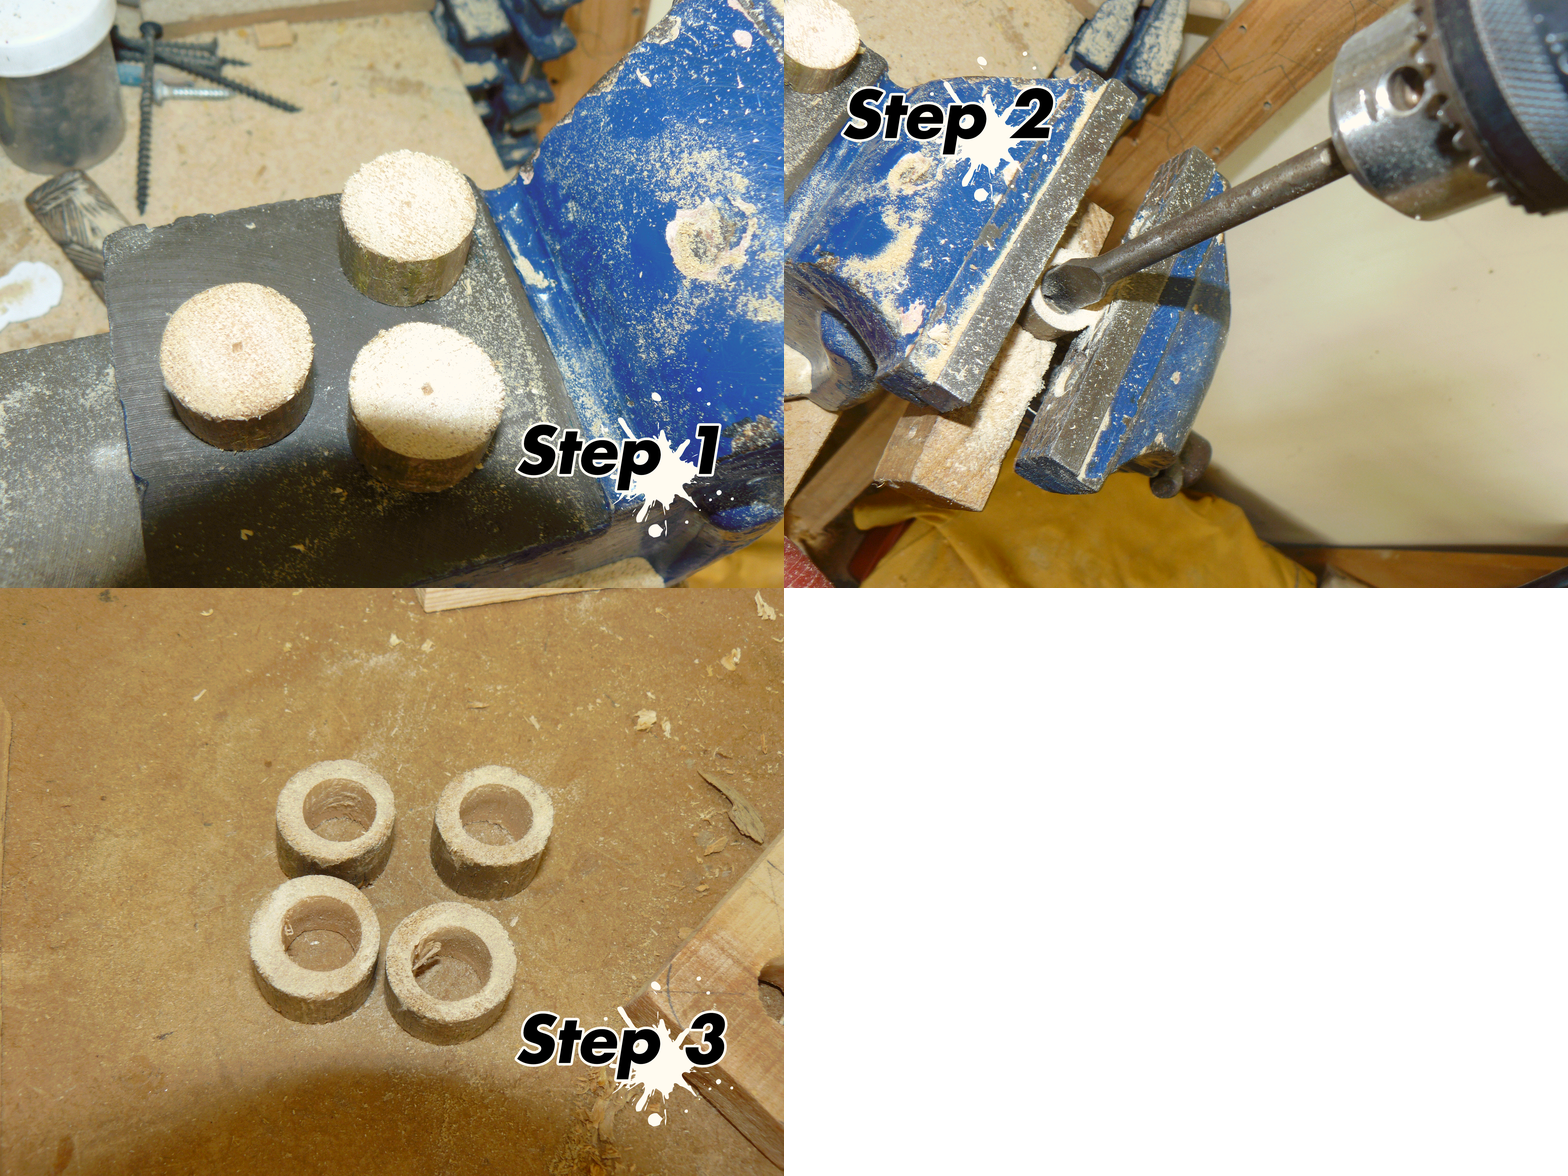
From a broomstick cut four cylinders of 2 cm, which were pierced the center with the 15 mm shovel drill leaving them with a ring appearance.

In these instants all the main pieces that make up the lamp have already been cut.
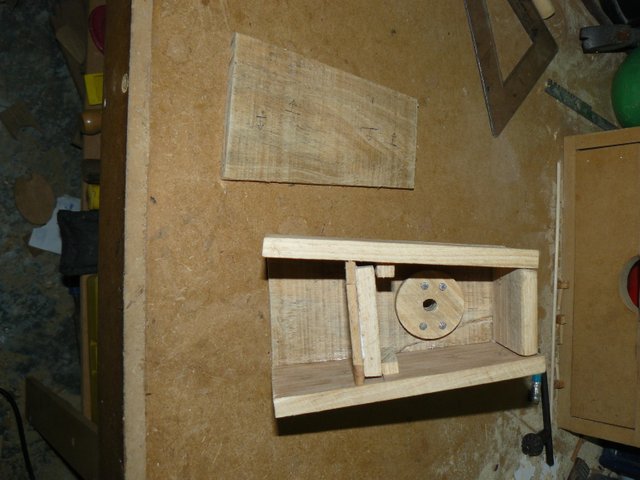
It is time to assemble all parts of the lamp, starting with the light source. The piece to which the neck articulation was fixed will be attached to 3 of its sides, 2 of the trapezoidal pieces and the small box, thus forming the walls of the light source, inside it. locate the square with the hole in the socket, use 2 small strips of wood to facilitate the fixation of this piece, also cut 4 small strips to make a small frame which will be located in the area of focus the function of this in addition to Being aesthetic gives more support to the piece of the socket.
Once this part is ready, we only have to put the last trapezoid piece to finish what is the lamp's light source.

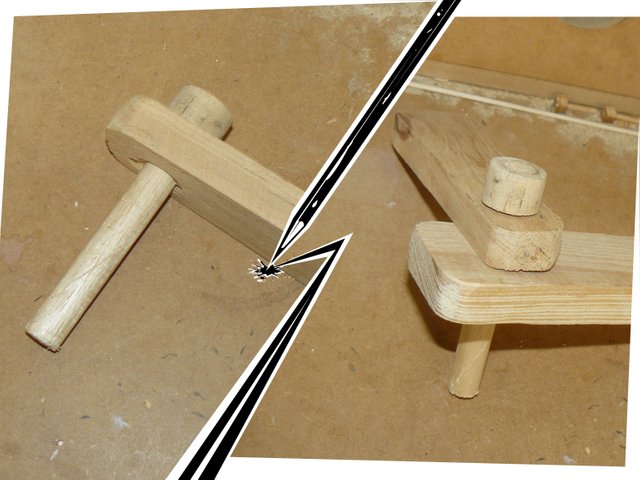
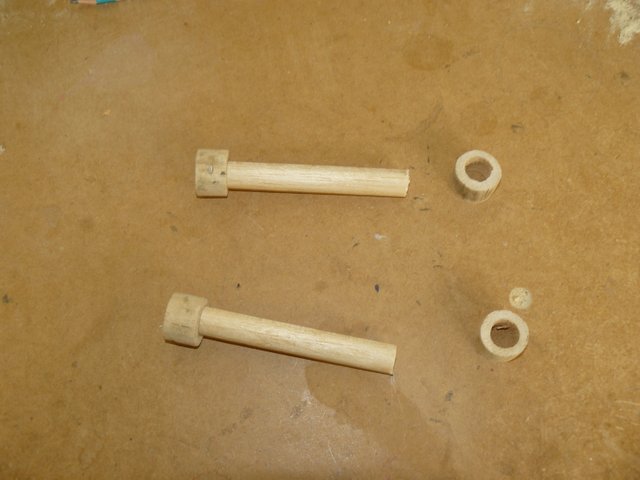
We proceed to take a small stick of 15 mm, which will be divided into 2 equal parts and each one will be attached to one of its ends a wooden rings forming a pin.


The articulation of the light source is fixed to the neck by means of a screw and a nut.

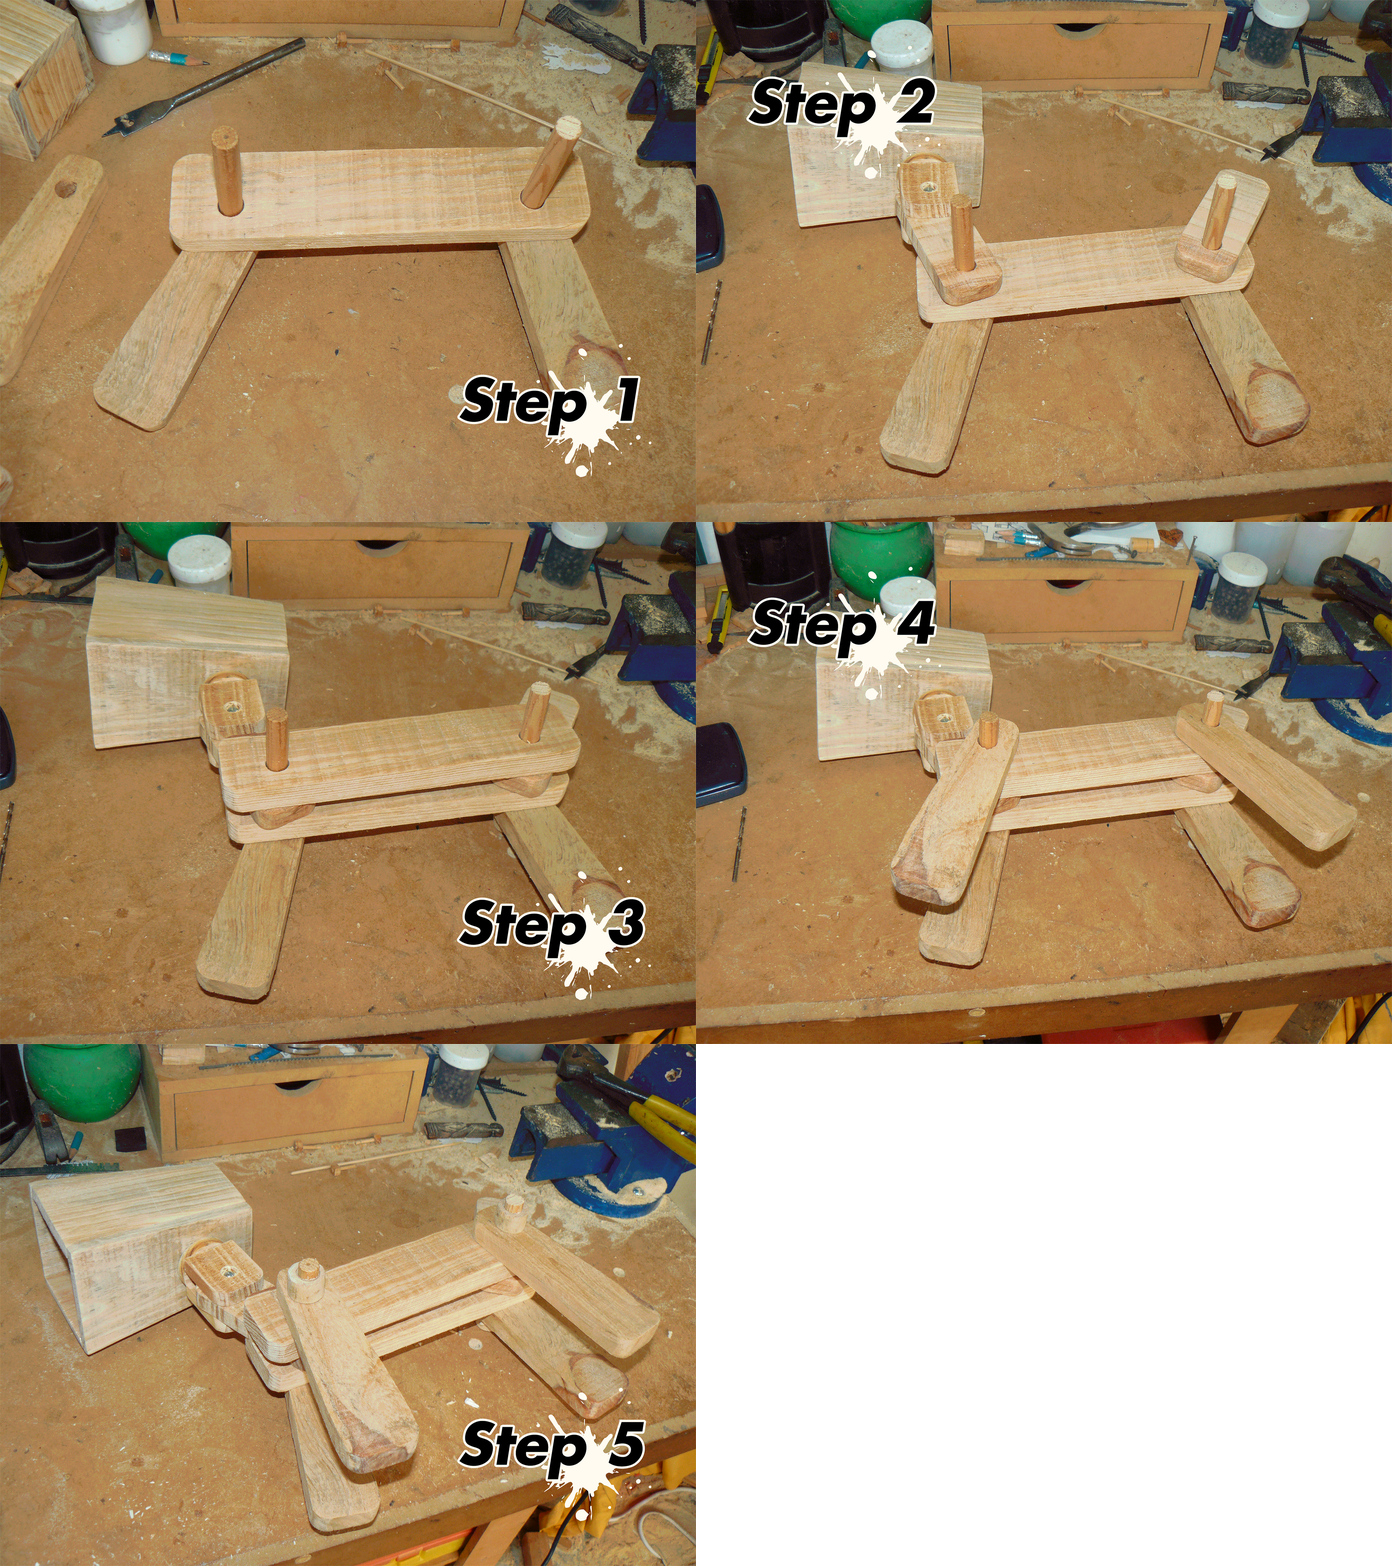
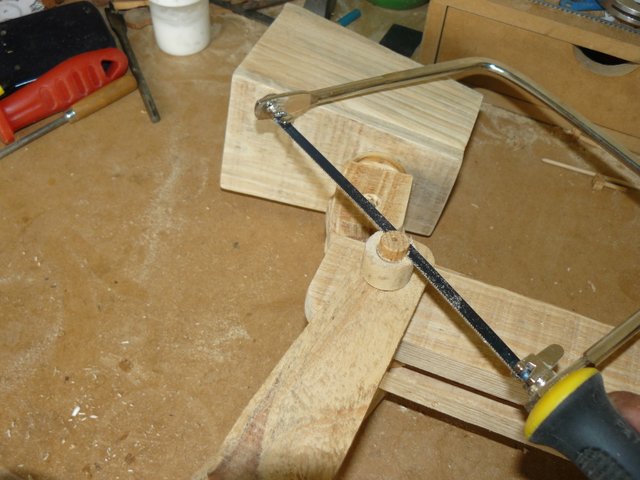
To assemble the body, the wooden bolt must go through the holes in the legs, followed by one of the parts of the body.

Just like one of those didactic games for babies, there is only positioning the other parts of the lamp in the following order: the neck and tail, followed by the other piece of the body, the other 2 legs and finally the wooden rings.


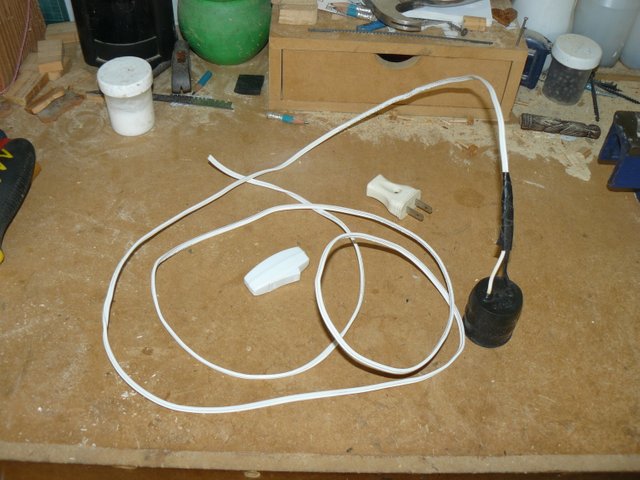
For this we need 150 cm of SPT 2 x18 AWG cable, a socket, a switch switch, a plug and insulating tape or black wire.
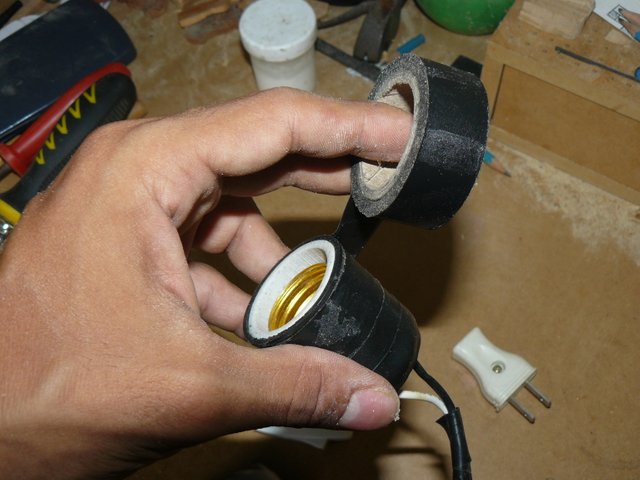
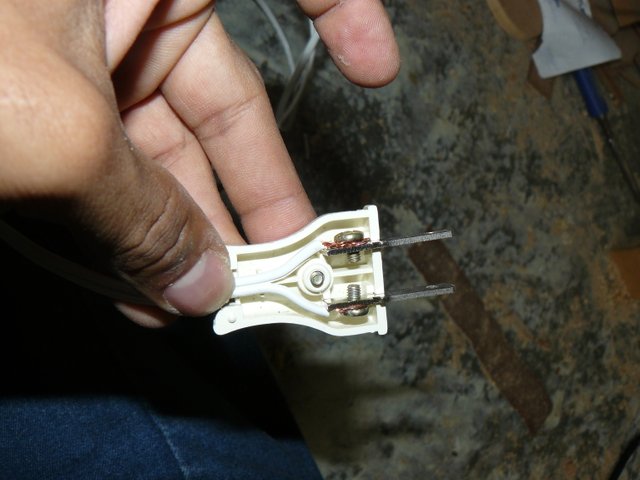
The first thing to do is to join the cable to the cable and cover it with enough wire to expose the exposed area of the cables to avoid electrical shorts.
The upper edge of the socket should be covered with two or three layers to fix this piece with the lamp.
With this ready, it is only a matter of going through, all the remaining cable through the holes of the lamp wiring.
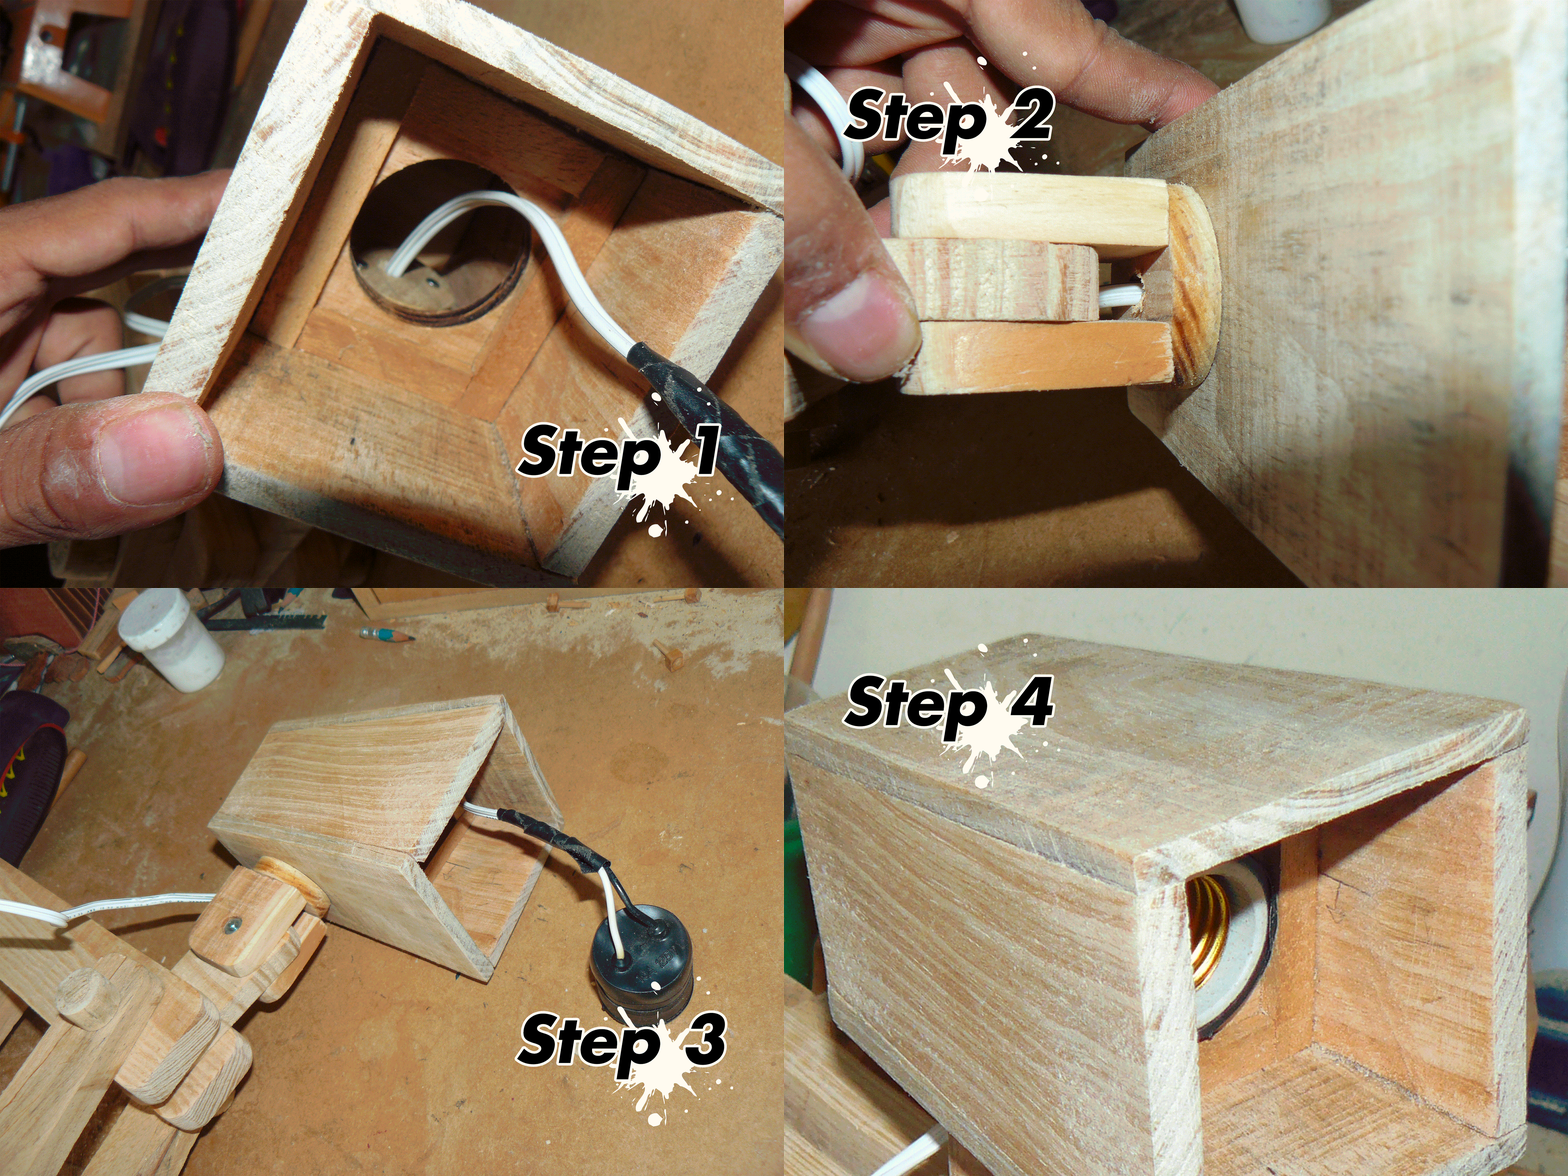
Finally, the switch is installed at a height close to the light source or where it is more comfortable for handling

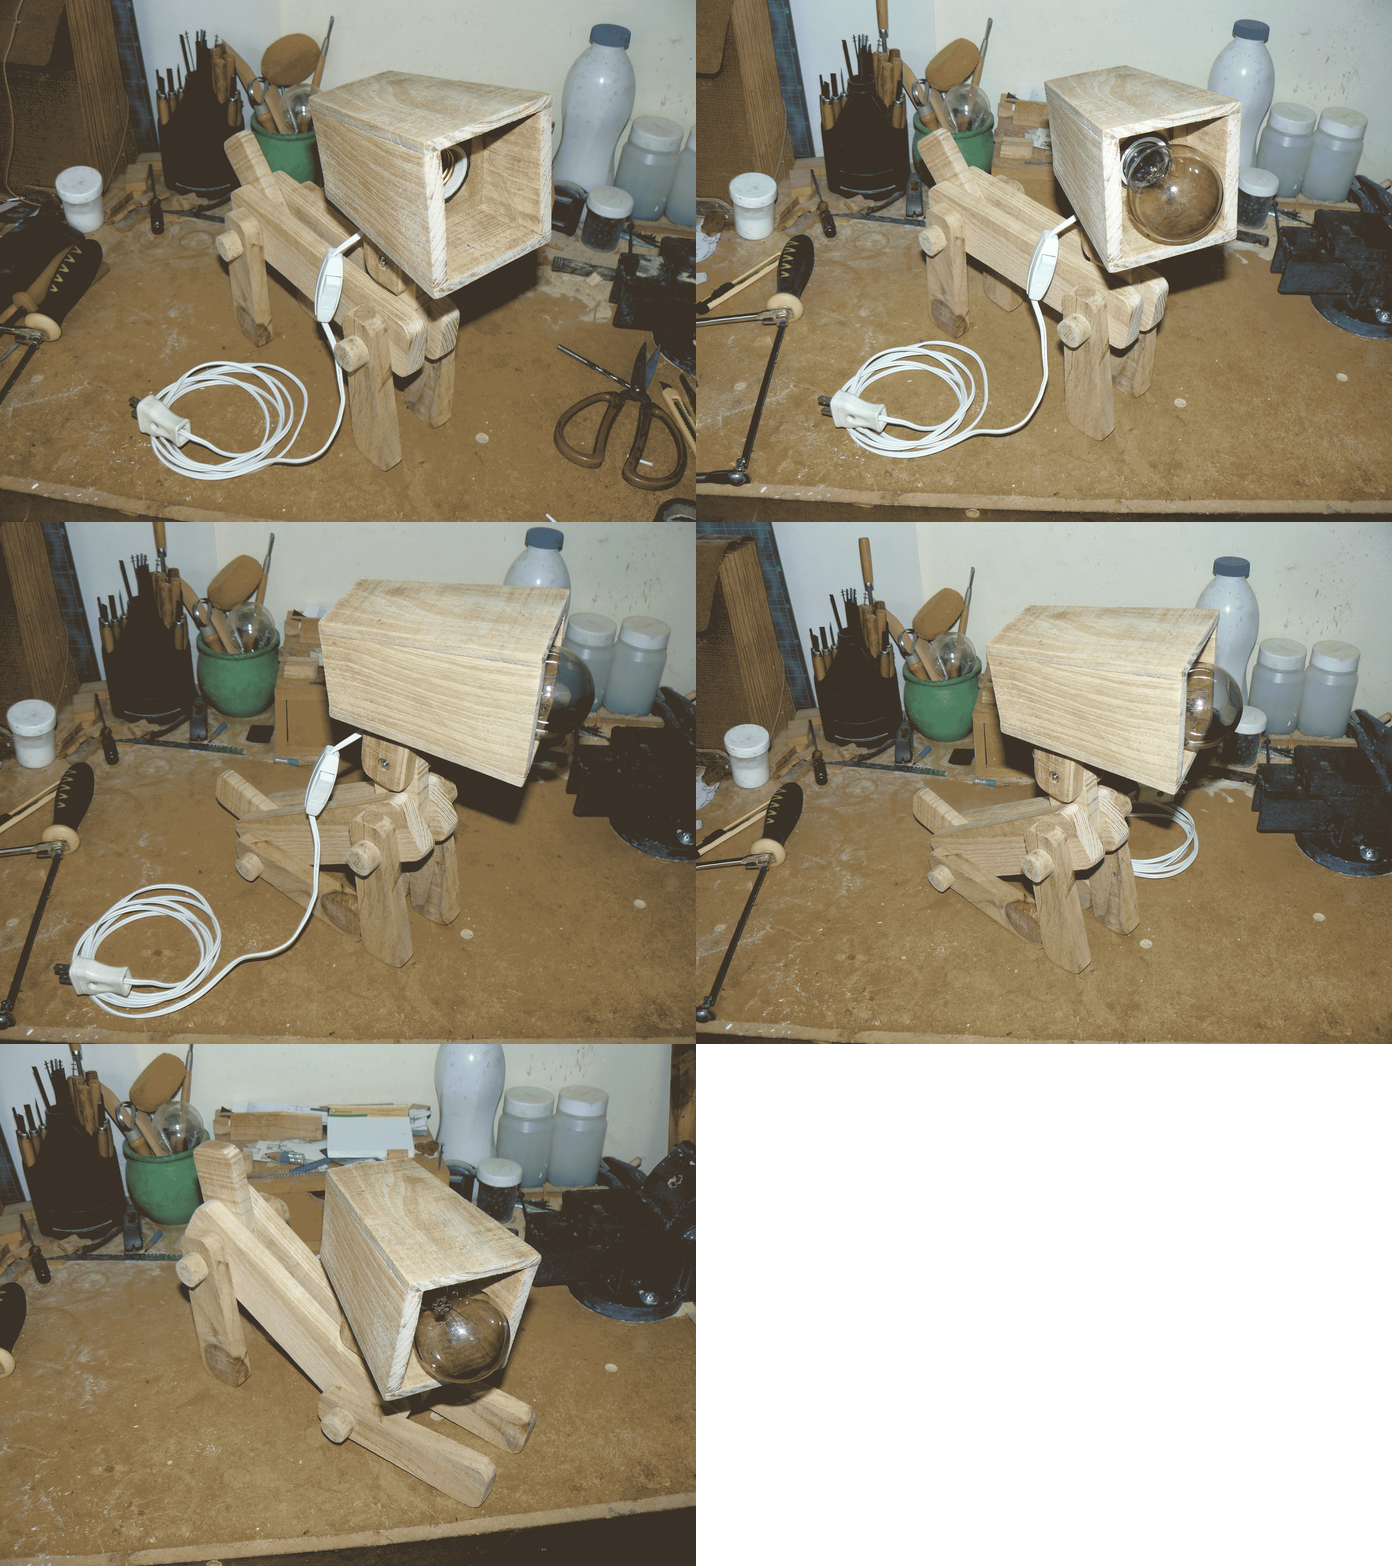
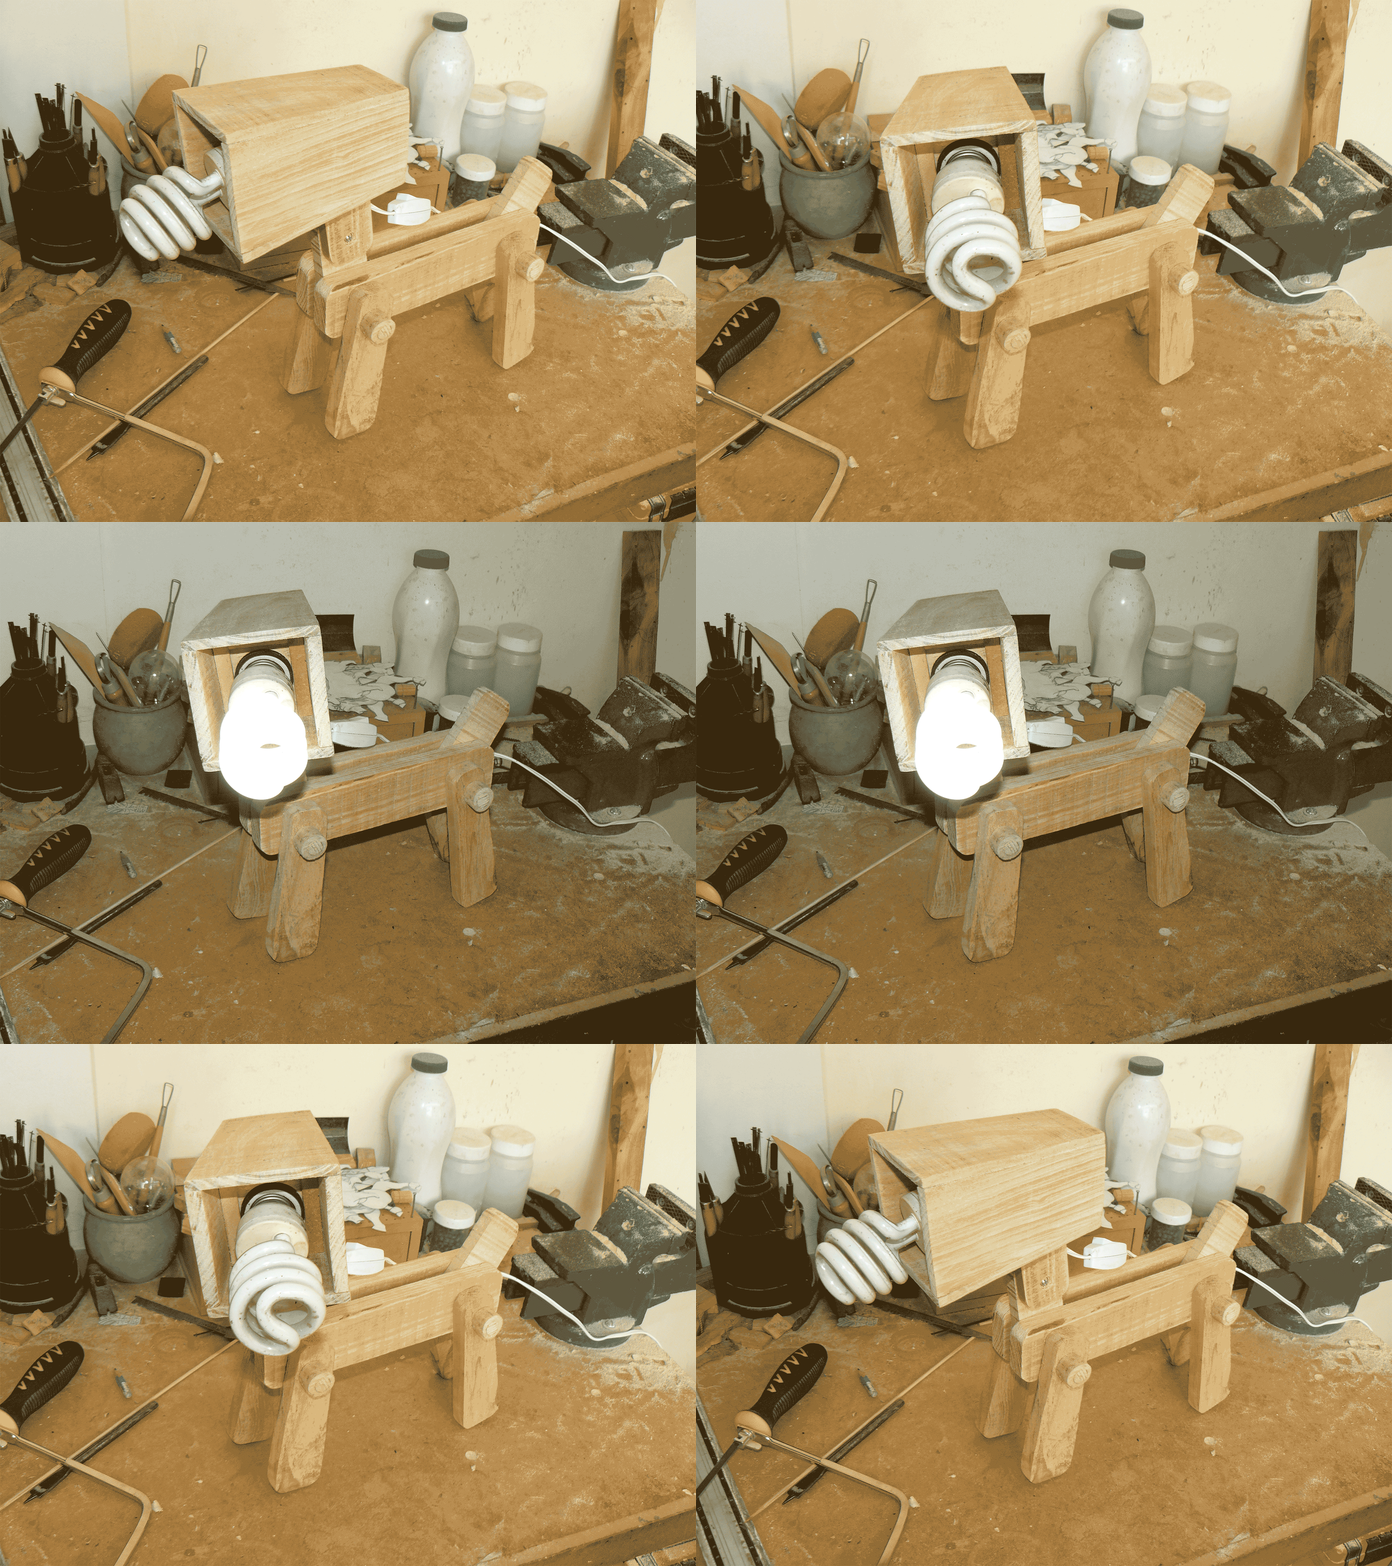
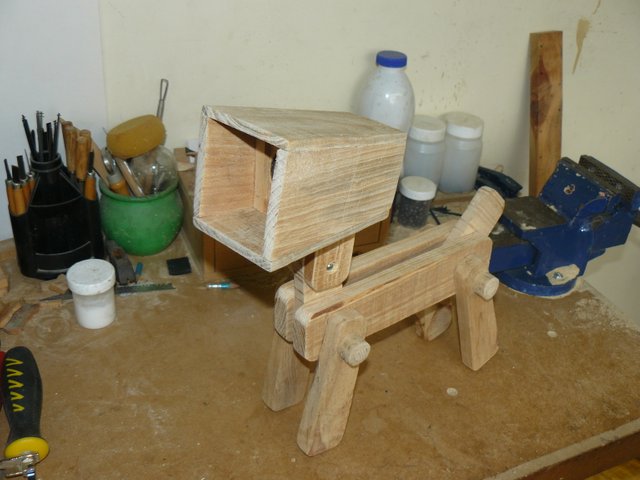
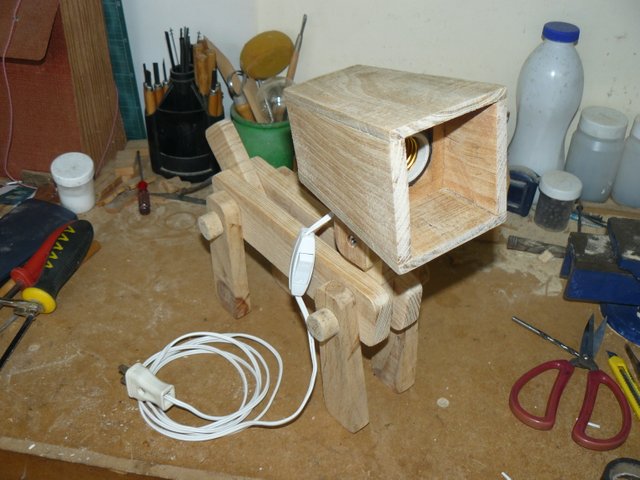
Finally we have completed this nice dog lamp, ready to light up and keep company at night.

Whatever happens ... do not stop creating
When you stop doing it ... you refuse to grow

Thank you very much for reading my publication
All images, banners, stripes and gifs used in this publication are my property.
See you in a future publication
Inu-Jim

Whatever happens ... do not stop creating
When you stop doing it ... you refuse to grow

All images, banners, stripes and gifs used in this publication are my property.
See you in a future publication
Inu-Jim

Hermano! Excelente! Sencillamente eres brutal! Excelente publicación! Saludos!
Downvoting a post can decrease pending rewards and make it less visible. Common reasons:
Submit
Gracias! como siempre muy atento @Manuelramos
Downvoting a post can decrease pending rewards and make it less visible. Common reasons:
Submit
your work is very creative, it was good to have read you
Downvoting a post can decrease pending rewards and make it less visible. Common reasons:
Submit
Thank you very much for reading my publication, creativity on all sides you just have to discover it
Downvoting a post can decrease pending rewards and make it less visible. Common reasons:
Submit
Congratulations! This post has been upvoted from the communal account, @minnowsupport, by Inu-Jim from the Minnow Support Project. It's a witness project run by aggroed, ausbitbank, teamsteem, someguy123, neoxian, followbtcnews, and netuoso. The goal is to help Steemit grow by supporting Minnows. Please find us at the Peace, Abundance, and Liberty Network (PALnet) Discord Channel. It's a completely public and open space to all members of the Steemit community who voluntarily choose to be there.
If you would like to delegate to the Minnow Support Project you can do so by clicking on the following links: 50SP, 100SP, 250SP, 500SP, 1000SP, 5000SP.
Be sure to leave at least 50SP undelegated on your account.
Downvoting a post can decrease pending rewards and make it less visible. Common reasons:
Submit